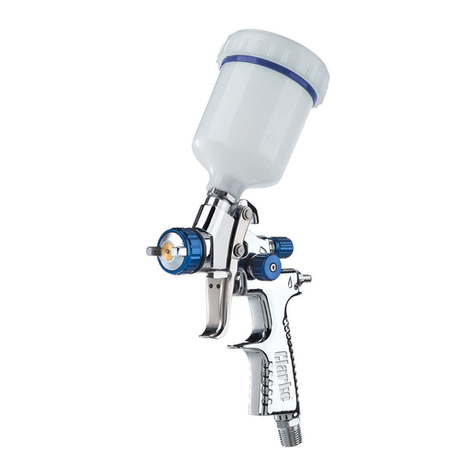
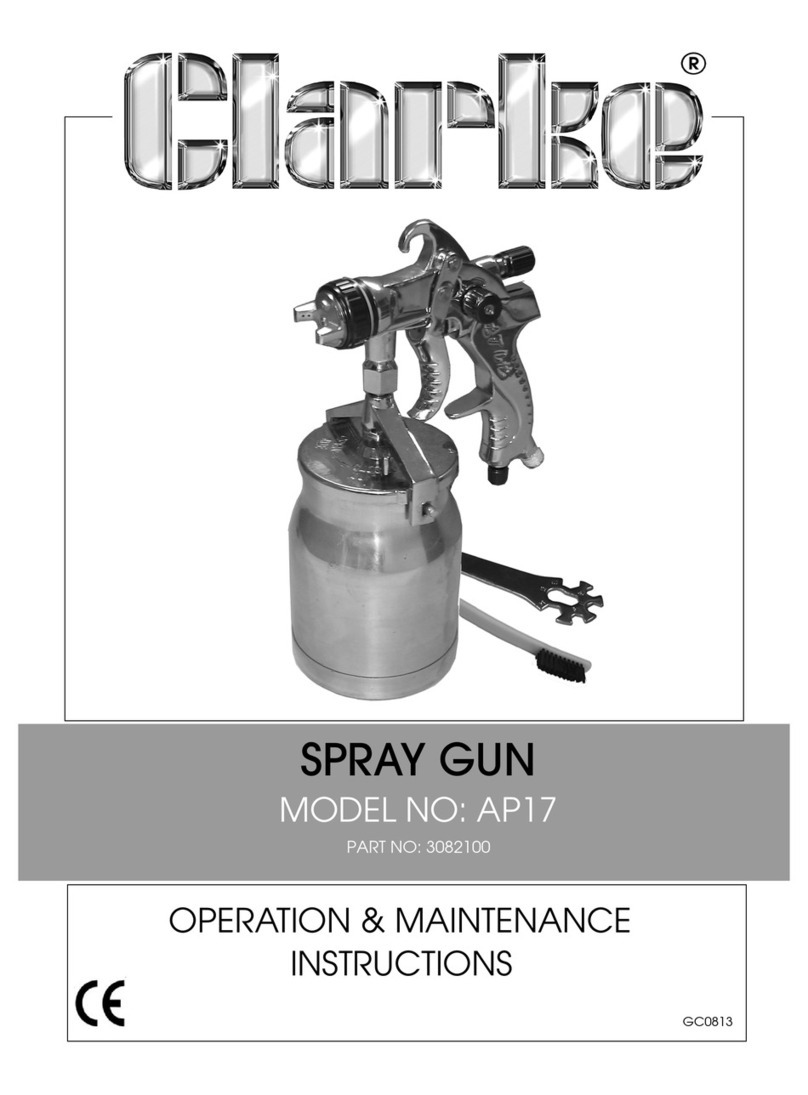
Clarke AIR CTG8 Installation and operation manual
Other Clarke Paint Sprayer manuals
Clarke
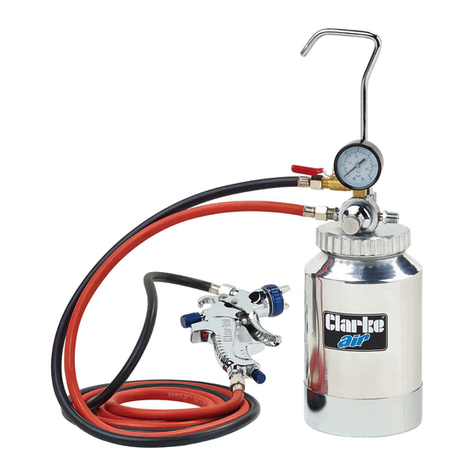
Clarke CPP2B Instruction Manual
Clarke
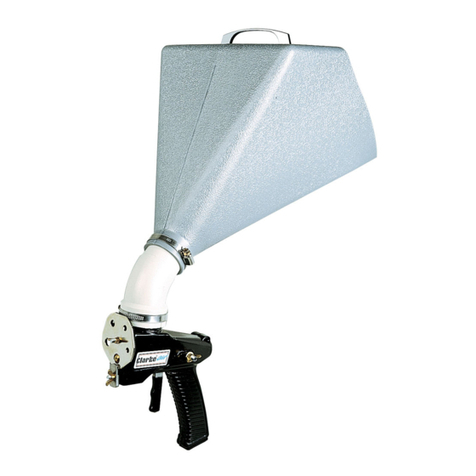
Clarke CTG8 Installation and operation manual
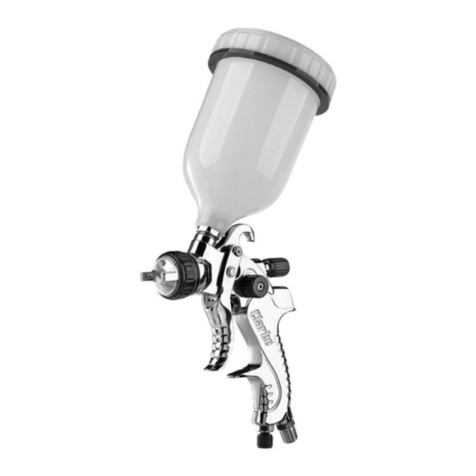
Clarke
Clarke AP14GF Instruction Manual

Clarke
Clarke APK900 Installation and operation manual
Clarke
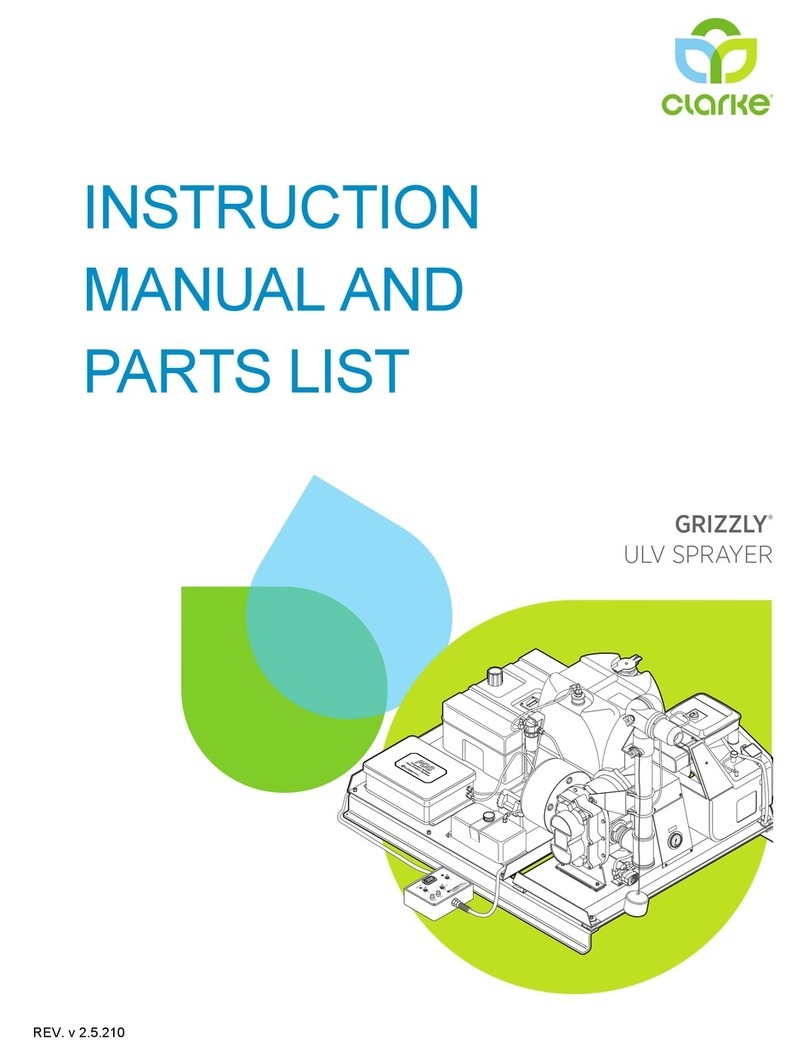
Clarke GRIZZLY User manual

Clarke
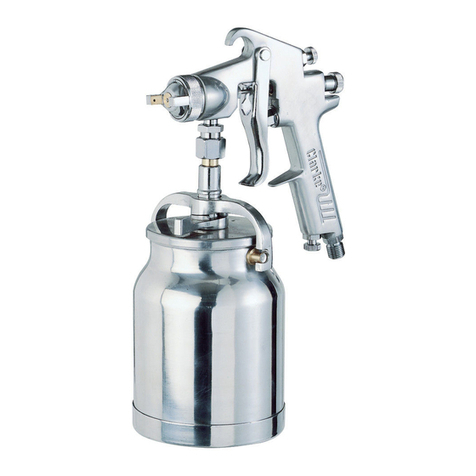
Clarke CEPG1 User manual
Clarke
Clarke PRO12C Instruction Manual
Clarke
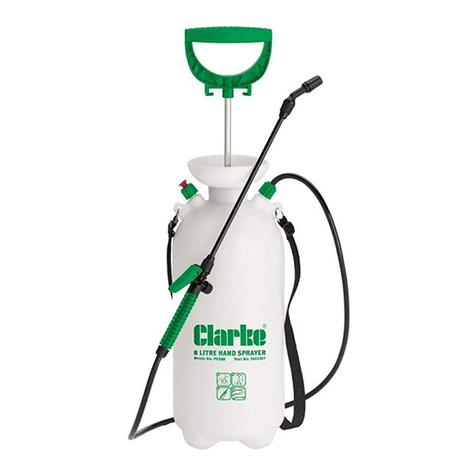
Clarke PHS8B User manual

Clarke
Clarke SP18C Instruction Manual

Clarke
Clarke CAS45 Installation and operation manual

Clarke
Clarke CAS110 User manual

Clarke
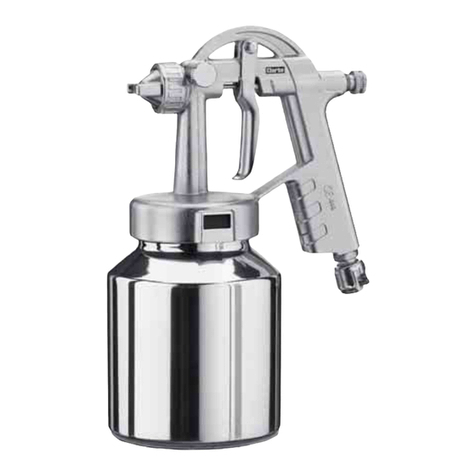
Clarke AP8GF Instruction Manual
Clarke
Clarke PS1 Installation and operation manual

Clarke
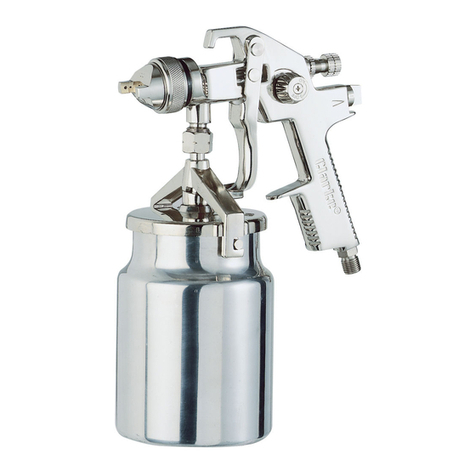
Clarke 8LS User manual
Clarke
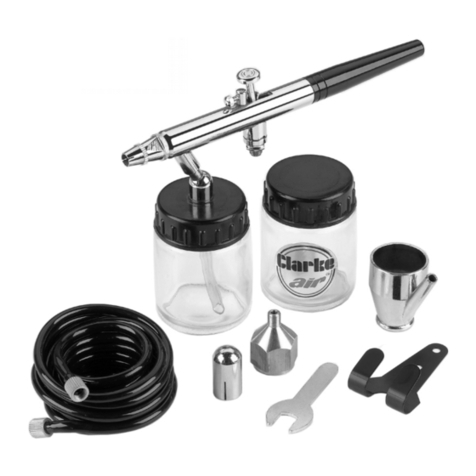
Clarke Air AP15 Instruction Manual
Clarke
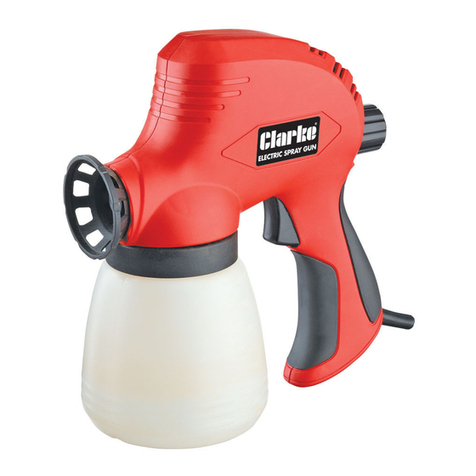
Clarke CAB3B Instruction Manual
Clarke
Clarke CAS110 Installation and operation manual
Clarke
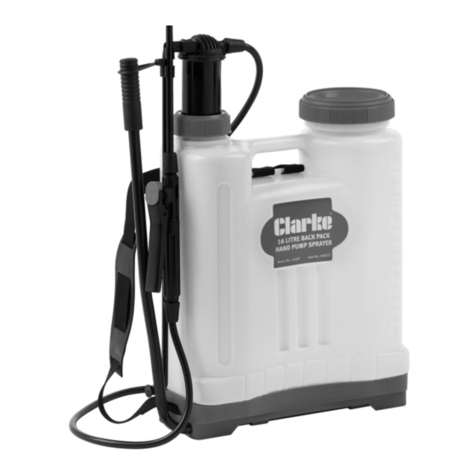
Clarke 16LBP User manual

Clarke
Clarke CHHSB1 Installation and operation manual

Clarke
Clarke APK900 Instruction Manual
Popular Paint Sprayer manuals by other brands

zogics
zogics Z-DAS instruction manual

KISANKRAFT
KISANKRAFT KK-KBS-165 Operation manual

Matrix
Matrix SG 650 Translation of the original instructions

Anest Iwata
Anest Iwata SGA-3 Installation, use & maintenance instruction manual

paasche
paasche VV Instructions and parts list

Carlisle
Carlisle DeVilbiss JGA-510 Service manual

