6
English
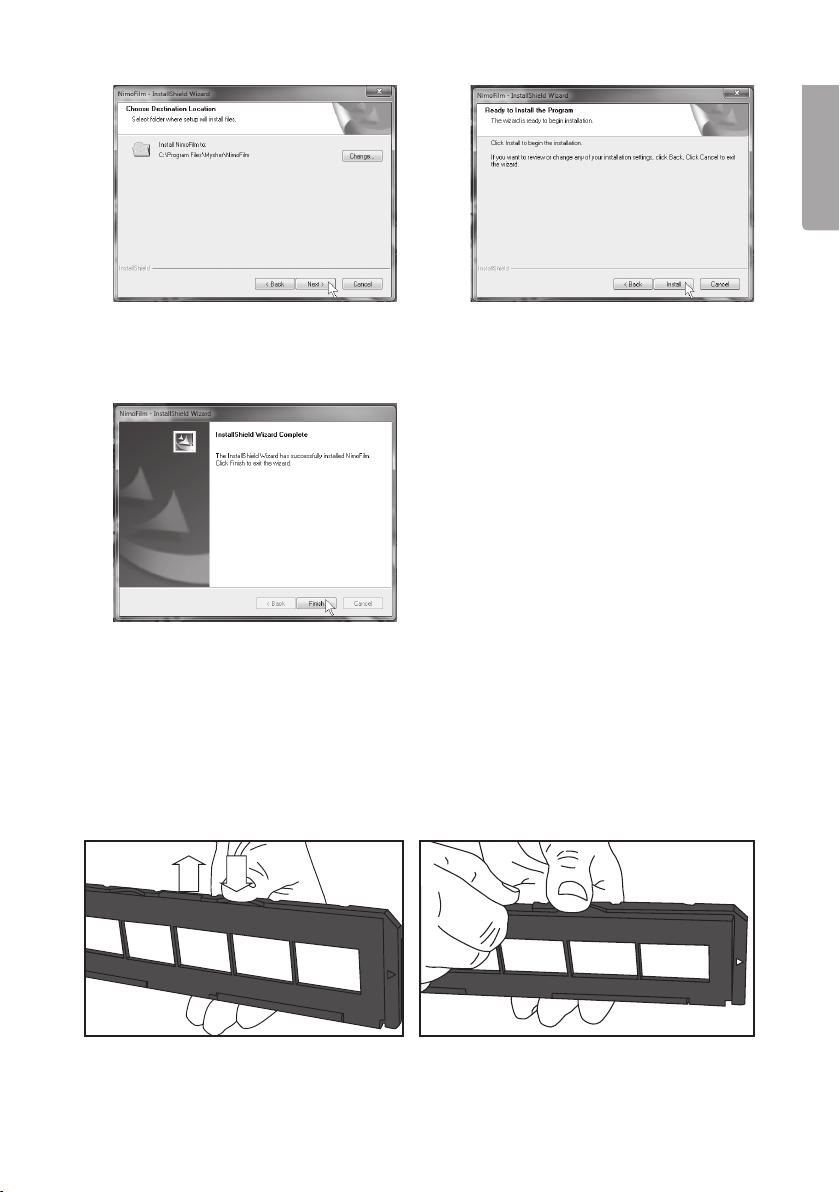
Openthefilm holder and attach thefilm strip as follows:
1. Holddown thefilm holder as shown in thepicture.
2. Pushopen thecatch on theopposite side towards the“OPEN” mark.
3. Openthefilm holder.
4. Holdthefilm strip up to thelight, you should be able to see thenegative
numbering theright way round (not amirror image). Note:Try to avoid getting
fingerprints on thenegative strip; if possible, use thin cotton gloves. Blowoff
dust and dirt using compressed air from aspray can designed for cleaning.
Othersuitable aids are also available, e.g. ablower brush.
5. Pressdown thenegative strip so
that theperforation fits theguides in
thefilm holder. Closethefilm holder
securely over thefilm. Makesure
you mount theimages theright
wayround.
Note: Sometimes not all images will fit into thefilm holder, and there will be ablack
border on one side. Thisis because thefilm was wound on manually at varying
intervals in thecamera, which means there may be errors in thescanner.
Scanning negative or positive film
1. Connect thenegative scanner to anavailable USB port on your computer.
2. Yourcomputer will recognise thescanner and install further drivers, then it will be
ready foruse.
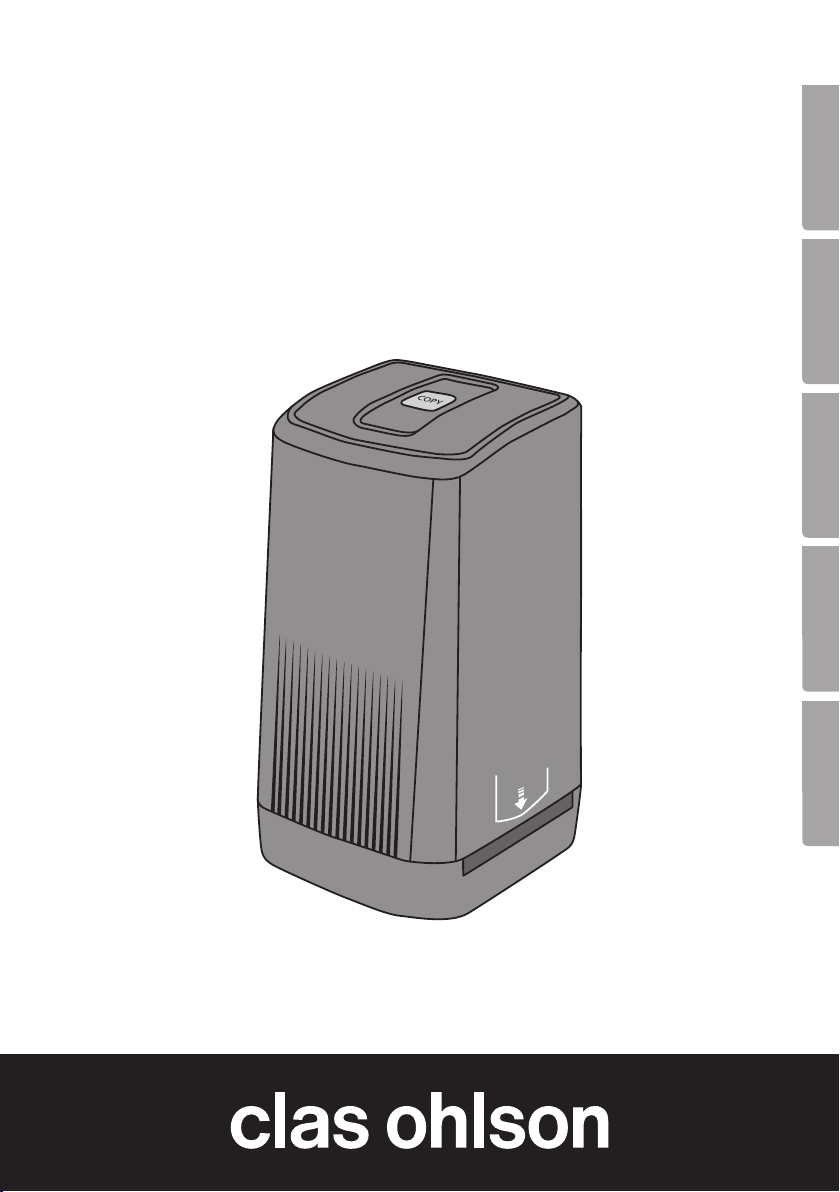
3. Doubleclick theNimoFilm icon that has been created on your desktop to start
thesoftware. Depending on your computer setting, you might need to confirm that
thesoftware is permitted to make changes to your computer by pressing Yes.
4. Guidetheslide holder into
thefeeder slot with thewhite
arrowfirst.
5. Clickon Capture in theupper left
of thescreen when theNIMOFILM
software has started.