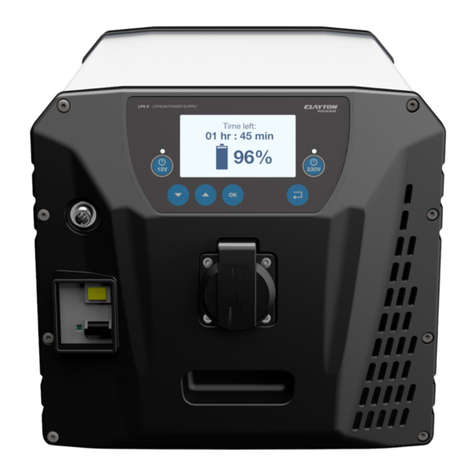
Clayton Power LPS II Series Operator's manual

Manual and safety instructions | English
The LPS II range

Safety instructions
In particular, observe these rules:
General precautions the driver should observe if these hazards occur:

Safety instructions
Introduction
Function list
Transport
Maintenance
Disposal5
Installation5
5
Safety5
Basic operation
Introduction
Function overview
6
Jumpstart
Protection setup

Mounting
Maintenance
periodically:
Service

Disposal
Installation
5
Safety

Menu
Status:
Functions:
Threshold
Energy saver: No load
Press "OK" to go to menu - Select "230VAC output" - Select "Energy Saver (No load)" and press
"OK".
6

Press "OK" to go to menu - Select "230VAC input" - Select "Maximum Current" and press "OK".
Status:
Functions:
Press "OK" to go to menu - Select "12VDC output" - Select "Shutdown Delay" and press "OK".
Status:
Functions:
Shutdown time delay: Time
Press "OK" to go to menu - Select "230VAC Output" - Select "Energy saver (Threshold)" and press
"OK".

Status:
Functions:
Press "OK" to go to menu - Select "DC Charging" - Select "Jumpstart" and press "OK".
Press "OK" to go to menu - Select "12VDC Output" - Select "Set Reference Voltage" and press "OK".
Set Current
Press "OK" to go to menu - Select "DC Output" - Select "Set Current" and press "OK".
Press "OK" to go to menu - Select "DC Charging" - Select "Jumpstart Functionality"
You can use the arrows in the Jumpstart Functionality window to choose whether the function

Set Operation
Press "OK" to go to menu - Select "Solar" - Select "Set Operation" and press "OK".
Press "OK" to go to menu - Select "Solar" - Select "Self-learning OC Voltage" and press "OK".
Press "OK" to go to menu - Select "Solar" - Select " Self-learning MPPT Voltage" and press "OK".
Menu: Solar
Status:
Functions:

Press "OK" to go to menu - Select "Solar" - Select "Self-learning Start Voltage" and press "OK".
Menu: General
Status:
Battery status:
Temperature:
Functions:
Display
Energy Meter

Error Codes
Press "OK" to go to menu - Select "General" - Select "Error Codes".
Display
Press "OK" to go to menu - Select "General" - Select "Display".

Press "OK" to go to menu - Select "General" - Select "Display" - Select "Backlight - Charge"
Press "OK" to go to menu - Select "General" - Select "Display" - Select " Display - Discharge"
Press "OK" to go to menu - Select "General" - Select "Display" - Select "Parameter Protection"
Contrast
Press "OK" to go to menu - Select "General" - Select "Display" - Select "Contrast"
Sound
Press "OK" to go to menu - Select "General" - Select "Sound"

Press "OK" to go to menu - Select "General" - Select "About".
The information is as follows:
Charging

Error code Description Solution
Error code Description Solution
5 Internal electronics are too cold to operate
6
Internal electronics are too hot to operate
Error code Description Solution
Error code Description Solution
Error codes

Error code Description Solution
55
56
Solar
Error code Description Solution
DC
Error code Description Solution
Jump start was interrupted

power source
Error code Description Solution

Error code Description Solution
Error code Description Solution
Transfer relay error
Transfer relay error

Warranty

Copyright
Front
Dept. Technical reference Created by Approved by
Document type Document status
Title DWG No.
Rev. Date of issue Sheet
06/05/2021
1/1
000418 SubAssembly
Mads Lauenborg
5 6
Dept. Technical reference Created by Approved by
Document type Document status
Title DWG No.
Rev. Date of issue Sheet
06/05/2021
1/1
000417 SubAssembly
Mads Lauenborg
Device overview

Other manuals for LPS II Series
2
This manual suits for next models
3
Table of contents
Other Clayton Power Power Supply manuals
Popular Power Supply manuals by other brands
elsner elektronik
elsner elektronik KNX PS640 Technical specifications and installation instructions
twintex
twintex TP Series Operation manual
StarTech.com
StarTech.com ATX12V2.2 instruction manual
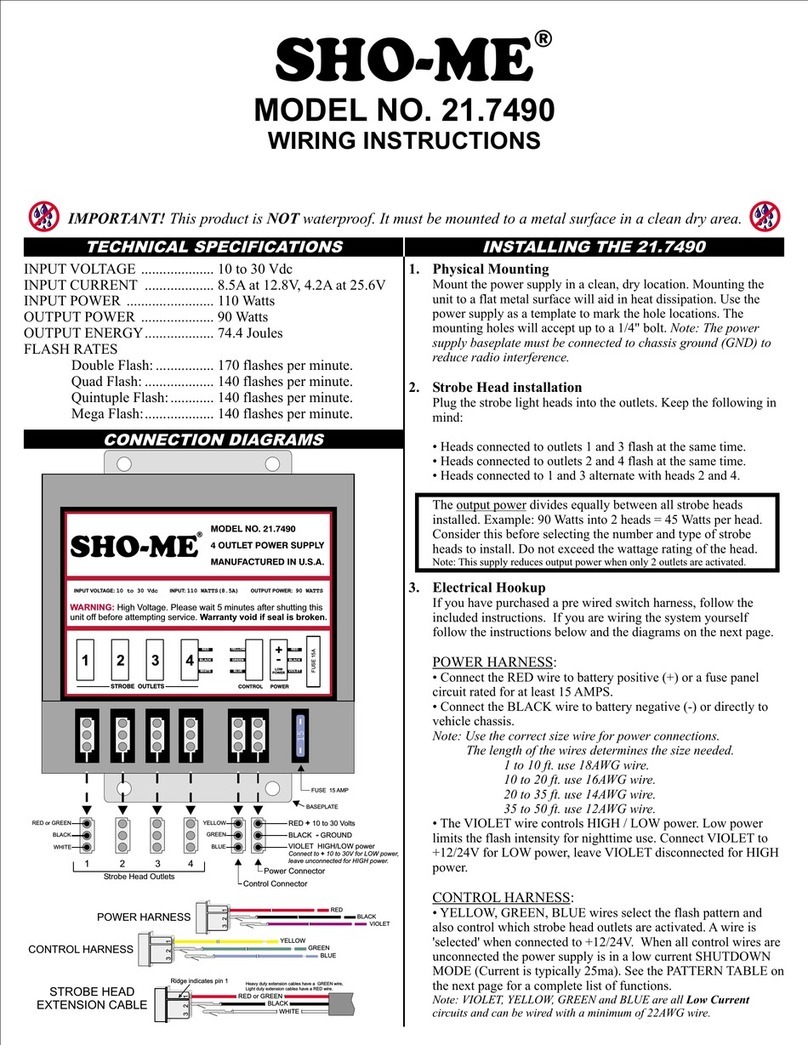
SHO-ME
SHO-ME 21.7490 Wiring instructions
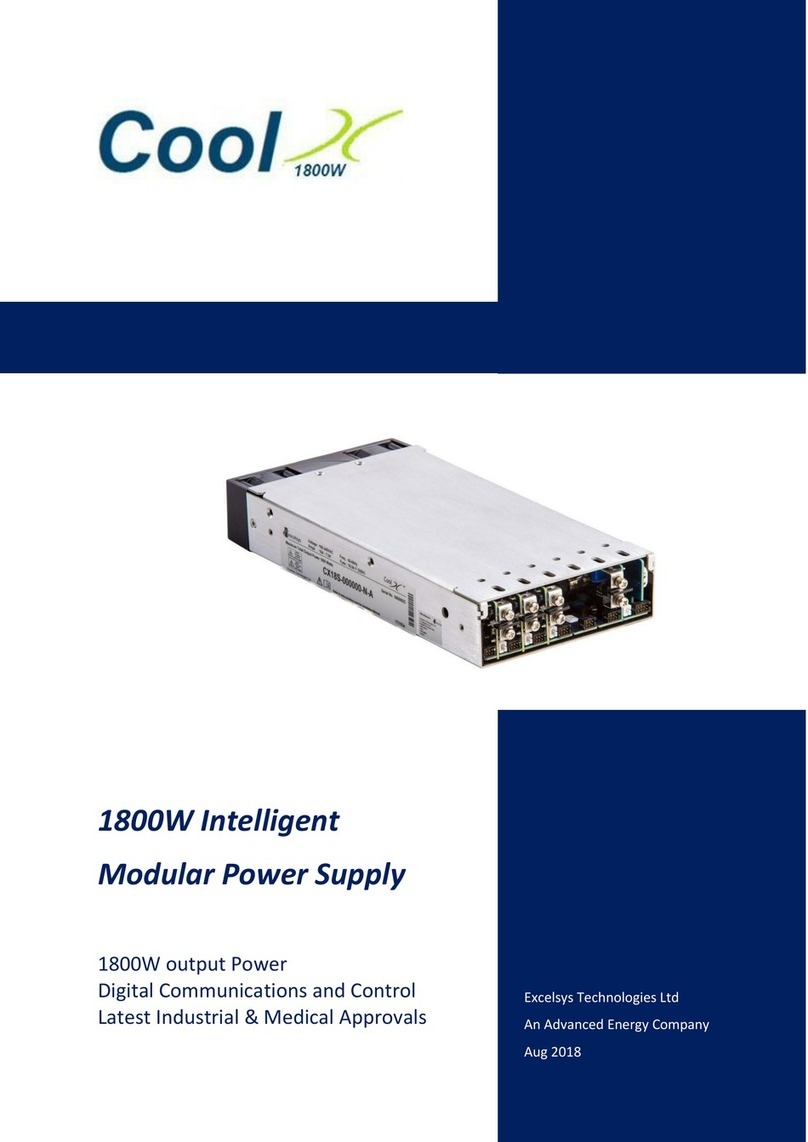
Excelsys
Excelsys CoolX1800 Designers Manual

Brunton
Brunton Solo 15 user guide

