Clean Logix BLX-MR2-CC User manual

USER
MANUAL
English (Original Instrucons)
Updated: 02/11/21
MODEL:
BLX-MR2-CC
MISTER 2 COMPLIANCE COUNTER
BLX-MR2-CC Manual Page 2 of 7 Updated: 02/11/21
USER MANUAL: BLX-MR2-CC
READ ALL INSTRUCTIONS BEFORE OPERATING EQUIPMENT
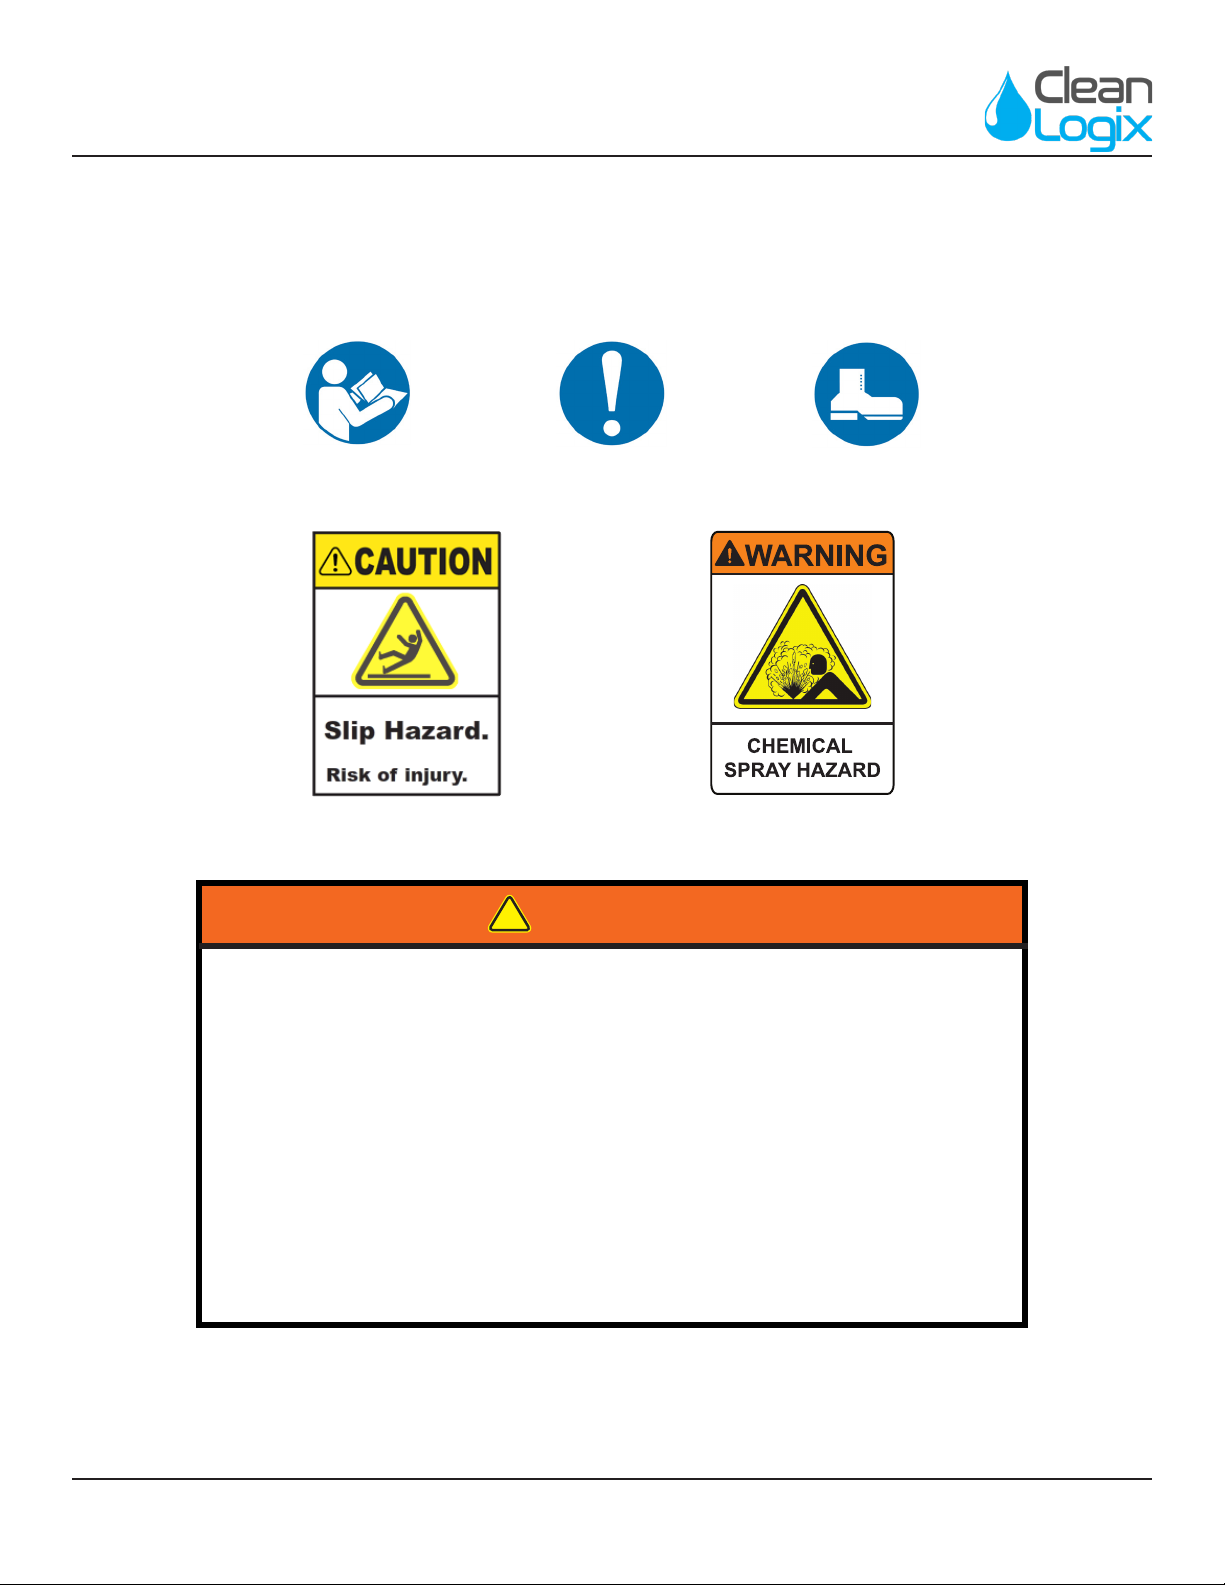
!
WARNING:
1. All personnel using this unit must be familiar with the informaon contained
in this manual. Follow all installaon and maintenance instrucons.
2. Ensure solid foong and use both hands when operang the unit.
3. Avoid contact of chemicals with skin and eyes. If contact occurs, see MSDS
sheet for further rst aid measures.
4. Follow safety instrucons of chemical manufacturer (MSDS).
5. Always follow plant and OSHA guidelines about the use of equipment.
6. Disconnect air before servicing equipment.
7. Always follow safety precauons and obey warning labels. Failure to do so
could result in injury or death.
BLX-MR2-CC Manual Page 3 of 7 Updated: 02/11/21
USER MANUAL: BLX-MR2-CC
READ ALL INSTRUCTIONS BEFORE OPERATING EQUIPMENT
The Compliance Counter add-on allows for automated
tracking and acvaon vericaon for the MR2
footwear sanizer system. The pneumac, 4-digit
counter records the number of successful acvaons
performed by the Mister 2. The system includes a
manual reset buon and window shield to protect
from spray/debris or tampering.
The accessory kit includes all components necessary
to integrate into any exisng unit.
Overview
▪ Construcon: 304 Stainless Steel, polycarbonate,
polypropylene
▪Weight: 2 lbs.
▪ Dimensions: 11.75" x 3.125" x 9.5"
298.45 x 79.375 x 241.3 mm
▪ Connecon Size: 1/4" OD tubing or similar
(5 . included with unit)
Specicaons
▪ Compressed Air: 30 PSI minimum*
▪ Liquid Temperature Range: 40-100°F (4-37°C)
▪ Chemical compability: Chemical products used
with this equipment must be formulated for this
type of applicaon and compable with unit
materials and seals.
Requirements
NOTE: For more informaon on chemical
compability consult the chemical
manufacturer, SDS for your product, or
contact our support department.
*NOTE: Minimum pressure output for
pneumac counter only. Consult User Manual
included with MR2 sanizing system for
system requirements.
Please contact your equipment representave
or manufacturer for further support.
iMore Informaon?
PROTECT THE ENVIRONMENT
Please dispose of packaging materials, old machine
components, and hazardous uids in an environmentally safe
way according to local waste disposal regulaons.
Always remember to recycle.
Specicaons and parts are subject to change without noce.

BLX-MR2-CC Manual Page 4 of 7 Updated: 02/11/21
USER MANUAL: BLX-MR2-CC
READ ALL INSTRUCTIONS BEFORE OPERATING EQUIPMENT
Installaon
CAN BE INSTALLED ON
EITHER SIDE OF UNIT

BLX-MR2-CC Manual Page 5 of 7 Updated: 02/11/21
USER MANUAL: BLX-MR2-CC
READ ALL INSTRUCTIONS BEFORE OPERATING EQUIPMENT
Bracket Installaon
1. Select a handrail/side of the unit to install the
bracket. Consider trac ow direcon and
accessibility.
2. Remove the handrail and install the compliance
counter bracket as shown in [Fig. 5.1]
3. Using a 1/2" socket/wrench, secure the bracket in
place using the (2) included nuts and bolts.
4. Reaach the handrail and secure.
Plumbing Installaon
1. If connected, remove air and soluons lines and
exhaust system of all compressed air.
2. Connect the included 1/4" bulkhead ng to the
open port on the side of the sanizing system
[Fig. 5.2]
3. Remove the plasc base plate and hinge open
each foot plate to expose the plumbing assembly.
4. Disconnect the plumbing assembly from the
soluon and airline bulk-heads and remove.
5. Flip the plumbing assembly over and locate the
1/4" airline leading from the valve to the single-
shot air output inlets.
Installaon (cont.)
Fig. 5.1: Installing Compliance Counter bracket
NOTE: The plumbing system will need to
be removed temporarily to integrate the
compliance counter.
Fig. 5.2: 1/4" bulkhead for Compliance Counter airline
NOTE: Compliance Counter can be mounted
on either side of the unit. It is recommended
to have the air regulator and soluon lter
installed on the opposing side for roung air
and soluon lines.
If necessary, the lter and air regulator can be
removed and installed on the opposing side.

BLX-MR2-CC Manual Page 6 of 7 Updated: 02/11/21
USER MANUAL: BLX-MR2-CC
READ ALL INSTRUCTIONS BEFORE OPERATING EQUIPMENT
Plumbing Installaon (cont.)
6. Cut the 1/4" airline before the tee ng, as
indicated in [Fig. 6.1] .
7. Using the 1/4" tee ng included with the
compliance counter, tee into the cut airline and
reconnect them.
8. Using the included 1/4" tubing, cut a new airline
long enough to connect from the tee to the 1/4"
bulkhead when the plumbing assembly is in place.
9. Replace plumbing assembly when complete
and reconnect all air and soluon lines to their
appropriate bulkheads.
10. Connect the remaining 1/4" from the Compliance
Counter to the exterior side of the bulkhead to
complete installaon.
11. Replace plasc base plate and reconnect air and
soluon supply to resume normal operaons (see
main user manual for priming instrucons).
Operaon and Use
1. Acvate MR2 to trigger the counter (up to 9,999
acvaons can be recorded before requiring reset)
2. Open the window cover to access reset buon to
restart counter.
Installaon (cont.)
Fig. 6.1: Airline cut locaon for tee
cut herecut here
NOTE: Ensure the new airline is long enough
to reach the bulkhead without kinking, but is
not excessively long where it interferes with
removing/replacing the catch pan.
NOTE: It is recommended to route the airline
around the handrail to prevent unintended
interacon (tripping, snags, etc.)
Fig. 6.2: Compliance Counter bulk-head connecon
BLX-MR2-CC Manual Page 7 of 7 Updated: 02/11/21
USER MANUAL: BLX-MR2-CC
READ ALL INSTRUCTIONS BEFORE OPERATING EQUIPMENT
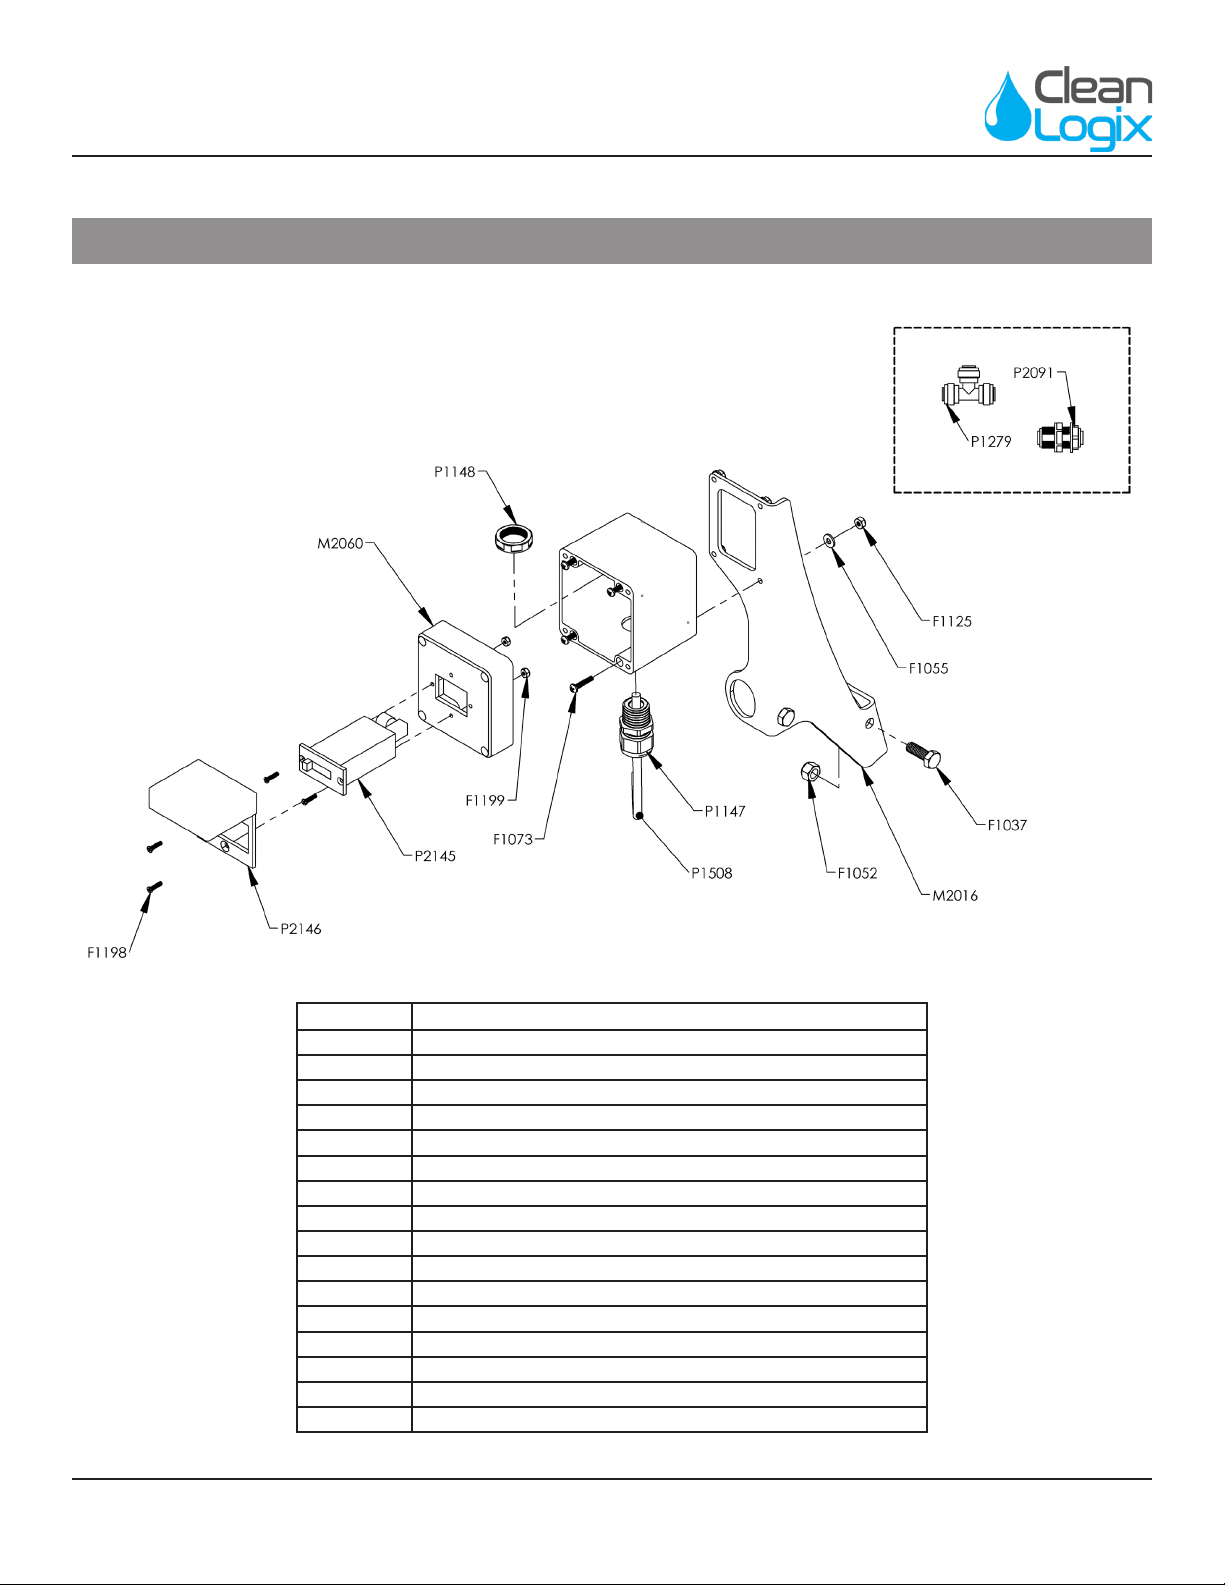
Appendix A - Parts Callout
Part No. Descripon
F1037 BOLT HHC 5/16-18 x 7/8 SS
F1052 NUT NYLOCK 5/16-18 SS
F1055 WASHER #8 SS TYPE A
F1073 SCREW MACHINE 6-32 x 3/4 SS PHILLIPS PAN HD
F1125 NUT NYLOCK 6-32 SS
F1198 SCREW MACHINE 4-40 X 1/2 FLAT HEAD PHILLIPS 316SS
F1199 NUT NYLOCK 4-40 ZN
M2016 BLX-MR2 COUNTER BRACKET
M2060 ENCLOSURE PC 8X8X10 - CUSTOM MACHINED
P1147 CORD GRIP 1/2 NPT X .170-.450 BLK
P1148 CORD GRIP NUT 1/2" NPT BLACK
P1279 QUICK FIT TEE 1/4"
P1508 1/4" OD POLYETHYLENE TUBING (sold by the foot)
P2091 QUICK FIT BULKHEAD 1/4"
P2145 TOTALIZER PNEUMATIC 4-DIGIT
P2146 TOTALIZER WINDOW COVER
Table of contents


