Operating Instructions: CLEAR-COM WBS/WTR Wireless Intercom System 9
©Clear-Com 1996 Rev. B
NOTES: The push-to-mute (PM) and push-to-talk (PTT) modes cannot be used together,
since no audio would ever be transmitted.
The push-to-mute and the push-to-talk modes do not lend themselves to locking switch
operation as provided by the 3-position rocker switch. An optional momentary-only push-
button switch is available as a replacement for the rocker in these special applications. Contact
the factory for details.
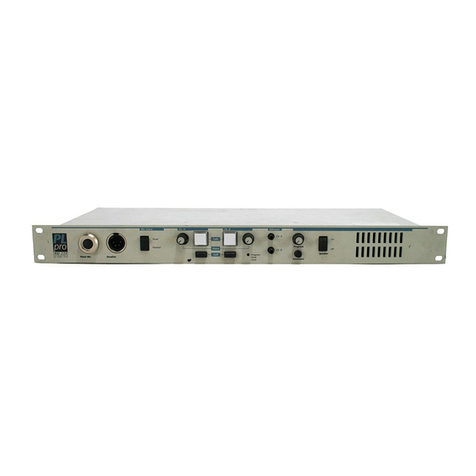
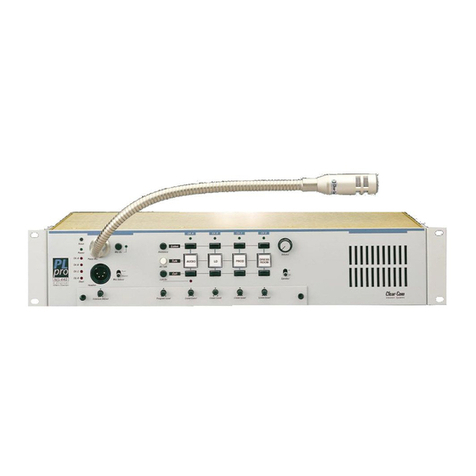
SETUP AND OPERATION OF WBS-600 BASE STATION
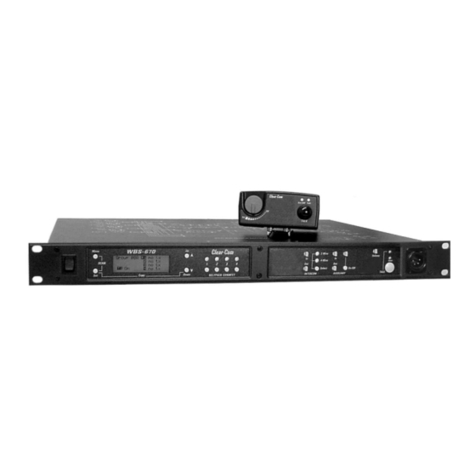
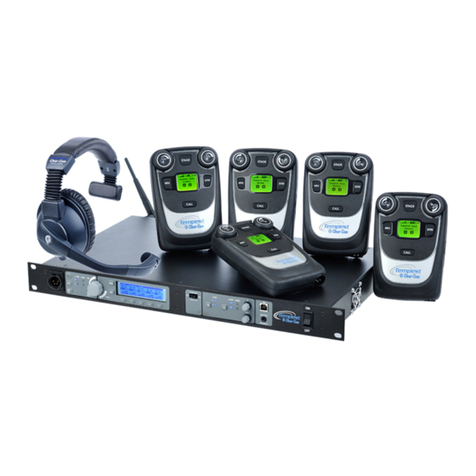
The base station is equipped with removable rack-mount ears, so it can be set up as a desktop
unit or in a rack. If you choose rack-mounting, install the accessory ears onto the chassis.
For rack-mount installations, external antennas (WDA-1) are recommended. For desktop use,
the supplied whip antennas are satisfactory, though the level of performance will be lower. For
best range and performance, we recommend using separate dipole antennas (Clear-Com model
WDA-1) for the base station's transmit and receive sections. Orient the antennas vertically and
set them up as far apart as possible in an uncluttered place. Use Velcro or tie wraps to mount
the antennas and avoid mounting them with or near anything metal.
After the system is up and running, you can fine-tune the antenna placement. If you need to
extend the antennas farther than the cable permits, contact your Clear-Con dealer for
recommended cable extensions.
After you mount the base station and connect the antennas, plug in the AC power cord and the
Clear-Com intercom cable(s).
If you do not plan to use the link, disable the circuits with the link on/off switch. If the link is to
be used, connect the base station to the external audio equipment (console, etc.) or to a second
(slave) base station with standard, 2-conductor shielded mic cable.
Select the transmitter mode with the rear panel TRANSMIT switch. The ON (continuous)
mode is used normally but use the PTT mode if the base station will be left powered when the
system is not in use. This mode automatically shuts down the WBS-600 transmitter when no
beltpacks are transmitting back to it.
Power up the base station and all beltpacks. Enable the active beltpacks via the ENABLE
pushbuttons on the WBS-600 front panel; disable unused channels to avoid possible
interference. Also, enable the wired intercom if one is connected. At this point the front panel
LEDs for all selected beltpacks, the power LED, TX LED and I/C LED should all be
illuminated.
Plug a headset into the base station front panel and select the LOCAL HEADSET mode (push
button in). This allows 2-way communications with the beltpacks and the wired intercom during
setup.
If necessary, adjust the audio levels from each beltpack with the RECEIVE LEVEL controls
on the WBS-600, while each user talks. Normal position for those controls is mid position (12
o'clock). Each control allows 12dB gain adjustment; bring audio levels up or down (+ or -6dB)
as necessary.
If necessary (to locate a noise problem), select the MON function (LOCAL HEADSET switch
out) to individually monitor the I/C, link and wireless beltpacks. Also, use this mode to


