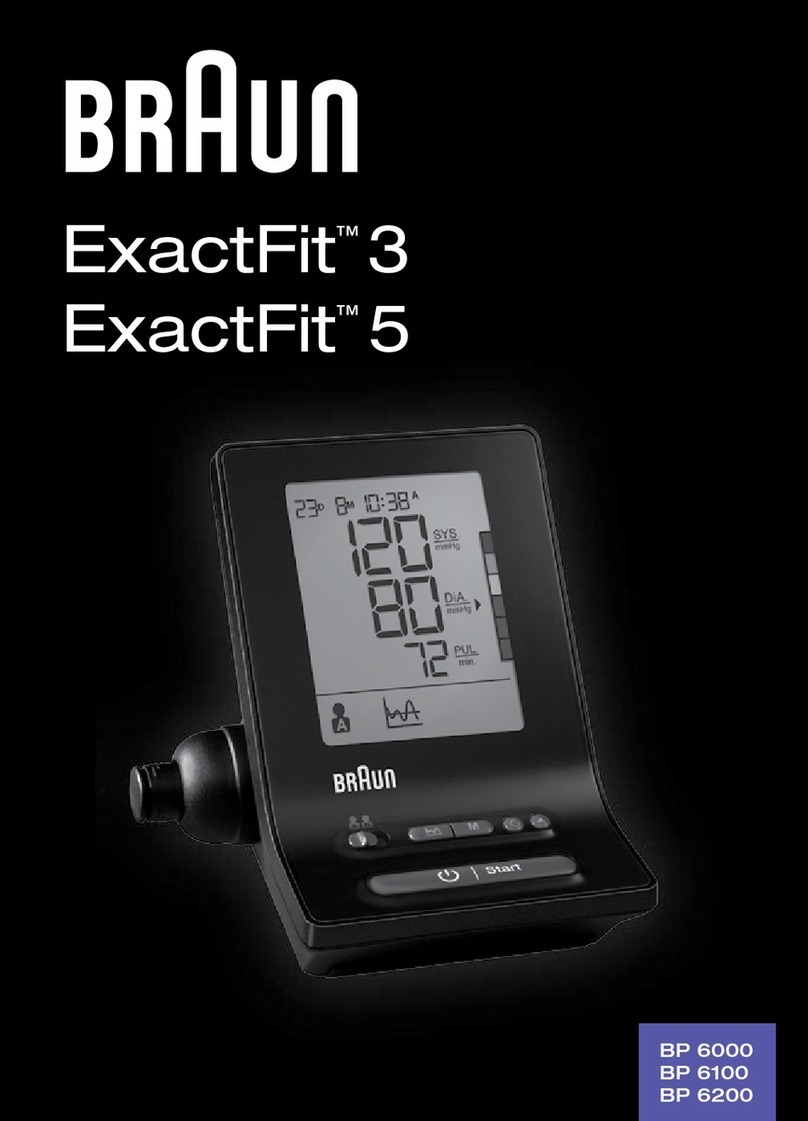
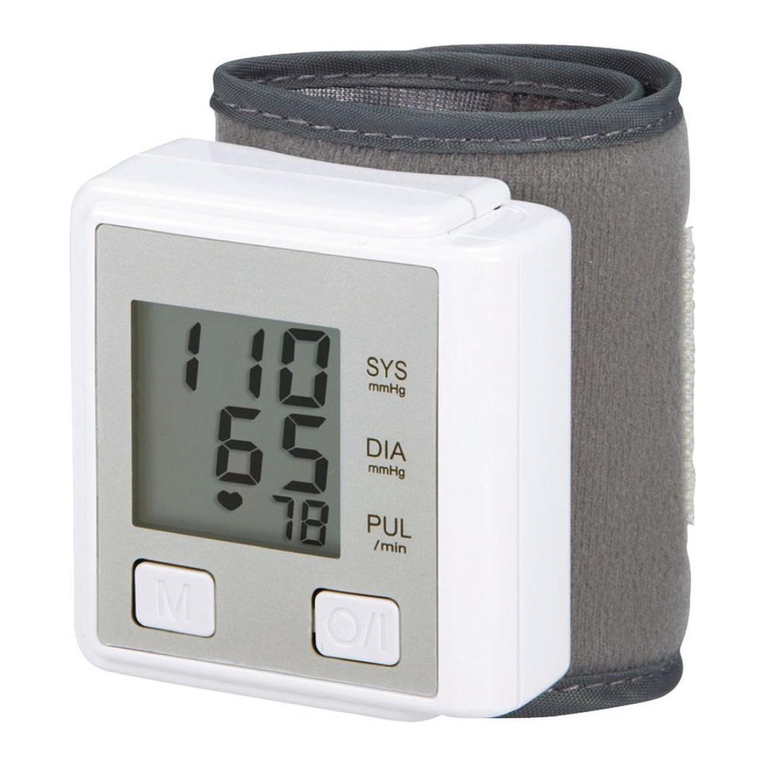
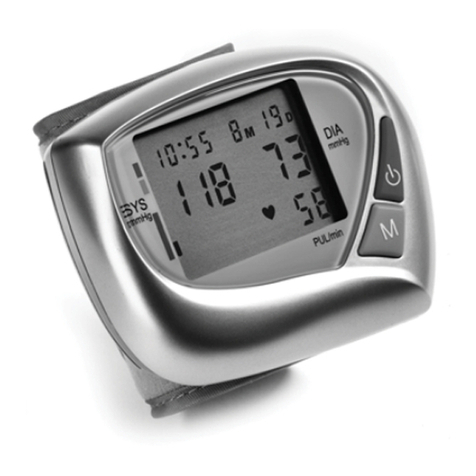
Clever Choice TD-3018 User manual

Digital Wrist Blood Pressure Monitor
OWNER'S
MANUAL
311-3018100-017
Version 3.0, DEC, 2009

2
TABLE OF CONTENTS
BEFORE YOU START
Warnings and Precautions 03
Intended Use 04
Health Information 05
ABOUT THIS SYSTEM
Content of the System 06
Device Description 07
PREPARATIONS BEFORE USE
Low Power Warning 08
Batteries Installation and Replacement 09
Setting the Monitor 10
MEASURE BLOOD PRESSURE
Suggestions before Measuring 13
Applying the Wrist Cuff 14
Testing Your Blood Pressure 15
USE MEMORY
Viewing Results on the Monitor 17
Viewing Results on a Personal Computer 18
Erasing Memories 20
MAINTAINANCE 21
ERROR MESSAGE 23
TROUBLESHOOTING 24
SPECIFICATIONS 25
WARRANTY INFORMATION 26

3
BEFORE YOU START
Warnings and Precautions
Do NOT use the device to diagnose
newborns and on infants or persons
who cannot communicate, for it might
lead to serious accidents.
This device does not serve as a cure
of any symptoms or disease. The
data measured are only for refer-
ence. Always consult your physician
to have the results interpreted.
Do not use the device for purposes
other than measuring blood pres-
sure.
Disassembly or modication the unit
or wrist cuff may lead to permanent
reading error.
This device is not able to measure in
the presence of common arrhythmia,
such as arterial or ventricular pre-
mature beats or arterial brillation. It
may produce reading error.

4
BEFORE YOU START
Intended Use
Thank you for purchasing this CLEVER CHOICE Wrist Blood
Pressure Monitor (BPM). CLEVER CHOICE measures blood
pressure non-invasively based on the Oscillometric method.
This device is designed for individuals age 16 and above,
for home use only. Please read these instructions carefully
before measuring.
This owner’s manual contains important information that you
must know about your system. Please read it carefully. For
other questions regarding this monitor, please contact the
dealer for service.
A warranty registration card is included with your system.
Please complete it and mail it to us; if you prefer to ll it out
online, please visit http://www.SimpleDiagnostics.com
Features
One touch. Accurate result in 20 seconds.
Comfortable automatic ination and deation.
Memories for readings up to 352 sets, with time/date and
automatically calculated average.
Automatic turn-off after idle 3 minutes.

5
BEFORE YOU START
Health Information
Knowing your blood pressure trend tells whether your body
is in good condition or not. Human blood pressure naturally
increases after reaching middle age. This symptom is a re-
sult of continuous aging of the blood vessel. Further causes
include obesity, lack of exercise, and cholesterol (LDL) ad-
hering to the blood vessels. Rising of blood pressure acceler-
ates hardening of the arteries, and the body becomes more
susceptible to apoplexy and coronary infarction. The WHO
(world health organization) published the guideline of blood
pressure range:
Optimal
Normal
High – Normal
Grade 1 Hypertension ("mild")
Grade 2 Hypertension ("moderate")
Grade 3 Hypertension ("severe")
180
160
140
130
120
80 85 90 100 1 1 0(mmHg)
(mmHg)
systolic
diastolic

6
ABOUT THIS SYSTEM
Content of the System
uMonitor
vWrist Cuff (connected to the moni-
tor)
wStorage Case
xOwner’s Manual
yTwo 1.5V AAA batteries
Please check your system to be sure you have everything
above. If not, please return your system to the place of pur-
chase.

7
ABOUT THIS SYSTEM
Device Description

8
PREPARATIONS BEFORE USE
Your monitor comes with batteries already installed. When
replacing, use ONLY 1.5V AAA size alkaline batteries. Please
use alkaline batteries for best performance and longest life.
Low Power Warning
The monitor will remind you when the power is getting low by
displaying two different messages:
uBattery Symbol appears with
your test result. (Fig. 1) This means
it is about time to change the batter-
ies although still 30 more measure-
ments can be made.
vBattery Symbol ashes by it-
self. (Fig. 2) This means you must
change the batteries before making
any measurements.
(Fig 1)
(Fig 2)

9
PREPARATIONS BEFORE USE
Batteries Installation and Replacement
To replace the batteries, please make sure the monitor is
turned off.
Step1- Please make sure the monitor is
turned off. Press the edge of the
battery cover and push upward.
(Fig. 3)
Note:
Replacing the batteries does not affect
previous test results stored in the moni-
tor. But you may need to update the set-
tings.
Step2- Remove battery cover. (Fig. 4) And
remove the batteries inside.
Note:
Do not use different type, date or brand
name batteries together. Use only new
batteries of the required size and type.
Step3- Insert two 1.5V AAA size alkaline
batteries. Make sure the + (posi-
tive) and – (negative) marks match
those indicated in the battery com-
partment. (Fig. 5) If inserted cor-
rectly, you will hear a “beep”.
(Fig 4)
(Fig 5)
(Fig 3)

10
PREPARATIONS BEFORE USE
Your monitor comes with the time, date, and unit preset.
These options may be changed any time to t your needs.
They also need to be set again when you change the bat-
teries.
How to set the monitor?
Setting the monitor
Step 1- Enter the Setting Mode.
uStart with the monitor turned off.
vRemove the battery cover as
shown in previous page.
wPress the “SET” button located in
the battery compartment.(Fig. 6)
You are now in the setting mode.
Step 2- Select and make changes.
Press the “ Set ” button to select what
you would like to change. The se-
lected one will be ashing. Press the
“ M ” button to make change.
Step 3- Save the Changes
Press the “ Set ” button to save the
changes you made and move on to
next step.
(Fig 6)

11
PREPARATIONS BEFORE USE
See the date setting for example:
Set the Year
uThe year will appear rst, with the
number ashing. (Fig. 7)
vPress and release the “ M ” button to
advance one year.
Note:
To move the number faster, hold the
“ M ” button down.
wPress the “ Set ” button and the year
will be set. At the same time, the date
will appear on the display with the
month segment ashing. (Fig. 8)
Please set the month, day, hour, minute,
and unit (in mmHg or KPa) in the same
way.
After choosing the unit of measurement,
press the “ Set ” button to save the set-
tings and turn off the monitor. (Fig. 9)
(Fig 7)
(Fig 8)
(Fig 9)

12
Note:
The mmHg is the standard unit in the United States. The
KPa is the International Unit (IU). Use of the wrong unit of
measure may cause you to misinterpret your blood pressure
level, and may lead to incorrect treatment.

13
MEASURE BLOOD PRESSURE
Suggestions before Measuring
Avoid caffeine, tea, alcohol, and cigarette at least 30 min-
utes before measurement.
Wait 30 minutes after exercising or bathing before mea-
surement.
Sit or lie down for at least 10 minutes before measuring.
Do not measure when feeling anxious or tense.
Please take a 5-10 minute break between measurements.
Waiting allows the engorged blood vessels to return to nor-
mal status. This break can be longer if necessary, depend-
ing on your physical conditions
Keep the records for your physician as reference.

14
MEASURE BLOOD PRESSURE
Applying the Wrist Cuff
Step 1- Hold your left arm in front of you
with your palm facing up. Slide the
cuff onto your wrist. Make sure the
monitor is on the inside of your
wrist with the display in easy view.
(Fig. 10)
Step 2- Wrap the cuff comfortably around
your wrist. The top and bottom
edges of the cuff should be tight-
ened evenly around your wrist.
Note:
The top margin of the monitor should be
about 1/4 to 1/2 inch (0.6 cm to 1.3 cm)
below the ball of thumb. (Fig. 11)
Step 3- When the cuff is positioned cor-
rectly, fold the loose end back and
secure it in place by pressing the
pile material rmly against the hook
material. (Fig. 12)
Note:
Blood pressure varies from two hands naturally. Always mea-
sure your blood pressure on the same wrist.
(Fig 10)
(Fig 11)
(Fig 12)

15
MEASURE BLOOD PRESSURE
Testing Your Blood Pressure
Step 1- Sit or lie down for at least 10 minutes before measur-
ing. Do measurement while sitting:
Step 2- Apply the wrist cuff accord-
ing to page 13.
Step 3- Press the “ ” button and
place your arm in front
of your chest. Relax and
make sure the device is at
the same height as your
heart. Holding your left
elbow with your right hand
helps you hold still during
measurement. Remain still
and do not talk or move
during the measurement.
(Fig 13)
Step 4- After power on, the cuff
automatically inates
and ination symbol “ “
appears. You will see the
number increasing on the
display. (Fig14)
(Fig 13)
(Fig 14)

16
After the cuff pressure is
reached, the cuff begins to
deate. As the cuff deates,
deation symbol “ “ appears
on the display. You will also
see the number decreasing
and Pulse Symbol “ “ ash-
es on the display when pulse
is detected. (Fig 15)
Step5- After completely deation,
the monitor displays the
systolic pressure, diastolic
pressure, and heart rate.
(Fig. 16) Press the “ ” but-
ton to switch off or leave it
for 3 minutes for auto-shut
down.
Note:
It is extremely important that the cuff is at the same level
of the heart. If the wrist is relatively lower (higher) than the
heart, the blood pressure measured will be higher (lower)
than the actual value.
If a higher pressure value is needed, the monitor will stop
deation and inate again.
If you press the “ ” button during the measurement, the
monitor will turn off.
(Fig 16)
(Fig 15 )

17
USE MEMORY
Your monitor stores the most recent 352 sets of readings.
You can review them in the monitor itself or in your personal
computer.
Viewing Results on the Monitor
Step1- When the monitor is off, press the
M Button. You will see the aver-
age of all data stored (Fig. 17),
including systolic and diastolic
blood pressure, and pulse.
Step2- Press the M Button again. “1” ap-
pears rst, followed by the latest
reading. (Fig. 18)
Press the M Button again to view the
other results in the order of time and
date taken. After viewing the oldest test
result, push down the M Button again to
resume to the latest test result. When
the memory is full, the oldest results are
deleted as new ones are added.
Step 3. To exit the memory anytime,
press the “ ” button to turn off
the monitor. (Fig. 18)
(Fig 17)
(Fig 18)

18
USE MEMORY
Viewing Results on a Personal Computer
Transferring test results to your personal computer for home
viewing requires CLEVER CHOICE Health Care System
Software and an Interface Cable. The software can be down-
loaded from the home page of Simple Diagnostics. The in-
terface cable is an optional accessory. Please contact your
local customer service for purchasing.
To download data
uInstall CLEVER CHOICE Health Care System Software
on your computer by following the instructions provided
on Simple Diagnostics’s website:
www.SimpleDiagnostics.com

19
Note:
While in the communication mode, you are not able to per-
form a blood pressure test.
vConnect the Interface Cable to a serial port on the back
of your computer. With the monitor turned off, connect the
Interface Cable to the data port located on the bottom of
the monitor.
wPress the “ ” button and then “PCL” will appear on LCD,
indicating that the monitor is in the communication mode.
xFollow the instructions provided in the software to trans-
mit data. Results transmitted will include date and time.
Remove the cable and the monitor with automatically turn
off.

20
USE MEMORY
Erasing Memories
Note:
Be sure to turn off the unit before erasing all readings.
Step 1-“ Press and hold the M button
until and “CLr ALL” appear on
the LCD display.(Fig. 19)”
Step 2- Release the M button and the
Monitor will automatically turn
off. All the memories are erased.
(Fig. 20)
Note:
When there are no test results in mem-
ory, you will only see the date, time, and
the “ “ symbol. (Fig. 21)
(Fig 19)
(Fig 20)
(Fig 21)
Table of contents
Other Clever Choice Blood Pressure Monitor manuals

