manuals.online logo
Brands
  1. Home
  2. •
  3. Brands
  4. •
  5. Closet Maid
  6. •
  7. Indoor Furnishing
  8. •
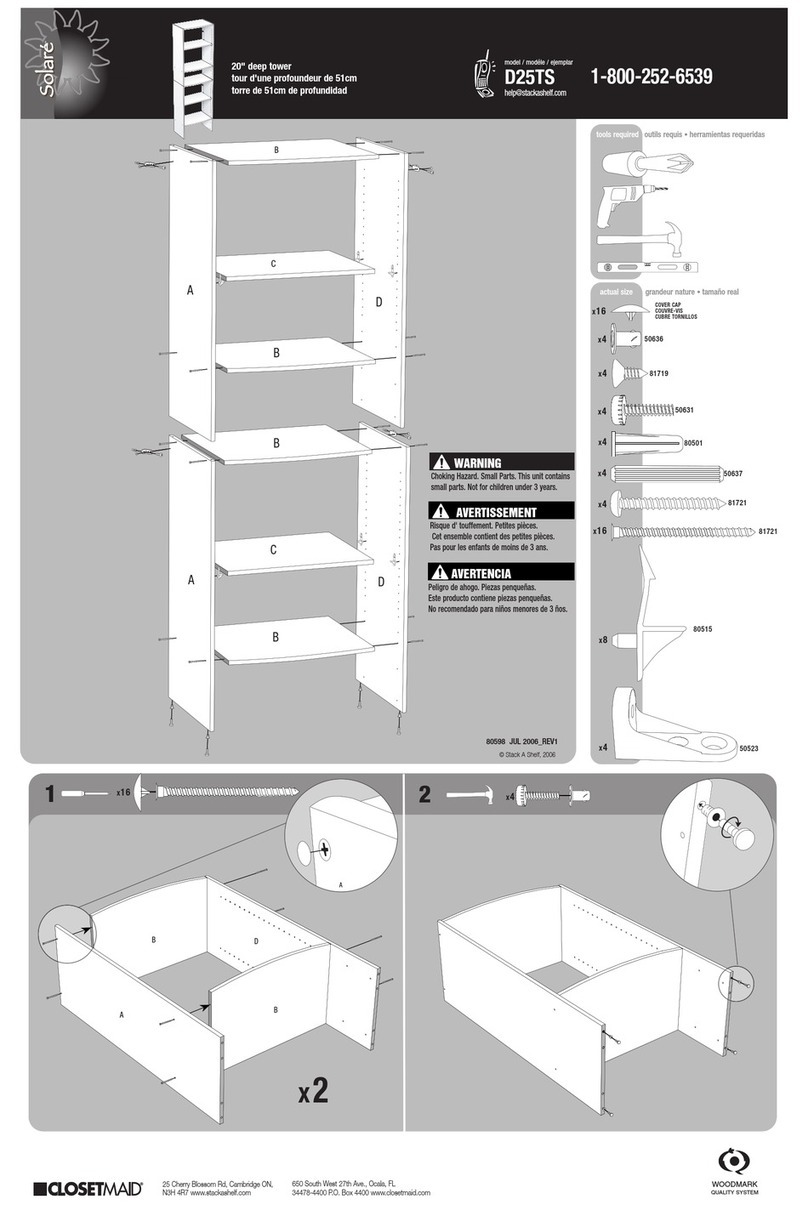
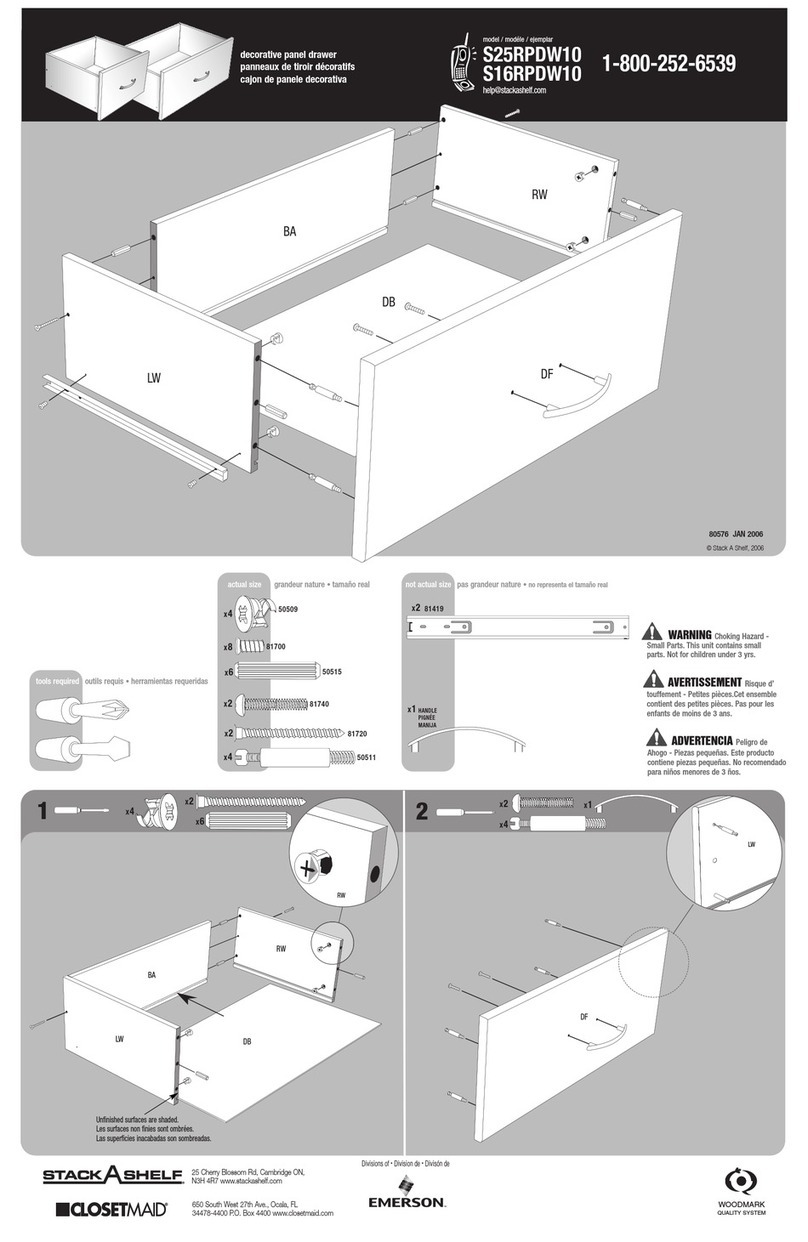
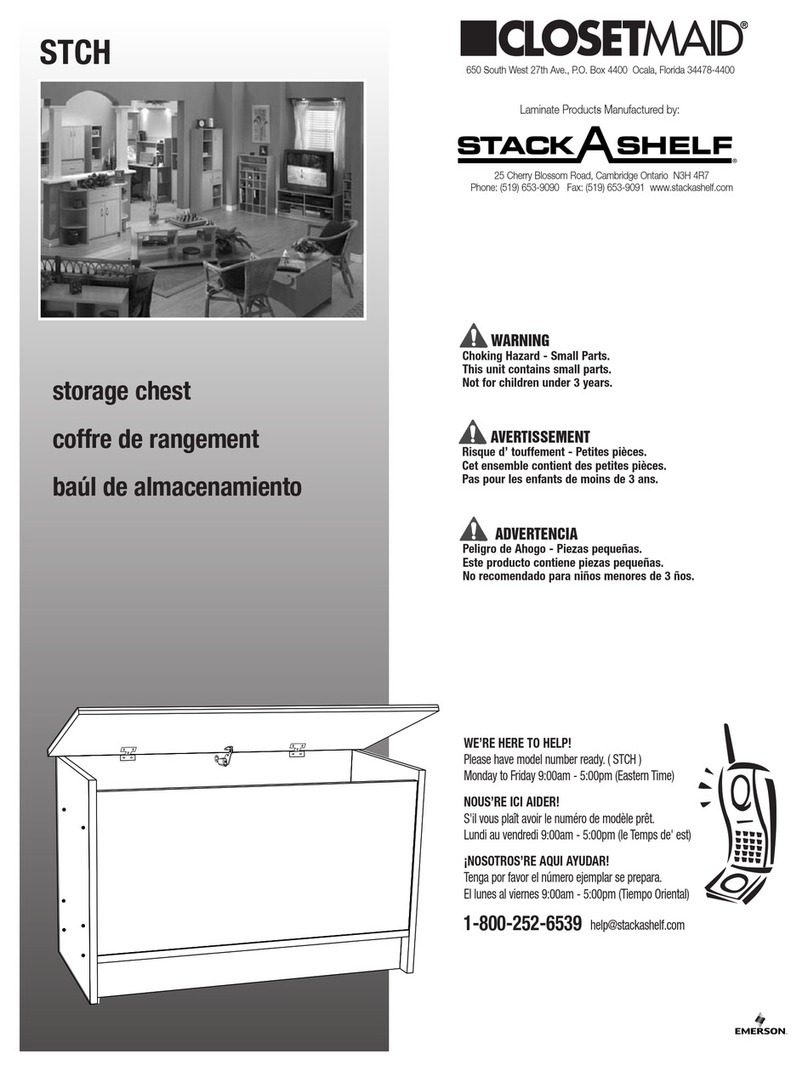
  9. Closet Maid ClosetMaid STCH User manual

Closet Maid ClosetMaid STCH User manual

WE’RE HERE TO HELP!
Please have model number ready. ( STCH )
Monday to Friday 9:00am - 5:00pm (Eastern Time)
NOUS’RE ICI AIDER!
S'il vous plaît avoir le numéro de modèle prêt.
Lundi au vendredi 9:00am - 5:00pm (le Temps de' est)
¡NOSOTROS’RE AQUI AYUDAR!
Tenga por favor el número ejemplar se prepara.
El lunes al viernes 9:00am - 5:00pm (Tiempo Oriental)
1-800-252-6539
[email protected]
25 Cherry Blossom Road, Cambridge Ontario N3H 4R7
Phone: (519) 653-9090 Fax: (519) 653-9091 www.stackashelf.com
650 South West 27th Ave., P.O. Box 4400 Ocala, Florida 34478-4400
WARNING
Choking Hazard - Small Parts.
This unit contains small parts.
Not for children under 3 years.
ADVERTENCIA
Peligro de Ahogo - Piezas pequeñas.
Este producto contiene piezas pequeñas.
No recomendado para niños menores de 3 ños.
AVERTISSEMENT
Risque d’ touffement - Petites pièces.
Cet ensemble contient des petites pièces.
Pas pour les enfants de moins de 3 ans.
STCH
Laminate Products Manufactured by:
storage chest
coffre de rangement
baúl de almacenamiento
1 - Hammer four (4) Furniture Glides (N) to bottom edge of Sides (B).
(approximately
1
⁄
2
" from each edge).
Step 1
1 - À l'aide d'un marteau, installez les quatre (4) patins (N) au bord inférieur des montants (B).
(à environ
1
⁄
2
po de chaque rebord).
Étape 1
1 - Con el martillo instalar los cuatro (4) patines (N) en la parte inferior del montante (B).
(aproximadamente a
1
⁄
2
" de cada borde).
Paso 1
A. top (1)
B. side (2)
C. front (1)
D. back (1)
E. bottom (1)
F. kick (2)
G. assembly screw (12)
H. cover cap (12)
I. hinge (2)
J. hinge screw (12)
K. flap stay (1)
L. bumper (2)
M. large dowel (8)
N. furniture glide (4)
Pièces et quincaillerie
A. dessus (1)
B. montant (2)
C. panneau avant (1)
D. panneau arrière (1)
E. fond (1)
F. garde-pieds (2)
G. vis de montage (12)
H. couvre-vis (12)
I. charnière (2)
J. vis de charnière (12)
K. compas d'abattant (1)
L. amortisseur en
caoutchouc (2)
M. grosse cheville en
bois (8)
N. patin (4)
Piezas y Ferretería
A. tapa (1)
B. montante (2)
C. panel delantero (1)
D. panel trasero (1)
E. panel inferior (1)
F. listón inferior (2)
G. tornillo de montaje (12)
H. cubretornillos (12)
I. bisagra (2)
J. tornillo de bisagra (12)
K. compás para hoja
oscilo-batiente (1)
L. tope de goma (2)
M. pasador grande de
madera (8)
N. patin (4)
Parts and Hardware
B
A
C
D
E
F
G
H
J
I
K
M
N
L
Assembly Tools Required
Outils nécessaires
Herramientas Necesarias
(N)
B
B
bottom edge
rebord inférieur
borde inferior
NOTE: Both sides are identical.
REMARQUE: Les deux côtés sont identiques.
NOTA: Ambos lados son idénticos.
unfinished edge
bord inachevé
borde no acabado
1 - Attach Bottom (E) to Side (B) with Assembly Screws (G).
Step 2
1 - Fixez le fond (E) au montant (B) avec les vis de montage (G).
Étape 2
1 - Instale el panel inferior (E) en el montante (B) con los tornillos de montaje (G).
Paso 2
1 - Push Dowels (M) into ends of both Kicks (F). Insert kicks into Side (B).
Step 4
1 - Mettez des chevilles (M) dans l'extrémité dans les deux garde-pieds (F).Puis fixez les
garde-pieds au montant (B).
Étape 4
1 - Inserte los pasadores (M) en el extremo de ambos listones inferiores (F).Luego inserte
el listón inferior en el montante (B).
Paso 4
1 - Attach Front (C) and Back (D) to Side (B) with Assembly Screws (G).
Step 3
1 - Fixez le devant (C) et l'arrière (D) au montant (B) avec les vis de montage (G).
Étape 3
1 - Instale el panel delantero (C) y el panel trasero (D) en el montante (B) con los tornillos
de montaje (G).
Paso 3
B
E
unfinished edge
bord inachevé
borde no acabado
unfinished surface
surface non finie
superficie no acabada
C
D
B
F
F
(G)
(G)
(M)
finished edge
reborde finis
bordes acabados
1 - Attach Hinges (I) to underside of Top (A) with hinge screws (J). Attach Flap Stay (K) to
Top with screws (J).
Step 6
1 - Fixez les charnières (I) au dessous du dessus (A) avec les vis à charnière (J).Fixez le
compas d'abattant (K) au dessus avec les vis (J).
Étape 6
1 - Instale las bisagras (I) en el lado inferior de la tapa (A) con los tornillos (J).Instale el
compás para hoja oscilo-batiente (K) en la tapa con los tornillos (J).
Paso 6
1 - First Attach Hinges (I) to Back (D) with hinge screws (J). Attach Flap Stay (K)
to Back (D) with screws (J). To ensure the lid is square, make sure screws
are centred in the hinge holes.
2 - Add Bumpers (L) to both sides as shown.
Step 7
1 - Fixez les charnières (I) au panneau arrière (D) avec les vis (J). Fixez le compas d'abattant
(K) au panneau arrière avec les vis (J).Pour vous assurer que le dessus est bien à l'équerre,
les vis doivent être bien centrées dans les trous des charnières.
2 - Installez un butoir (L) sur chaque côté comme il est illustre.
Étape 7
1 - Instale las bisagras (I) en el panel trasero (D) con los tornillos de bisagra (J).Instale el
compás para hoja oscilo-batiente (K ) en el panel trasero con los tornillos (J).Para asegurar
de que la tapa quede a escuadra, los tornillos deben estar centrados en los agujeros de las
bisagras.
2 - Agregue los topes (L) en ambos lados como se muestra.
Paso 7
A
E
D
A
1 - Align dowels in Kicks with dowel holes in Side (B) and push together. Attach Side (B) to
Bottom (E) Front (C) and Back (D) with Assembly Screws (G).
2 - Cover all exposed screw heads with Cover Caps (H).
Step 5
1 - Alignez les chevilles des garde-pieds avec les trous à cheville du montant gauche (B) et
poussez ce montant contre l'ensemble. Fixez le montant (B) au fond (E),au panneau avant
(C),au panneau arrière (D) avec les vis de montage (G).
2 - Recouvrez les têtes de vis exposées avec des couvre-vis (H).
Étape 5
1 - Alinee los pasadores de los listones inferiores con los agujeros de los pasadores de montante
izquierdo (B) y empuje para unirlos. Instale el montante (B) al panel inferior (E),al panel
delantero (C) y al panel trasero (D) con los tornillos del montaje (G).
2 - Cubra las cabezas expuestas de los tornillos con los cubretornillos (H).
Paso 5
unfinished edge
bord inachevé
borde no acabado
B
D
E
C
(H)
(I) (K)
(J)
(I) (K)
(J)
(G)
..
..
..
(L)
Attach this end to Top.
Fixez cette extremité au dessus.
Instale este extremo en la tapa.
.
.
.
.
.
.
October 2004 Rev-A
80143

This manual suits for next models

1

Other Closet Maid Indoor Furnishing manuals
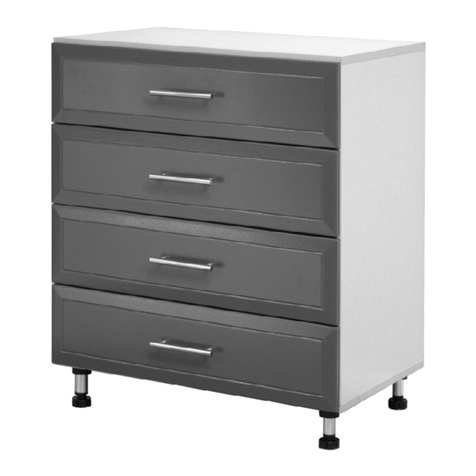
Closet Maid Pro Garage 12408 User manual

Closet Maid

Closet Maid Pro Garage 12408 User manual

Closet Maid Impressions 14815 User manual

Closet Maid

Closet Maid Impressions 14815 User manual

Closet Maid EMERSON 3306240 User manual

Closet Maid

Closet Maid EMERSON 3306240 User manual

Closet Maid Indoor Furniture S110WB User manual

Closet Maid

Closet Maid Indoor Furniture S110WB User manual

Closet Maid 25-Cube Insert S25CB User manual

Closet Maid

Closet Maid 25-Cube Insert S25CB User manual

Closet Maid 10000-00683 User manual

Closet Maid

Closet Maid 10000-00683 User manual

Closet Maid Storage Chest STCH User manual

Closet Maid

Closet Maid Storage Chest STCH User manual

Closet Maid 1313 User manual

Closet Maid

Closet Maid 1313 User manual

Closet Maid TOTALSLIDE PRO Instruction sheet

Closet Maid

Closet Maid TOTALSLIDE PRO Instruction sheet

Closet Maid 01-15149 User manual

Closet Maid

Closet Maid 01-15149 User manual

Closet Maid 1228100 User manual

Closet Maid

Closet Maid 1228100 User manual

Closet Maid Indoor Furniture 71926-31 User manual

Closet Maid

Closet Maid Indoor Furniture 71926-31 User manual

Closet Maid 3-Shelf Stackable Corner Organizer User manual

Closet Maid

Closet Maid 3-Shelf Stackable Corner Organizer User manual

Closet Maid In-Cabinet 2-Tray Pull-Out 3120 User manual

Closet Maid

Closet Maid In-Cabinet 2-Tray Pull-Out 3120 User manual

Closet Maid EMERSON pro CARAGE User manual

Closet Maid

Closet Maid EMERSON pro CARAGE User manual

Closet Maid Indoor Furniture 3528 User manual

Closet Maid

Closet Maid Indoor Furniture 3528 User manual

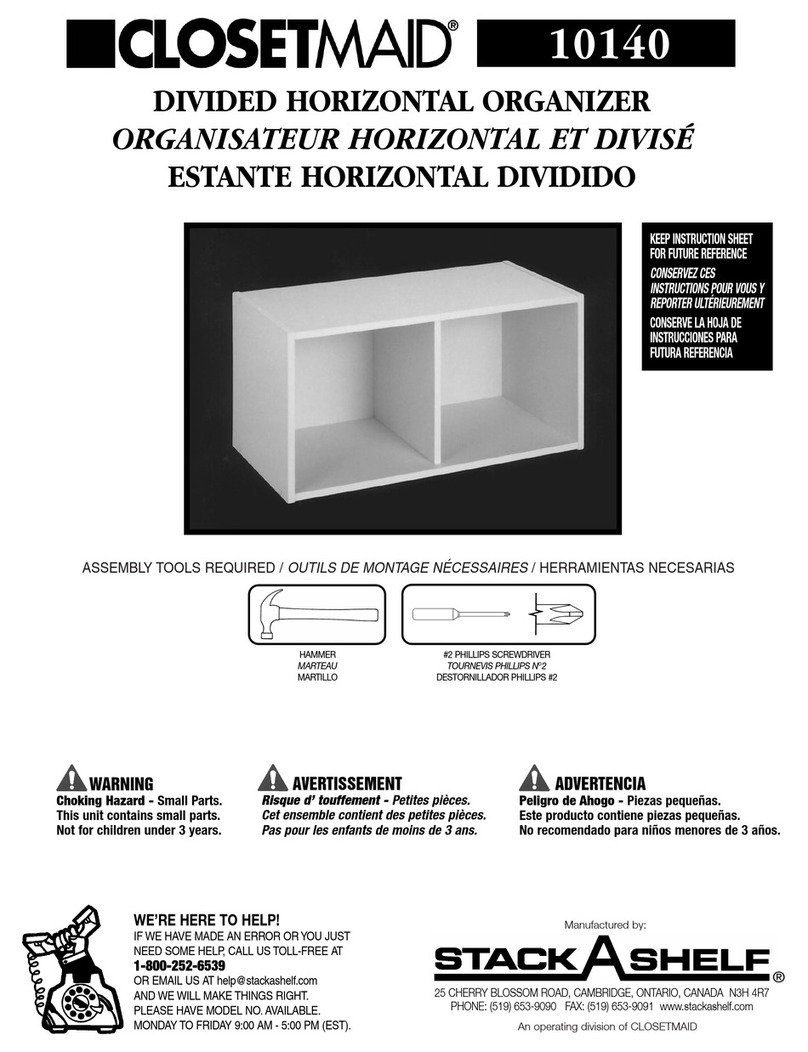
Closet Maid Divided Horizontal Organizer 10140 User manual

Closet Maid

Closet Maid Divided Horizontal Organizer 10140 User manual

Closet Maid Stack A Shelf SRNR User manual

Closet Maid

Closet Maid Stack A Shelf SRNR User manual

Closet Maid 8808 User manual

Closet Maid

Closet Maid 8808 User manual

Closet Maid ClosetMaid 58037 User manual

Closet Maid

Closet Maid ClosetMaid 58037 User manual

Closet Maid Large Trash Bag Holder 3024 User manual

Closet Maid

Closet Maid Large Trash Bag Holder 3024 User manual

Closet Maid 1498 User manual

Closet Maid

Closet Maid 1498 User manual

Closet Maid 3025 User manual

Closet Maid

Closet Maid 3025 User manual

Closet Maid 2 Door Multi-purpose Cabinet UC2DR Installation guide

Closet Maid

Closet Maid 2 Door Multi-purpose Cabinet UC2DR Installation guide

Popular Indoor Furnishing manuals by other brands

Bouclair 9391755 Assembly instructions

Bouclair

Bouclair 9391755 Assembly instructions

Space Seating 15-37A720D operating instructions

Space Seating

Space Seating 15-37A720D operating instructions

all33 BackStrong C1 Assembly instructions

all33

all33 BackStrong C1 Assembly instructions

Whitewood Furniture 265-30 Assembly instructions

Whitewood Furniture

Whitewood Furniture 265-30 Assembly instructions

Tutti Bambini COZee XL user guide

Tutti Bambini

Tutti Bambini COZee XL user guide

Seconique SANTANA SEC/SH/11/23/DC1 Assembly instructions

Seconique

Seconique SANTANA SEC/SH/11/23/DC1 Assembly instructions

Habitat Milk 811045 manual

Habitat

Habitat Milk 811045 manual

Kesseböhmer Full Swing Corner Pull-out LeMans Highboard (with rigid... Mounting instruction

Kesseböhmer

Kesseböhmer Full Swing Corner Pull-out LeMans Highboard (with rigid... Mounting instruction

Kangaroo Dingo II K7905 Assembly instructions

Kangaroo

Kangaroo Dingo II K7905 Assembly instructions

VECELO KHD-BTJ-MBF02-RBN installation manual

VECELO

VECELO KHD-BTJ-MBF02-RBN installation manual

Kvik MH513,060 Assembly manual

Kvik

Kvik MH513,060 Assembly manual

modway MOD-6254 quick start guide

modway

modway MOD-6254 quick start guide

Arthur Berndt Isabella 30 Assembly instructions

Arthur Berndt

Arthur Berndt Isabella 30 Assembly instructions

BDI ZONA Assembly instructions

BDI

BDI ZONA Assembly instructions

Clas Ohlson 335.843 Assembly instructions

Clas Ohlson

Clas Ohlson 335.843 Assembly instructions

Germania 1386 Assembly instruction

Germania

Germania 1386 Assembly instruction

Flieks WF212656 Assembly instructions

Flieks

Flieks WF212656 Assembly instructions

Royalcraft AMALFI IVORY Assembly instructions

Royalcraft

Royalcraft AMALFI IVORY Assembly instructions

manuals.online logo
manuals.online logoBrands
  • About & Mission
  • Contact us
  • Privacy Policy
  • Terms and Conditions

Copyright 2025 Manuals.Online. All Rights Reserved.