www.cmp-products.com
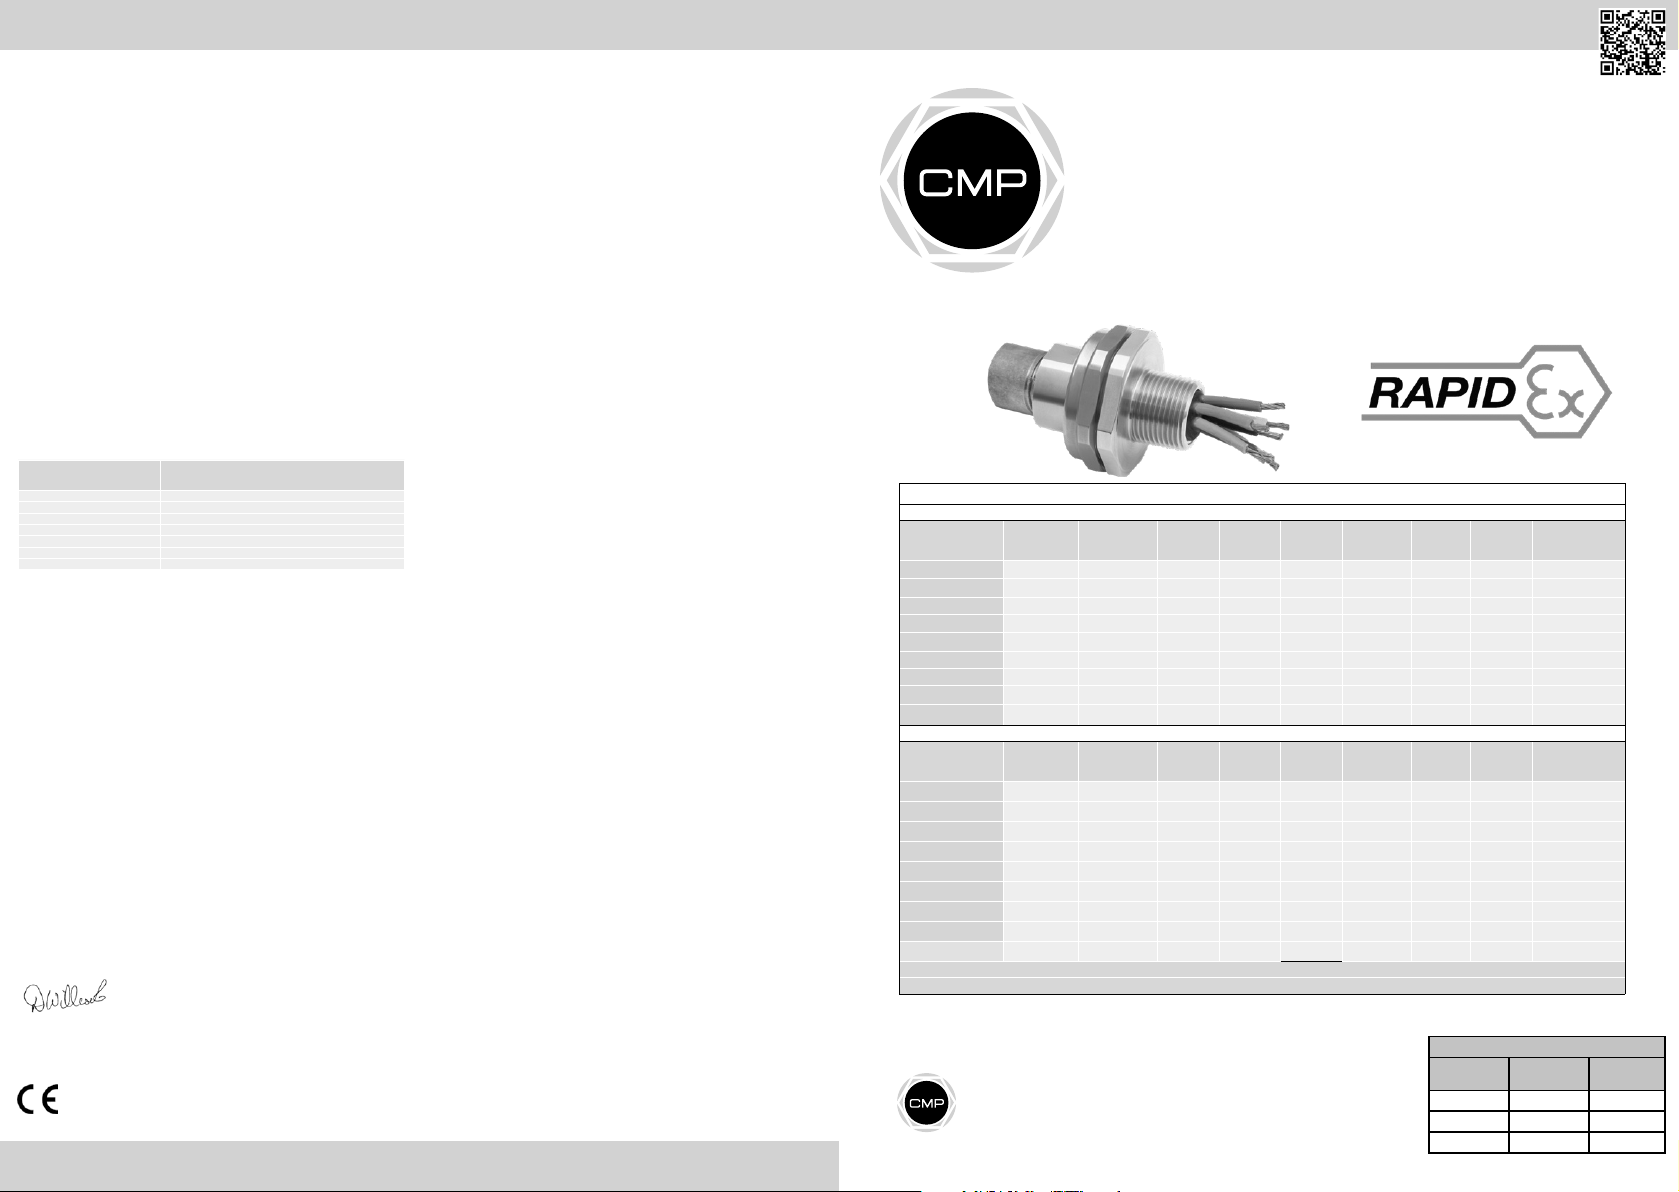
UNION TYPE PX780REX FOR CONNECTING CONDUITS TO ENCLOSURES OR
CONDUITS TO EACH OTHER USING RAPIDEX RESIN IN EXPLOSIVE ATMOSPHERES.
TECHNICAL DATA
EXPLOSIVE ATMOSPHERES CLASSIFICATION
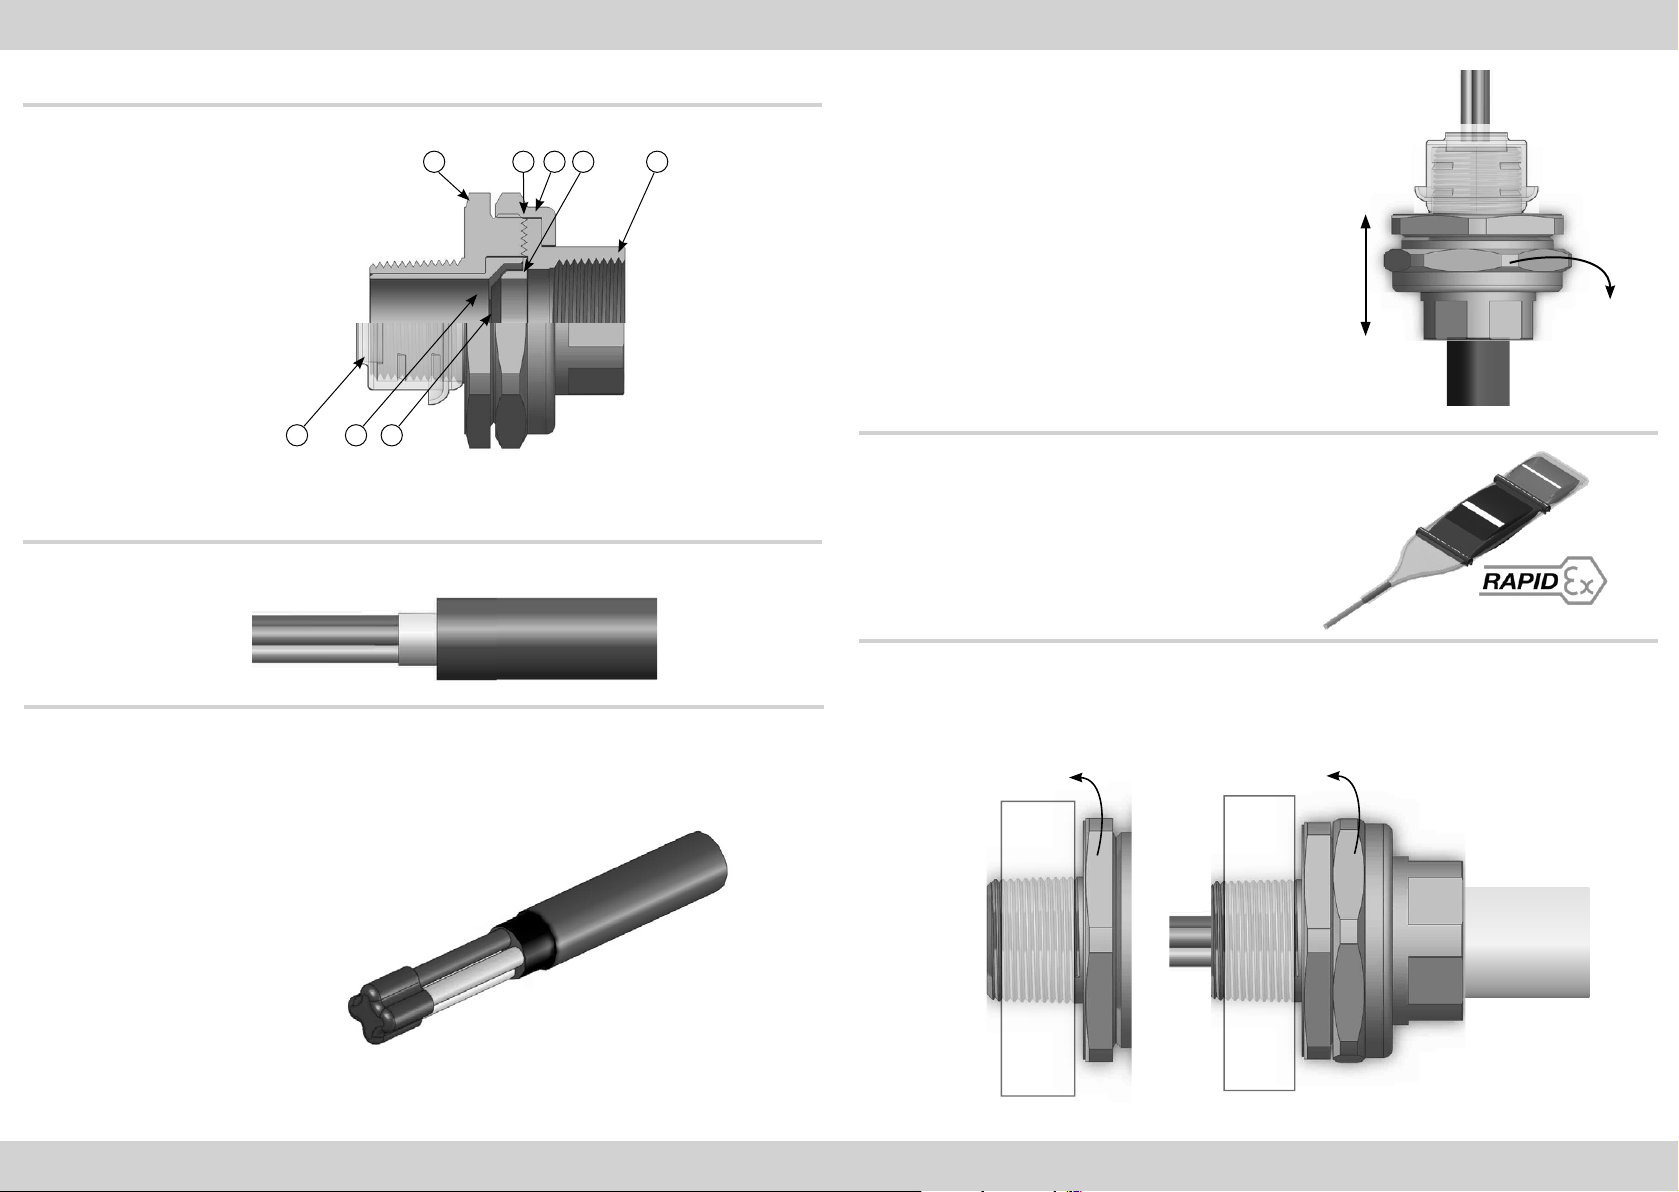
INSTALLATION INSTRUCTIONS
1. Installation should only be performed by a competent person using the correct tools. Spanners should be used for tightening. Read all instructions before beginning installation.
2. The interface between a cable entry device and its associated enclosure / cable entry will require additional sealing to achieve ingress protection (IP) ratings higher than IP54.The
minimum protection level is IP54 for explosive gas atmospheres and IP6X for explosive dust atmospheres. Parallel threads (and tapered threads when using a non-threaded entry)
require a CMP sealing washer or integral O-ring face seal (where available) to maintain IP66, 67 and 68 (when applicable). It is the installer’s responsibility to ensure the IP rating
is maintained at the interface.
Note: When fitted to a threaded entry, all tapered threads will automatically provide an ingress protection rating of IP68.
3. A CMP earth tag should be used when it is necessary to provide an earth bond connection. CMP earth tags have been independently tested to comply with Category B rating
specified in IEC 62444 (there are no ratings stated in IEC 60079-0). Ratings are shown in the associated table. CMP earth tags slip over the cable gland or accessory entry thread
from inside/outside the enclosure and must be secured with a locknut (if fitted internally).
ACCESSORIES
The following accessories are available from CMP Products, as optional extras, to assist with fixing, sealing and earthing :-
Locknut | Earth Tag | Serrated Washer | Entry Thread (I.P.) Sealing Washer
INSTALLATION INSTRUCTIONS
FOR UNION TYPE PX780REX
SPECIFIC CONDITIONS OF USE
Only one union is to be used with any single cable entry on the associated equipment.
Glasshouse Street • St. Peters • Newcastle upon Tyne • NE6 1BS
Tel: +44 191 265 7411 • Fax: +44 191 715 464
PRODUCT TYPE : PX780REX
INGRESS PROTECTION : IP66 when used with CMP sealing accessories
PROCESS CONTROL SYSTEM : ISO 9001
: ISO/IEC 80079-34:2011
ATEX CERTIFICATION No : CML 18ATEX1327X
ATEX CERTIFICATION CODE : ^II 2G 1D Ex db IIC Gb, Ex eb IIC Gb, Ex ta IIIC Da IP6X
: ^IM2 Ex db I Mb / Ex eb I Mb
IECEx CERTIFICATION No : IECEx CML 18.0190X
IECEx CERTIFICATION CODE : Ex db IIC Gb, Ex eb IIC Gb, Ex db I Mb, Ex eb I Mb, Ex ta IIIC Da IP6X
cCSAus CERTIFICATION No : 1055233
CODE OF PROTECTION : Class I, Div 1 and 2, Groups A,B,C and D; Enclosure Type 4X: Class I Zone 1, AEx de II; Ex de II
INMETRO CERTIFICATION No : TÜV 18.2088X
INMETRO CERTIFICATION CODE : Ex db IIC Gb, Ex eb IIC Gb, Ex db I Mb, Ex eb I Mb, Ex ta IIIC Da IP6X
CMP Products Limited on its sole responsibility declares that the equipment referred to herein conforms to the requirements of the ATEX Directive 2014/34/EU and the following standards:
EN 60079-0:2018, EN 60079-1:2014, EN 60079-7:2015, EN 60079-31:2014
David Willcock – Certification Engineer (Authorised Person)
CMP Products Limited, Cramlington, NE23 1WH, UK
15 April 2019
SCAN FOR INSTALLATION VIDEOS
FI471
Certicate Revision Date
IFS 9 05/19
ATEX / IECEx 6 04/19
cCSAus 5 05/16
Alternate thread types available
Can be supplied with mixed thread types e.g. PX780REXDM10T10 - M100 male thread, 4”NPT female thread, please contact CMP for more information
Product Selection Table
METRIC
Ordering Reference
(Brass, Metric)
Male Forward
Thread Size
Minimum
Thread Length
Female Rear
Thread Size
Diameter
Over Cores
Max.
Number of
Cores
Protrusion
Length
Across
Flats Hex
Across
Corners Ø
‘D’
Installation
Torque (Nm)
PX780REXDM2M2 M20 X 1.5 15.0 M20 X 1.5 12.6 21 36.1 46.0 50.3 7
PX780REXDM3M3 M25 X 1.5 15.0 M25 X 1.5 17.5 30 36.1 50.0 54.7 10
PX780REXDM4M4 M32 X 1.5 15.0 M32 X 1.5 23.6 50 35.2 60.0 65.7 15
PX780REXDM5M5 M40 X 1.5 15.0 M40 X 1.5 30.0 59 35.2 65.0 71.2 25
PX780REXDM6M6 M50 X 1.5 15.0 M50 X 1.5 41.0 115 35.3 75.0 82.2 30
PX780REXDM7M7 M63 X 1.5 15.0 M63 X 1.5 53.7 115 35.3 90.0 98.7 45
PX780REXDM8M8 M75 X 1.5 15.0 M75 X 1.5 64.2 140 38.8 100.0 109.7 45
PX780REXDM9M9 M90 X 2.0 24.0 M90 X 2.0 75.3 140 45.0 120.0 131.7 45
PX780REXDM10M10 M100 x 2.0 24.0 M100 x 2.0 83.6 200 83.9 145.0 159.2 45
NPT
Ordering Reference
(Brass, NPT)
Male Forward
Thread Size
Minimum
Thread Length
Female Rear
Thread Size
Diameter
Over Cores
Max.
Number of
Cores
Protrusion
Length
Across
Flats Hex
Across
Corners Ø
‘D’
Installation
Torque (Nm)
PX780REXDT1T1 1/2” 0.79 1/2” 12.6 21 35.4 46.0 50.3 7
PX780REXDT2T2 3/4” 0.80 3/4” 17.5 30 35.0 50.0 54.7 10
PX780REXDT3T3 1” 0.98 1” 23.6 50 33.7 60.0 65.7 15
PX780REXDT4T4 1-1/4” 1.01 1-1/4” 30.0 59 37.0 65.0 71.2 25
PX780REXDT5T5 1-1/2” 1.03 1-1/2” 36.6 115 38.2 75.0 82.2 30
PX780REXDT6T6 2” 1.06 2” 47.9 115 39.1 90.0 98.7 45
PX780REXDT7T7 2-1/2” 1.57 2-1/2” 59.9 140 54.1 100.0 109.7 45
PX780REXDT8T8 3” 1.63 3” 75.3 140 52.5 120.0 131.7 45
PX780REXDT9T9 3-1/2” 1.69 3-1/2” 83.6 200 80.0 145.0 159.2 45
All dimensions shown are in millimetres unless otherwise stated
For material options please add the following suffix to the Ordering Reference; Brass (no suffix required), Nickel Plated Brass “5”, 316 Grade Stainless Steel “4”, Copper Free Aluminium “1”
CMP Earth Tag Size Short Circuit Ratings Symmetrical Fault Current
(kA) for 1 second
20 3.06
25 4.06
32 5.40
40 7.20
50 10.40
63 10.40
75 10.40
2776
INCORPORATING EU DECLARATION OF CONFORMITY TO DIRECTIVE [2014/34/EU]