Intro Operation Customer
Assistance
Warranty
Notice
Main Icons
Secondary Icons
Caution Warning
Installation Customer
Assistance
Intro Operation Customer
Assistance
Warranty
Notice
Main Icons
Secondary Icons
Caution Warning
Installation Customer
Assistance
11
Nothing Comes Close to a Cobra®
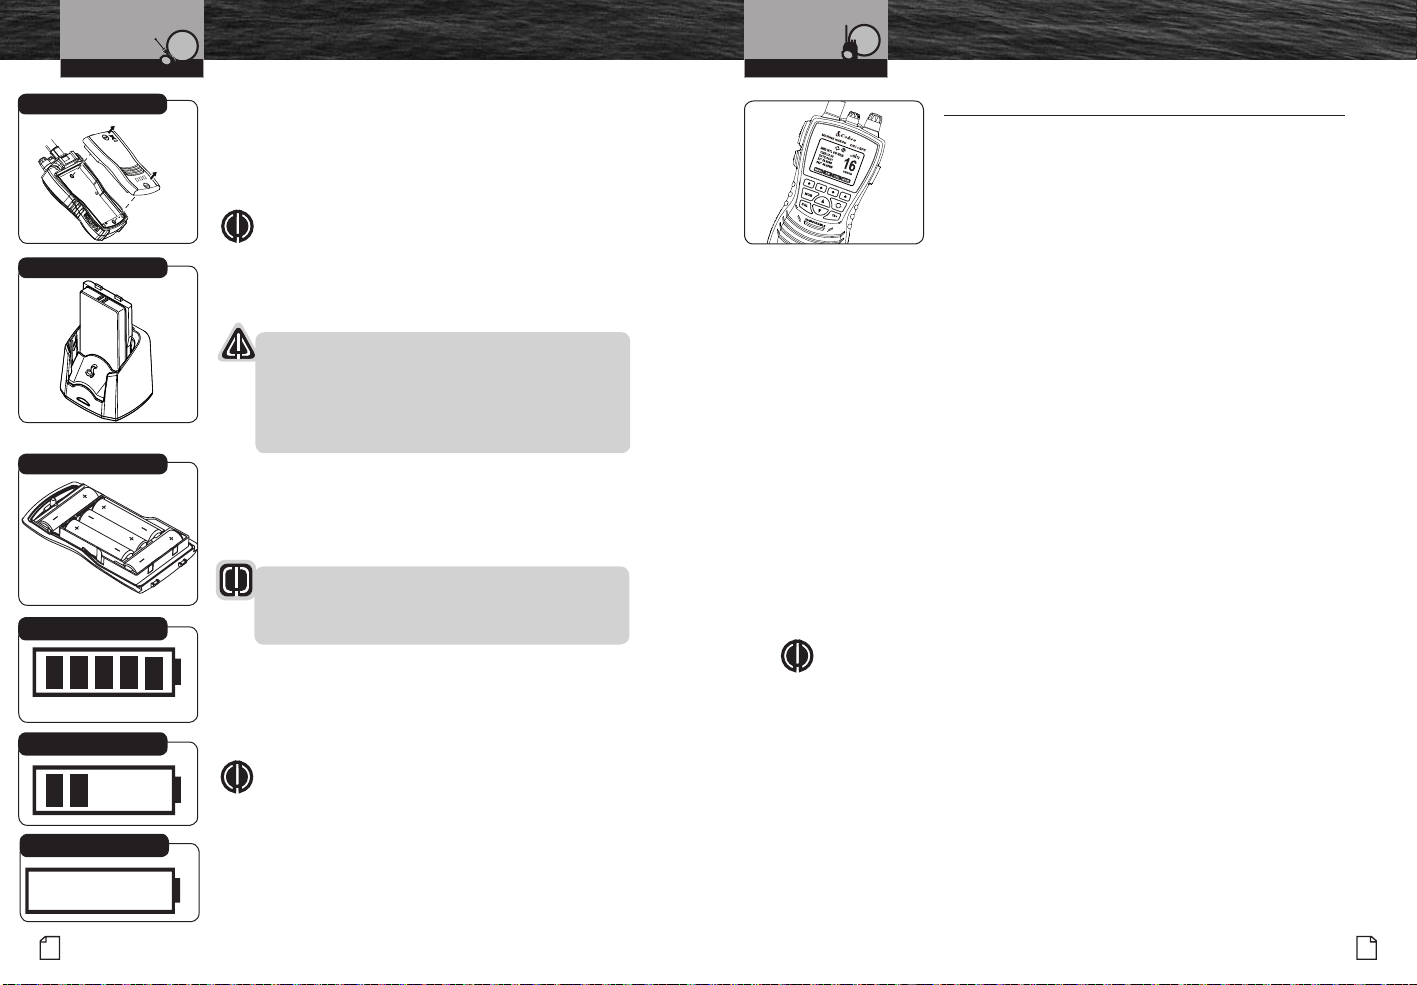
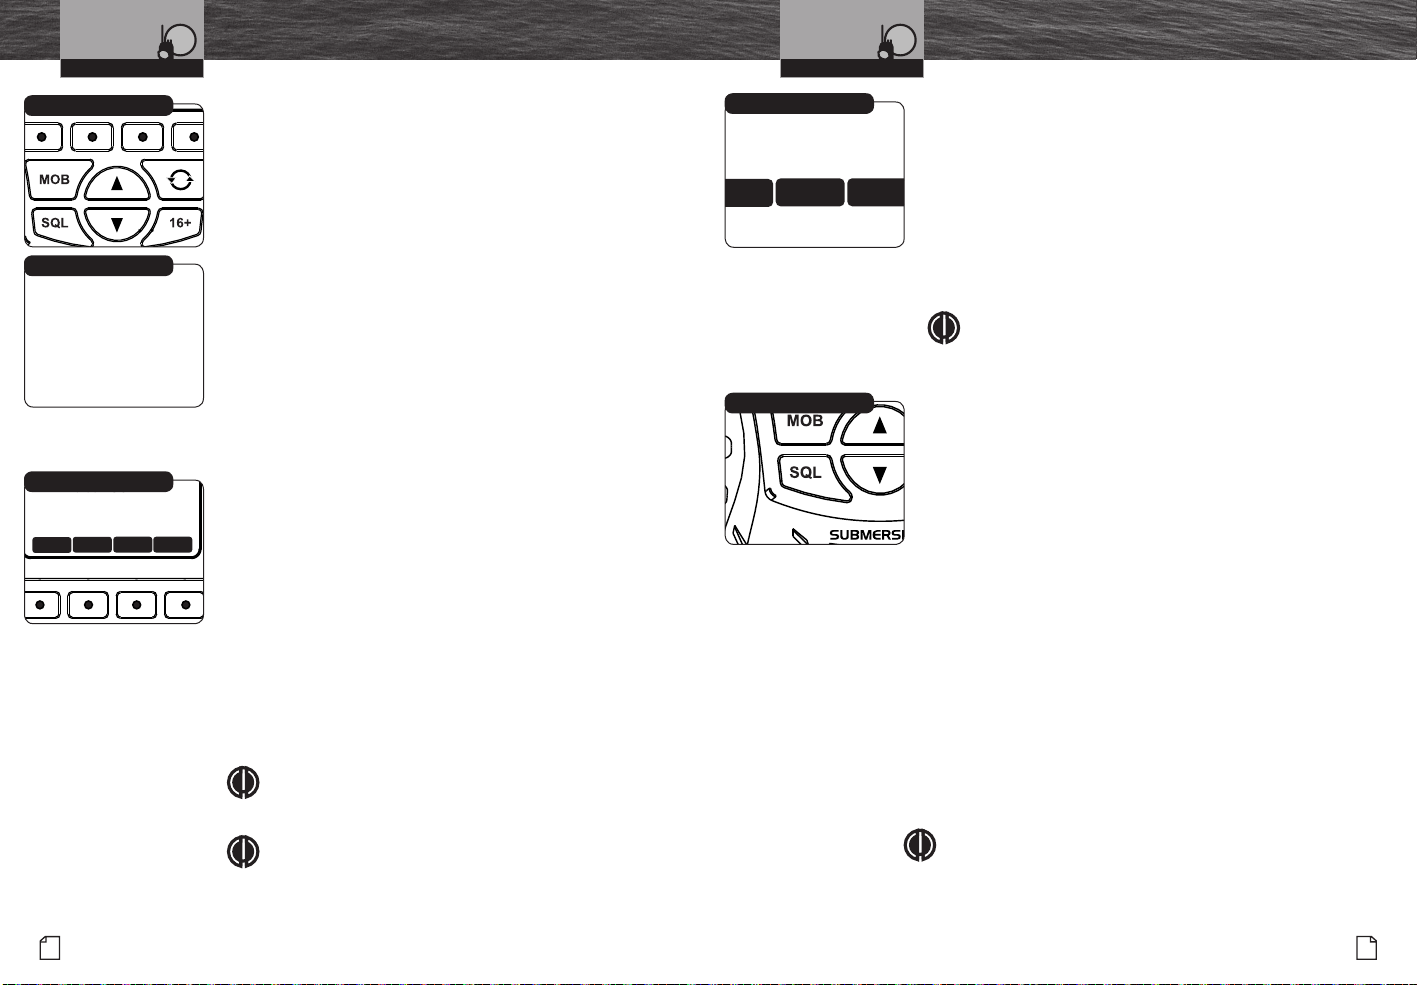
To Remove Battery Pack from Radio
1. Loosen the screws on the back of the battery pack.
2. Lift the bottom of the battery pack slightly to remove
it from the radio housing.
3. Pull the battery pack out of the radio housing.
Intro Operation Customer
Assistance
Warranty
Notice
Main Icons
Secondary Icons
Caution Warning
Installation Customer
Assistance
NOTE
The LiON battery pack can also be charged in the battery
charger without being installed in the radio. Insert the spacer
into the battery charger to support the battery pack during
this charging process. Follow the same procedures in “Initial
Charge” to charge the battery pack.
NOTICE
Lithium-ion (LiON) batteries are toxic. Please dispose of
properly. Some marine suppliers and electronics retailers
accept old battery packs for recycling and some municipal
waste disposal agencies have special provisions for battery
disposal.
Alkaline Batteries
The alkaline battery tray acts as a backup or “Emergency” power
source should the battery pack run low on power and need to be
recharged. The radio will transmit at full power when using ve (5)
new AA alkaline batteries.
WARNING
Never attempt to recharge alkaline batteries. They are not
made to be recharged, and should be disposed of
in a proper manner.
VHF Marine Radio Protocols
Intro Operation Customer
Assistance
Warranty
Notice
Main Icons
Secondary Icons
Caution Warning
Installation Customer
Assistance
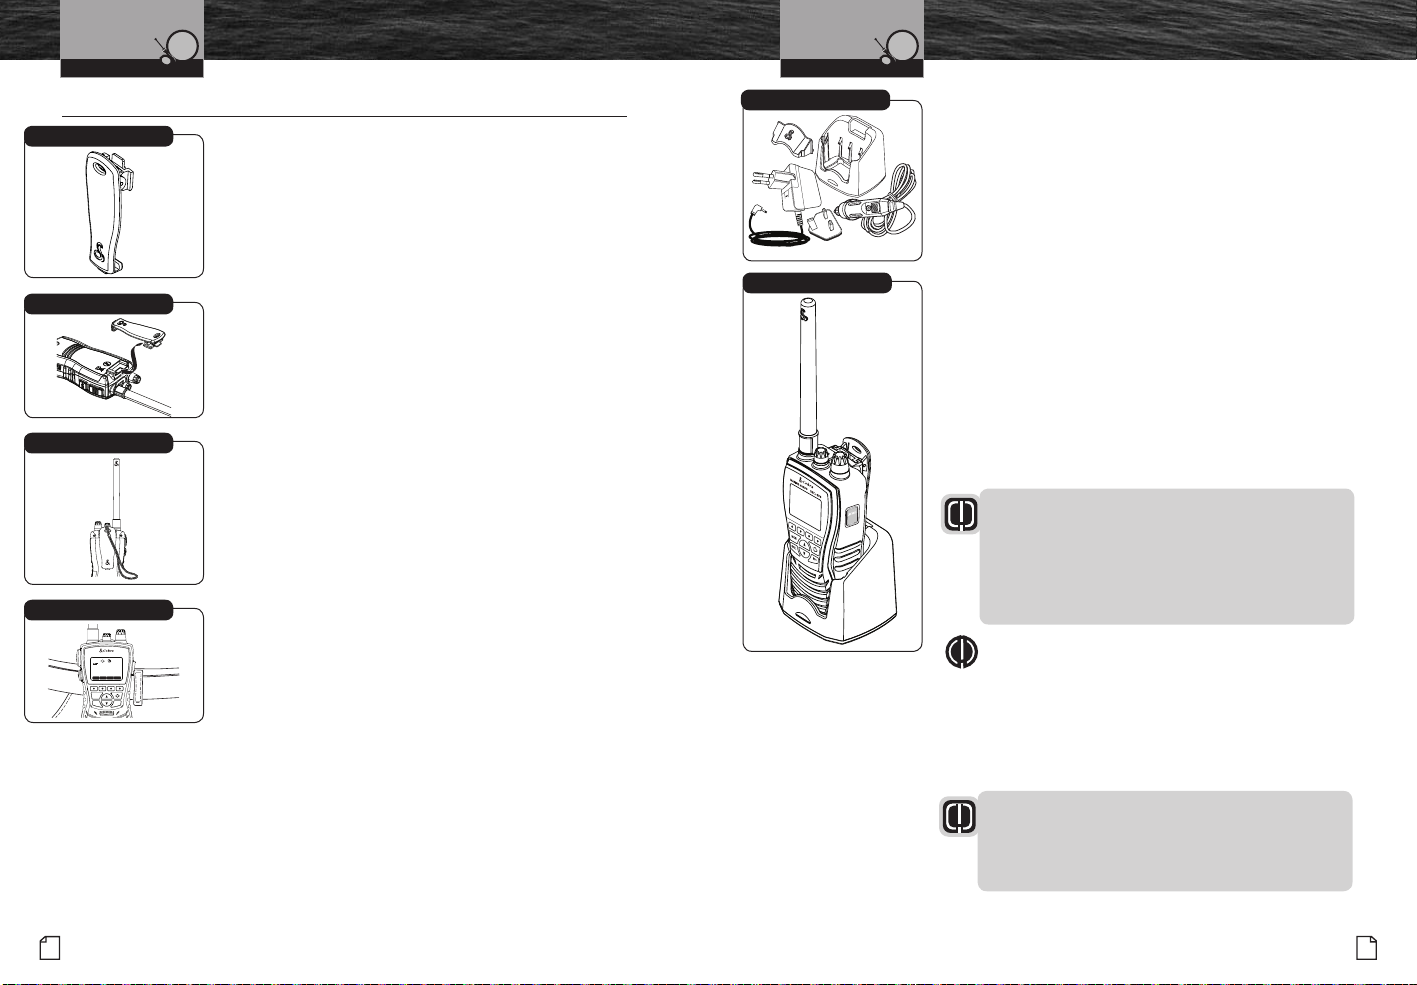
Installation
10 English
Batteries and Charger
Remove Battery
Alkaline Battery Tray
Battery Pack Charging Only
Maintaining the Battery Charge
As you use your radio, the battery power icon will show the battery
power remaining. When the battery icon begins to ash, the battery is
empty and needs to be recharged. The radio will beep three (3) times
and ash “Low Battery” every 10 minutes until the radio turns off.
Intro Operation Customer
Assistance
Warranty
Notice
Main Icons
Secondary Icons
Caution Warning
Installation Customer
Assistance
NOTE
The radio will continue to receive signals when blinking
but cannot transmit.
It is a good idea to keep a set of fresh, high-quality AA alkaline
batteries with your radio. Should the rechargeable battery pack
become discharged and no electrical power source is available,
you can insert the included alkaline battery tray with fresh alkaline
batteries and continue to use your radio.
Fully Charged
Partially Charged
Fully Discharged
Getting Started •
Refer to the foldout at the front of this manual to identify the
various controls and indicators on your radio. Throughout this
manual you will be instructed to “Press” or to “Press and
Hold” various buttons (except “Push to Talk”) on the radio.
“Press” means a momentary press of approximately one (1)
second. “Press and Hold” means to hold the button down for
approximately two (2) seconds.
Whenever you press any button except the Talk button on your
radio, a brief tone (if key tones are selected On) will sound to
conrm the button press. With all button presses, the appropriate
icon will appear on the LCD and the backlight will turn On. The
backlight will stay On for 10 seconds after the button is released.
Getting Started
Tones And Alarms
When your CobraMarine VHF radio is On, you can expect to hear the following tones and
alarms. The volume of these sounds is controlled by the circuitry in the radio and is not
affected by the volume set with the On-Off Power/Volume knob.
Conrmation Tone
Single high-pitched beep conrms all button presses except the Talk button.
It can be turned On or Off. See set-up routines on page 18.
Error Tone
Three low-pitched beep indicates an invalid button press.
DSC Distress Alarm
High—low—high—low—high. Pause, then repeat. The volume of all alarms will increase
after 10 seconds. Press any button to turn it Off.
NOTE
This alarm sounds only for DSC distress calls on Channel 70.
It does not sound for voice calls on Channel 16 — you still
must listen for those.
Distress Acknowledgement Alarm
High—low—high—low—high. Pause, then repeat. The volume of all alarms will increase
after 10 seconds. Press any button to turn it Off.
DSC Routine Call Alarm
High—pause—high—pause—high. Long pause, then repeat. Press any button to turn it
Off.
DSC Geographical Alarm
Loud, continuous, medium-pitched, high-low tones (warble) — sounds
when a geographical call is received. Press any button to turn it Off.
Intro Operation Customer
Assistance
Warranty
Notice
Main Icons
Secondary Icons
Caution Warning
Installation Customer
Assistance
VHF Marine Radio Protocols
Intro Operation Customer
Assistance
Warranty
Notice
Main Icons
Secondary Icons
Caution Warning
Installation Customer
Assistance
Operating Your Radio
MRHH600EU_ENG_MANL.indd 10-11 4/4/17 2:55 PM