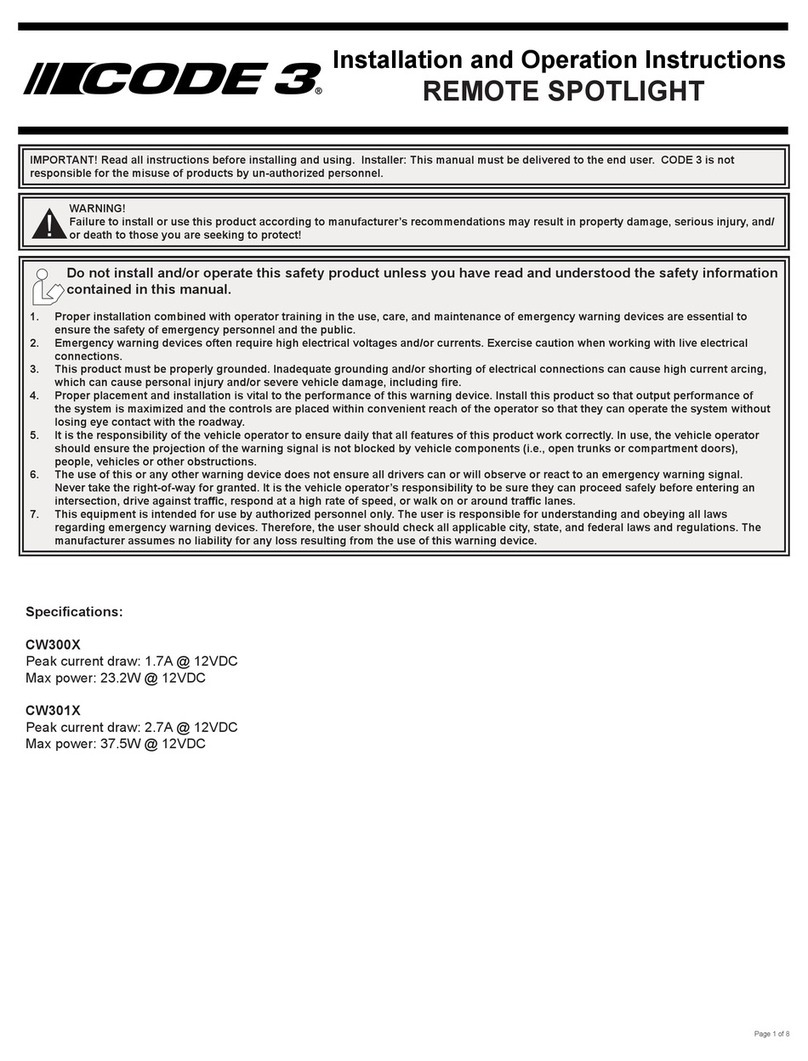
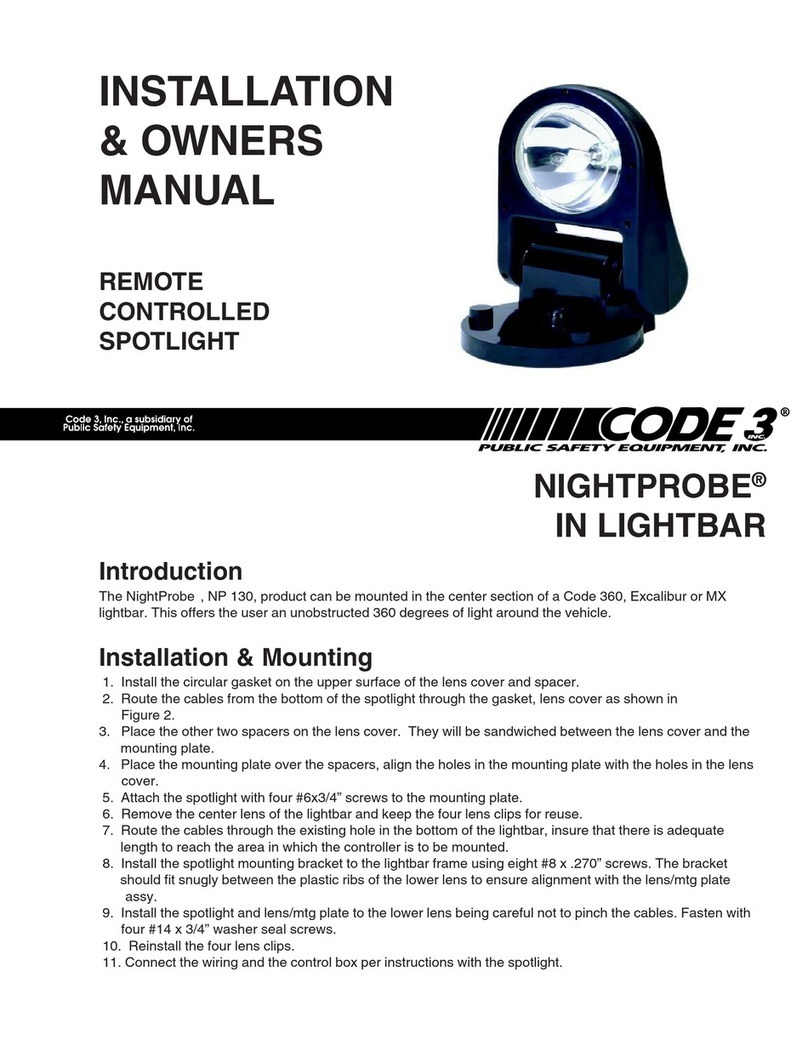
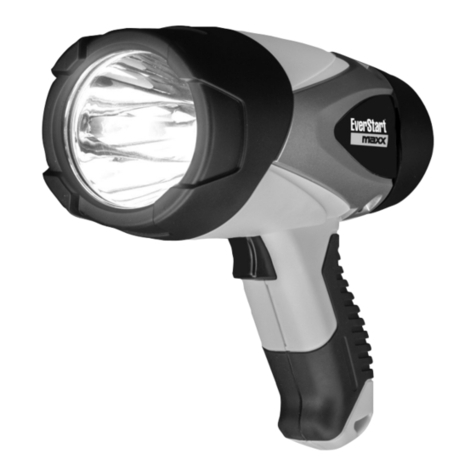
Code 3 CW3000 Series User manual

Installation and Operation Instructions
Code 3’s CW3000 Series Remote Spotlights are multi-
functional, motorized searchlights featuring a 12-24 VDC
operation. Both spotlights can be installed wirelessly and
are protected by a polycarbonate lens and the housings are
available in black or white.
The CW3000/3001 offers 360-degree rotation and a 90
degree tilt range, while the CW3010/3011 offers full,
continuous rotation, a 135-degree tilt range and features
an optional hardwired in-dash joystick controller. The
CW3010/3011 spotlight also has a home setting that
automatically returns the light to its original position upon
powering off the device.
Page 1 of 5
Specications:
Input Voltage: 12-24V
Current Draw: 1.7 Amps (peak)
Power: 23.2 Watts (max)
IMPORTANT! Read all instructions before installing and using. Installer: This manual must be
delivered to the end user.
Do not install and/or operate this safety product unless you have read and understand the safety
information contained in this manual.
1. Proper installation combined with operator training in the installation, use, care and maintenance of vehicle equipment accessories is
essential to ensure the safety of you and those you are trying to protect.
2. Exercise caution when working with live electrical connections.
3. This product must be properly grounded. Inadequate grounding and/or shorting of electrical connections can cause high
current arcing, which can cause personal injury and/or severe vehicle damage, including re.
4. Proper placement and installation are vital to the performance of this worklamp. Install this product so that output
performance of the system is maximized and the controls are placed within convenient reach of the operator so that s/he can
operate the system without losing eye contact with the work area.
5. It is the responsibility of the vehicle operator to ensure during use that all features of this product work correctly. In use, the
vehicle operator should ensure the projection of the beam is not blocked by vehicle components (i.e., open trunks
or compartment doors), people, vehicles, or other obstructions.
6. The manufacturer assumes no liability for any loss resulting from the use of this device.
WARNING!
Failure to install or use this product according to manufacturer’s recommendations may result in property
damage, serious bodily/personal injury, and/or death to you and those you are seeking to protect! Check wattage
before installing light to avoid possible equipment damage.
!
REMOTE SPOTLIGHT

Installation & Mounting:
Caution! When drilling into any vehicle surface, make sure that the area is free from any electrical wires, fuel lines,
vehicle upholstery, etc. that could be damaged.
!
Permanent Mounting:
1. Select a level surface for installation.
2. Drill mounting holes using the base as a template and attach with included hardware.
Page 2 of 5
Carefully remove the unit from its packaging. Examine the unit for transit damage. If damage is found, return the product to your local dealer for
warranty replacement. Do not use damaged or broken parts.
Important! Disable power before wiring the spotlight.
Wiring:
CW300X
Notes:
1. Larger wires and tight connections will provide longer service life for components. For high current wires, it is recommended that
terminal blocks or soldered connections be used with shrink tubing to protect the connections. Do not use insulation displacement
connectors (e.g.,3M Scotchlock type connectors).
2. Route wiring using grommets and sealant when passing through compartment walls. Minimize the number of splices to reduce
voltage drop. High ambient temperatures (e.g., under-hood) will signicantly reduce the current carrying capacity of wires, fuses and
circuit breakers. All wiring should conform to the minimum wire size and other recommendations of the manufacterer and be
protected from moving parts and hot surfaces. Looms, grommets, cable ties and similar installation hardware should be used to
anchor and protect all wiring.
3. Fuses or circuit breakers should be located as close to the power takeoff points as possible and properly sized to protect the wiring
and devices.
4. Particular attention should be paid to the location and method of making electrical connections and splices to protect these points from
corrosion and loss of conductivity.
5. Ground termination should be only made to substantial chassis components, preferably directly to the vehicle battery.
6. Circuit breakers are very sensitive to high temperatures and will “false trip” when mounted in hot environments or operated close to
their capacity.
The wiring for this conguration is as shown in the gure below. All wiring should be a minimum of 18AWG. The positive line must have a 5 amp
fuse, as shown. Routing the ground wire directly back to negative battery terminal is recommended. Pack dielectric grease, such as Dow Corning 4,
around each electric connection exposed to moisture or the ambient environment.
CW301X
GROUND 5 AMP FUSE
BLACK WIRE
RED WIRE

Remote Control Operation:
To program the wireless remote:
1. Power off the spotlight. Ensure there is no transmitter operating within 10 feet.
2. Power on the spotlight, then press the ▲ and down ▼ buttons on the remote at the same time. To program a second remote, press the
up ▲ and down ▼ buttons on the second remote within ve seconds.
3. The spotlight will ash when the remote has been successfully programmed.
Joystick Control Operation:
Page 3 of 5
ON/OFF TOGGLE
SWITCH
SPEED
TOGGLE
SWITCH
LIGHT BEAM
DIRECTION
SWITCH
LIGHT BEAM
DIRECTION OPERATION
CW300X: STROBE ON/OFF
CW301X: SPEED FAST/SLOW
ON/OFF
BUTTON

Page 4 of 5
Replacement Parts and Accessories:
Description Part No.
Replacement Remote (For use with CW3000/01/10/11 CR3010
Flood Diffuser (For use with CW3010/11) CZ3010F
Colored Lens (For use with CW3010/11) CZ3010X*
In-Dash Joystick Controller (For use with CW3010/11) CZ3011
5 Meter Joystick Cable (For use with CZ3011) CZ3012
5 Meter Joystick Cable Extension (For use with CZ3011) CZ3013
Magnet Mount Kit, Black (For use with CW3000) CZ3014
Magnet Mount Kit, White (For use with CW3001) CZ3015
Magnet Mount Kit, White (For use with CW3011) CZ3016
Magnet Mount Kit, Black (For use with CW3010) CZ3017
Where X* indicates color: A=Amber, R=Red and G-Green
This device complies with Part 15 of the FCC Rules. Operation is subject to the following two conditions: (1) this device may not cause harmful
interference, and (2) this device must accept any interference received, including interference that may cause undesired operation.

920-0703-00 Rev. A Page 5 of 5
Manufacturer Limited Warranty Policy:
Manufacturer warrants that on the date of purchase this product will conform to Manufacturer’s specifications for this product (which are
available from the Manufacturer upon request). This Limited Warranty extends for Sixty (60) months from the date of purchase.
DAMAGE TO PARTS OR PRODUCTS RESULTING FROM TAMPERING, ACCIDENT, ABUSE, MISUSE, NEGLIGENCE, UNAPPROVED MODIFICA-
TIONS, FIRE OR OTHER HAZARD; IMPROPER INSTALLATION OR OPERATION; OR NOT BEING MAINTAINED IN ACCORDANCE WITH THE
MAINTENANCE PROCEDURES SET FORTH IN MANUFACTURER’S INSTALLATION AND OPERATING INSTRUCTIONS VOIDS THIS LIMITED
WARRANTY.
Exclusion of Other Warranties:
MANUFACTURER MAKES NO OTHER WARRANTIES, EXPRESS OR IMPLIED. THE IMPLIED WARRANTIES FOR MERCHANTABILITY, QUALITY
OR FITNESS FOR A PARTICULAR PURPOSE, OR ARISING FROM A COURSE OF DEALING, USAGE OR TRADE PRACTICE ARE HEREBY
EXCLUDED AND SHALL NOT APPLY TO THE PRODUCT AND ARE HEREBY DISCLAIMED, EXCEPT TO THE EXTENT PROHIBITED BY APPLI-
CABLE LAW. ORAL STATEMENTS OR REPRESENTATIONS ABOUT THE PRODUCT DO NOT CONSTITUTE WARRANTIES.
Remedies and Limitation of Liability:
MANUFACTURER’S SOLE LIABILITY AND BUYER’S EXCLUSIVE REMEDY IN CONTRACT, TORT (INCLUDING NEGLIGENCE), OR UNDER ANY
OTHER THEORY AGAINST MANUFACTURER REGARDING THE PRODUCT AND ITS USE SHALL BE, AT MANUFACTURER’S DISCRETION, THE
REPLACEMENT OR REPAIR OF THE PRODUCT, OR THE REFUND OF THE PURCHASE PRICE PAID BY BUYER FOR NON-CONFORMING
PRODUCT. IN NO EVENT SHALL MANUFACTURER’S LIABILITY ARISING OUT OF THIS LIMITED WARRANTY OR ANY OTHER CLAIM RELAT-
ED TO THE MANUFACTURER’S PRODUCTS EXCEED THE AMOUNT PAID FOR THE PRODUCT BY BUYER AT THE TIME OF THE ORIGINAL
PURCHASE. IN NO EVENT SHALL MANUFACTURER BE LIABLE FOR LOST PROFITS, THE COST OF SUBSTITUTE EQUIPMENT OR LABOR,
PROPERTY DAMAGE, OR OTHER SPECIAL, CONSEQUENTIAL, OR INCIDENTAL DAMAGES BASED UPON ANY CLAIM FOR BREACH OF
CONTRACT, IMPROPER INSTALLATION, NEGLIGENCE, OR OTHER CLAIM, EVEN IF MANUFACTURER OR A MANUFACTURER’S REPRESEN-
TATIVE HAS BEEN ADVISED OF THE POSSIBILITY OF SUCH DAMAGES. MANUFACTURER SHALL HAVE NO FURTHER OBLIGATION OR
LIABILITY WITH RESPECT TO THE PRODUCT OR ITS SALE, OPERATION AND USE, AND MANUFACTURER NEITHER ASSUMES NOR
AUTHORIZES THE ASSUMPTION OF ANY OTHER OBLIGATION OR LIABILITY IN CONNECTION WITH SUCH PRODUCT.
This Limited Warranty defines specific legal rights. You may have other legal rights which vary from jurisdiction to jurisdiction. Some
jurisdictions do not allow the exclusion or limitation of incidental or consequential damages.
Product Returns:
If a product must be returned for repair or replacement*, please contact our factory to obtain a Return Goods Authorization Number (RGA
number) before you ship the product to Code 3®, Inc. Write the RGA number clearly on the package near the mailing label. Be sure you use
sufficient packing materials to avoid damage to the product being returned while in transit.
*Code 3®, Inc. reserves the right to repair or replace at its discretion. Code 3®, Inc. assumes no responsibility or liability for expenses incurred for the removal and /or reinstallation of products requiring service and/or repair.; nor for the packaging,
handling, and shipping: nor for the handling of products returned to sender after the service has been rendered.
10986 North Warson Road
St. Louis, MO 63114
Technical Service
(314) 996-2800
www.code3esg.com
An ECCO SAFETY GROUP™ Company
www.eccosafetygroup.com
This manual suits for next models
4
Table of contents
Other Code 3 Spotlight manuals
Popular Spotlight manuals by other brands

DeWalt
DeWalt XR LI-ION DCL043 instruction manual

REV Ritter
REV Ritter DR-0114E-PBK Installation and operating instructions

Larson Electronics
Larson Electronics LE-224-LED instruction manual

Robert Juliat
Robert Juliat TIBO 503 manual

Ayra
Ayra Compar 20 Plus user manual

Philips
Philips Ledino 57912/31/16 Specifications

Forch
Forch 5424 360 quick guide

Federal Signal Corporation
Federal Signal Corporation VISIBEAM II Installation, operation and maintenance instructions

SLV
SLV 1006191 instruction manual

Chauvet
Chauvet Lrgrnd 300E Beam Specifications

brennenstuhl
brennenstuhl EL 2000 MA operating instructions

thomann
thomann Varytec LED Profile 150W 3200K user manual