4.6 Repeat steps 3.2 - 4.4 to preserve your coffee beans or grounds and remove
doses for brewing as often as needed.
5: Procedure for removing Airtight Canister from Base assembly
Note: The Airtight Canister can be removed in either the Preservation (Pressurized)
or Vent (non-Pressurized) mode.
5.1 Turn the Main Power switch ‘I / O’ Off.
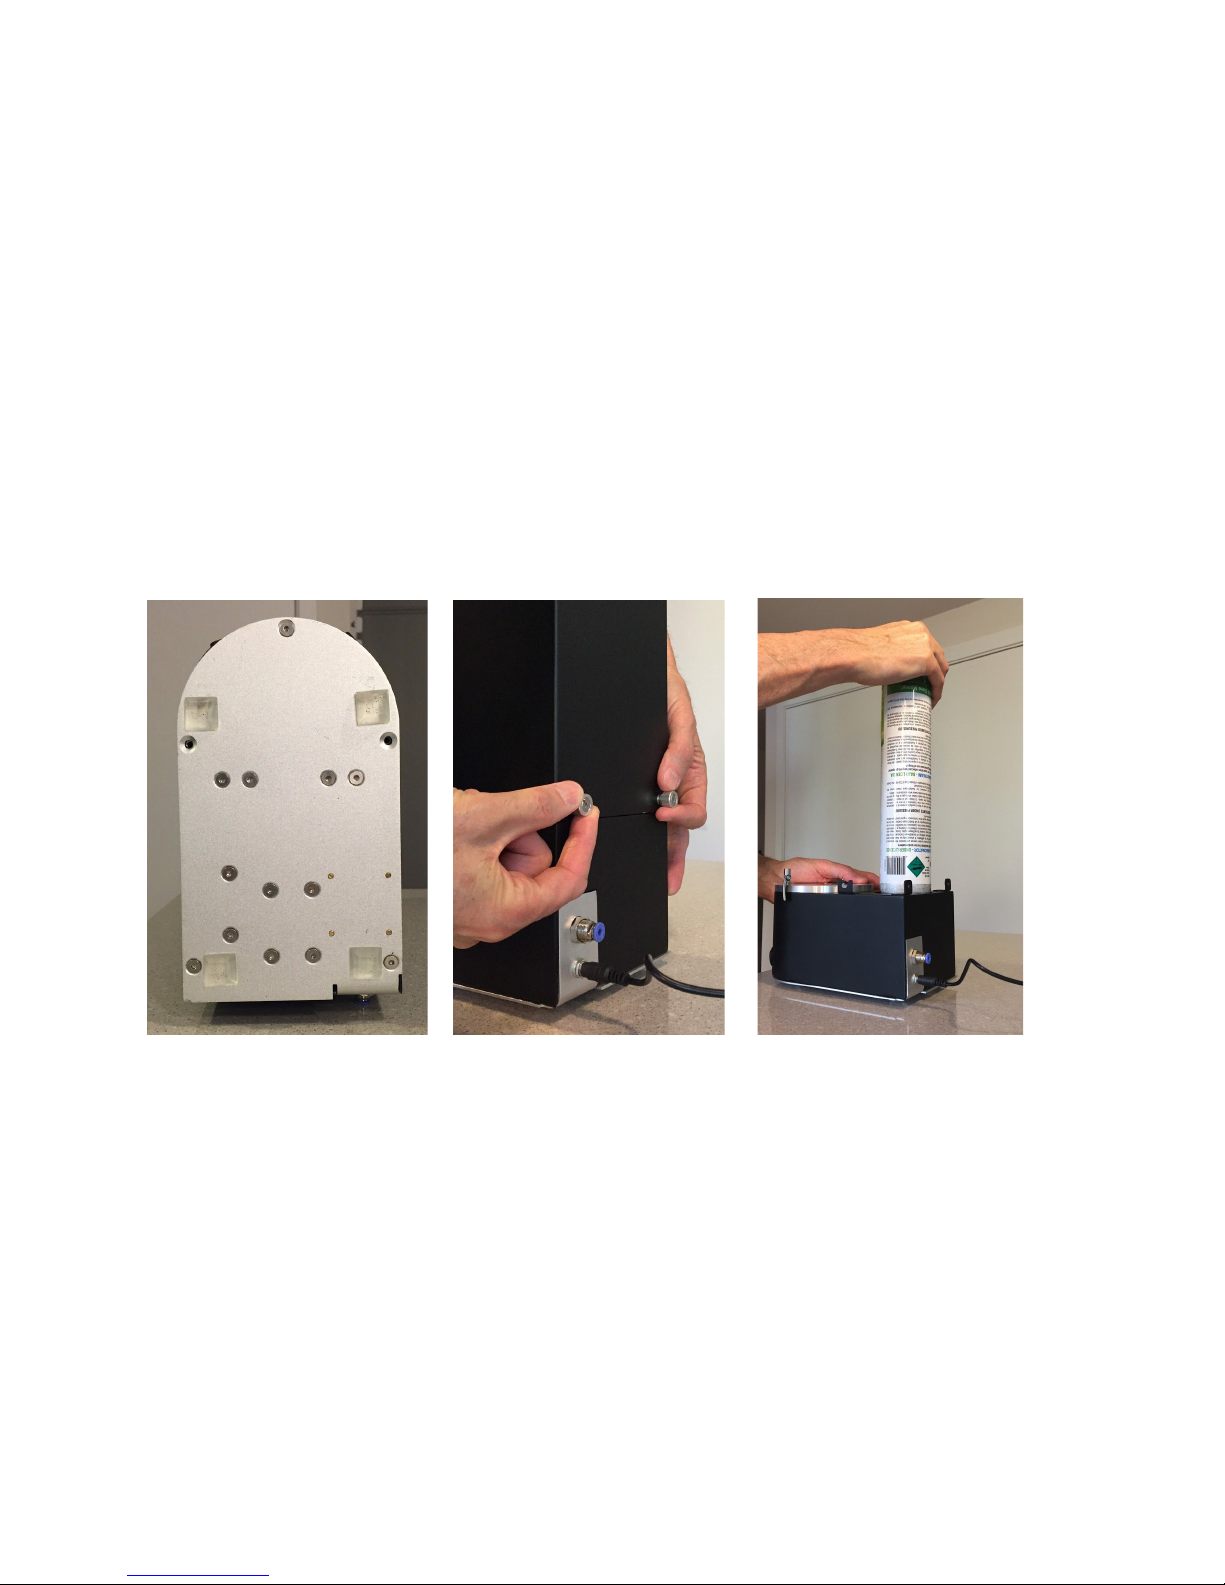
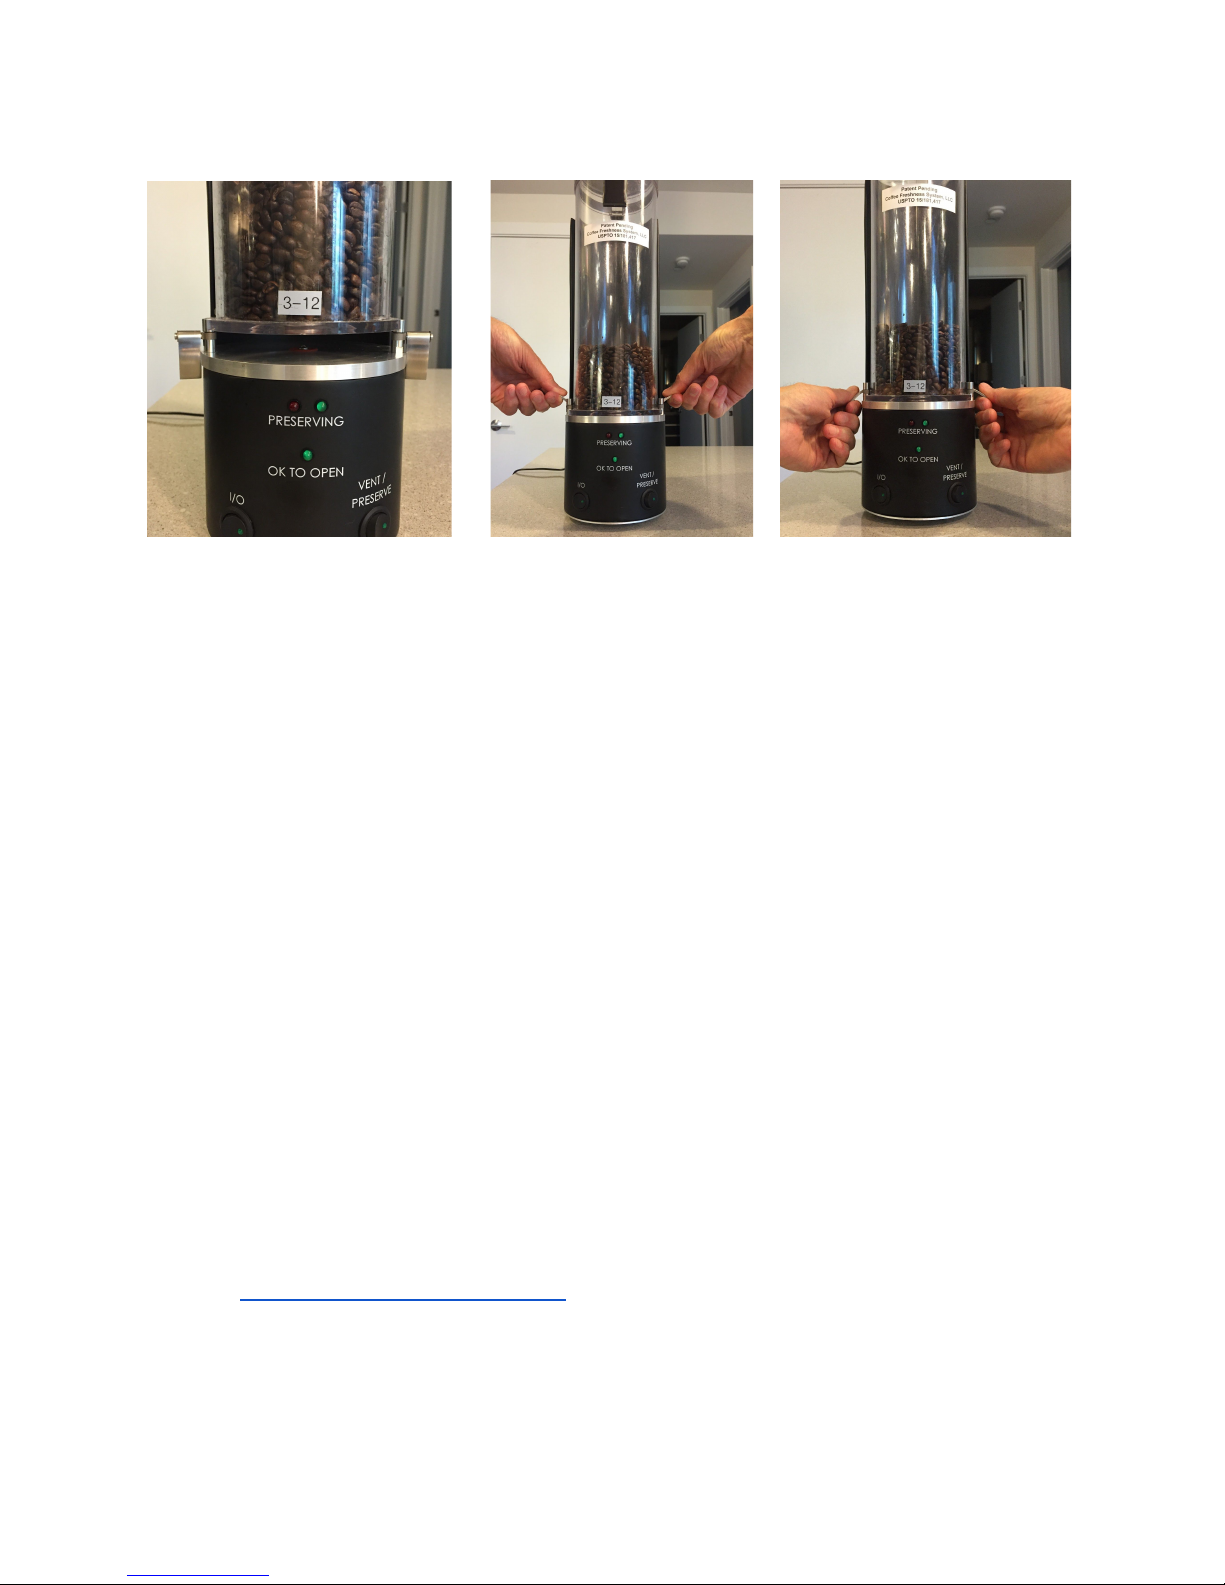
5.2 Lift the two securing levers upward (Fig-6), then rotate the levers outward 90
degrees away from the lower edge of the Airtight Canister.
5.3 Lift the Airtight Canister upward and over the two locating posts on the Base
assembly.
6: Installing Airtight Canisters while in Preservation (Pressurized) mode
6.1 Turn Main Power ‘I/O’ and ‘VENT / PRESERVE’ switches off.
6.2 Install Airtight Canister by placing over the two posts on the Base Assembly and
securing in place as described in step 1.5.
.
7: Maintenance
7.1 Preventing system leaks
Note: The system operates above atmospheric pressure, therefore it is important
to keep the system free from leaks.
7.1.1 Keep the lid o-ring and top surface of the Airtight Canister clean.
a. Clean the lid o-ring and top surface of the Airtight Canister weekly or as
needed if leaks develop.
b. Use a damp (not dripping) microfiber towel [Provided] to gently wipe the
o-ring and the top surface of the Airtight Canister clean.
c. Leave a portion of the microfiber towel dry or use a separate dry
microfiber towel to dry these surfaces before returning to service.
7.1.2 Keep the Base assembly o-ring and Airtight Canister check valve surface clean.
a. Clean the o-ring on the baseplate and the Airtight Canister check valve
surface once weekly or as needed if leaks develop.
b. Remove Airtight Canister from Base assembly by following steps 5.1 - 5.3.
c. Use a damp (not dripping) microfiber towel [Provided] to gently wipe the
o-ring on the baseplate and Airtight Canister check valve surfaces clean.
a. Leave a portion of the microfiber towel dry or use a separate dry
microfiber towel to dry these surfaces before returning to service.