Coffee Laboratory LSG 33 User manual

OPERATING MANUAL
LSG 33
Coffee Lab Grinder
Copyright: All rights to this technical documentation reserved. This
documentation is intended only for the personal use of the owner of the coffee
grinder. No part of the technical specifications, drawings and illustrations
contained in this documentation may be reproduced, circulated or used for the
purpose of competition or disclosed to others without the express written
permission.
Warnings and Handling
1. This Grinder is not intended for use by persons (including children) with
reduced physical, sensory or mental capabilities, or lack of experience and
knowledge, unless they have been given supervision or instruction concerning
use of the Grinder by a person responsible for their safety.
2. Children should be supervised to ensure that they do not play with the
Grinder.
3. Care is needed when handling cutting blades during cleaning.
4. If the supply cord is damaged, it must be replaced by the manufacturer or
its service agent or a similarly qualified person in order to avoid a hazard.
Coffee Laboratory 589 Rappahannock Drive White Stone Va 22578 TEL (804) 435-5522 www.coffeelabequipment.com

Correct Disposal of this product
This marking indicates that this product should not be disposed with other
household wastes throughout the EU. To prevent possible harm to the
environment or human health from uncontrolled waste disposal, recycle it
responsibly to promote the sustainable reuse of material resources. To return
your used device, please use the return and collection systems or contact the
retailer where the product was purchased. They can take this product for
environmental safe recycling.
Table of Contents (page)
1) Preface………………………………………………………………….3.
2) Technical Specifications.................................................................3.
3) General Description……………………………………………………4.
4) Unpacking and installation…………………………………………….4.
5) Operation………………………………………………………………..6.
6) Safety devices…………………………………………………………..7.
7) Safety instructions………………………………………………………8.
8) Maintenance and service………………………………………………9.
9) Cleaning………………………………………………………………...11.
Coffee Laboratory 589 Rappahannock Drive White Stone Va 22578 TEL (804) 435-5522 www.coffeelabequipment.com

Preface
Congratulations for purchasing the LSG33 Coffee Lab Grinder! The LSG33 is
a commercial Grinder to be used by professional users at coffee labs,
groceries, coffee shops, coffee roasters, espresso bars, hotels and
restaurants. The LSG 33 Coffee Lab Grinder grinds whole been coffee into a
container (not provided) with variable step less grind setting dial, from super
fine to course coffee powder.
Read this manual from cover to cover before using the Grinder as it contains
important safety, operation, and maintenance instructions for the proper use
of the Grinder. Keep the manual in a safe place for future use and reference.
The manufacturer reserves the right to modify the grinder and the manual
accordingly.
For any questions please refer to your dealer.
LSG33 Coffee Lab Grinder
Technical Specifications
Dimensions:
Height: 660mm, Width: 180mm, depth: 425mm
Weight: 26Kg
Disks diameter: 84mm
Bean hopper capacity: 2.0Kg Coffee beans
Electrical Specifications (single phase):
220V/50Hz Maximum current 4.5 Ampere
(220V/60Hz Maximum current 5 Ampere)
Grinding capacities:
>450gr/min. @ #3 setting (espresso)
Powder size range: 100micron-1000micron
Coffee Laboratory 589 Rappahannock Drive White Stone Va 22578 TEL (804) 435-5522 www.coffeelabequipment.com

General Description
Unpacking and Installation
1. After opening Grinder’s package, make sure that the grinder is intact
and that there is no visible damage. If there is any doubt, DO NOT continue
the installation procedure and contact your local dealer for further assistance.
2. Unpack the product carefully. For your convenience we suggest storing
all packaging materials where they can be used in the future, whenever the
Grinder’s transportation is necessary.
3. Place the grinder on a stable flat counter in a dry area away from water
or water splashes.
4. Open hopper’s beans lid and visually inspect that there are no foreign
objects of any kind remove any foreign object accordingly.
5. Install the hopper lid‘s handle with the provided screws and screwdriver.
Make sure to tight the screws so they cannot fall into the grinding chamber.
6. Install the grinder’s powder residue tray.
7. Before plugging in the electrical cord, make sure:
a) The Grinder voltage and frequency rating is the same as the supply
mains.
b) The wall socket is fitted with an efficient ground contact.
c) DO NOT plug the Grinder into the supply mains if a ground system is
not available in mains socket, socket should in compliance with national/local
electrical codes.
d) IT IS COMPULSORY TO GROUND THE GRINDER. The manufacturer
cannot be held responsible if this obligatory requirement was not complied.
Main switch
Grinding dial
Coffee powder outlet
chute
Residue tray
Bean hopper lid
Grinder’s body
Over-load protector
cover
Warning:!All!technical!handling!operations!such!as!installation,!
maintenance,!or!service!should!be!performed!by!certified!personnel!
or!by!your!local!dealer.!
Coffee Laboratory 589 Rappahannock Drive White Stone Va 22578 TEL (804) 435-5522 www.coffeelabequipment.com

f) The power consumption of the Grinder is consistent with the relevant
wall socket capacity.
g) The wall socket is protected against short-outs and power surges.
h) Do not: use extension cables, plug adapters for multiple sockets, or
make shift connections.
8. Plug in the Grinder.
Coffee Laboratory 589 Rappahannock Drive White Stone Va 22578 TEL (804) 435-5522 www.coffeelabequipment.com

Operation
Operation controls
Fig 5-1
Main Switch is a 3-way switch with Off, ON and Run positions (Fig 5-1).
The positionless grind setting knob shows the current grinding setting. Turn
the grind setting knob clockwise to achieve a finer grinding, or counter
clockwise for coarser grinding. (fig 5-1).
First time operation (to perform once after unpacking):
Plug-in the power cable into wall socket.
Set the grind setting knob on coarsest position (#9).
DO NOT PLACE COFFEE BEANS INTO THE BEANS HOPPER YET.
Start the grinder by switching the main switch to ‘RUN’ let the grinder run for a
while then while still running gradually change the grind setting from #9 all the
way to #1. And then return to #9. Repeat this cycle few times while the grinder
is running and listen for any abnormal noise coming from the grinder
throughout the process.
For any abnormal or excessive noise refer to your local dealer.
Grinding coffee:
After the completion of ‘first time operation’ the grinder is ready to be used.
Fill the hopper with coffee beans and place an empty container or bag under
the powder’s chute. Set the desired coarseness and turn the main switch to
RUN.
Ensure using a container (or bag), which is in higher volume than the desired
grinding volume.
While grinding observe the powder’s flow into the container.
Make sure that the powder is not overflowing the container and or blocking
the powder’s chute.
Coffee Laboratory 589 Rappahannock Drive White Stone Va 22578 TEL (804) 435-5522 www.coffeelabequipment.com

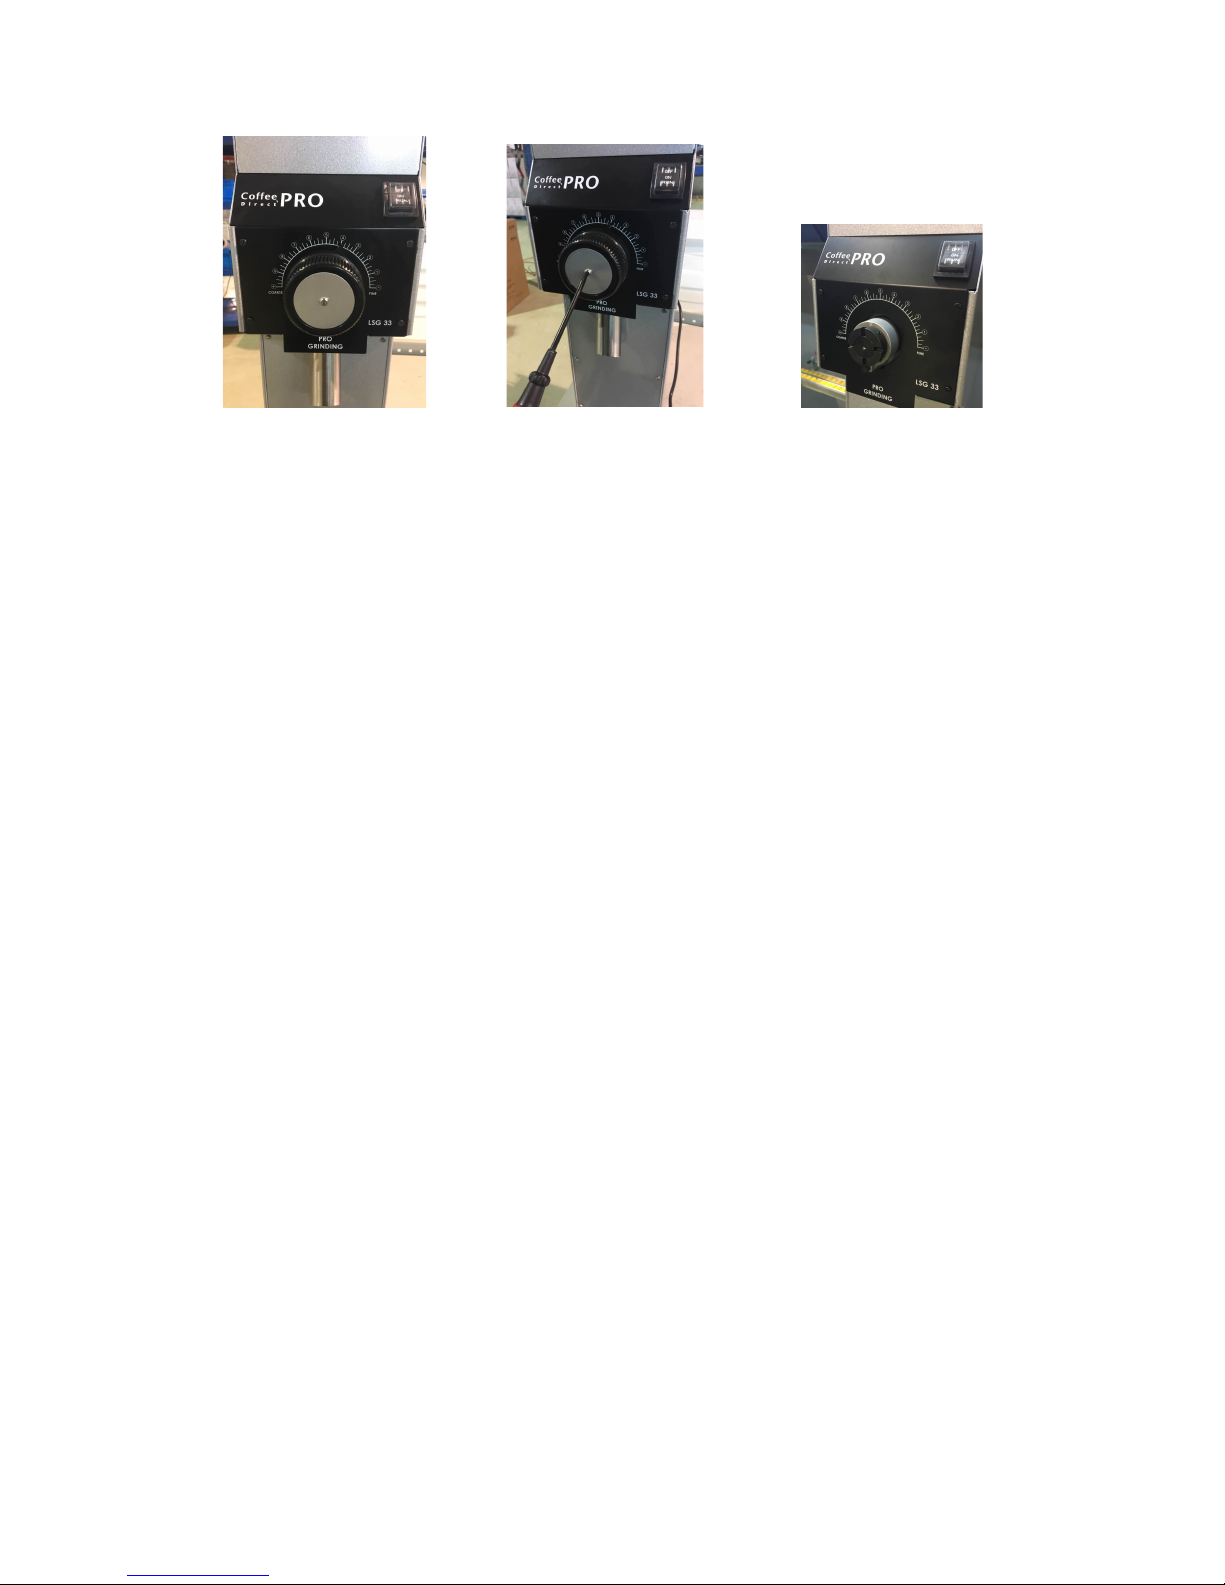
Stop the grinding by turning the main switch to ‘OFF’ position, before
removing completely the container use the container clipper to shake and
remove the final powder from the chute into the container (fig 5-2)
Fig 5-2
Remark about operation intervals:
It is a normal occurrence that during long grinding periods the grinding
chamber will warm up. In order to achieve best grinding results, it is
recommended to grind coffee in short intervals of no longer than 15 minutes
grinding per period of 20 minutes.
Safety Devices
Overload protection:
The grinder’s motor is equipped with a semi-automatic overload protection
device which cut-off the motor’s power automatically at over current condition.
The overload protector is located on the back of the grinder behind the round
lid.
In the event that the overload protection was tripped as a result of technical
problem (e.g.: jammed blades, worn out bearings, foreign object in grinding
chamber, etc.) the grinder’s main switch should be turned off and the main
power plug must be disconnected. Allow the grinder to cool down before any
further maintenance. For further handling of the device contact your local
service provider.
In the event that the overload protection was tripped as a result of a long
continuous operation allow the grinder to cool down. Reset the semi-
automatic protector by pressing the protector’s button (uncover the lid first).
On the first operation after resetting a tripped over-current protector observe
the grinding quality and noise level, and if there are any irregularities shut
Coffee Laboratory 589 Rappahannock Drive White Stone Va 22578 TEL (804) 435-5522 www.coffeelabequipment.com

down the grinder and call a certified technician for a complete analysis of the
Grinder.
Beans conveyor and grinding chamber safety cover:
The grinding chamber can be a hazardous area if the proper precautions
aren’t observed.
The beans hopper is equipped with hands and fingers safety protector.
Never remove the safety protector while the grinder is plugged in.
Never use a grinder that is not equipped with protector or if the protector is
broken
Safety Instructions
NEVER OPERATE THE GRINDER IF THE BEAN HOPPER IS NOT FULLY
SECURED TO THE GRINDER’S BODY. BEFORE REMOVING THE
HOPPER FOR ANY REASON MAKE SURE TO DISCONNECT THE POWER
SUPPLY.
NEVER CLEAR FOREIGN OBJECTS FROM THE BEANS CONVEYOR OR
BEANS HOPPER WHEN THE GRINDER IS PLUGGED INTO A POWER
SOCKET.
BEFORE ANY MAINTENANCE, EVEN FOR CLEANING, ALWAYS
DISCONNECT THE POWER SUPPLY.
Never attempt to insert your fingers or any foreign objects into the grinding
chamber or blades.
Be aware that grinding blades continue rotating for a short while after
switching OFF the Grinder and the grinding operation has ended.
In the event that the Grinder has a malfunction or the blades need to be
replaced, do not attempt to service the Grinder by yourself.
Do not change or tamper with the Grinder.
Do not use the Grinder barefoot or if your hands or feet are damp.
Do not use the cable wire to pull and disconnect the power plug.
Always keep the Grinder dry (internally and externally).
Coffee Laboratory 589 Rappahannock Drive White Stone Va 22578 TEL (804) 435-5522 www.coffeelabequipment.com

Do not regrind coffee powder
Do not attempt to use the grinder grinding anything else other than roasted
coffee beans.
Maintenance and Service
Following this rule will ensure long-lasting and reliable performance of your
Grinder.
Check the state of the grinding blades periodically (approximately every
100kg of grinded coffee). Good condition blades will result in a high quality
grind and prevent the Grinder’s over-heating. Replace grinding blades every
1,000kg of grinded coffee (with normal hardness blades).
The noise level of a grinder is a god indicator of its general condition. Be
aware of the Grinder’s noise level. In case the noise level is higher than
normal or irregular noises are coming from within the Grinder, get certified
personnel to perform an overall check of the Grinder.
BEOFRE ANY MAINTENANCE OR DISASSEMBLY PROCEDURE MAKE
SURE THE GRIDNER IS EMPTY OF COFFEE BEANS AND CLEAN OF
POWDER
Removing the grind setting knob:
Turn the grind knob to finest grinding position. (fig 8-1)
Use a flat screwdriver (provided with the grinder) to remove the knob’s main
center screw
Pull out the knob (fig 8-2)
After removing the grind setting knob, please note the silicone sliding
positionless cushion relative positon of the marks on the grinding body and on
the internal dial knob, if no further setting is required refrain from changing the
position of the internal knob (fig 8-3)
Warning:!All!technical!handling!operations,!such!as!installation,!
maintenance,!or!service!should!be!performed!by!certified!personnel!
or!by!your!local!dealer.!
Coffee Laboratory 589 Rappahannock Drive White Stone Va 22578 TEL (804) 435-5522 www.coffeelabequipment.com

Fig 8-1 Fig 8-2 Fig 8-3
Finest position loosen the securing screws silicone and body markers
Readjustment of grind setting
The grinder was factory set for different types of coffee powders, from finest
Turkish coffee to coarsest hand filter coffee. However, in course of time or
after thorough cleaning procedures or disks replacement, some changes in
setting may be required. If you feel your grinder is out of tune (either a
squeaking noise or grind powder is too coarse at the finest setting) please run
through the following procedure.
Release and pull the main grinding knob out.
The steel internal knob is exposed out now.
Note the current steel knob position (the relative position between the marker
on the knob to the marker on the main body)
Use a flat screw driver to slightly turn the steel knob clockwise in order to
make the pre-setting finer or counter clockwise in order to readjust the grinder
coarser.
Test the new setting, by running the grinder without coffee beans first. Then if
no an noise from on the new setting position use some coffee beans to test
the new position. Readjust accordingly.
Turn OFF the grinder, re-assemble the knob on Turkish coffee position,
tighten the screw and place the Logo cover back into its position.
Check the grinder by grinding coffee beans to various types of coffee powder
and repeat the entire process if necessary.
Coffee Laboratory 589 Rappahannock Drive White Stone Va 22578 TEL (804) 435-5522 www.coffeelabequipment.com

CLEANING
BEFORE ANY CLEANING ROUTINE GRIND AND MAKE SURE NO BEANS
OR POWDER ARE IN THE GRIDNER.
DISCONNECT THE GRINDER POWER SUPPLY.
NEVER USE RUNNING WATER FOR THE CLEANING PROCEDURE.
USE ONLY PERFECTLY CLEAN CLOTHS OR BRUSHES TO CLEAN THE
GRINDER.
DO NOT USE ABRASIVE CLEANING PRODUCTS AS THEY MAY
SCRATCH GRINDER’S FINISHING.
Cleaning the bean hopper
Release the top cover screws (4 screws on each top right and left side of the
grinder)
Release the 2 beans hopper screws (located on its back side)
Pull out the beans hopper and rinse it thoroughly with water and soap.
As the beans hopper is made of ABS, use only liquid detergent (free of
abrasive components) and soft sponge.
Before reinstalling the beans hopper, make sure it is thoroughly dried.
Cleaning the grinding chamber
Before starting the thorough cleaning procedure of the LSG33 coffee grinder,
read the complete set of instructions.
Refer to the previous paragraph 8 in order to disassemble the grinding knob
Refer to the below steps 1-8 in order to disassemble the grinding core
Use a cross screwdriver to release the 4 screws that secure powder chute to
the front cover.
Use a flat screwdriver to release the 4 screws of front cover and pull it gently
out.
Make a note and mark the wiring connection order with the main switch and
then release the 4 wires
Coffee Laboratory 589 Rappahannock Drive White Stone Va 22578 TEL (804) 435-5522 www.coffeelabequipment.com

Use a #3 Allen key to release the main grinding house (4 screws)
Pull out the entire grinding house including the internal grinding knob.
Pull out the bearing holder
Pull out the disk holder with the beans’ conveyor. Pay attention to the spring
at the end of the beans conveyor, it should be kept for the after cleaning
assembly process.
Reaching Step 8 below is the base situation for cleaning and replacing disks.
Use brush and cloths to clean all the parts thoroughly
Do not use sharp objects to scrape coffee residue off of the blades.
Examine both of the blades’ condition and replace them as necessary.
The replacement and assembly of a new set of blades is a delicate task. Only
skilled technical personnel should be allowed to perform blade removal and
assembly.
Always use an original spare parts made by the manufacturer
Clean the exposed grinding area.
Before re-assembling the parts lightly grease the motor shaft with food grade
grease.
Make your assembly way back in opposite order (steps 9-5)
Before assembly the main knob check and if necessary recalibrate grinder’s
tuning (refer to ADJUSTMENTS OF GRINDING OPERATION on paragraph
8)
After all cleaning and replacing tasks are performed make sure to assemble
all of the parts and safety screws the same way as they were disconnected. If
anything does not fit back together or there are left over parts, do not attempt
to operate the Grinder, call for the assistance of your technician. Start working
gradually and observe any irregular noise or behavior of the Grinder.
Advise with your local technical support for any irregular noise or grinding
problems.
Coffee Laboratory 589 Rappahannock Drive White Stone Va 22578 TEL (804) 435-5522 www.coffeelabequipment.com

Step 1 -remove chute Step 2 – remove front cover step Step 3-mark,
disconnect wires
Step 4 note internal knob pos. Step 5- release grinding house Step 6-
remove
grinding house
Step 7- remove the bearing cover Step 8 -remove the shear key Step 9-
remove the disk holder
Coffee Laboratory 589 Rappahannock Drive White Stone Va 22578 TEL (804) 435-5522 www.coffeelabequipment.com

A “more profound” cleaning procedure should only be performed by a skilled
technician.
To ensure long lasting grinder and great fresh taste of coffee, the cleaning
procedure as described above should be repeated routinely and at least once
per month or as necessary according the grinder’s usage and quality of
beans.
End of Manual
Coffee Laboratory 589 Rappahannock Drive White Stone Va 22578 TEL (804) 435-5522 www.coffeelabequipment.com
Table of contents