manuals.online logo
Brands
  1. Home
  2. •
  3. Brands
  4. •
  5. Colnatec
  6. •
  7. Measuring Instrument
  8. •
  9. Colnatec Eon-LT User manual

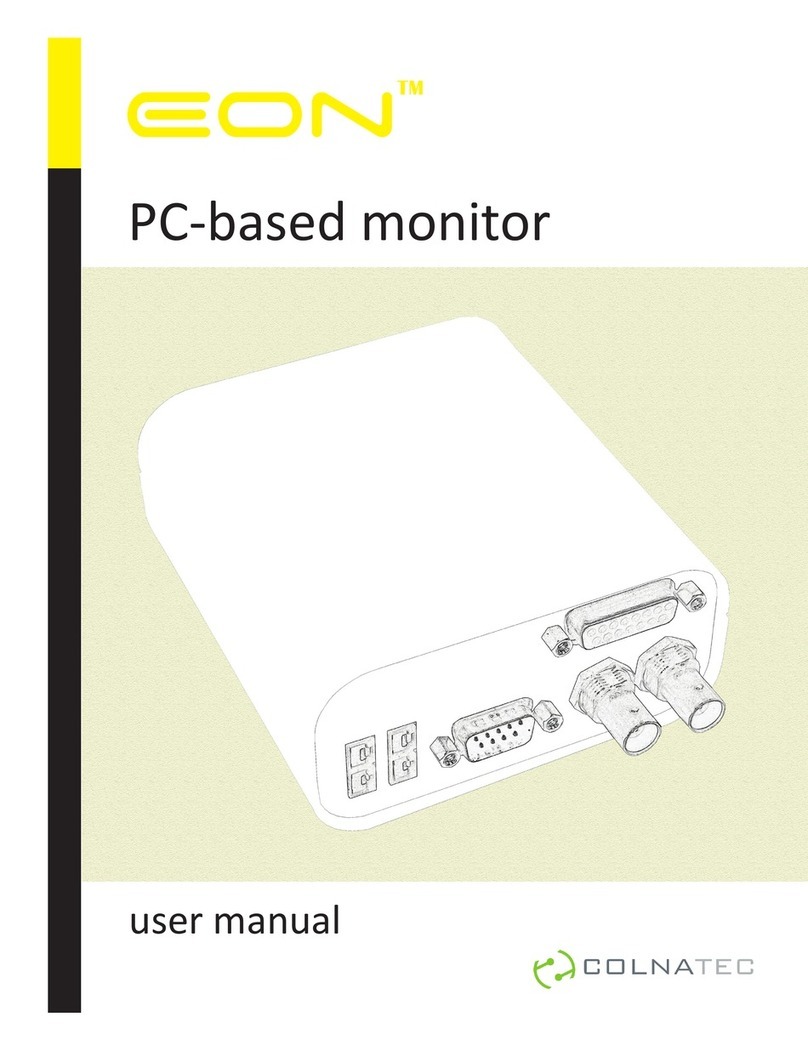
Colnatec Eon-LT User manual

Install Eon-LT™Software
onto PC
Insert the accompanying
Eon-LT™ software CD into
disc drive. Follow prompts to
install software onto PC.
Connect RS-232 to Eon-LT™
Plug RS-232 connector into
male serial port on rear panel.
Tighten integrated screws.
1.
A. Connecting Sensor
1. 2.
B. Connecting to PC
Connect RS-232 cable and
USB Adapter
Plug the other end of the
RS-232 cable into the
USB-to-RS-232 adapter.
Tighten integrated screws.
Plug USB-to-RS-232 Adapter
into PC
Plug USB-end of the USB-to-
RS-232 adapter into PC.
3. 4.
Connect Power to Eon-LT™
Plug Eon-LT™ power adapter
into AC outlet. Then plug DC
connector into the Eon-LT™.
Start Eon-LT™Software
Start Eon-LT™ software and
follow the First Start setup
procedure described in the
Eon-LT™User Manual (available
on Eon-LT™ software CD).
5. 6.
Ensure that the
software has been
fully installed before
connecting the USB
drivers
WARNING
If drivers are already
installed, simply update
the drivers when
installing software
Only use the provided
USB cable
Fully reboot the
computer after the
software installation to
prevent drivers issues
36 in MAX
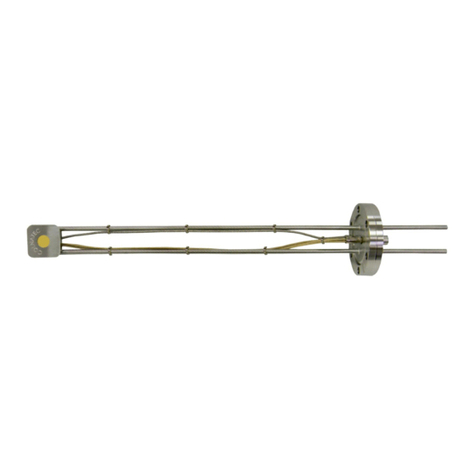
To avoid erratic noise levels in oscillation reading, length between the sensor head
crystal compartment and the Eon-LT™ SHOULD NOT exceed 36 inches (914 mm).
Connect Sensor to Eon-LT™
Connect BNC extension cable to
SMA, which then connects to the
BNC adapter cable using the
provided BNC union. Connect the
other end of the BNC extension cable
to the Eon-LT™ coaxial input (either
sensor 1 or 2).
Eon-LT™
quick reference guide
1.
C. Connecting Oscillator (Optional)
Attach Eon-LT™ and Sensor to
Oscillator
Attach Eon-LT™ BNC cable to
connector marked “Eon”. Then,
attach sensor BNC cable to oscillator
connector marked “Crystal”.
Without an oscillator, length between
the Eon-LT™ and the crystal
compartment SHOULD NOT exceed
36 inches (914 mm). Erratic noise
levels in oscillation reading will result
without use of an external oscillator.
While Colnatec tries to include in
your shipment everything you will
need to begin using your new
system, be advised that there are
certain items needed for the
operation of the system that must
be provided by the facilities. This
preparation guide will help you
prepare in advance, ensuring that
all the required items are available
at the time of installation.
Facilities Requirements
INSPECT PRODUCT CONDITION ON ARRIVAL
Examine Your new Eon-LT™ for any signs of physical damage. Make sure that the tamper-evident labels are intact. Before shipping, your Eon-LT™ was
calibrated and tested by Colnatec to meet the highest quality standards. It is important that you take a few minutes to inspect the product to ensure that
your equipment was not damaged or otherwise tampered with during transit.
WARRANTY LABEL
If the warranty label has been tampered with, “VOID” will appear where the warranty label was originally placed. If this is visible at the time of arrival, it is
important that you contact Colnatec immediately after receiving the product.
ADVISORY
Crystal Buying Guide
ALD, CVD
ALD, CVD
PVD, OLED
ALD, OLED,
CVD
SuperQuartz HT Quartz RC Quartz AT-Quartz
CNT06IG
CNT06IS
CNT06IA
CNT06RCIA
CNT06RCIG
CNT06HTIG
CNT06HTIA
CNT06HTG
CNT06SQG
CNT06SQPN
CNT06SQA
Eon-LT™ Computer • Windows XP or greater
• One USB port
• Minimum 1GB free hard disk space
• Minimum 1GB ram
Power • 120-240vac 50/60 HZ Mains
625 N. Gilbert Road, Suite 205 ●Gilbert, AZ 85234 ●480.634.1449 ●[email protected] ●[email protected]

Other manuals for Eon-LT

2

Other Colnatec Measuring Instrument manuals

Colnatec Eon User manual

Colnatec

Colnatec Eon User manual

Colnatec Tempe User manual

Colnatec

Colnatec Tempe User manual

Popular Measuring Instrument manuals by other brands

Landis+Gyr ULTRAHEAT T350 Series operating instructions

Landis+Gyr

Landis+Gyr ULTRAHEAT T350 Series operating instructions

PCB Piezotronics Triaxial ICP 354A05 Installation and operating manual

PCB Piezotronics

PCB Piezotronics Triaxial ICP 354A05 Installation and operating manual

VeEX FX41xT quick start guide

VeEX

VeEX FX41xT quick start guide

Sekonic DIGI MASTER L-718 operating instructions

Sekonic

Sekonic DIGI MASTER L-718 operating instructions

ABLE BEKA associates BA648CF-F Installation & maintenance instructions

ABLE

ABLE BEKA associates BA648CF-F Installation & maintenance instructions

oxford diffraction Xcalibur Series Pre-installation guide

oxford diffraction

oxford diffraction Xcalibur Series Pre-installation guide

Levenhuk Wezzer Air MC40 user manual

Levenhuk

Levenhuk Wezzer Air MC40 user manual

Armstrong Steam QM-3 Calibration manual

Armstrong

Armstrong Steam QM-3 Calibration manual

KROHNE OPTIFLUX 5000 quick start

KROHNE

KROHNE OPTIFLUX 5000 quick start

MKS Granville-Phillips Series 275 quick start guide

MKS

MKS Granville-Phillips Series 275 quick start guide

Ametek 682T-HP user manual

Ametek

Ametek 682T-HP user manual

ALLIANCE POM100 user manual

ALLIANCE

ALLIANCE POM100 user manual

Circutor CVM-C10 instruction manual

Circutor

Circutor CVM-C10 instruction manual

Sper scientific 800034 instruction manual

Sper scientific

Sper scientific 800034 instruction manual

ANALOX 1371 MK2 instruction manual

ANALOX

ANALOX 1371 MK2 instruction manual

Fluke FOM Service information

Fluke

Fluke FOM Service information

janitza 800-CT8-A installation instructions

janitza

janitza 800-CT8-A installation instructions

TPI 777 manual

TPI

TPI 777 manual

manuals.online logo
manuals.online logoBrands
  • About & Mission
  • Contact us
  • Privacy Policy
  • Terms and Conditions

Copyright 2025 Manuals.Online. All Rights Reserved.