manuals.online logo
Brands
  1. Home
  2. •
  3. Brands
  4. •
  5. comfortel
  6. •
  7. Indoor Furnishing
  8. •
  9. comfortel basin stand II 1000C User manual

comfortel basin stand II 1000C User manual

comfortel.com.au
#1000C BASIN STAND II / WITH DEEP WHITE BASIN XL
#1000D BASIN STAND II / WITH DEEP BLACK BASIN XL
basin stand II
with XL basin
owners manual
GET STARTED
BASIN STAND II
For Comfortel Washlounges
The pedestal basin stand features a tilt and slide
mechanism to quickly adjust for all client heights.
All measurements are in MM.
POSITIONING
A
B
Wall
180mm
DIAGRAM A
If washing from rear to stand, add extra distance of
420mm from wall.
All measurements are in MM.
DIAGRAM B
PLUMBING ACCESS OPTIONS
Determine the best way to connect plumbing for
your washlounge.
OPTION 1: PLUMBING
From behind the basin stand connect plumbing
to the wall. From the back of the stand, plumbing can
be installed from a maximum height of 400mm from
the floor.
OPTION 2: PLUMBING
From under the basin stand connect plumbing to
the floor
GENERAL SAFETY
1. Read carefully and keep these instructions in a
safe place.
2. Use this product only for its intended function and
do not use attachments not recommended by the
manufacturer.
3. Do not use outdoors.
PLUMBING
1. This unit must be installed by a licensed plumber.
IMPORTANT PLEASE READ THESE SAFETY INSTRUCTIONS
DO NOT ALLOW CHILDREN AROUND
THE WASHLOUNGE WHEN IN USE
ALL PLUMBING MUST BE COMPLETED
BY A LICENSED PLUMBER
IMPORTANT
IMPORTANT
315
200
INSTALLATION & ASSEMBLY: BASIN STAND II WITH XL BASIN OPTION
15
14
13
17
12
11
16
10
9
8
7
5 6
22
21
19
18
20
2
1
34
MUST USE
‘P’ TRAP
REAR
25
DIAGRAM E
INSERT
BEFORE INSTALLING YOU SHOULD CONSIDER THE
FOLLOWING:
Allow for the necessary room around the unit for free
movement.
• If installing against a wall, a minimum distance of
80mm between wall and bottom back of stand is
required to allow free backward movement of basin.
• If plumbing location is in wall (see Diagram A), drill a
hole in rear wall of stand. For neatness of finish it is
preferable to bring water and waste into the stand in
the same hole.
• If plumbing location is on floor (see Diagram A), place
stand over.
1Flick Mixer
2Showerhead
3Showerhose basin collar
4Comfortneck
5Foam washers
6Plastic nut
7Showerhose
8Flat seal
9Fitted flange
10 Flexible waste pipe
11 Flange
12 Seal
BASIN ASSEMBLY
COMFORTEL PRODUCT
#1000C-D BASIN STAND II WITH WHITE OR BLACK BASIN XL
STAND ASSEMBLY
1. Position stand as required. If plumbing location is in
wall drill hole in rear of stand; if plumbing location is
on the floor place stand over. (P trap not supplied).
2. Basin stand MUST be secured to the floor. Use the
floor mount holes (Fasteners not supplied). Rear
Access Panel may be removed to facilitate access.
BASIN ASSEMBLY
3. Install Flick Mixer using O-ring, plastic and metal
washers & (Long Nut) and Shower Head using the
Showerhose Basin Collar, O-ring, Foam Washer &
Plastic Nut as indicated.
4. Place Flick Mixer and Shower Head Hoses through
the holes in the Vinyl Strap.
5. Connect Flexible Waste Pipe to Plug and Waste
which is already installed making use of the with Flat
Seal and fitted Flange.
STAND-BASIN ASSEMBLY PLUMBING CONNECTION
6. Connect Flexible Waste Pipe to P trap (not supplied)
making use of Seal and Flange.
7. Using four screws found on top of Stand, fix
assembled Basin to stand making use of holes at
end of rail channels.
8. Connect hot and cold (½” connection) water
braided hoses to respective supplies.
9. Connect Basin Spring which is already connected
to the tilt and slide plate to the hole in the stand at
the top left corner. (See insert)
10. Place both ends of Vinyl Cover into the slots
provided on front and back of Stand.
11. Please attach Comfortneck to the basin.
12. Fit Shampoo Tray (optional extra) to the side of
your choice.
13 Stand
14 P trap (not supplied)
15 Floor Mount Holes
16 Rear Access Panel
17 Shampoo tray
(optional extra)
18 Vinyl strap
19 Long nut
20 Plastic washers
21 Metal washers
22 O-ring
23 Basin Spring
A periodic inspection of all components and fasteners
should be made to ensure that your Comfortel
product is structurally intact and functioning properly.
Damaged and broken parts should be replaced and
loose fasteners tightened.
All maintenance to be carried out by a suitably
qualified tradesperson.
GENERAL CLEANING
·We recommend the use of soapy water or
approved cleaners.
·This product should not be cleaned with abrasive
materials.
·Damage caused by any improper treatment is not
covered by the product warranty
HOW TO CHANGE A SHOWER HEAD
Please view our online video on how to change
a showerhead:
help.comfortel.com.au
MAINTENANCE
CLEANING
PURCHASE DATE INVOICE NUMBER
NOTE YOUR PURCHASE DATE & INVOICE NUMBER FOR FUTURE REFERENCE
PRODUCT CODE The information contained in this document is subject to change without notice and
should not be construed as a commitment by Comfortel Furniture Pty Ltd.
Comfortel Furniture Pty Ltd. assumes no responsibility for any errors that may appear in
this document nor does it make expressed or implied warranty of any kind with regard
to this material, including, but not limited to, the implied warranties of merchantability
and fitness for a particular purpose.
Comfortel Furniture Pty Ltd. shall not be liable for incidental or consequential damages
in connection with or arising out of the use of this document and the program material.
PLEASE RETAIN THIS INFORMATION FOR FUTURE REFERENCE
For more information about our products and services, contact us at comfortel.com.au
comfortel.com.au
©Comfortel Furniture. All rights are reserved. No part
of this document may be photocopied, reproduced or
translated to another language without written consent
of Comfortel Furniture Pty Ltd.
WARRANTY PERIOD
TERMS AND CONDITIONS. For more information about our warranty, please refer to our website.
Revision Date: 24-11.2020
#1000C BASIN STAND II / WHITE BASIN XL
#1000D BASIN STAND II / BLACK BASIN XL

This manual suits for next models

1

Other comfortel Indoor Furnishing manuals

comfortel Metal Box Rectangle User manual

comfortel

comfortel Metal Box Rectangle User manual

comfortel perla 7405 User manual

comfortel

comfortel perla 7405 User manual

comfortel San Remo Brass Arch User manual

comfortel

comfortel San Remo Brass Arch User manual

comfortel Salon mirror joiner 8030 User manual

comfortel

comfortel Salon mirror joiner 8030 User manual

comfortel Sienna User manual

comfortel

comfortel Sienna User manual

comfortel Messina User manual

comfortel

comfortel Messina User manual

comfortel Mova Trim User manual

comfortel

comfortel Mova Trim User manual

comfortel Nero Double User manual

comfortel

comfortel Nero Double User manual

comfortel COLOUR STATION II User manual

comfortel

comfortel COLOUR STATION II User manual

comfortel HALO 8720 User manual

comfortel

comfortel HALO 8720 User manual

comfortel supernova footrest 10261 User manual

comfortel

comfortel supernova footrest 10261 User manual

comfortel COLOUR BAR CABINET II 8861 User manual

comfortel

comfortel COLOUR BAR CABINET II 8861 User manual

comfortel Verona Grande User manual

comfortel

comfortel Verona Grande User manual

comfortel 7018 User manual

comfortel

comfortel 7018 User manual

comfortel COLOUR BAR II User manual

comfortel

comfortel COLOUR BAR II User manual

comfortel 8122 User manual

comfortel

comfortel 8122 User manual

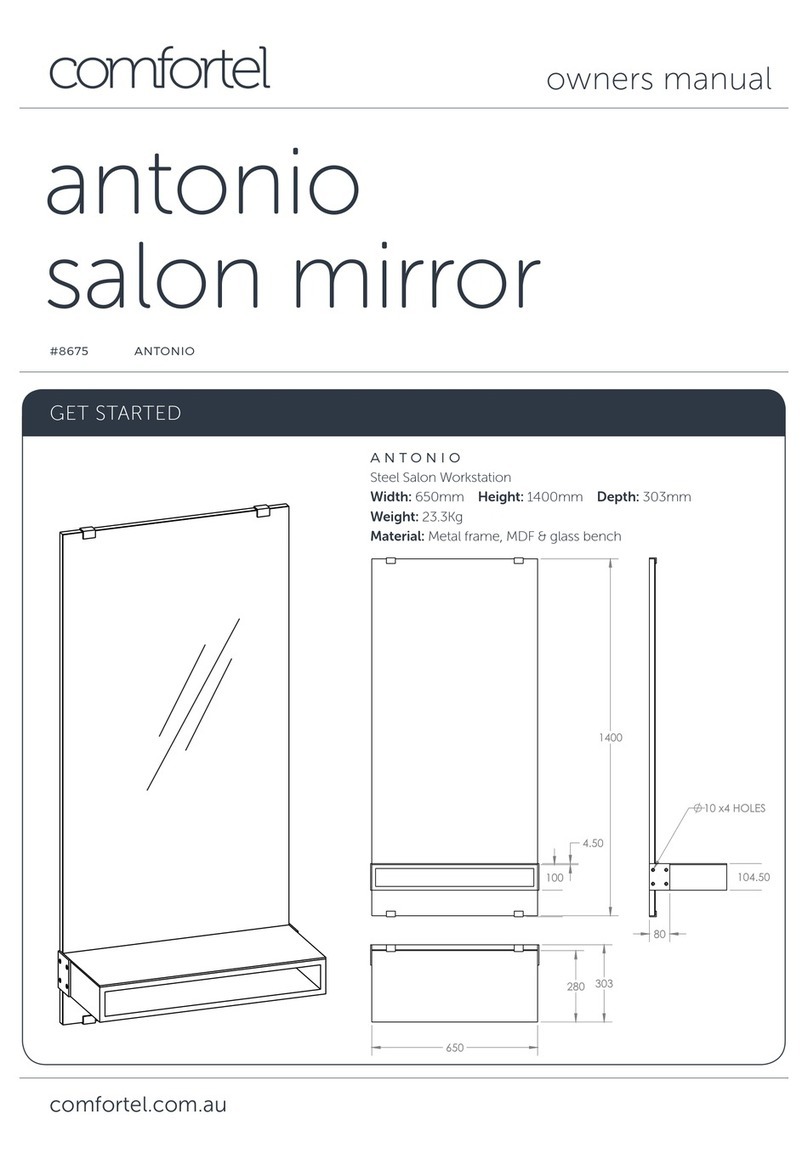
comfortel ANTONIO 8675 User manual

comfortel

comfortel ANTONIO 8675 User manual

comfortel Comet User manual

comfortel

comfortel Comet User manual
comfortel Mova User manual

comfortel

comfortel Mova User manual

comfortel COMET BLACK FOOTREST User manual

comfortel

comfortel COMET BLACK FOOTREST User manual

comfortel 8309 User manual

comfortel

comfortel 8309 User manual

comfortel 8720 User manual

comfortel

comfortel 8720 User manual
comfortel Smart colour 8750 User manual

comfortel

comfortel Smart colour 8750 User manual

comfortel 7016 User manual

comfortel

comfortel 7016 User manual

Popular Indoor Furnishing manuals by other brands

Regency LWMS3015 Assembly instructions

Regency

Regency LWMS3015 Assembly instructions

Furniture of America CM7751C Assembly instructions

Furniture of America

Furniture of America CM7751C Assembly instructions

Safavieh Furniture Estella CNS5731 manual

Safavieh Furniture

Safavieh Furniture Estella CNS5731 manual

PLACES OF STYLE Ovalfuss Assembly instruction

PLACES OF STYLE

PLACES OF STYLE Ovalfuss Assembly instruction

Trasman 1138 Bo1 Assembly manual

Trasman

Trasman 1138 Bo1 Assembly manual

Costway JV10856 manual

Costway

Costway JV10856 manual

moss DESIGN Caisson Credenza Assembly instructions

moss DESIGN

moss DESIGN Caisson Credenza Assembly instructions

Aquaglide FULL DECK 15.0 owner's manual

Aquaglide

Aquaglide FULL DECK 15.0 owner's manual

AREBOS AR-HE-SW30 user manual

AREBOS

AREBOS AR-HE-SW30 user manual

Till-Hilft Fulda 87005.330 Assembly instructions

Till-Hilft

Till-Hilft Fulda 87005.330 Assembly instructions

Twoey Outside 2010 quick start guide

Twoey Outside

Twoey Outside 2010 quick start guide

Hettich Easys 200 operating instructions

Hettich

Hettich Easys 200 operating instructions

The bedboss RELAX 404 Series owner's manual

The bedboss

The bedboss RELAX 404 Series owner's manual

Oeseder Möbelindustrie Bern 991 720 Assembly instructions

Oeseder Möbelindustrie

Oeseder Möbelindustrie Bern 991 720 Assembly instructions

Costway HW68469 user manual

Costway

Costway HW68469 user manual

Next ALIX A27743 Assembly instructions

Next

Next ALIX A27743 Assembly instructions

BROSA Hans Assembly guide

BROSA

BROSA Hans Assembly guide

Prodigg MINIKA PBA015T-FUR installation manual

Prodigg

Prodigg MINIKA PBA015T-FUR installation manual

manuals.online logo
manuals.online logoBrands
  • About & Mission
  • Contact us
  • Privacy Policy
  • Terms and Conditions

Copyright 2025 Manuals.Online. All Rights Reserved.