manuals.online logo
Brands
  1. Home
  2. •
  3. Brands
  4. •
  5. COMPASS HEALTH
  6. •
  7. Bathroom Aid
  8. •
  9. COMPASS HEALTH B753 User manual

COMPASS HEALTH B753 User manual

Find the 1 medium sized screw -
WARNING - Medium screw MUST be used for the
next step or damage to the seat will occur. Place medium screw
with washer into center hole through both U bars and into the
screw hole in the seat. The contour of the washers should match
the curve of the bar. DO NOT fully tighten yet.
Encuentra el 1 tornillo de tamaño mediano -
ADVERTENCIA - El tornillo de tamaño mediano DEBE ser
utilizado para el siguiente paso; de lo contrario, se producirán
daños o lesiones. Coloque el tornillo mediano con arandela en el
oricio central a través de ambas barras en U y en el oricio del
tornillo en el asiento. El contorno de la arandela debe coincidir
con la curva de la barra. NO apriete por completo.
Seat /
Asiento x 1
Backrest /
Respaldo x 1
Parts List/Lista de Partes
Leg Extensions /
Extensiones de Pierna x 4
Washer / Arandelas x 5
L Bars /
Barras L x 2
Medium Screws /
Tornillos Medianos x 1
Long Screws /
Tornillos Largos x 4
U Bars /
Barras U x 2
Labeled “1” and “2”
Etiquetado “1” y “2”
B753
WARNING: Read all instructions and warnings prior to assembly and use.
ADVERTENCIA: Lea todas las instrucciones y advertencias antes del ensamblaje y uso.
WEIGHT CAPACITY: 350 lbs
CAPACIDAD DE PESO: 350 libras
2
Assembly Instructions /
Instrucciones de montaje
Bath and Shower Seat with Back /
Asiento de baño y ducha con respaldo
1
Medium Screw /
Tornillos Medianos
1
1
1
Place seat face-down on a table or counter with the FRONT
edge closest to you (BACK edge has the shower sprayer
notches, FRONT edge does not). Place U bar labeled “1” in the groove in
the seat which extends from BACK LEFT corner of seat to RIGHT FRONT
corner of seat, as shown in Figure 1., above. Place the U bar labeled “2”
in the other groove, on top of U bar “1.” NOTE: when placed correctly,
the 2 U bars will align at the center as shown in Figure 2., above and the
“1”, “2”, “3” and “4” labels will all be aligned.
WARNING: Failure to assemble this bath seat correctly can result in
falls / injuries.
Coloque el asiento boca abajo sobre una mesa o mostrador con el borde
del asiento cerca del borde de la mesa. Coloque la barra en U etiquetada
“1” en la ranura del asiento, de modo que el “1” en la barra esté al lado
del “1” en el asiento. Coloque la barra en U etiquetada “2” en el asiento
para que el “2” en la barra esté al lado del “2” en el asiento. NOTA:
cuando se colocan correctamente, las 2 barras U se alinearán en el centro
como se muestra en la Figura 2., y las etiquetas “1”, “2”, “3” y “4”
estarán alineadas.
ADVERTENCIA: si no se monta correctamente este asiento de baño,
se pueden producir caídas / lesiones.
1
Figure 2. Proper alignment of U bars
Figura 2. Alineación correcta de barras en U
Figure 1. Correct placement of U Bars
Figura 1. Colocación correcta de l Barras
Rear / Posterior
Front / Frente
Figure 3. Securing U bars to seat
Figura 3. Fijación de barras U para asiento
Rear /
Posterior
Front / Frente
2
4
3
1
2
1
3
4
2
43
1
2
1
3
4
Assembly Instructions /
Instrucciones de montaje
Bath and Shower Seat with Back /
Asiento de baño y ducha con respaldo
Slip leg extensions on,
push copper pin and
slide on, line up pin and hole so
pin pops through leg extension
hole completely. Repeat for all
4 legs. Adjust height so all legs
are the same height.
Deslice las extensiones de
pierna, empuje el pasador de
cobre y deslícelo, alinee el
pasador y el oricio para que
el pasador salga por completo
del oricio de extensión de la
pierna. Repita para las 4 patas.
Ajuste la altura para que todas
las piernas sean iguales.
Check for stability. Assure all
pins are completely through
the holes and legs are all the same
height. Place Bath and Shower Seat
in shower or bath on a level surface.
Periodically check to assure that all
screws remain tight.
Verica la estabilidad. Asegúrese
de que todos los pasadores estén
completamente a través de los
agujeros y que las patas tengan la
misma altura. Coloque el asiento
de baño y ducha en la ducha o el
baño en una supercie nivelada.
Controle periódicamente para
asegurarse de que todos los
tornillos estén apretados.
Place L bar over U bar holes so holes line up. Insert
screws and washers on L bar. DO NOT tighten yet.
Repeat with other L Bar. Fully tighten the 4 long screws.
Tighten the middle medium screw. Periodically check to
assure that all screws remain tight.
Coloque la barra L sobre los agujeros de la barra en
U para que los oricios estén alineados. Atornille con
tornillos largos, incluida la arandela. NO apriete. Repita
con otra barra L. Aprieta los 4 tornillos largos. Apretar
el tornillo mediano. Controle periódicamente para
asegurarse de que todos los tornillos estén apretados.
4
Attach backrest to both L bars. Press in the
pop pins and line up with backrest holes.
Assure pins are completely through the holes.
Fije el respaldo a ambas barras en L. Presione
los pernos y alinee con los agujeros en el
respaldo. Asegúrese de que los pasadores estén
completamente a través de los agujeros.
3
Long Screws /
Tornillos largos
2
6
5
See additional warnings on enclosed warnings guide.
Ver advertencias adicionales en la guía de advertencia adjunta.
Made in China
Hecho en China
42-B75300 0000_00 © 2021
Manufactured for / Fabricado por:
Compass Health Brands Corp., Middleburg Heights, OH 44130
www.compasshealthbrands.com • 800.376.7263
2
43
1
2
1
3
4

Popular Bathroom Aid manuals by other brands

Cobi Rehab XXL-Rehab Rise N Tilt user manual

Cobi Rehab

Cobi Rehab XXL-Rehab Rise N Tilt user manual

Invacare 9630E Styxo Assembly, installation and operating instructions

Invacare

Invacare 9630E Styxo Assembly, installation and operating instructions

Leckey firefly splashy BIG user manual

Leckey

Leckey firefly splashy BIG user manual

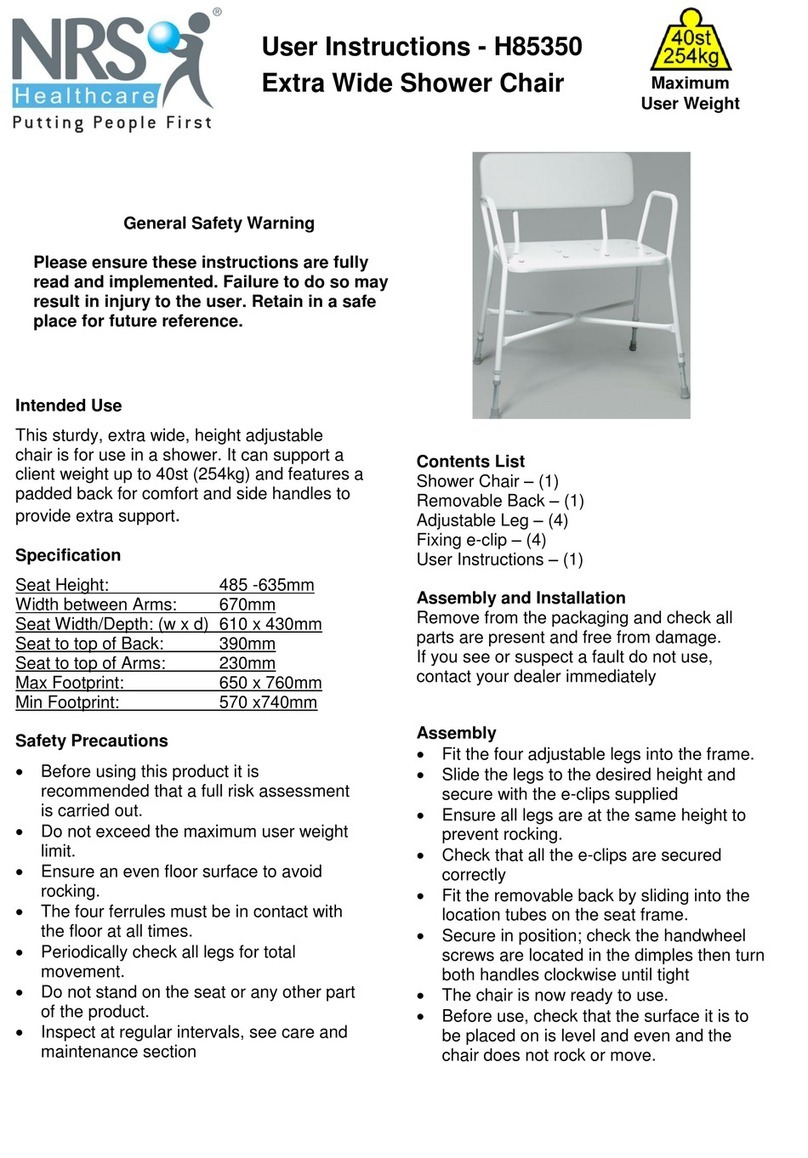
NRS Healthcare H85350 User instructions

NRS Healthcare

NRS Healthcare H85350 User instructions

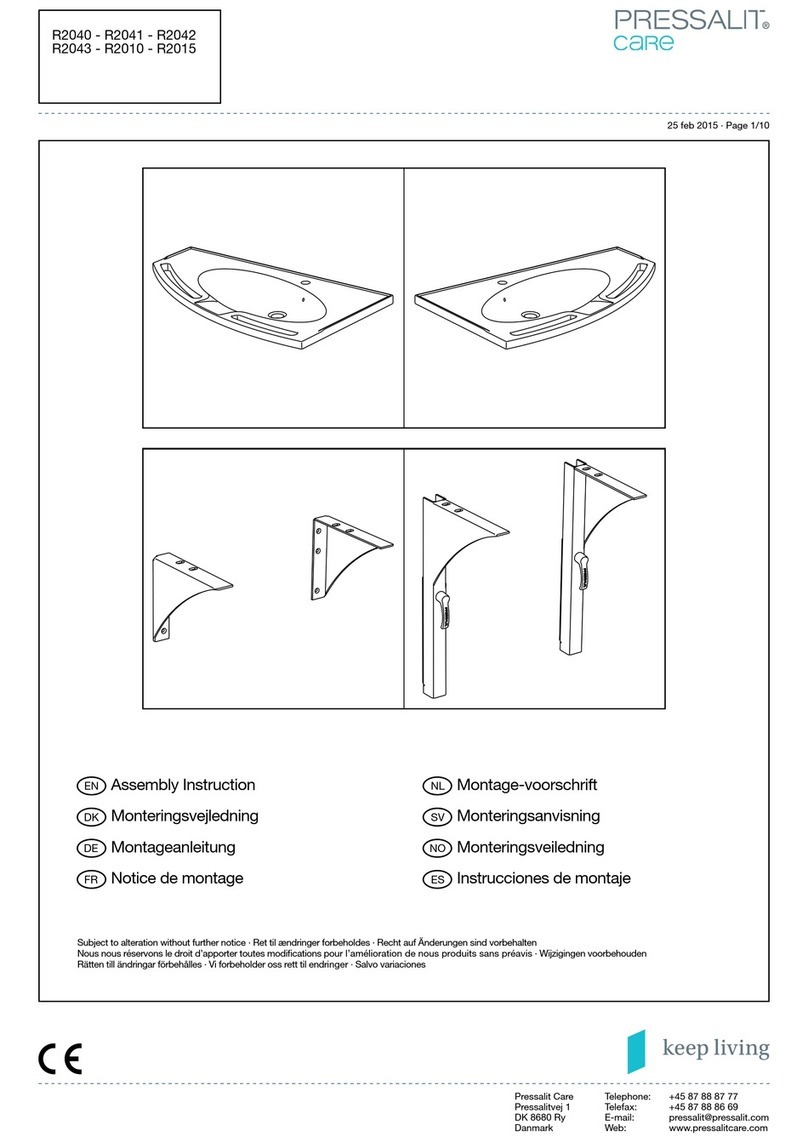
Pressalit Care R2040 Assembly instruction

Pressalit Care

Pressalit Care R2040 Assembly instruction

WENKO 23285100 Assembly instructions

WENKO

WENKO 23285100 Assembly instructions

Dietz SmartCare TAYO operating instructions

Dietz SmartCare

Dietz SmartCare TAYO operating instructions

Invacare Aquatec Ocean user manual

Invacare

Invacare Aquatec Ocean user manual

Roth Mobeli 1400222H2S instruction manual

Roth

Roth Mobeli 1400222H2S instruction manual

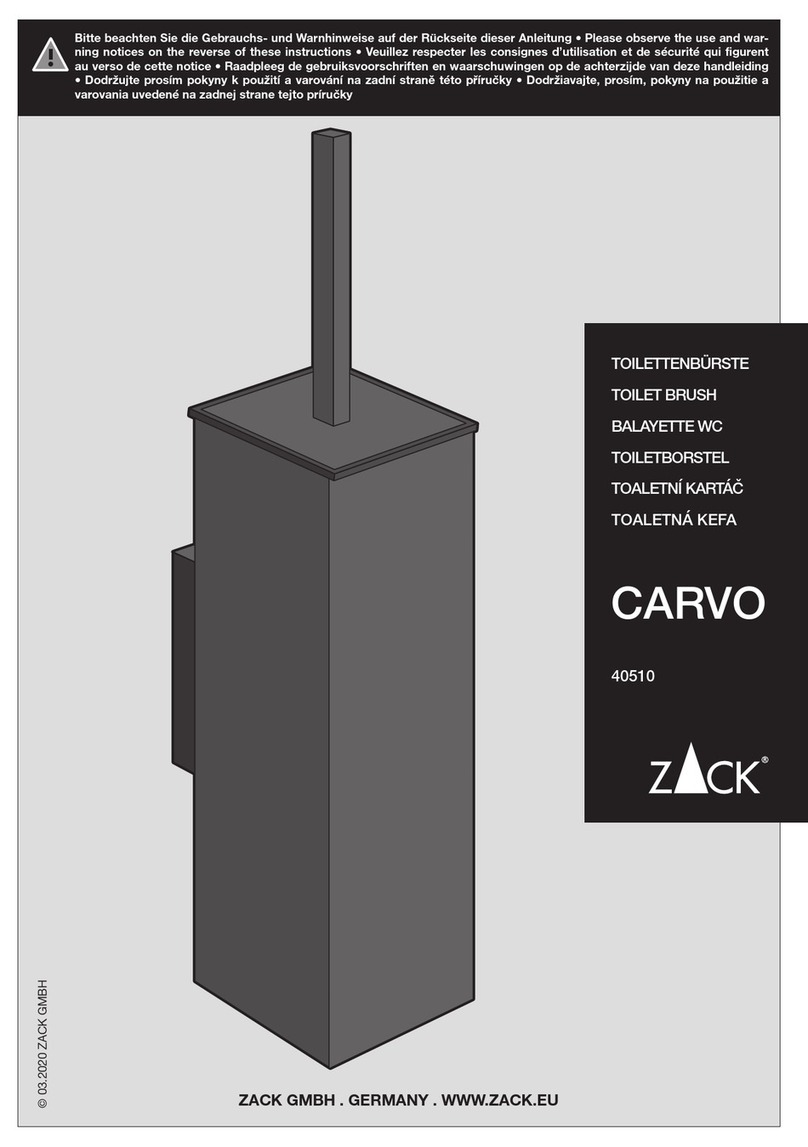
ZACK CARVO 40510 quick start guide

ZACK

ZACK CARVO 40510 quick start guide

lopital Elexo Instruction card

lopital

lopital Elexo Instruction card

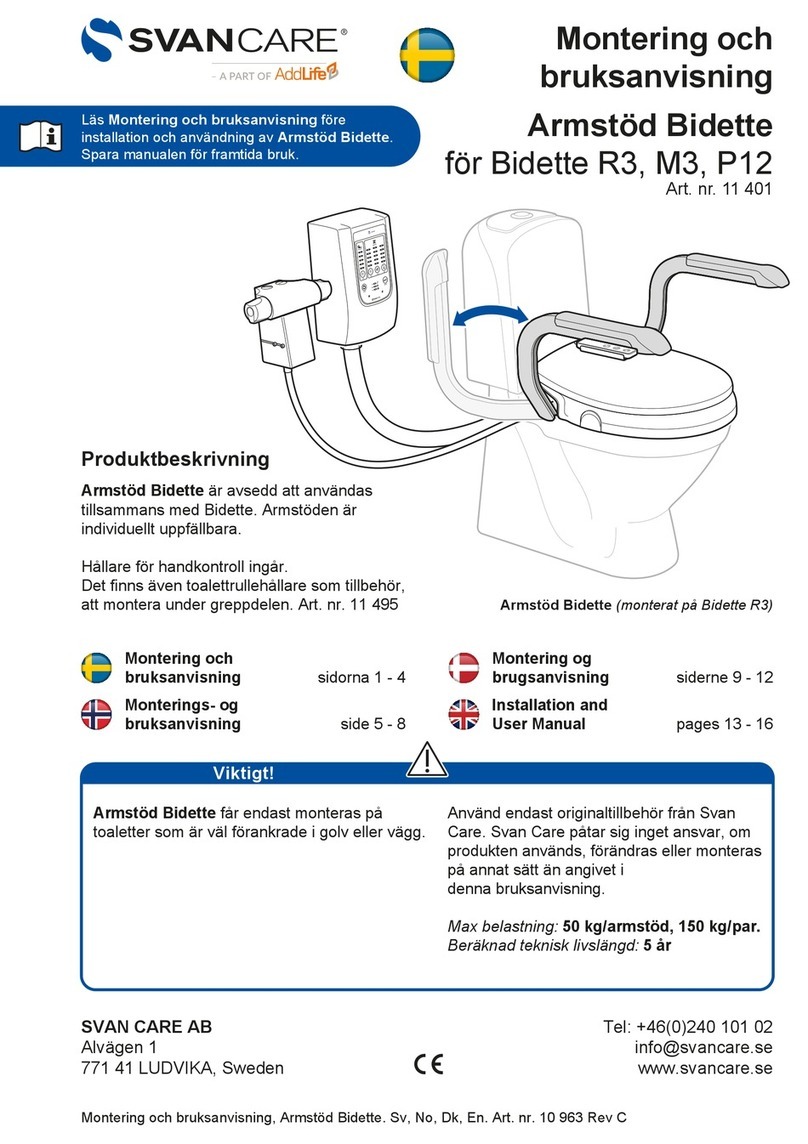
AddLife SVAN CARE R3 Installation and user manual

AddLife

AddLife SVAN CARE R3 Installation and user manual

Invacare Aquatec ORCA Repair instructions

Invacare

Invacare Aquatec ORCA Repair instructions

SEVERIN LB 7220 manual

SEVERIN

SEVERIN LB 7220 manual

NRS Mowbray Lite Plus User instructions

NRS

NRS Mowbray Lite Plus User instructions

HMN Nielsen Line user guide

HMN

HMN Nielsen Line user guide

Pressalit R6414 Mounting instruction

Pressalit

Pressalit R6414 Mounting instruction

Pressalit R360070 Mounting instruction

Pressalit

Pressalit R360070 Mounting instruction

manuals.online logo
manuals.online logoBrands
  • About & Mission
  • Contact us
  • Privacy Policy
  • Terms and Conditions

Copyright 2025 Manuals.Online. All Rights Reserved.