Comsat DVB-3033 User manual

I
DVB-3033
TRT MPEG-2/4 SD DVB-S/S2 CONSUMER STB
WITH REMOTE CONTROL

II
SAFETY PRECAUTION
The lightning flash with arrowhead symbol, within an equilateral triangle, is intended to alert the user to "dangerous voltage"
and to prevent from a risk of electric shock.
Warning:
To reduce the risk of electric shock, don't open the cabinet. Refer servicing to qualified personnel only
The exclamation point within an equilateral triangle is intended to alert the user to important operating and maintenance
(servicing).
WARNING: Do not use this STB where contact with or immersion in water is a possibility. Do not use near flower vase,
washbowls, kitchen sinks, laundry tubs, swimming pools, etc.
WARNING: Do not put the candle or lamp stand on the cabinet; otherwise, there is the danger of fire.
WARNING: The unit should be connected to a power supply only of the type described in the operating instructions or as
marked on the unit. If you are not sure of the type of power supply (for example, 120 or
230 V) to your home, consult your local dealer or local power company.
WARNING: This product installs diodes. Do not open the cabinet or touch any parts in the inner mechanism. Consult
your local dealer for technical service if the opening is required
Note: To ensure proper use of this product, please read this User manual carefully and retain for
further reference.
Unit Cleaning: After the unit power is turned off, you can clean the cabinet, panel and remote control with a soft cloth lightly
moistened with a mild detergent solution.
Attachments: Never add any attachments and/or equipment without the manufacturer consent; as such additions may
result in the risk of fire, electric shock, or other personal injury.
Locating: Slots and openings in the cabinet are provided for ventilation to protect it from overheating. Do not block these
openings or allow them to be blocked by placing the STB on a bed, sofa, or other similar surface, nor should it be placed
over a radiator or heat register.
Power-Cord Protection: Place the power-supply cord out of the way, where it will not be walked on. Please take special
attentions to cords at plugs, convenience receptacles, and the point where they exit from the unit.

III
Object and Liquid Entry: Never put objects of any kind into this STB through openings, as they may touch dangerous
voltage points or short-out parts that could result in a fire or electric shock. Never spill any liquid on the STB.
Note: Moisture may be formed on the lens In the following conditions:
When the unit is suddenly moved from a cold environment or an air-condition room to a warm place.
Immediately after a heater has been turned on.
in a steamy or very humid room.
If the moisture forms inside the unit, it may not operate properly. To correct this problem, turn on the power and wait about
two hours for the moisture to evaporate.
Parts Replacement: When the unit parts need to be replaced, user should make sure the service technician use the
replacement parts specified by the manufacturer or having the same characteristics as the original part. Unauthorized
replacement may put the unit In the risk of fire, electric shock or other hazards.
Safety Check: After all the maintenances and repairs are done, user is required to request the service technician to
conduct the overall safety check to ensure the machine is In the proper condition

1
CONTENTS
SAFETY PRECAUTION .......................................................................................................................................................II
1. RECEIVER DESCRIPTION & REMOTE CONTROL........................................................................................................2
2. BASIC OPERATIONS ......................................................................................................................................................5
2.1 Turn on STB ........................................................................................................................................5
2.2 Power...................................................................................................................................................5
2.3 CH ................................................................................................................................................5
2.4 VOL ...............................................................................................................................................5
2.5 Channel Number..................................................................................................................................5
2.6 Mute.....................................................................................................................................................5
2.7 Pause...................................................................................................................................................5
2.8 Recall...................................................................................................................................................5
2.9 FAV......................................................................................................................................................5
2.10 Audio....................................................................................................................................................6
2.11 INFO....................................................................................................................................................6
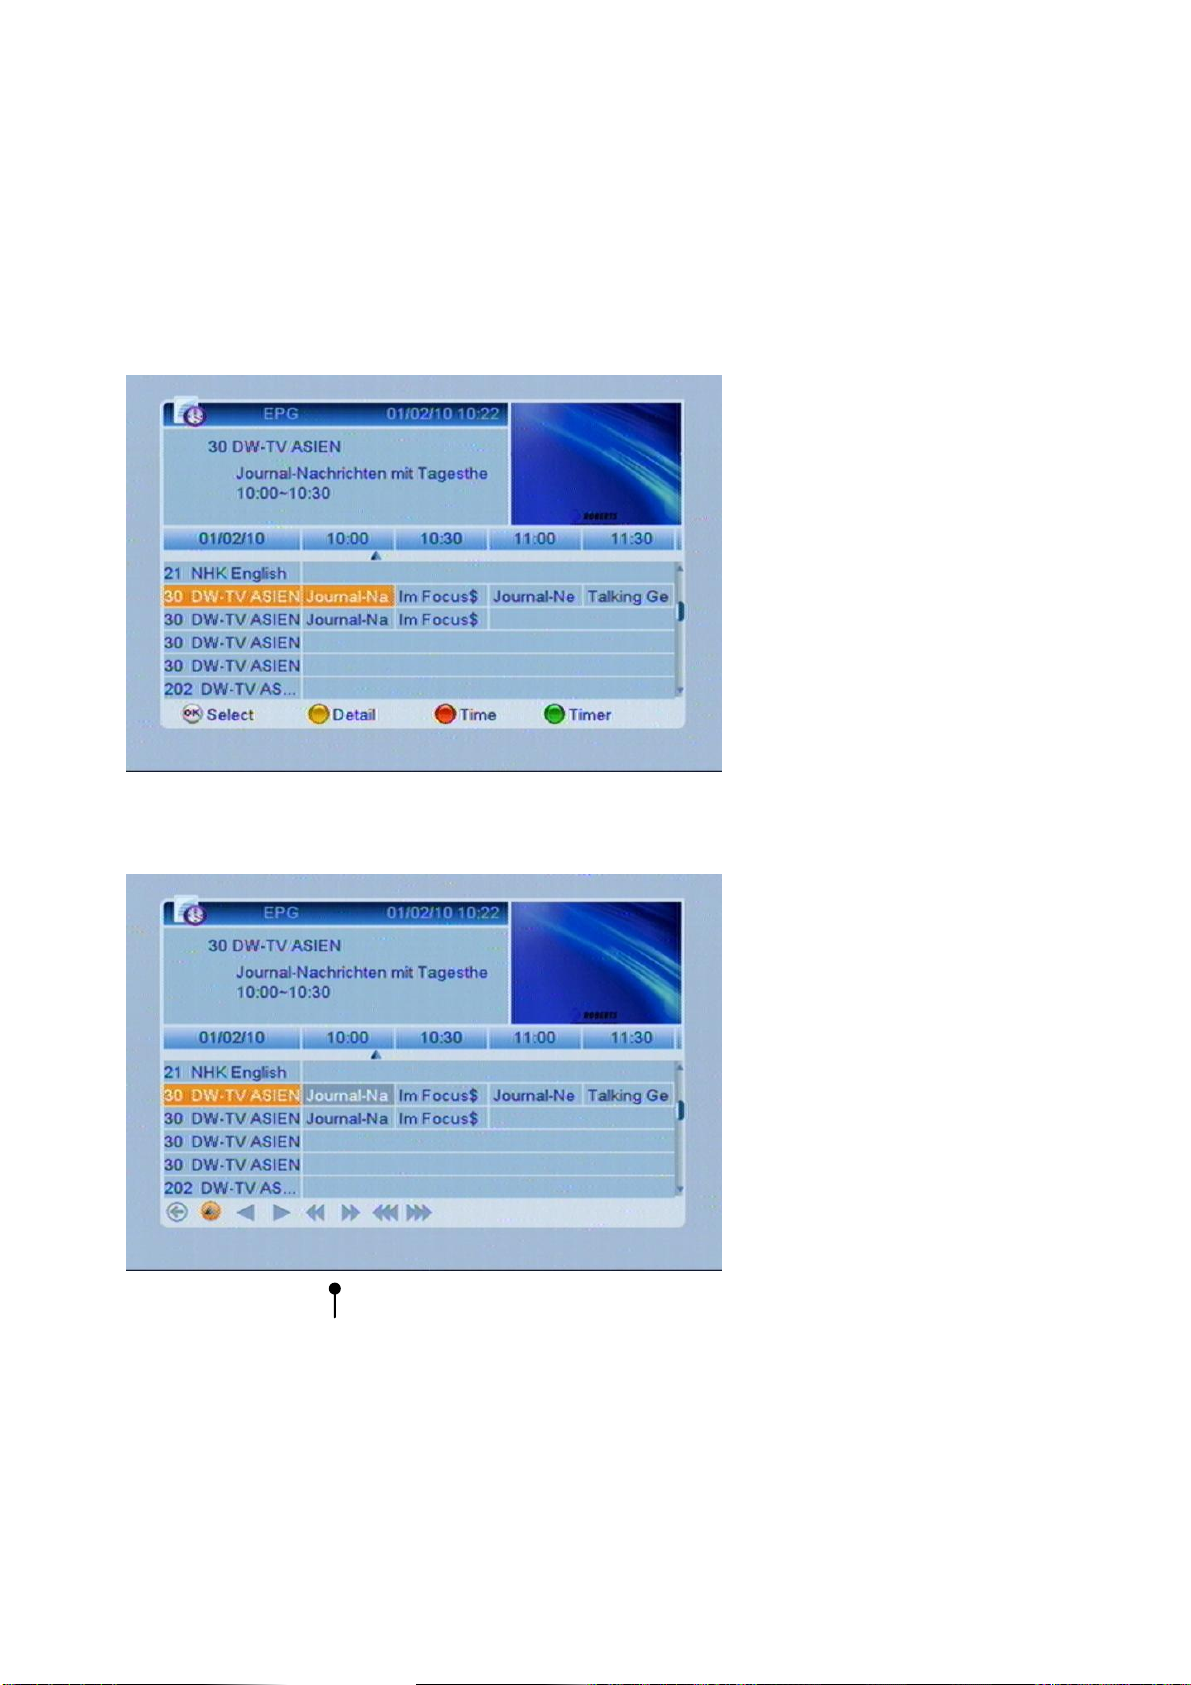
2.12 EPG (Electronic Program Guide).........................................................................................................7
2.13 TV/Radio..............................................................................................................................................8
2.14 OK........................................................................................................................................................8
2.15 LNB short circuit...................................................................................................................................9
2.16 Zoom....................................................................................................................................................9
2.17 Menu....................................................................................................................................................9
2.18 Format ...............................................................................................................................................10
2.19 Exit.....................................................................................................................................................10
3. MENU..............................................................................................................................................................................11
3.1 Programs:..........................................................................................................................................11
3.1.1 TV Channel List .................................................................................................................................11
3.1.2 Radio Channel List.............................................................................................................................14
3.2 DVR Management .............................................................................................................................15
3.2.1 Record Manager................................................................................................................................15
3.2.2 HDD Format.......................................................................................................................................16
3.2.3 DVR Configuration.............................................................................................................................16
3.2.4 Jump..................................................................................................................................................16
3.2.5 USB ...................................................................................................................................................16
3.2.6 Remove USB Device safely...............................................................................................................19
3.3 Games...............................................................................................................................................19
3.3.1 Tetris..................................................................................................................................................19
3.3.2 Othello ...............................................................................................................................................19
3.3.3 Soduku...............................................................................................................................................20
3.4 User Options......................................................................................................................................20
3.4.1 Language...........................................................................................................................................20
3.4.2 TV System.........................................................................................................................................20
3.4.3 Display setting ...................................................................................................................................20
3.4.4 Local Time Setting.............................................................................................................................21
3.4.5 Timer Setting .....................................................................................................................................21
3.4.6 Parental Lock.....................................................................................................................................21
3.4.7 OSD Setting.......................................................................................................................................22
3.4.8 Favorite..............................................................................................................................................22
3.4.9 Firmware Information.........................................................................................................................22
3.4.10 CAS information.................................................................................................................................22
3.4.11 Restore default values:......................................................................................................................22
3.5 Installation..........................................................................................................................................22
3.5.1 LNB Selection......................................................................................Error! Bookmark not defined.
3.5.2 Satellite list.........................................................................................................................................23
3.5.3 TP-List ...............................................................................................................................................23
3.5.4 Services Search.................................................................................................................................24
3.5.5 Factory Setting...................................................................................................................................24
3.5.6 Software upgrade by OTA .................................................................................................................25
3.5.7 Updated by USB................................................................................................................................25
3.5.8 Delete all............................................................................................................................................25
3.5.9 Installation Password.........................................................................................................................25
TECHNICAL SPECIFICATION:..........................................................................................................................................26

2
1. Receiver Description & Remote Control
1.1 RECEIVER DESCRIPTION
This receiver allows you to receive unencrypted (free-to-air) and encrypted (depending on smart card) digital satellite
programs over a satellite antenna for personal, non-commercial use.
The satellite antenna must be pointed toward the desired satellite. The receiver will search for additional new channels as
soon as you launch the automatic channel search for this satellite. You can also add satellites that have not been
pre-programmed. All receiver settings can be easily configured via the user interface (menu) on the TV screen.
1.2 Front Panel Description
1. Standby: Switch to power on or Stand-by-Mode
2. Display (4-Digit/7-Segment): Show power and lock status as well the related channel number. In standby mode you will
see current time.
3. Remote Sensor: Receipt of Infrared Signals.
4. VOL+/-: Change volume level in TV Mode and to navigate in menu mode.
5. MENU: to open or Exit main menu.
6. OK: to open sub menu or to open channel list.
7. CH+/-: change of services or to navigate in menu.
8. Common access Slot (behind the front flap) to de-scramble pay TV services in combination with the
related smart card –pls. insert the Smart Card with the golden chip to the top.

3
1.3 REAR PANEL DESCRIPTION
1. Power ON/OFF
2. AC IN Power cord
3. IF IN Satellite input
4. YPbPr: Component Out
5. Coaxial Output
6. VIDEO / AUDIO hi-fi-Out for your Hi-fi System of Monitor
7. TO TV: Modulator output for the connection to a TV set.
8. ANT IN: Antenna input for the terrestrial antenna.
9. IF OUT: Satellite tuner output
Note: the operation of another receivers in loop mode will limit the number of services.
10. M/E: Support Master/Slave function
11. USB 2.0: Support USB PVR function
12. HDMI: Digital Out for the transmission of Audio- and Video Data.
IF IN
IF Out
HDMI Out
Video-Out
(analog)
Component
Output
Audio-Out
(analog)
Power Switch
USB PVR
Coaxial
Output
R/J 45

4
1. 4 Remote Control
Mute: Mutes the
sound
Rewind
Select Audio
Fast Forward
Select TV Format
EXIT
Favorites
CH+/- to change
channel, V+/- to change
volume level or to
navigate
Program information
Electronic Program Guide
Personal Video
Recorder
Zoom function
Power (Standby-
On / Off)
Switch functions
between TV / radio
Recall (Return to previous
service)
Page Down
Page Up
Enter the main menu (setup)
Start PVR-Recording
Play/Pause
Stops the playback of
a recorded program

5
2. Basic Operations
2.1 Turn on STB
First, press the [Device’s Main Power] to turn on the unit. When the STB is first used, there will play the first channel from the
default Channel List. If the STB is not first used, STB will play the same channel as last time before turning off.
2.2 Power
1. Press [Power] Key can enter the Standby state.
2. In Standby state, press [Power] Key again can call back the unit and go on play the previous channel.
3. User can also disconnect the device’s main power to end the Standby state
2.3 CH
In full screen, press [CH], to change channel
2.4 VOL
In full screen, press [VOL], to adjust volume.
2.5 Channel Number
In full screen, use number key and press [OK] on the Remote Control Unit to change channel.
2.6 Mute
1. Press [Mute] key to mute the sound and the screen will show up mute OSD.
2. Press [Mute] again to restore sound.
2.7 Pause
1. In playing mode, press [Pause] key, the picture will be paused, but the sound of the channel will still continues.
2. Press [PAUSE] key again, the screen’s picture will skip over to the current playing picture, and the sound of the channel
will correspond playing.
2.8 Recall
Press [Recall] key will directly switch to the previous channel that you played before current channel.
2.9 FAV
1. In TV channel list press [FAV]. In the window of “Favorite”, you can move highlight by press [Channel Up/Channel
Down] key and press [OK] key to select favorite group. To create a Favorite please press [EDIT] key.

6
2. In the “Fav-Group-window”please navigate with [CH] and press [OK] key to select favorite channels. Pressing [Page
Up/Page Down] keys can implement the “Page up/Page down” function. You also can press [Volume Up/Volume Down]
keys to select different “Favorite Group”.
3. Press [VOL] to select different “Favorite Group”.
2.10 Audio
1. In full screen, press [AUDIO] key can open the “Audio” window on the screen.
Select “Audio”with [CH], to change the “Audio Modes“ press [VOL] for Stereo, Mono, Right/Left.
2.11 INFO
In full screen, press [INFO] key can open information screen, in the window shows the parameters of current channel.
Service
Information
Channelname
Channelnumber

7
2.12 EPG (Electronic Program Guide)
The STB has an Electronic Program Guide (EPG) to help younavigate channels through all the possible viewing options. The
EPG supplies information such as channel listings and starting and ending times for all available channels.
Press [EPG] key to display EPG screen.
1. Press red [Timer] key to enter into following screen.
1. Press [OK] key in each item can see more detail information and press [Red] key to cancel.
Icons to navigate in
the EPG

8
2. Press [GREEN] (Timer), to open the Timer Sub Menu.
To navigate, press [CHVO] and set related date, as well start and stop time. Save your settings.
2.13 TV/Radio
In TV mode, pressing [TV/RADIO] key can switch to Radio mode. In Radio mode, press [TV/RADIO] key to switch to TV
mode.
2.14 OK
1. In full screen, press [OK] key to enter “Channel List”.
Back to previous Manu
Back to actual time
Navigate in a „30 minutes interval“
Navigate in a „2 hour interval“
Navigate in a „daily interval“

9
2.15 LNB short circuit
In case of LNB short circuit you see “LNB” in the box display. Please check your cable connections carefully. If LNB short
circuit has been resolved the message disappears.
2.16 Zoom
1. The [ZOOM] key allows you to focus and enlarge a certain area on the images.
2. Press [ZOOM] key again, the image will enlarge rotate as x1, x2, x4, x6, x8, x12, x16.
3. In “x2 ~ x16” image, using [Up/ Down/ Up/ Down] keys to move the image center area you want to see.
2.17 Menu
Press [MENU] key to open the menu, exit the current menu to previous menu or to close the window.

10
2.18 Format
Press [Format] key in full screen mode to select different TV-Formats: 576i -> 480i -> 576P -> 480P -> 720P_50 -> 720P_60
-> 1080i_25 -> 1080i_30.
2.19 Exit
Press [EXIT] to leave the actual menu.

11
3. Menu
3.1 Programs:
3.1.1 TV Channel List
The TV Channel List allows editing your services.
You can move the “highlighted” services by pressing [CH] key and press [OK] key to preview the current highlighted
program in the right scaled video.

12
3.1.1.1 Lock
Press [RED] to enable the lock mode, select a service and confirm with [OK]. Enter the PIN code:”0000”,
and a small Icon will be visible behind the selected service.
3.1.1.2 Edit
Press [GREEN] to “Edit”. You can select between “Sort”, “Edit” and “Delete”.
3.1.1.2.1 Sort
Press [RED] key to “Sort”. There are eight types to sort. Press [CH] key to move the highlighted serviceand press [OK]
key to confirm.

13
Please select different options.
-Name (A-Z): Sorting in Alphabetical order, ignore “$” symbol.
-Name (Z-A): Sorting in Alphabetical order, ignore “$” symbol.
-Free/Scramble: Sort channel through free and scramble sequence. Free channel will in the front of channel list and
scramble channel will at the rear of channel list
-Lock: All locked channels.
-Service ID
-HD/SD
-Favorite
-Default
3.1.1.2.2 Edit
In “Edit Channel” menu, press [GREEN], then press [CH] key to move the highlighted service and press [OK] key
to open the “Rename” window as follows:
1.Press [YELLOW] key to select “CAPS”.
2.Press [RED] key to delete the char on the cursor.
3.Press [BLUE] key to save the modification
4.Press EXIT key to cancel the operation
3.1.1.2.3 Delete
1. Press [BLUE] key, then press [CH] key to move the highlighted service and press [OK] key to mark as
deleted.
2. Exit the menu to delete the services.

14
3.1.1.3 Move
1. Press [YELLOW] key, then press [CH] key to move the highlighted service and press [OK] key to mark.
2. A small Icon will be visible behind the selected service.
3.1.1.4 Favorites
If you want to add services to your favorite list, press [FAV] and confirm with [OK]. A small Icon will be visible behind the
selected service.
1. You can move between 8 favorite groups by pressing [CH] key and press [OK] key to mark a favorite.
2 Press [EXIT], to close the Favorites.
3.1.2 Radio Channel List
Operation is identical to the TV Channel List.

15
3. 2 DVR Management
If you select DVR Management please find the following menu:
DVR/PVR (Digital/Personal Video Recorder)
Your PVR-Ready Receiver (PVR = Personal Video Recorder) is prepared with a USB 2.0 slot to fit external Hard Drive
Disk. This would allow that you do not need any longer an analog Video Recorder. The maximal recording time depends on
the capacity of the USB device and bandwidth of the selected service.
Note ! You can only record and watch the one service at the same time.
3.2.1 Record Manager
The Record Manager shows all recorded Video Services, the menu looks as follows:
1.You can lock the recorded services individually with the [GREEN] key following by the PIN code.
2.You also can delete recorded services with [BLUE]. The services will be marked with .
3. You also can rename the recorded services with [RED]
To playback a recorded service, press [OK]. The playback screen looks as follows:
Lapsed time
Total duration of the recorded
event
Service

16
3.2.2 HDD Format
In case you want to format your USB device please enter into HDD Format:
Note !
In case you format your USB Devices, please be aware that all Multimedia-Files (also MP3s) will be deleted.
3.2.3 DVR Configuration
Entering the DVR Configuration you have the following options:
1. With time shift you can playback and record one service at the same time.
2. If you set “Timeshift recording“ with [VOL] to “ON”, any service will be recorded during watching.
3.2.4 Jump
To change the timeshift duration here.
3.2.5 USB
The USB menu appears automatically when a USB device is inserted except during the autoscan option, multi image and
USB updating is running,
You can also enter DVR Management -> Tools-> USB.
The USB menu is not available when any USB device is connected. The reproduction list is not going to be saving if you
unplug the device or the decoder is on stand-by mode or switch off. The USB menu is shown at this image.
3.2.5.1 Show Play List
Enter [1] you can find play list .
3.2.5.1.1 Play
Press [RED] button, the image searching start, press (OK) button the image is be display on the screen.
With the (EXIT) button you exit and go to the menu before.

17
3.2.5.1.2 Delete
Press Yellow button, Delete the selected image file.
3.2.5.1.3 Delete all
Press Blue button, you will delete all files.
before this action a banner inform “are you sure” before finish the operation, if the “Yes”option is chosen all the image file
are delete it and the window close
Table of contents