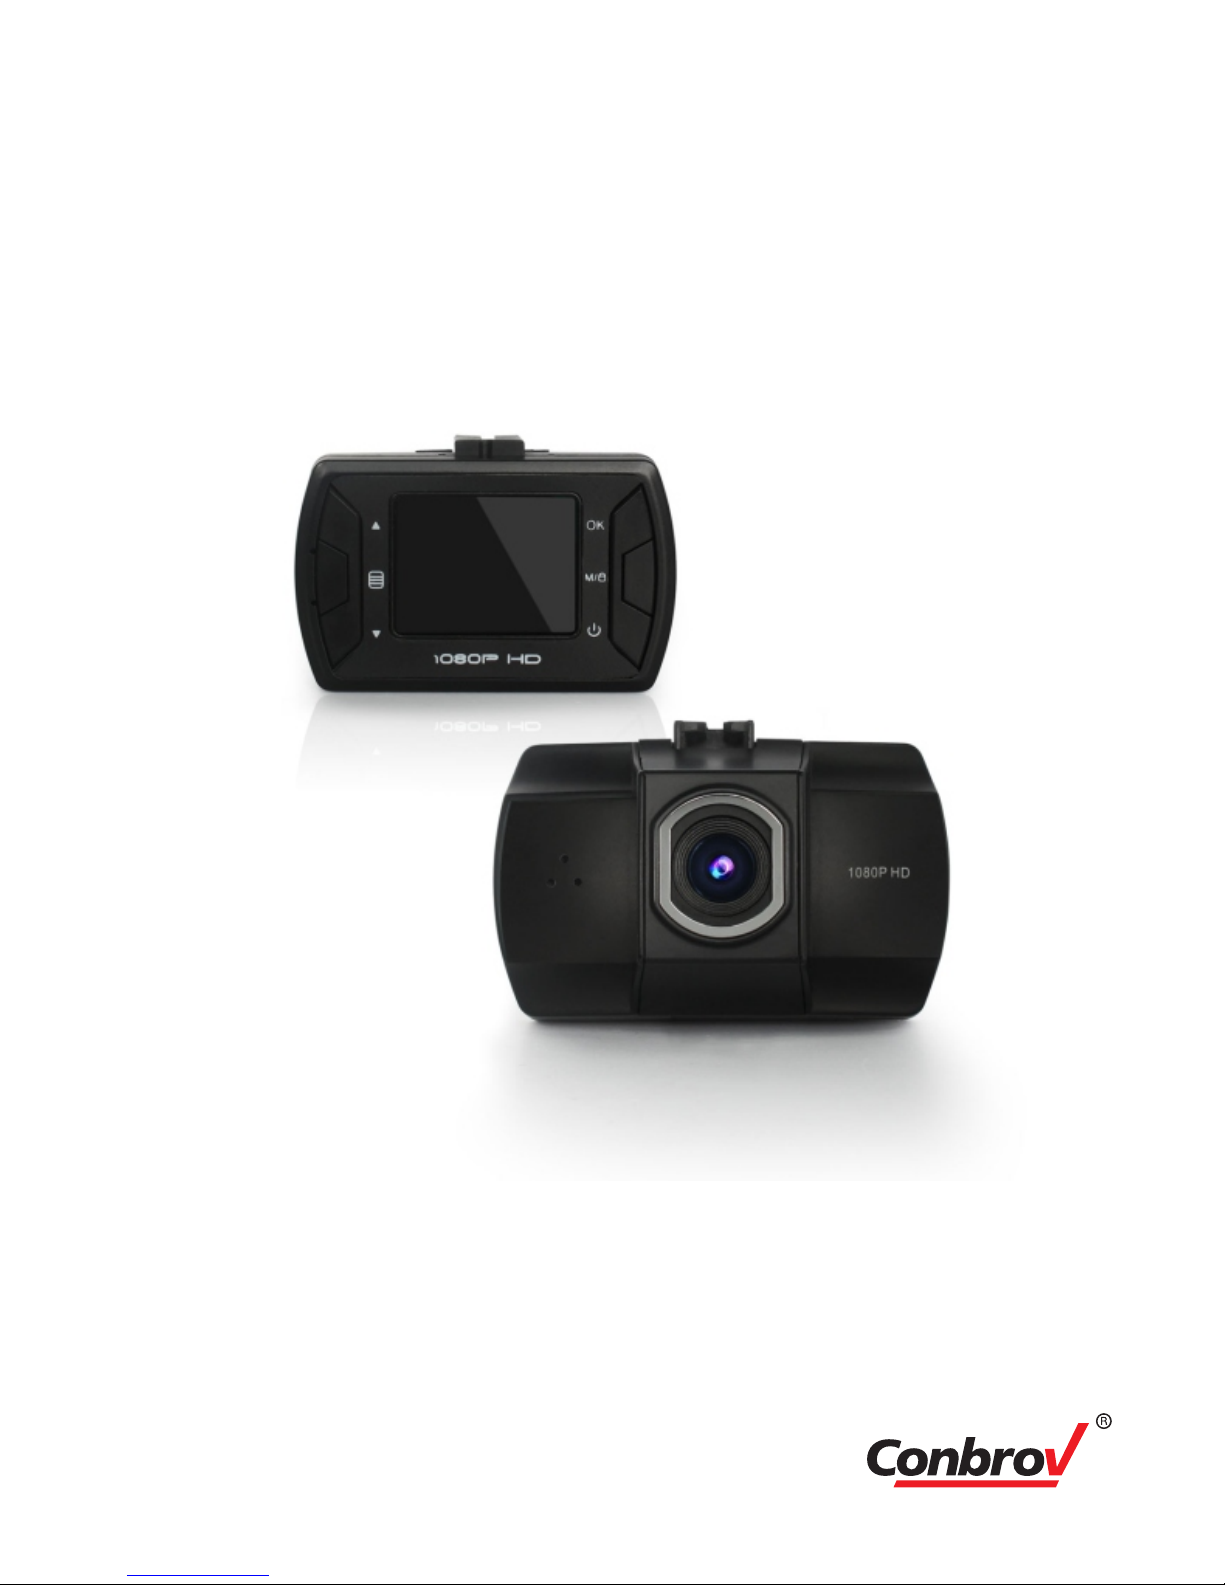
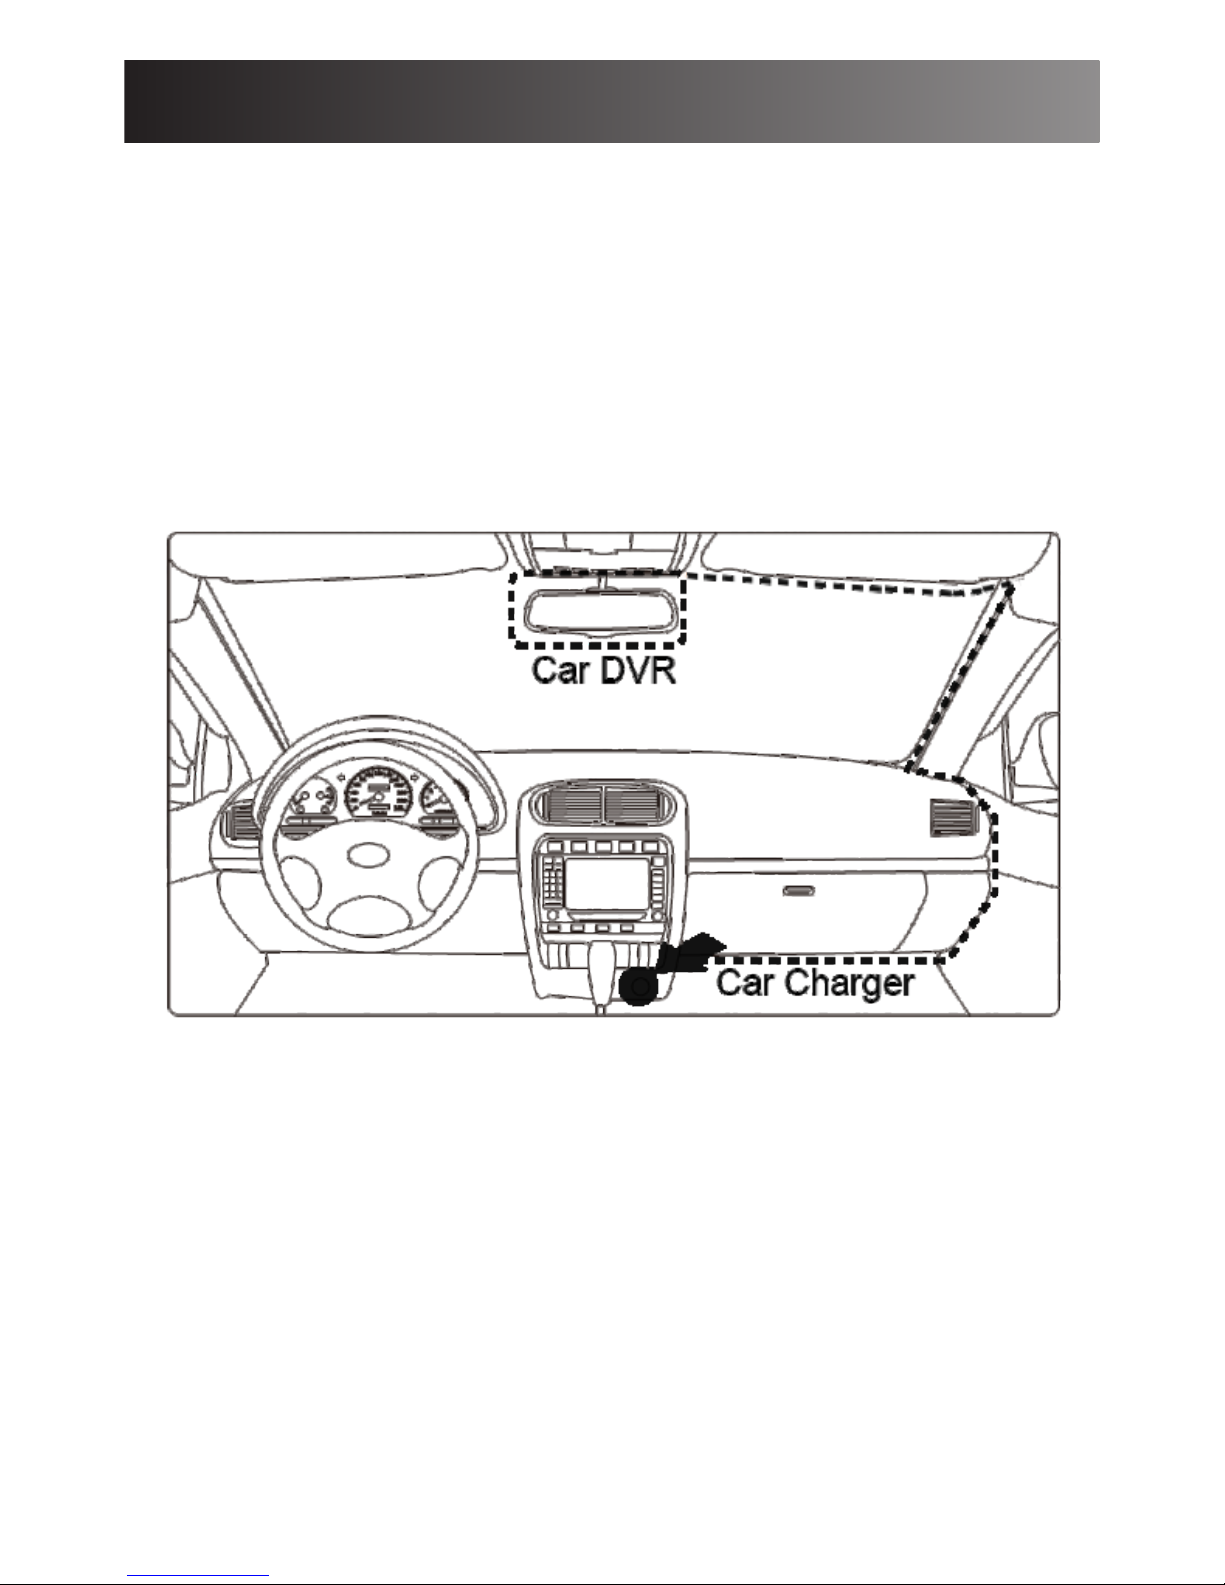
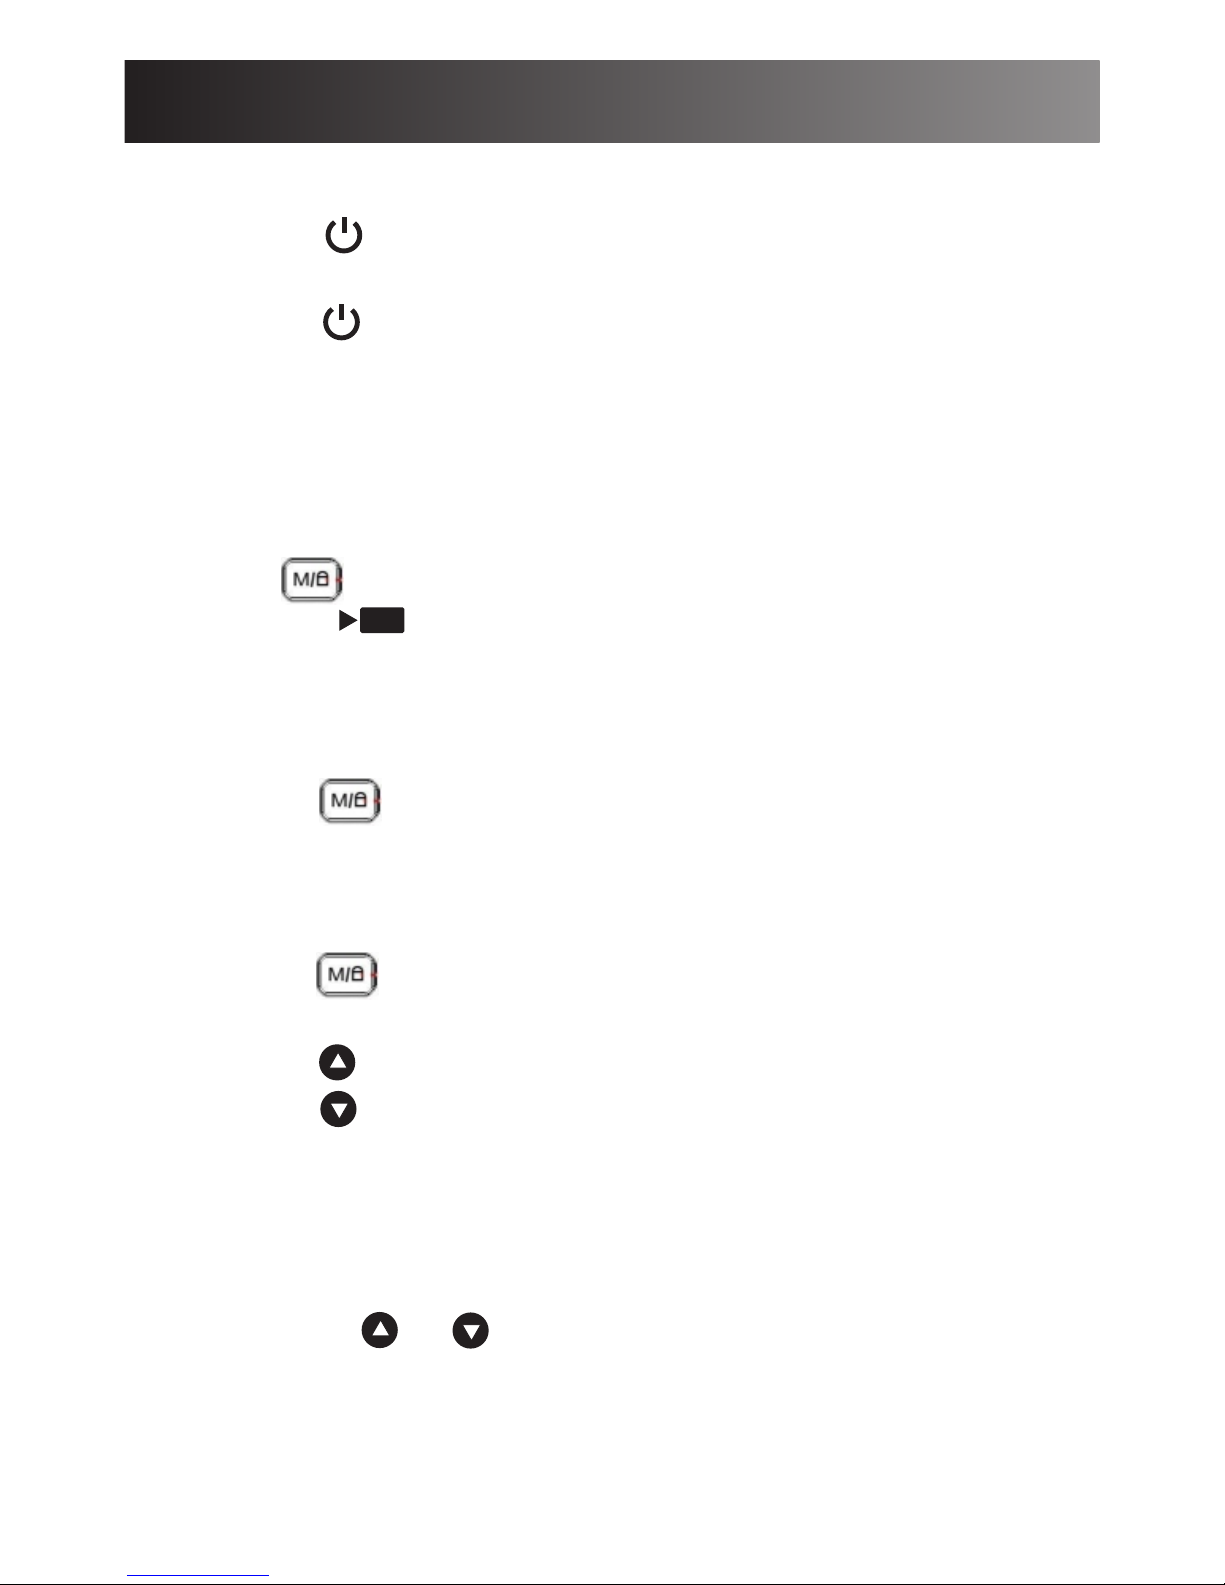
Conbrov T9 User manual

Car Dashboard Camera
MODEL NO: T9
USER MANUAL
Please ensure that you read the complete user manual
carefully before using any part of the product.
- Keep this copy safe for future reference in case of
operational difficulties.
-

Safety Instructions
2
- The camera should be used for legal purpose only. Check
and follow the laws provided in your country regarding the
use of camera and other video recording devices.
- The Car Camera is NOT waterproof or dustproof, so don’t
use it outdoors, in adverse environments or during rain.
- In order to avoid any damage to the device, the risk of electric
shock to you or starting a fire, use original DC power supply.
- You are forbidden from doing any unauthorized disassembling
or dismantlement of this device, or replacement of its parts.
The device’s manufacturer will not take responsibility or pay
liabilities for any loss caused by such actions.
- To avoid explosions, damages or bodily injuries, never put this
device into an oven, microwave oven or direct fire.
- Owing to version changes, this user manual may vary a little
from our real product currently on the market. In such a case,
please take the standard to be the real product.
- By following the above safety instructions, we hope that it will
be enjoyable to own and use this product!

Installation
3
- Insert suction mount into the mount clip on the camera.
- Fix the camera on windshield where the vision is not blocked
(Place close to rear-view mirror is recommended)
- Connect the camera with power cord.Adjust the suction mount
And the camera direction to get the best view angle.
- Pls do not install the camera on airbag or any part block the
driving and vision

Product accessories
4
USB Cable
Manual
ChuckCar DVR
Car Charger

Product structure
It is important to note that:
If there is anything missing in your product package and it is
not included in the above list of accessories, contact us as
soon as possible at: support@conbrov.com

Quick Guide:
5
1.Insert a Formatted Micro SD card
2.Insert the Car adapter to the Camera Mini USB port
3.Plug the adapter into your car cigarette charger and
power the car engine

Button Functions
1) Page Up Button:
-In the menu setting mode, work as select upwards.
-In the standby or video recording mode, work as digital zoom.
2) Page Down Button:
-In the menu setting mode, work as select downwards.
-In the standby or video recording mode, work as digital zoom.
3) Menu Button:
-Short press to select the function setting menu.
-Every press on this button will switch the different settings.
4) OK Button:
- In the Video mode, short press to start recording, another press
to stop recording.
- In the Photo mode, short press to take photo.
- In the menu mode, short press to confirm the selection.
5) Mode Button:
-Short Press to switch between video recording / photo taking /
playback mode.
-In video recording mode: Short press to lock the current
recording file.
6) Power Button:
- Short press to turn on the camera
- Hold on the button to turn off the camera
7) LCD Screen:
- Video or photo playback from the camera
8) Mini USB port:
-Transmit the data by connecting the camera to computer.
-Charge for the camera from the car cigarette charger
9) Lens:
- Camera lens
10) Micro SD card slot:
- 2GB-32GB Micro SD card supported
6
OK

Button Functions
11) Mount installation port:
- Mount the camera to the suck mount connection port
12) Reset:
- Reset the camera when the camera doesn’t work properly.
13) Microphone:
- Audio receiver.
Special Function
1.G-sensor Function:
- When crash acceleration up to set value, the camera will
automatically lock the current video of the accident, will not
overwrite the file even the camera set to be overwritten.
G sensor setting : 2G /4G /8G or off
2.Power on/off automatically:
- When connected the camera with car charger, it will turn on
automatically when car engine starts up, and save the video
recording automatically when car power off.
3.SOS function:
- During recording, short press Mode button to enforce
saving current video.

Quick Guide
1.Power on and off:
- Short press power button to power on the camera and the blue
indicator will be ON..
- Hold on the power button to power off the camera and the blue
indicator will be off.
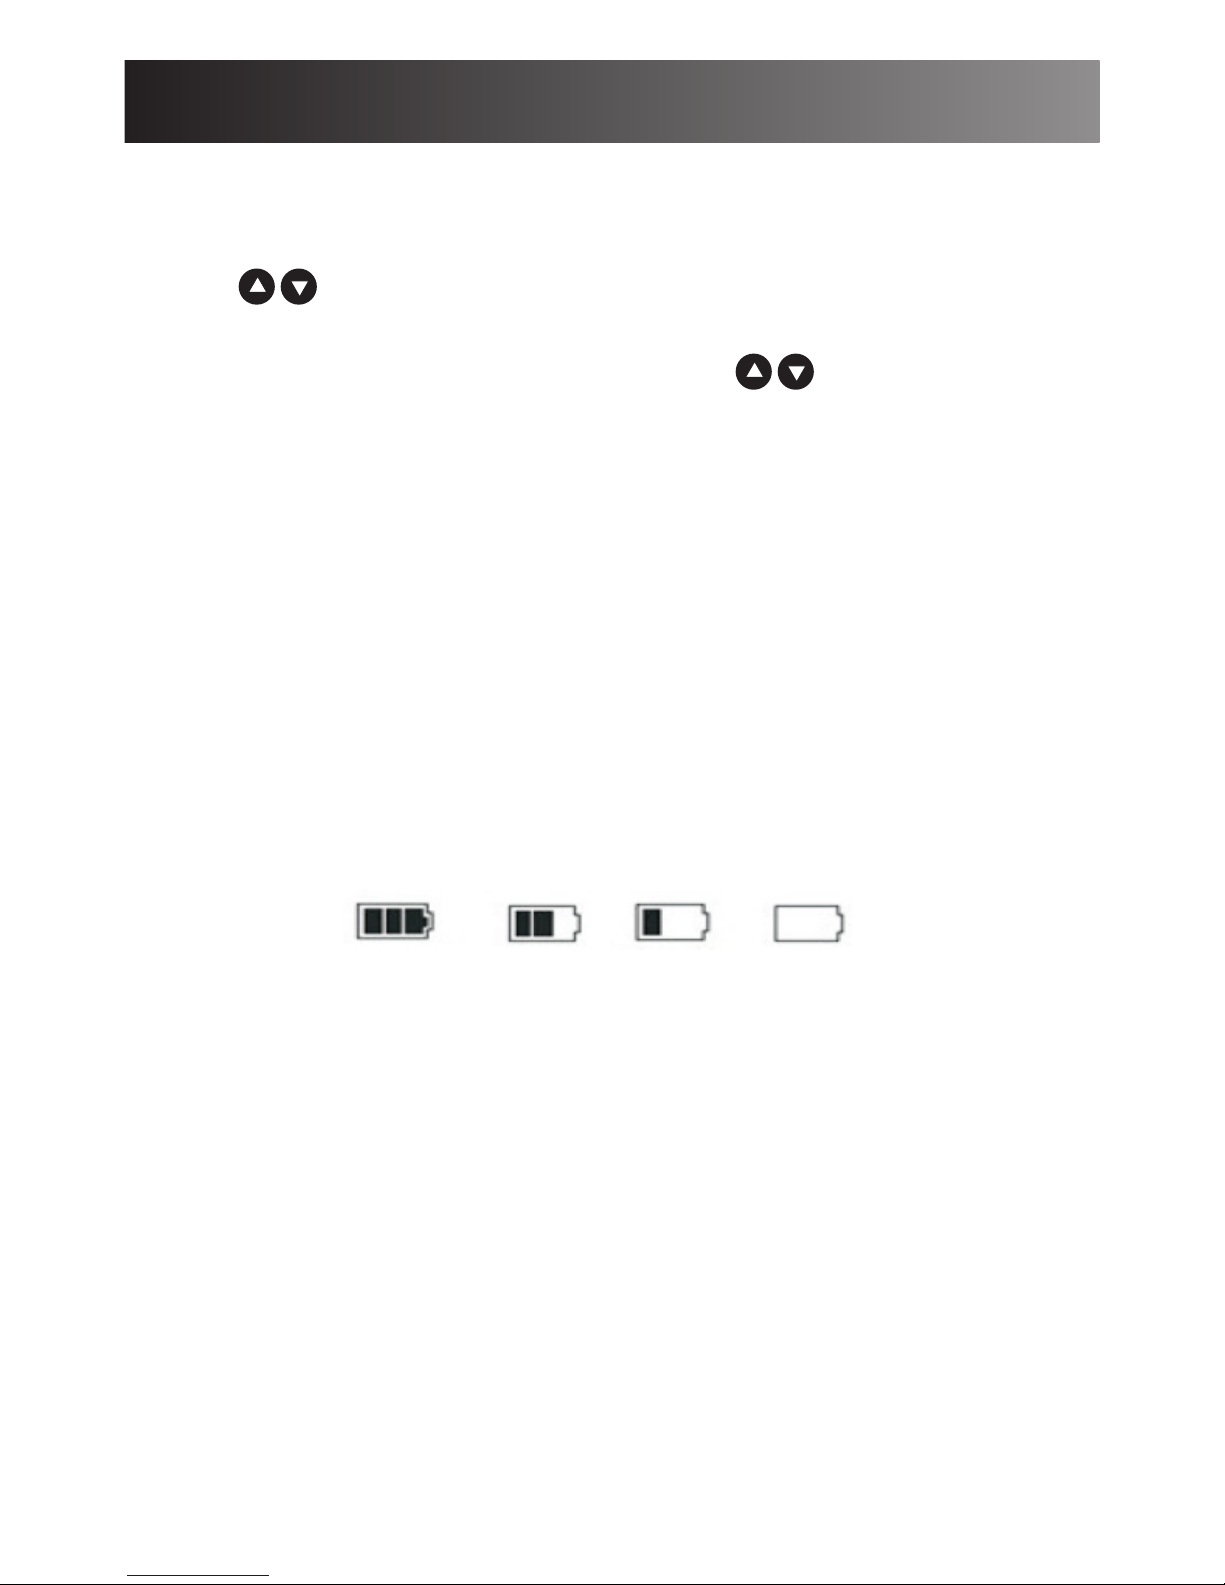
Important Note:Camera will shut down automatically after the
reminder of low power signal on the LCD screen when the battery
is low.
2.Video recording:
-Short pre ssbutton to switch to the video recording mode, the
recording icon will appear on the upper left corner of screen.
-Short press OK button to start recording, the red dot recording
signal will flash in recording.
3.Photo taking:
-Short press button to switch to the photo taking mode, the photo
taking icon will appear on the upper left corner of screen; -Short
press the OK button to take photos.
4.Video/photo playback :
-Short press button to switch to the playback mode ,the playback
icon will appear on the upper left corner of screen.
-Short press button to choose the files upwards.
-Short press button to choose the files downwards;
- Short press OK button to choose the file need to be played.
5.Menu setting:
-Short press menu button to enter the video setting.
-Another short press to switch from the settings.
-Short press on or button to enter the sub-menu.
-Press OK button to confirm the setting you selected.
-Short press menu button to exit the setting.
7

Quick Guide
8
6.Time setting:
-Short press menu button to enter into the setting option, short
press button to choose the date/time setting, Short press OK
button to enter it.
-Adjust the number you need by pressing and confirm the
change by pressing OK button.
7.USB mode:
- Connect the provided USB cable with the computer, press the
power button, the camera will power on with two options shown on
the LCD screen as:
1)Mass storage:In this mode, you can access the video and
photo files from computer.
2)PC Camera:In this mode, the computer could connect with the
camera to take video calls;
8.Battery instruction
Battery indication status :
-The red indicator will be on when charging, the fully charge time is
about 90 minutes, and the red indicator will be automatically off when
charging completed.
Important:
Pls reset the camera when the camera doesn’t work properly.
full a bit low very low empty

Product Parameters
9
Video Resolution
Record Audio
Date Stamp
G-sensor
Beep Sound
The size of LCD
Lens
Video Format
Auto power off
Language
Frequency
Screen Saver
Image Rotation
Video Code
Loop recording
Motion detection
Photo Mode
Photo Format
Memory card
Built in microphone
USB Function
Power Source
Built in Battery
Car adapter cable length
1920x1080,1440x1080,1280x720
On / off
On / off
Off / 2 / 4 / 8 G
On / off
1.5 LTPS
140 degree high resolution ultra wide angle
AVI
Off / 1 / 3 minutes
English default
50 Hz / 60 Hz
Off / 3/5/10 minutes
On / off
M-JPEG
Off / 1 / 3 / 5 / 10second
On / off
Max.12M
JPEG
TF (Max Support 32 GB)
Yes
1.Mass storage 2.PC Camera
5V 1A
100mAh
3.5m / 10.5 feet
Table of contents
Other Conbrov Dashcam manuals