Installation instructions Rangecraft Rangehoods
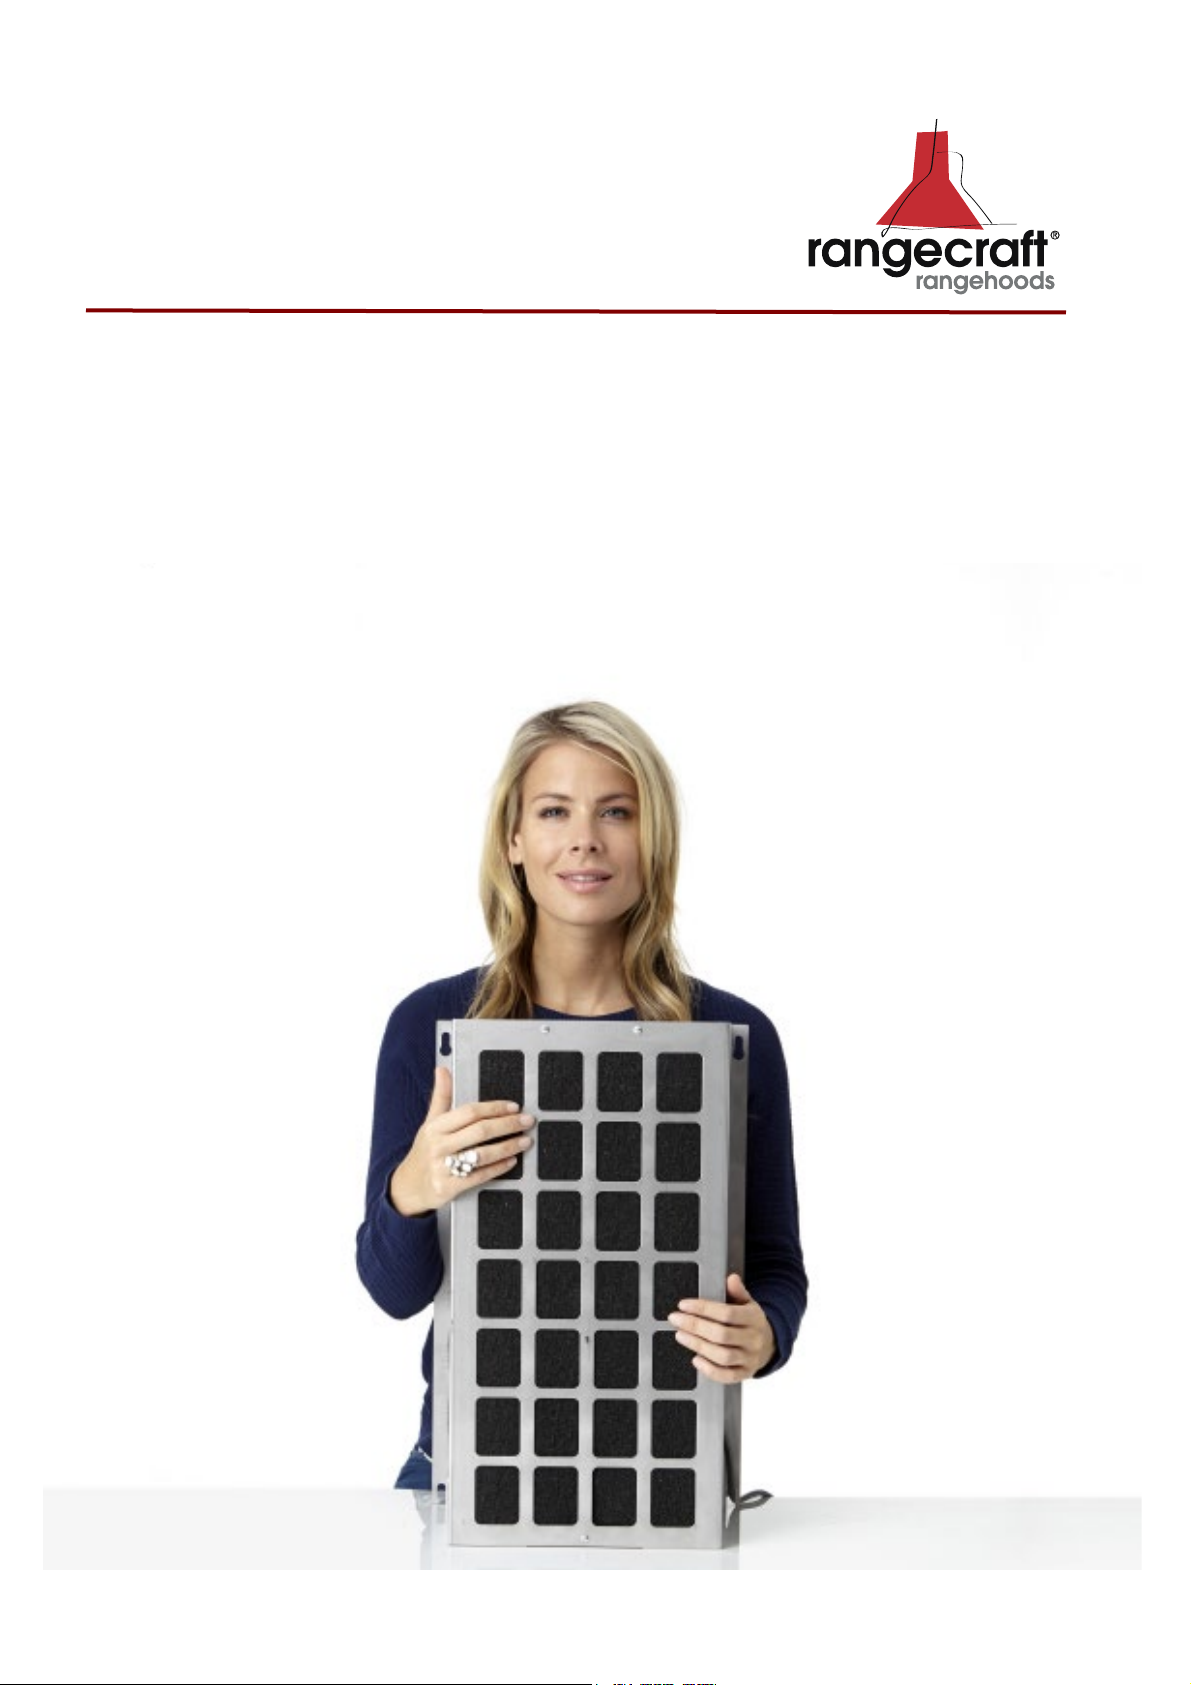
Fitted with Plasma-Norm Filter
2
IMPORTANT INFORMATION
Rangecraft rangehoods can be installed at 600mm above the trivets of a gas hotplate.
Over an induction cooktop the minimum should be 750mm.
1. The installation of Rangecraft Rangehoods must comply with the information in this booklet.
Rangecraft Rangehoods are designed and made to work efficiently over most domestic
cookware available on the Australian market.
2. It is necessary to allow electrical disconnection of the Rangehood after installation.
This may be achieved by either.
a. Installing a power point to an accessible area for the Rangehood.
b. Incorporating a wall switch to the fixed wiring that supplies the Rangehood
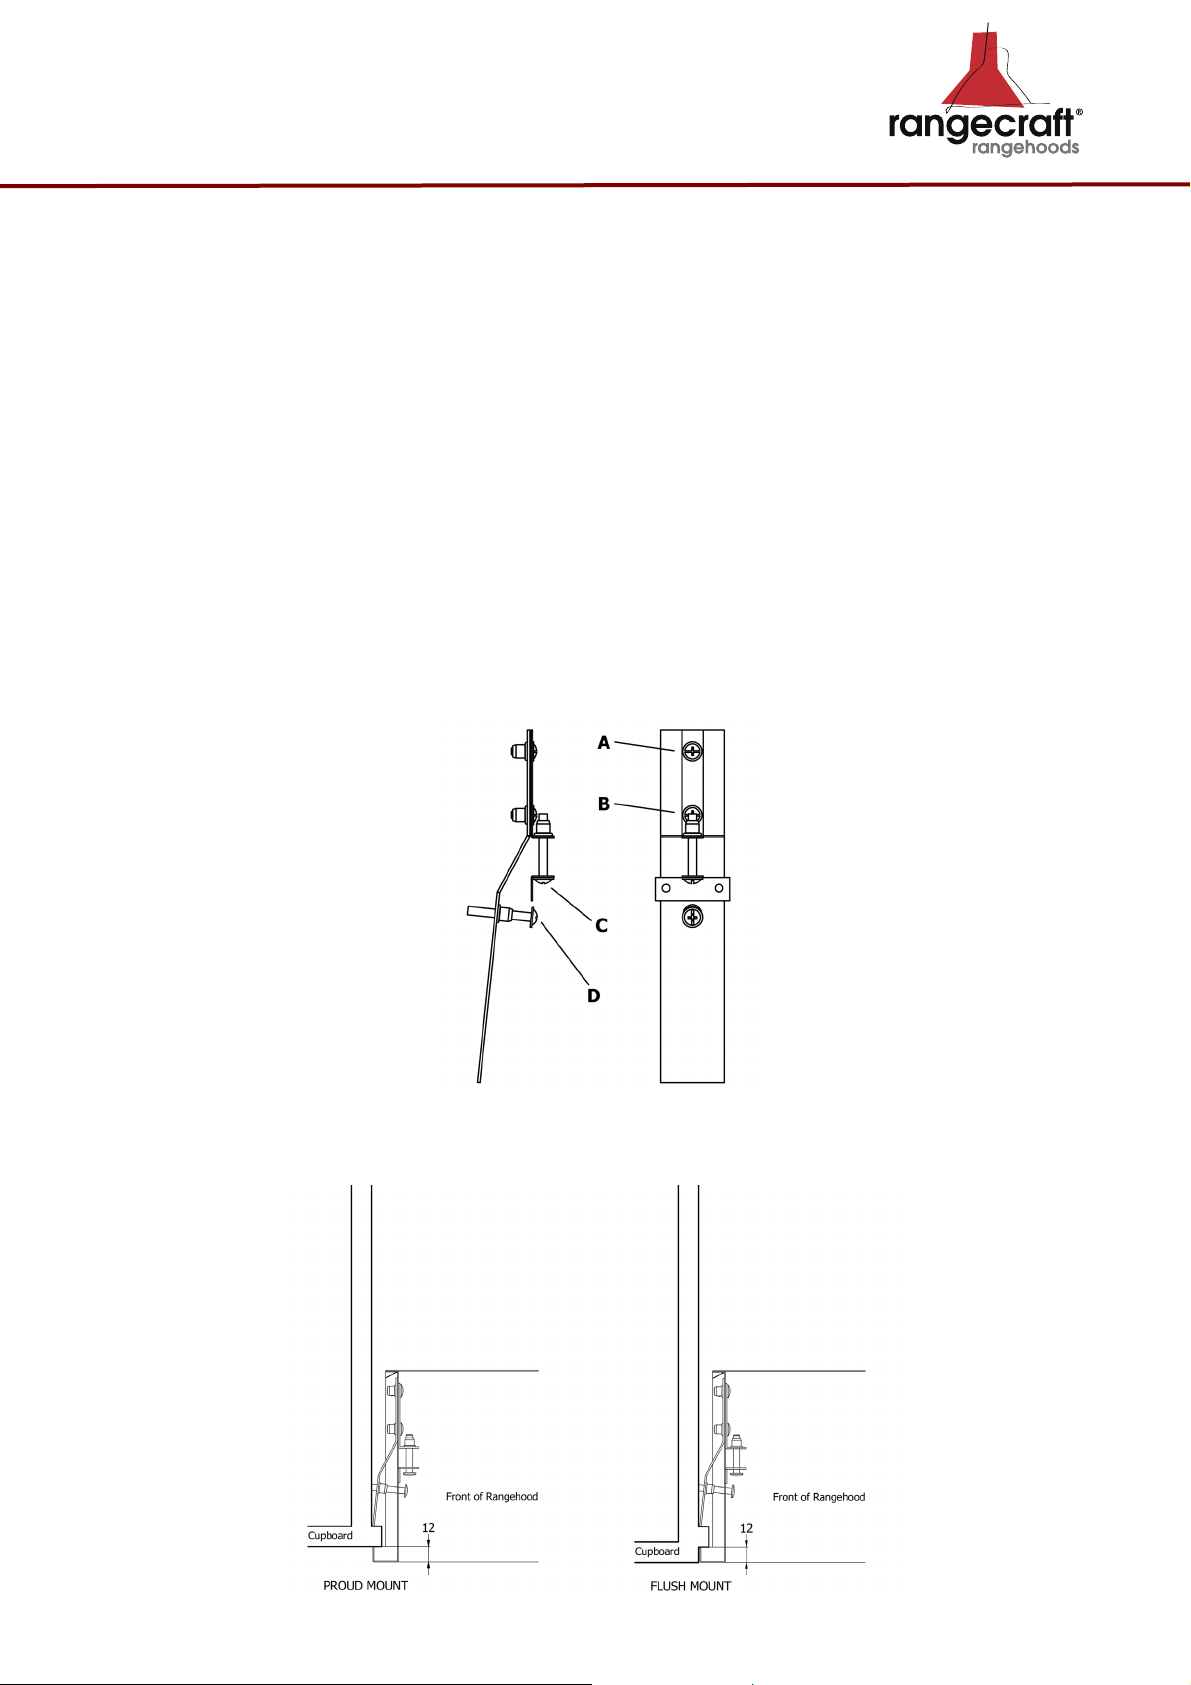
3. The installation and fitting of the rangehood and plasma filter should be done in such a way
that will allow the unit to be removed if service is required. Additional costs incurred in the
removal of wall tiles, damage to walls or bench tops are not covered by warranty.
4. WARNING: Incorrect venting will result in additional noise and a reduction in efficiency.
a. Exhaust air must not be discharged into any chimney or flue, which may carry
combustible products from other sources.
b. Do not discharge the airflow from the rangehood into a flue used for exhausting fumes
from burning gas or fuel;
c. For Rangehood cleaning Instructions please refer to page 15.
d. If cleaning is not carried out in accordance with the instructions as listed on page 15,
there may be an increased risk of fire.
e. Some parts of the rangehood may become hot when cooking;
f. This appliance is not intended for use by persons (including children) with reduced
physical, sensory or mental capabilities, or lack of experience and knowledge, unless
they have been given supervision or instruction concerning use of the appliance by a
person responsible for their safety.
5. Do not flambé under the rangehood.
6. If the supply cord is damaged, an authorised service centre or licensed electrician must
replace it.
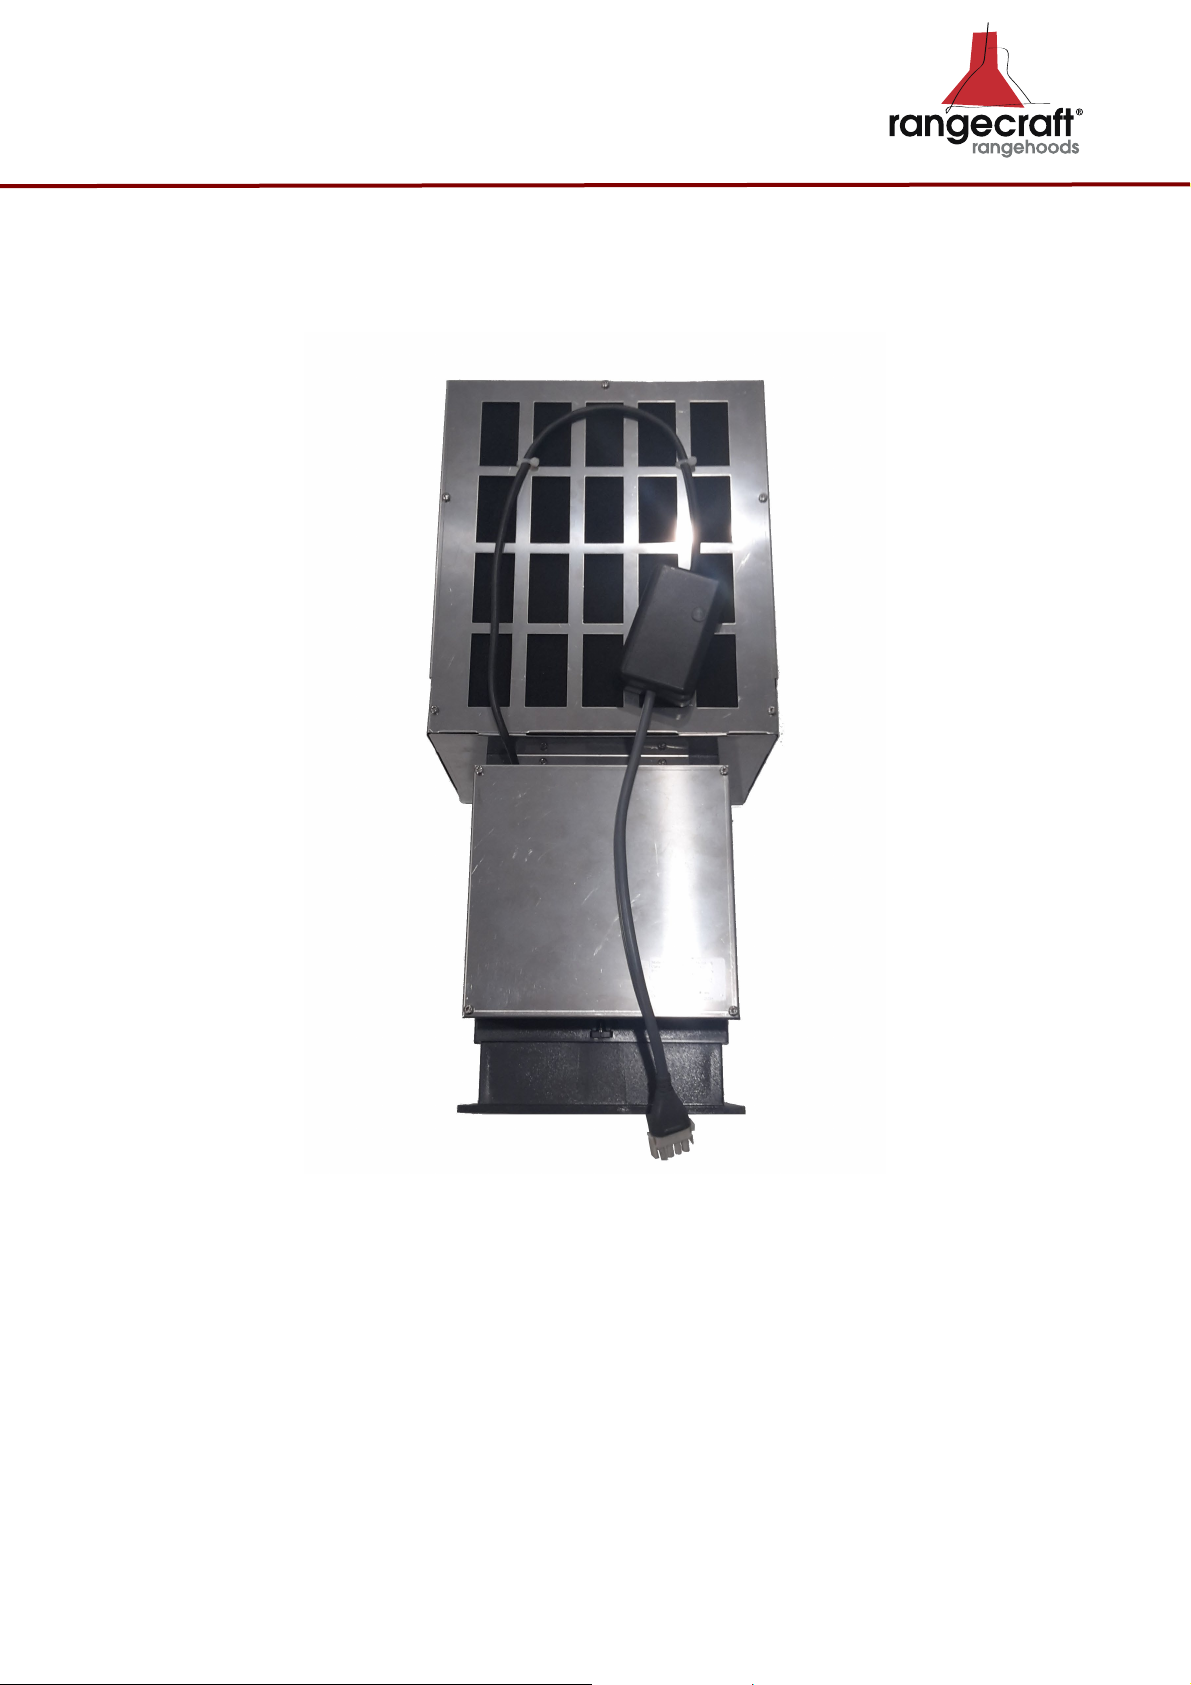
7. The lights in the rangehoods are LED and come with a night light
8. To reduce the risk of fixing screws coming in contact with live parts, do not drill or screw into
the rangehood. Live wires are encapsulated where possible to prevent user contact. If
necessary, drill from the inside out and only through single sheet material.
9. Rangecraft Rangehoods are not to be used over Barbecues or Grills, if required please contact
Condari Pty Ltd.
10. Ensure all requirements are met with gas and electrical regulations and or state authorities.
11. Rangecraft Rangehoods do not have the capacity to do the job over indoor barbecues,high
speed gas burners or hotplates with a heat output rating over 40 megajoules.
12. Please contact Condari Pty Ltd to arrange an authorised technician to replace any cracked
protective glass shields for the LED lights.