Continental Refrigerator PC150HD User manual
Other Continental Refrigerator Crimping Tools manuals

Continental Refrigerator
Continental Refrigerator PC440 User manual

Continental Refrigerator
Continental Refrigerator PC125-RCD User manual
Continental Refrigerator
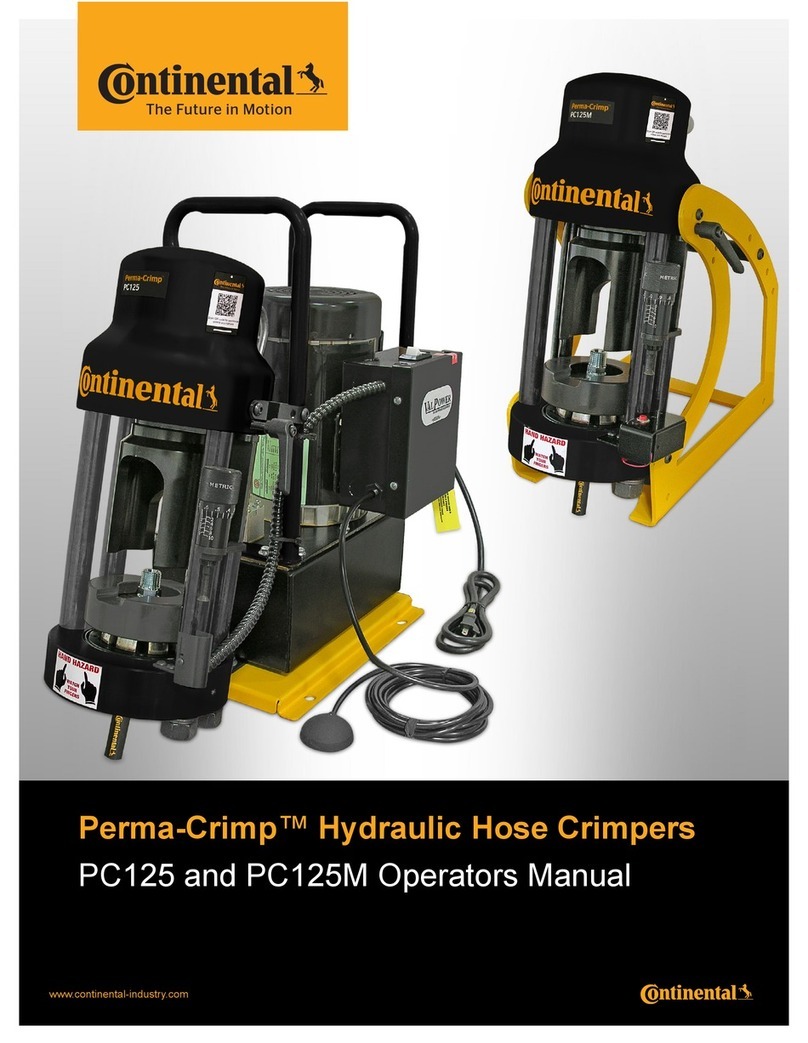
Continental Refrigerator Perma-Crimp PC125 User manual

Continental Refrigerator
Continental Refrigerator PC150H Series User manual

Continental Refrigerator
Continental Refrigerator PC150 User manual

Continental Refrigerator
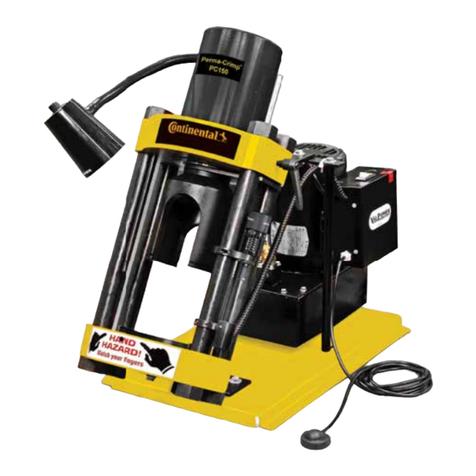
Continental Refrigerator PC150HD User manual
Continental Refrigerator
Continental Refrigerator PC150 User manual
Popular Crimping Tools manuals by other brands

Tyco Electronics
Tyco Electronics 90035-3 instruction sheet

Emerson
Emerson Klauke ES 20RMCCFB manual

TE Connectivity
TE Connectivity ERGOCRIMP 1-1579001-3 instruction sheet

Tyco Electronics
Tyco Electronics CERTI-CRIMP 90418-1 instruction sheet

Emerson
Emerson Klauke ES 105CFB manual
TE Connectivity
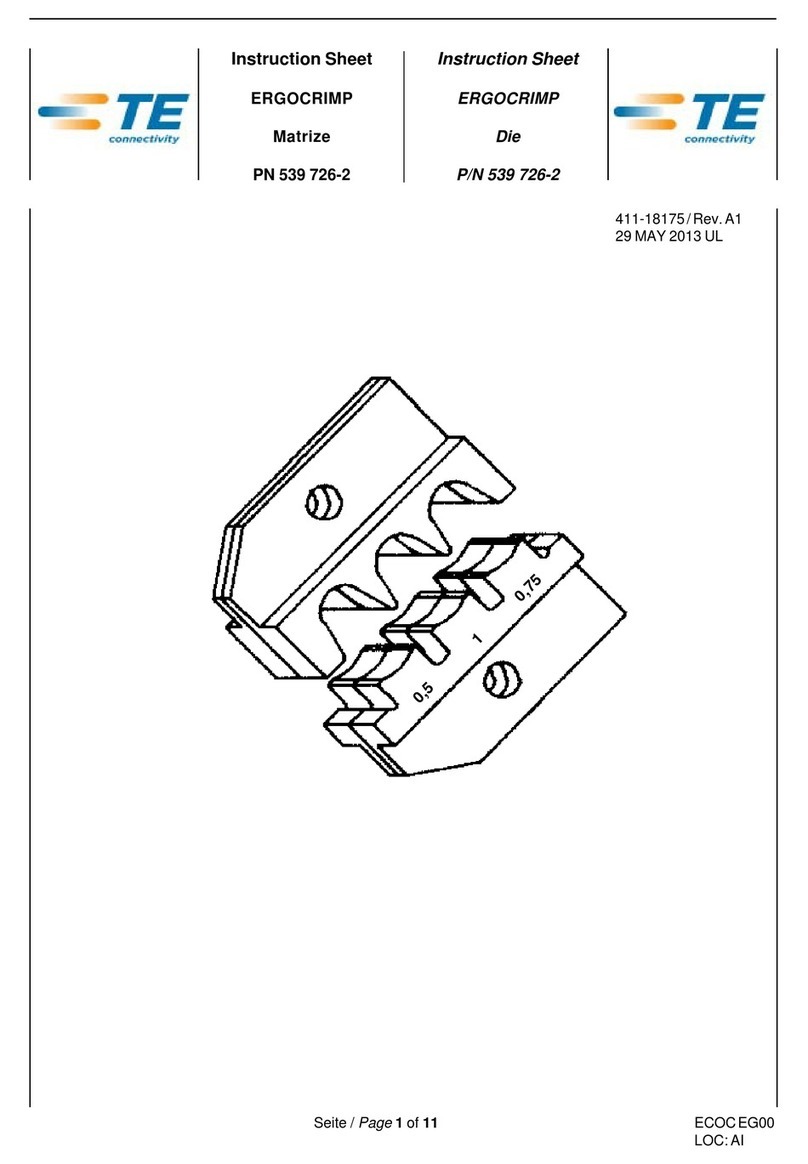
TE Connectivity 539 726-2 instruction sheet


