manuals.online logo
Brands
  1. Home
  2. •
  3. Brands
  4. •
  5. Cooke & Lewis
  6. •
  7. Ventilation Hood
  8. •
  9. Cooke & Lewis CLFLEXDOWN User manual

Cooke & Lewis CLFLEXDOWN User manual

5059340127514
CLFLEXDOWN
A
B
In du ct io n Bo os te r
Fl ex i- zo ne
Fl ex i- zo ne
Induction Booster
Preparation 03
Care and
Maintenance 32
EN Contents
Installation 19
Use 21
3
EN Installation
x1
EN IMPORTANT - Please
read carefully the
separate safety guide
before use.
EN Not included
EN BASE CABINET 80cm
BASE CABINET 100cm
3663602843153
EN VENT PACK (Ø150mm)
3663602480044
EN RECIRC KIT 1
4 x 15mm
3663602637462
01
EN Choose a type of installation: Ducted option A (extraction to the outside) or Recirculation option B (no extraction to
the outside). This appliance is for installation in a 80cm or 100cm base cabinet only.
CARBFILT 50
VENT PACK (Ø150mm)VENT PACK (Ø150mm)
EN Preparation
EN Preparation
02
+
+
EN Use the following instructions to modify your base cabinet (not supplied) to fit the appliance.
A
B
A
B
03
EN Check the base cabinet parts and identify the pieces to be modified. Note: *CC is to be modified if you have chosen
Recirculation Option B. Use the instructions for Recirc Kit 1 (sold separately).
EN Base Cabinet Modification
A
BB
CC
DD
EE
FF
GG
HH
*
BC
RG
HJDFT
WXYZ
AA
CC
GG
HH FF
JJ
(x1)
(x5)
50mm
(x7) (x7) (x10)
(x2)
15mm
(x6)
20mm
30mm
15mm
(x5)
(x3) (x3)
(x5) (x2)(x5)
1 X
1 X
1 X
1 X
1 X
1 X
1 X
1 X
AE
AG
JJ
1 X
AF
AK
(x1)
(x1)
EN Preparation
AR
(x2)
(x37)
(x2)
(x2)
AA
BB
CC
EE
FF
GG
DD
HH
JJ
04
EN These dimensions are for a 38mm worktop, measure, mark and cut panels
HH
and
GG
as required. Adjust cutting
dimensions for different worktop thicknesses (see table above).
EN Preparation
05
06
(x7)
(x7)
(x10)
A
B
C
20mm (x2)
(x1)
AF
AG
DD
CC
AA
AG AG
DD
AF
EN Preparation
CC
A
B
C
EE
JJ
07
08
20mm
(x2)
(x1)
AF
AG
MGG
AA
CC
DD
MGG
AA
CC
BB
DD
EN Preparation
09
10
20mm (x2)
(x1)
AE
AG
MHH
MHH
50mm (x3)
G
DD
MHH
MHH
BB
AA
CC
MGG
AA
MGG
MHH
CC
DD
MHH
DD
MHH
G
G
G
AE
EN Preparation
11
12
[0 3] X 2
[04] X 4
[04] X 4
EE
EN Preparation
280mm
13
W
X
D(x20)
15mm
(x5)
(x5)
EN Preparation
W
W
D
CC
[x2]
AR
AR
90°
!
AR
AR
AR
14
AR
150mm
150mm
520mm
mm
28mm
EN Caution! Before drilling it is extremely important to check the wall for hidden pipes, electrical cables etc using an
appropriate detection device.
Warning: Good ventilation is required around the appliance for easier dissipation of heat and low power
consumption. Sufficient clearance is required around the appliance. The minimum base unit width that this
appliance can be installed into is 80cm wide.
EN Preparation
15
EN Cut an aperture in the worktop using a jigsaw as shown. The worktop should be at least 12.5mm thick and made of a
heat resistant material.
IMPORTANT: Please see "Cleaning the Lower Tray and Extractor Grill" in the Care & maintenance section later in
this manual.
750mm
490mm
45mm
770mm 520mm
285mm
Ø150
mm
>5mm
<200mm
!
EN Preparation
16
EN Seal the cut edge of the worktop using silicone sealant or PVA adhesive.
IMPORTANT: ensure that either product is fully cured as per the manufacturers instructions before you commence
installation of the hob. This hob MUST NOT be sealed into the worktop.
EN Preparation
17
EN Stretch out and stick the supplied tape along the underside edge of the hob, ensuring the ends overlap. Trim off any
excess tape and dispose of it.
EN Preparation
18
1
EN Once the worktop edge has cured, and the tape is fitted, position the hob into the cutout in the worktop. Apply
gentle downwards pressure onto the hob to push it into the worktop ensuring a good seal around the outer edge.
EN Preparation
9
EN Electrical Installation
All installation must be carried out by a competent person or qualified electrician. Before connecting the mains supply
ensure that the mains voltage corresponds to the voltage on the rating plate.
Direct Connection
This appliance must be connected directly to the mains using an omnipolar circuit breaker with a minimum opening
of 3mm between contacts.
The installer must ensure that the correct electrical connection has been made and that it complies with the
wiring diagram.
The cable must not be bent or compressed.
Regularly check the mains connection and power cord for damage. If the supply cord is damaged, it must be replaced by
the manufacturer, its service agent or similarly qualified persons in order to avoid a safety hazard.
WARNING: This is a Class I appliance and MUST be earthed.
This appliance is supplied with a 3 core mains cable coloured as follows:
Brown = L or Live
Blue = N or Neutral
Green and Yellow = E or Earth
220-240V~
N
L
L
N
N
L
L
Blue
Brown
(Blue)
(Brown)
(Green/Yellow)
This appliance should be connected directly to the consumer unit with a 32 Amp Residual Current Device
(RCD) protecting its circuit.
To avoid the risks that are always present when you use an electrical appliance it is important that this appliance is
installed correctly and that you read the safety instructions carefully to avoid misuse and hazards. Please keep this
instruction booklet for future reference and pass it on to any future owners. After unpacking the appliance please
check that it is not damaged. If in doubt, do not use the appliance but contact Customer Services shown in the Care
& maintenance section below.
EN Preparation
EN Installation
EN Installation
Caution:
This appliance must be installed by a qualified person in compliance with the instructions provided. The manufacturer
declines all responsibility for improper installation, which may harm persons and animals and cause damage.
• This appliance must not be installed directly above a dishwasher, fridge, freezer, washing machine, oven or clothes
dryer as the humidity may damage the hob electronics.
• Do not attempt to dismantle the appliance, there are no user servicable parts inside.
• At the end of its life, the appliance should not be disposed of in household waste; contact your Local Authority for
guidance.
• Check the package and make sure you have all of the parts listed.
• Decide on the appropriate location for your product.
Important: If the room contains a fuel burning appliance, such as a gas, or oil fired, central heating boiler, which is not of
the 'Balanced Flue' type, you should make sure that there is adequate air inlet into the room at all times so that fumes
from the boiler are not drawn back into the room by the Cooker Hood.
The specifications plate is available on this appliance. This plate displays all the necessary identification information for
ordering replacement parts.
If you sell the appliance, give it away, or leave it behind when you move house, make sure you also pass on this manual
so that the new owner can become familiar with the appliance and its safety warnings.
Caution:
• This hob must be connected to the mains power supply only by a suitably qualified person.
• Before connecting the hob to the mains power supply, check that:
1. The domestic wiring system is suitable for the power drawn by the hob.
2. The voltage corresponds to the value given in the rating plate.
3. The power supply cable sections can withstand the load specified on the rating plate.
•To connect the hob to the mains power supply, do not use adapters, reducers, or branching devices, as they can
cause overheating and fire.
• The power supply cable must not touch any hot parts and must be positioned so that its temperature will not exceed
75°C at any point.
• The work surface is square and level, and no structural members interfere with space requirements.
• The work surface is made of a heat-resistant material.
• The installation will comply with all clearance requirements and applicable standards and regulations.
• A suitable isolating switch providing full disconnection from the mains power supply is incorporated in the
permanent wiring, mounted and positioned to comply with the local wiring rules and regulations. The isolating switch
must be of an approved type and provide a 3 mm air gap contact separation in all poles (or in all active
[phase] conductors if the local wiring rules allow for this variation of the requirements).
• The isolating switch will be easily accessible to the customer with the hob installed.
• You consult local building authorities and by-laws if in doubt regarding installation.
• You use heat-resistant and easy-to-clean finishes (such as ceramic tiles) for the wall surfaces surrounding the hob.
When you have installed the hob, make sure that:
• The power supply cable is not accessible through cupboard doors or drawers.
• There is adequate flow of fresh air from outside the cabinetry to the base of the hob.
• If the hob is installed above a drawer or cupboard space, a thermal protection barrier is installed below the base of
the hob.
•The isolating switch is easily accessible by the customer.
• The hob should be fixed into the worktop using the fixing brackets and sealing tape supplied with the appliance.
•This hob must not be sealed into the worktop, doing so will prevent an engineer removing the appliance to facilitate a
repair.
EN Installation
A
B
RECIRC KIT 1
EN Only for ducted option.
EN Only for recirculation option.
20

This manual suits for next models

1

Other Cooke & Lewis Ventilation Hood manuals
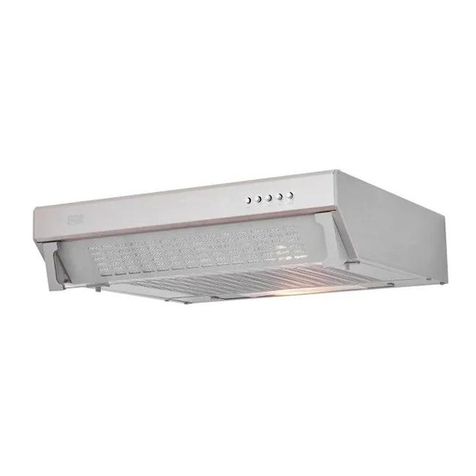
Cooke & Lewis CLDHB90 User manual

Cooke & Lewis

Cooke & Lewis CLDHB90 User manual

Cooke & Lewis CLLED60-BK User manual

Cooke & Lewis

Cooke & Lewis CLLED60-BK User manual
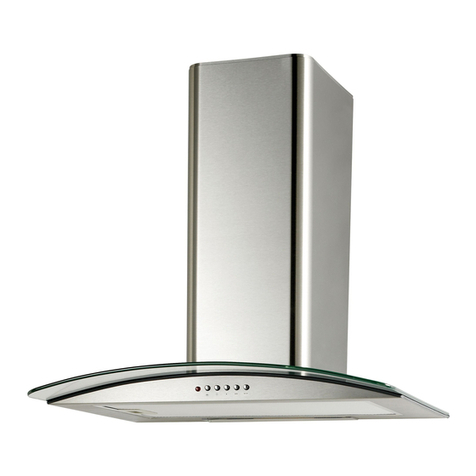
Cooke & Lewis GIHD90SS User manual

Cooke & Lewis

Cooke & Lewis GIHD90SS User manual

Cooke & Lewis 5052931055791 User manual

Cooke & Lewis

Cooke & Lewis 5052931055791 User manual

Cooke & Lewis VHS50 User manual

Cooke & Lewis

Cooke & Lewis VHS50 User manual

Cooke & Lewis CHS60 User manual

Cooke & Lewis

Cooke & Lewis CHS60 User manual

Cooke & Lewis CLICGS90 User manual

Cooke & Lewis

Cooke & Lewis CLICGS90 User manual
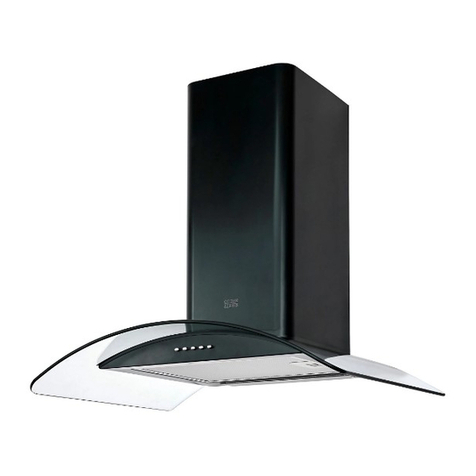
Cooke & Lewis CLTHS50 User manual

Cooke & Lewis

Cooke & Lewis CLTHS50 User manual

Cooke & Lewis CLCH60SS-C User manual

Cooke & Lewis

Cooke & Lewis CLCH60SS-C User manual

Cooke & Lewis CLCGB60 User manual

Cooke & Lewis

Cooke & Lewis CLCGB60 User manual

Cooke & Lewis CLDH-14 User manual

Cooke & Lewis

Cooke & Lewis CLDH-14 User manual

Cooke & Lewis CLDHB90 User manual

Cooke & Lewis

Cooke & Lewis CLDHB90 User manual

Cooke & Lewis CLCGLEDB60 User manual

Cooke & Lewis

Cooke & Lewis CLCGLEDB60 User manual

Cooke & Lewis MRD60CL User manual

Cooke & Lewis

Cooke & Lewis MRD60CL User manual

Cooke & Lewis CLRGB60 User manual

Cooke & Lewis

Cooke & Lewis CLRGB60 User manual

Cooke & Lewis CLCGLEDS60 User manual

Cooke & Lewis

Cooke & Lewis CLCGLEDS60 User manual
Cooke & Lewis CLTHAL60-C User manual

Cooke & Lewis

Cooke & Lewis CLTHAL60-C User manual

Cooke & Lewis CLIBHS90 User manual

Cooke & Lewis

Cooke & Lewis CLIBHS90 User manual

Cooke & Lewis IHB40CL Instruction Manual

Cooke & Lewis

Cooke & Lewis IHB40CL Instruction Manual

Cooke & Lewis CL60CGRF User manual

Cooke & Lewis

Cooke & Lewis CL60CGRF User manual

Cooke & Lewis CLVHS50 User manual

Cooke & Lewis

Cooke & Lewis CLVHS50 User manual

Cooke & Lewis CLCGS60 Installation and operating manual

Cooke & Lewis

Cooke & Lewis CLCGS60 Installation and operating manual

Cooke & Lewis CLCHB100 User manual

Cooke & Lewis

Cooke & Lewis CLCHB100 User manual

Cooke & Lewis CLAGB60 User manual

Cooke & Lewis

Cooke & Lewis CLAGB60 User manual

Popular Ventilation Hood manuals by other brands

Sirius Satellite Radio SILT18 Installation, use and maintenance instructions

Sirius Satellite Radio

Sirius Satellite Radio SILT18 Installation, use and maintenance instructions

Infiniton CMPY-IST9A manual

Infiniton

Infiniton CMPY-IST9A manual

Electrolux EFC 60671 user manual

Electrolux

Electrolux EFC 60671 user manual

Best WPP9 Instructions for use and maintenance

Best

Best WPP9 Instructions for use and maintenance

Philco PC900BTNL instruction manual

Philco

Philco PC900BTNL instruction manual

Gorenje BHI681EB Instruction on mounting and use

Gorenje

Gorenje BHI681EB Instruction on mounting and use

LYSON MINIMA Series manual

LYSON

LYSON MINIMA Series manual

Whirlpool AKR 799 IXL manual

Whirlpool

Whirlpool AKR 799 IXL manual

Tricity Bendix CH 550 Operating and installation instructions

Tricity Bendix

Tricity Bendix CH 550 Operating and installation instructions

Aspes ACP1600X instruction manual

Aspes

Aspes ACP1600X instruction manual

Smeg PUM60X instruction manual

Smeg

Smeg PUM60X instruction manual

CDA EVPK90 Installation - use - maintenance

CDA

CDA EVPK90 Installation - use - maintenance

Blaupunkt 5DS99770 installation manual

Blaupunkt

Blaupunkt 5DS99770 installation manual

ELICA ESL642S3 Use, care and installation guide

ELICA

ELICA ESL642S3 Use, care and installation guide

Viking Range RVCH336 installation guide

Viking Range

Viking Range RVCH336 installation guide

Miele DA 230-2 OPERATING AND INSTALLATION Manual

Miele

Miele DA 230-2 OPERATING AND INSTALLATION Manual

HIRED-HAND 24" & 36" Chimney Vent owner's manual

HIRED-HAND

HIRED-HAND 24" & 36" Chimney Vent owner's manual

dellonda DH129 quick start guide

dellonda

dellonda DH129 quick start guide

manuals.online logo
manuals.online logoBrands
  • About & Mission
  • Contact us
  • Privacy Policy
  • Terms and Conditions

Copyright 2025 Manuals.Online. All Rights Reserved.