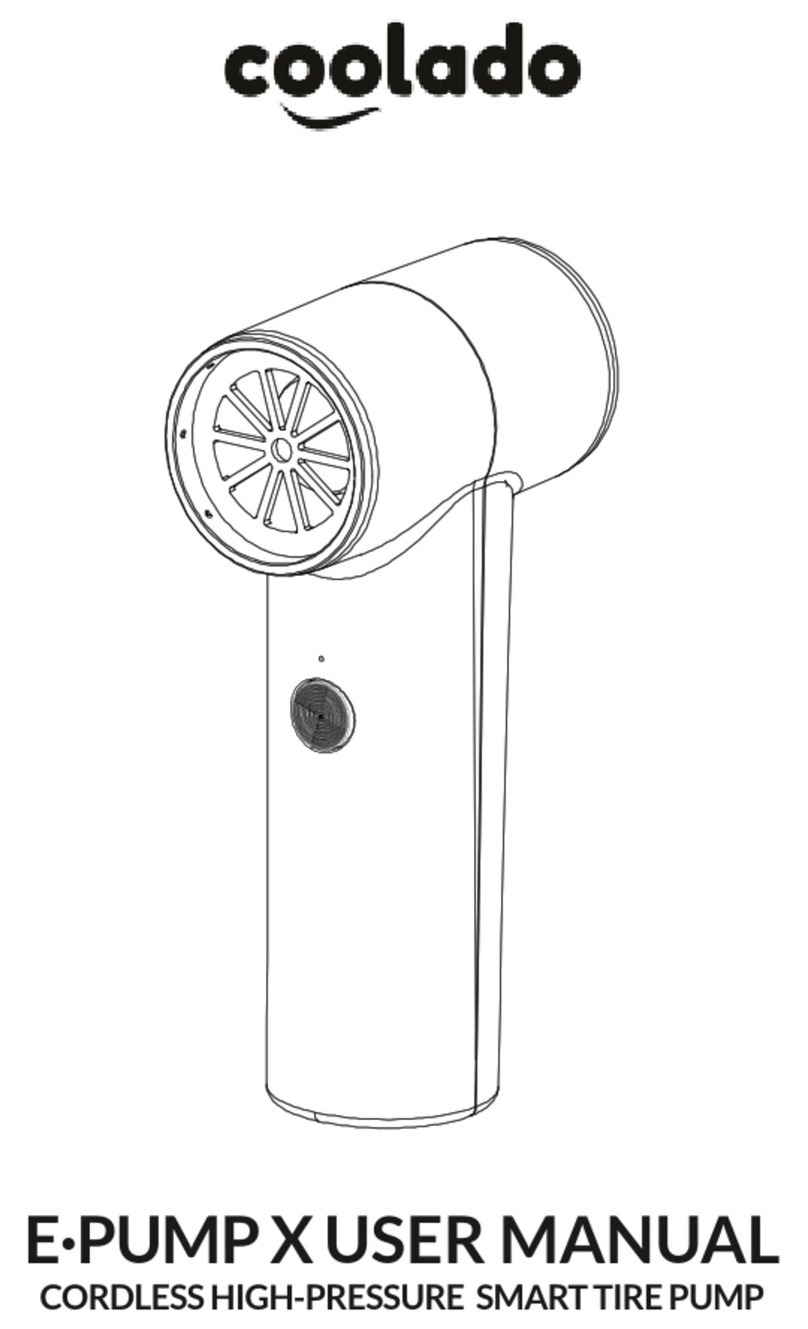
coolado T-PUMP XL User manual

CORDLESS HIGH-PRESSURE DOUBLE CYLINDER SMART TIRE PUMP
T·PUMP XL USER MANUAL

Thank you for purchasing the Coolado tPump XL!
Discover the endless usages of this little smart device
and share your experience on our website:
www.coolado.com
ATTENTION! Please read this instruction manual carefully before using this product for the first
time. It will guide you to use it correctly and remind you of the relevant precautions. This pump is a
semi-professional tool and not a toy.
This product is a portable smart tire pump, suitable for the inflation of camper tires, SUV tires,
mini bus tires, car tires, motorcycle tires, bicycle tires, balls and other high-pressure inflatables.
Presets are for indication only; a list of predetermined values is provided. To obtain accurate
values, consult the product's instruction manual.
After a lengthy usage, the air pump and tube may become hot. We recommend allowing the pump
to cool down for 15 minutes before using it again in this scenario.
See list of preset values that are for indication only. For exact values see the manual of the product
to be pumped.

Protective Case
USB-C recharge cable Type-C
Wall charger 17.5V
1 AC
Inflatables adapter
Ball pin needle adaptor
Adapter for Presta (or
French) and Dunlop (or
Dutch) valve
tClamp adapter with air
release button
Tube with with Schräder
adapter
tPump XL
1. BOX CONTENTS

LCD display
Up
Down
Power/set button
Start-Stop button
Air pressure value
Pressure unit
Battery indicator
9
10
11
12
13
14
15
16
LED light
Pump hose screw hole
Warning sticker
Control panel
USB ports
DC port
Desk lamp
Lamp switch
1
2
3
4
5
6
7
8
2
4
1
3
5
6
8 9 10 11 12 13
7
14 15 16
2. PRODUCT DESCRIPTION

Press Long press Press with display off
Long press for 3
seconds to turn off the
LCD screen
1. Activate LCD screen
2. Choose thepressure
units
Turn on/off air inflation
Rapidly increase the
pressure value
Increase the pressure
value
1. Press for 3 sec. to turn on the
power bank function (when the
LCD screen is not activated)
2. Long press for 3 sec. to turn
off USB function
Rapidly reduce the
pressure value
Reduce the pressure
value
1. Lamp control
2. Choose the function
between desk lamp,
flash warning and SOS
rescue
Tube with with Schrader adapter
tClamp adapter with air release button
Adapter for Presta (or French) and Dunlop
(or Dutch) valve
Ball pin needle adaptor
Inflatable adapter
1
2
3
4
5
4. FUNCTIONS
Automatic inflation
Pressure detection
Power bank
Light, Flash warning and SOS lamp
1
2
3
4
3. INCLUDED ADAPTORS

Connect the pump and the tire valve, press the ON-
switch, the current tire pressure will appear on the
display.
The detection of the actual air pressure
Please charge the battery fully before using the product
for the first time.
Use the AC-charger to connect to an AC socket.
The battery indicator will light when charging
-
-
-
Charging
The battery status bar is indicating the remaining power
Battery indicator
Full More Half Low Empty
6 months 4 months 2 months 30 days 7 days
Power status
Resting period
(storage temp 25° C)
IMPORTANT NOTICE!
When the pump is not in use, please charge it according to the
table, otherwise the battery may decay or be damaged.
Connect the tube to the pump and make sure it’s tight
Push the “Power on” button to switch on the display.
ln the power-on state after 180 seconds without any
operation, the display will automatically turn off.
1
2
3
Turning on the display
5. OPERATION OF THE PUMP

Press the SET button to activate the LCD display,
Then press the power switch to START/STOP the pump.
1
2
Inflating process without presetting the air pressure
When the LCD screen is not activated, long press the up
button for at least 3 seconds, to start the power bank
function, to charge your mobile phone, long press up
button again to shut down the power bank function.
Power bank function
Press the SET switch to activate the LCD screen, press
the SET switch again to choose the pressure units
between PSI, BAR, KPA or KG/CM2.
By switching the up and down buttons to preset the
pressure value, quickly press the SET button to
complete the setting or wait for the display flicker to
stop.
Press the START/STOP button to start the inflation.
When the air pressure reaches the preset value, the air
pump will automatically stop.
1
2
3
Inflating process with pre-setting the pressure value
Press the lamp switch button, click to the desired mode
choose between the desk lamp, flash warning and SOS
rescue functions.
Lamp, Flash Warning and SOS rescue functions

Mountain bikes
E-bikes
Motorcycles
Cars, caravan and campers
1
2
3
4
SCHRADER ADAPTER
6. USE OF THE DIFFERENT ADAPTORS
The tube is standard equipped with a Schrader valve
suitable for:
just screw the schrader side of the tube directly on
the tire valve.
TCLAMP WITH PRESSURE RELEASE
The tPump XL includes a most clever quick connect valve,
named the tClamp with a professional pressure release
valve.
The tClamp is easy to connect to any Schrader valve directly,
and any adapter that is supplied with the tPump XL.
The tClamp has a 90 degrees design which makes it easy to
connect the tube in any difficult corner.
Just screw the tClamp to your pump tube schrader end
and you can connect to any valve in an easy way.
The pressure release valve is used for when the air pressure
in your tire is above the desired air pressure. Just push the
button and release the air from your tire until it reaches
the desired pressure.
Road bikes
Race bike
1
2
PRESTA (or FRENCH), DUNLOP (or DUTCH)
VALVE ADAPTER
Screw the Presta adapter into the schrader side of the
tube of the pump, then connect the tube to the Presta
valve suitable for:

BALL NEEDLE ADAPTER
Screw the balloon needle adapter into the schrader side of
the pump hose, moisten the needle a little and plug it into
the balloon valve.
It is suitable for basketball, soccer and other types of balls.
INFLATABLES ADAPTER
For swimming pool and beach tools, balloons, toy balls…
7. CHOOSE THE RIGHT AIR PRESSURE
In order to ensure safety, before using the product to
inflate, please inquire about the air pressure value
required by the inflated item by reading the instructions
manual from the supplier and avoid accidents caused by
low-pressure or over-pressure.
Suitable air pressure value for common products.
A list of suggested values for indication only.
For accurate settings, consult the product's manual.
12-16 inch tires
20-24 inch tires
26-29 inch tires
Motorbike tires
Small car tires
Basketball
Football
Volleyball
Rugbyball
30-50 psi / 2,0-3,5 bar
40-50 psi / 2,7-3,5 bar
45-65 psi / 3,0-4,5 bar
25-45 psi / 1.8-3.0 bar
35-40 psi / 2.2-2.8 bar
7-9 psi / 0,5-0,6 bar
8-16 psi / 0,5-1,1 bar
4-5 psi / 0,3-0,4 bar
12-14psi / 0,8-1,0 bar
(reinforced) en C-tires 3-5 bar
4-5 bar
Bicycle
Motorbike
Car
Caravan
Camper
Ball
Product category Product type Recommended pressure

Inflatable pressure range 100 PSI / 6,9 Bar
Product size 60x85x200mm
Weight 815 gr
Airflow 40 litre per minute
Tube size 175±5mm, including air nozzle
Battery capacity 2000mAh x 4
Working noise 1 meter = less than 75dB
Max current 12A
Charging AC Charge 17.5V 1A charger
USB charger 5V 2A
Charging time +/- 2 hours with AC charger
+/- 5/6 hours with USB charger
Air pressure gauge accuracy 35±1.5psi
Working temperature -10°C ~ 45°C
Working voltage 14,8 V
Common unit conversion: 1 bar= 14.5psi, 1 bar= 100kPa.
8. PRODUCT PARAMETERS

9. SPECIAL NOTES
Due to the fact that the inflation pressure of items like
balloons, toy balls, swimming rings, and other goods is
lower than this air pump's pressure range, the inflation
cannot be stopped automatically by setting a specific
pressure. The Coolado ePump is a superb option for
these goods.
Please double check the air pressure required to
prevent injury caused by over-inflation bursting while
inflating.
Please use the right adapters before inflating.
Please avoid putting it in a high-temperature environ-
ment such as a car that can be exposed to direct
sunlight;
Do not bend or step on the inflation tube during
inflation to keep the airflow smooth.
Stay near the pump when the air pump is working and
make sure the air pump is not over-pressurizing.
Protect the pump against moisture, heavy falls, water
immersion, and mud or sand intrusion;
There is a DC motor in the air pump, which may
generate electric sparks during operation. So do not put
it near flammable liquids or gasses when in use.
This product is a semi-professional tool and not a toy,
keep away from children; keep a safe distance from
children when inflating objects;
If the pump or tubing gets too hot, allow the pump to
cool for 15 minutes before using it again
Please double-check the pressure value unit before
setting it; otherwise, it may cause accidents such as tire
blowout. The following is a list of common conversion
factors: 1 PSI = 7kPa = 0.07 BAR 7
Non-conformance: We disclaim any responsibility for
any negative consequences that may result from
incorrect usage or mishandling, or from non-compliance
with the instructions in this manual.
-
-
-
-
-
-
-
-
-
-
-
-

MALFUNCTION SOLUTION
Slow inflation Check whether the battery is sufficiently charged
Check if the air hose is leaking
Check if the connection parts on both ends of the
air tube are tight.
Check if the tube is bent or blocked.
1.
2.
3.
4.
Can’t inflate when
turning on
Check if the power is sufficient
Check if the current tire pressure value is higher
than the preset value
1.
2.
Normal inflation but
screen shows 0
Balloons and other low-pressure inflatables
products are not within the measurable range of the
device
The air pump has shut
down automatically
after screwing the
valve adapter
Press the power button to turn on the display again
Air leakage when
connecting the tube
Tighten the tube
10. TROUBLESHOOTING

The Coolado t-Pump needs only to be cleaned on the
outside surface with a dry, soft cloth.
The product has a built-in non-removable lithium
battery. Please do not throw the product into fire or
discard it carelessly. The lithium battery may cause fire,
spontaneous combustion or explosion due to overheat-
ing, impact and water ingress.
Store the tPump XL in a cool, clean and dry place. The
storage temperature of the product should not be lower
than -10 ° C or higher than 45 ° C. Excessive heat or
cold will shorten the product's lifetime and damage the
built-in battery.
The battery may be damaged if not used for a long time.
It is recommended to charge the pump at least once
every six months.
Disconnect the charger when not in use.
Do not replace or remove the battery by yourself.
-
-
-
-
-
-
11. CLEANING & MAINTENANCE
The Coolado warranty is in line with EU legislation and
rules.
15 days money-back guarantee from purchasing date.
The pump must be returned to its original undamaged
package. (See return policy on our website)
Coolado provides a 1-year warranty for failures caused
by normal operation according to the manual.
Warranty period: According to invoice date.
Improper use of the product and man-made damage is
not covered by the warranty.
Damages to the Coolado tPump caused by, but not
limited to abuse, abnormal operation, water damage,
non-advised power supply, high temperatures, motor
burn caused by the high-voltage power supply, All
man-made damage. Self-disassembly and accidental
damage, damages caused by force majeure are not
covered by the warranty.
-
-
-
-
-
-
12. WARRANTY

The warranty is limited to the value of the pump.
The liability of Coolado will ALWAYS be limited to the
value of the pump.
Coolado will not be liable for damages to persons
and/or property.
-
-
-
We're currently testing the tPump XL with a number of
device makers, including air tents, kites, SUPs, and kayaks.
Please see our website for additional applications for the
tPumpXL.
13. ADDITIONAL APPLICATIONS
On our website, you can find this manual
in multiple languages.
Scan this QR Code or go to our website:
https://www.coolado.com/manuals
Table of contents
Other coolado Water Pump manuals
Popular Water Pump manuals by other brands

IBO
IBO AJ50/60 instruction manual

morse
morse 96MK1939-P Operator's manual

NAVAC
NAVAC PRO Series user manual

Pentair
Pentair JUNG PUMPEN MULTICUT 08/2 ME/1 instruction manual

Pentair
Pentair FAIRBANKS NIJHUIS 5410 Installation, operation and maintenance manual

salmson
salmson MULTI-V 1 Installation and starting instructions