manuals.online logo
Brands
  1. Home
  2. •
  3. Brands
  4. •
  5. coolado
  6. •
  7. Water Pump
  8. •
  9. coolado ePump User manual

coolado ePump User manual

Thank you for purchasing the Coolado e-pump!
Discover the endless usages of this little smart device
and share your experience on our website:
www.coolado.com
E·PUMP USER MANUAL
Learn more
coolado.com/learn-more/BBQ
coolado.com/learn-more/Inflate
coolado.com/learn-more/Deflate
coolado.com/learn-more/Clothing-Bag
Briquettes are made from charcoal powder
compressed with corn starch making them very dense.
If you use briquettes the lighting time will be longer
than regular charcoal and will also emit smoke when
ignited.
Briquettes
We recommend to use high quality lump charcoal. This
is quite different from the regular charcoal you pick up
in your grocery store. The chunks will be bigger, sparks
less and a give a more steady cooking temperature.
There is charcoal and there is charcoal
Best way to get your charcoal or logs going quickly is to
continue pointing the ePump towards the same spot in
your pile after ignition. Listen for the “swoosh” and
you’ll know when you point the ePump in the right
direction.
Use your ears
It is important to try to find a hot spot where two
pieces of charcoal meet. Start by lighting a smaller
piece, the glow will catch on quicker and spread to
bigger pieces.
Let it spread
Don’t put the nozzle of the ePump to close to the
charcoal . Airflow is important so try to find a spot
where two pieces of charcoal meet and ignite that spot.
Airflow is important
USEFUL FIRE TIPS
Continue using the Coolado ePump for around 3-5 minutes
on your charcoal to get it grill-ready. Thanks to the airflow
that the ePump produces will it fast forward the heating
process and turn the charcoal red hot.
Ready the grill in 3-5 minutes
Turn on your Coolado ePump and point the outlet to the
glowing center of your charcoal stack.
To avoid injuries and / or damages to the pump, keep the
pump 50 cm (20 inches) from the fire at all times!
Awaken the flames
Put a piece of paper or wood in the center of your BBQ and
put some charcoal around and on top of it. Light the piece
of paper or wood on fire and wait until its lighted the
charcoals lightly.
Light the charcoal
Follow these 3 steps for best use when you want to light your
grill, bbq or fire place
GRILL, BBQ & FIREPLACE
3
2
1
1. 7mm nozzle
2. 16mm nozzle
3. Vacuum bag extension nozzle
The nozzles can be used on both the inflating port as
well as on the deflating port.
3 NOZZLES INCLUDED
1. Deflating port.
2. Inflating port.
3. On/Off button and LED battery status indicator
4. Micro-USB port for recharging
PRODUCT DESCRIPTION
4
3
2
1
- ePump
- 3 accessory nozzels
- USB recharge cable
- Protective case
BOX CONTENTS
Always follow the instructions as stated in this operational manual
Avoid looking into the ports while the Coolado airpump is in operation.
Keep both ports free from obstructions during operation (Pump can
become hot!)
Keep the pump away from moisture and water.
PRECAUTIONS
The Coolado warranty is in accordance with the EU
law and regulations
The Coolado airpump has a limited warranty of 24
months after the date of purchase.
1 month money back guarantee (pump must be
returned it its original undamaged package)
Damages to the Coolado caused by abuse, abnormal
operation, water damage, non- advised power supply,
are not included in the warranty.
The liability of Coolado will ALWAYS be limited to the
value of the airpump and coolado is not liable for
damages to persons and / or property.
WARRANTY
You should always store your ePump inside its
protective case,
not only to protect it from fall damage, but also to keep
all its accessories together.
STORING YOUR E·PUMP
Connect the Micro USB cable to the USB port of the
pump.
Connect the USB cable to the charger.
Plug the charger into the wall socket or the car
adapter.
The Pump will show a red light when it is charging.
When the pump is fully charged the light will turn
green.
Fully charge the Coolado ePump before the first use.
The Coolado E·Pump comes with a standard micro USB
cable. In order to save the environment, we don’t supply
a charger. A standard mobile phone charger could be
used (after checking the voltage).
CHARGING THE E·PUMP
To use the ePump on a vacuum-bag unscrew the cover
of the valve and put the vacuum nozzle on the deflating
port of the ePump. Put the nozzle of your ePump on
the valve of the vacuum bag and make sure there is no
leak. Turn on your ePump and suck all air out of the
vacuum bag. The valve will close automatically when
you’re done. Screw back the top and you’re all set! Your
clothing is minimized in volume and protected against
moisture, dirt and smells.
VACUUM CLOTHING BAG
Inflating Deflating
Choose the appropriate nozzle and connect it to
the deflating port.
Put the nozzle into the deflating devices valve.
Switch on the Coolado air pump and start
deflating.
1.
2.
3.
To deflate:
Choose the appropriate nozzle and connect it to
the inflating port.
Put the nozzle into the inflating devices valve.
Switch on the Coolado air pump and start
inflating.
1.
2.
3.
To inflate:
INFLATING / DEFLATING

Other coolado Water Pump manuals

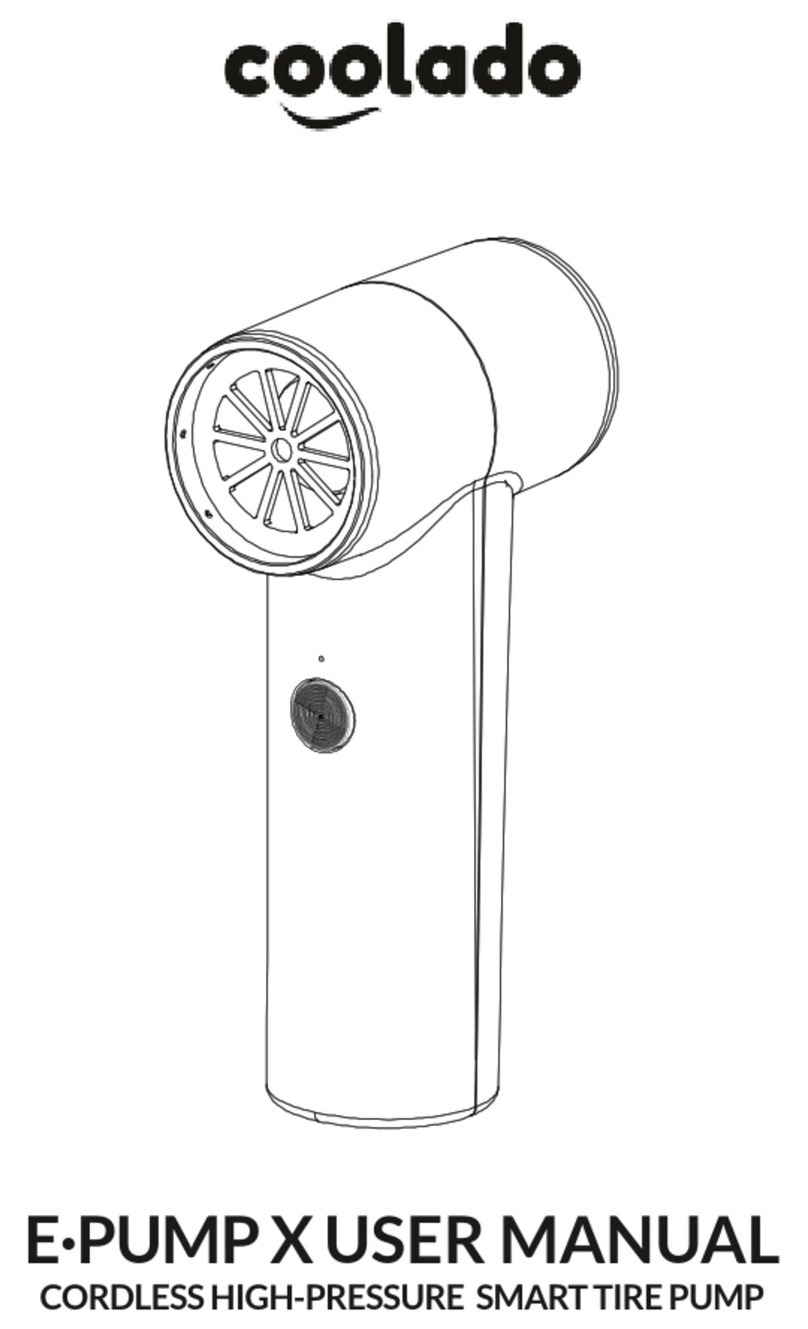
coolado E-PUMP X User manual

coolado

coolado E-PUMP X User manual

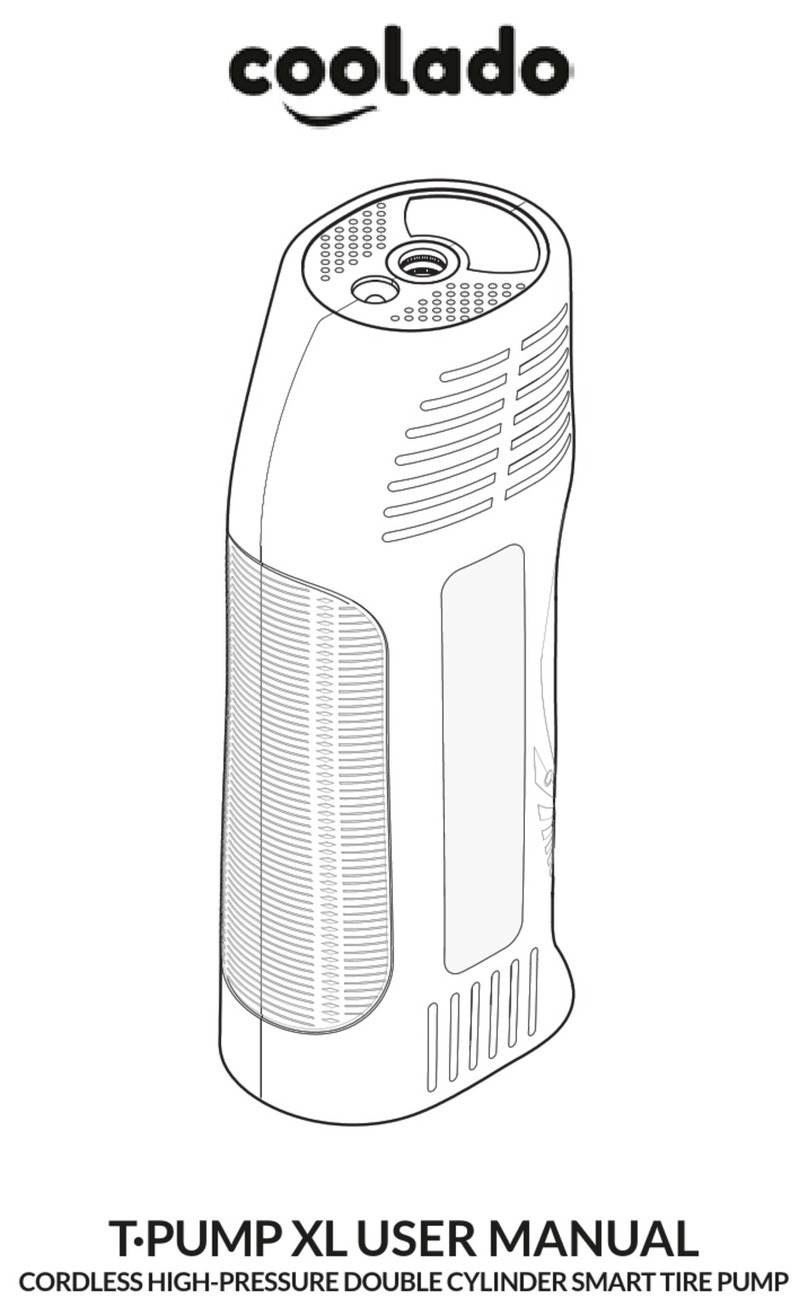
coolado T-PUMP XL User manual

coolado

coolado T-PUMP XL User manual

coolado tPump P User manual

coolado

coolado tPump P User manual

Popular Water Pump manuals by other brands

Clarke CDDFTP manual

Clarke

Clarke CDDFTP manual

Graco Bulldog instructions

Graco

Graco Bulldog instructions

BRINKMANN PUMPS SPC820 operating instructions

BRINKMANN PUMPS

BRINKMANN PUMPS SPC820 operating instructions

Lutz-Jesco MEMDOS SMART LD operating instructions

Lutz-Jesco

Lutz-Jesco MEMDOS SMART LD operating instructions

BUSCH COBRA Oxygen NC 0400 B instruction manual

BUSCH

BUSCH COBRA Oxygen NC 0400 B instruction manual

AREBOS AR-HE-HWW1000 user manual

AREBOS

AREBOS AR-HE-HWW1000 user manual

SIEBE APV ZMS Series manual

SIEBE

SIEBE APV ZMS Series manual

teel 4P847A Operating instructions & parts manual

teel

teel 4P847A Operating instructions & parts manual

GP MK40A Repair manual

GP

GP MK40A Repair manual

ALBIN PUMP ALX150 Product safety information

ALBIN PUMP

ALBIN PUMP ALX150 Product safety information

Atlantic MD250 operating manual

Atlantic

Atlantic MD250 operating manual

Crane BARNES PRESSURE SYSTEMS ULTRA GRIND Simplex... installation manual

Crane

Crane BARNES PRESSURE SYSTEMS ULTRA GRIND Simplex... installation manual

Desmi S70-50-175N/A11-09 Operation and maintenance instructions

Desmi

Desmi S70-50-175N/A11-09 Operation and maintenance instructions

SFA SANILife Tray Matic Fitting instructions

SFA

SFA SANILife Tray Matic Fitting instructions

GORMAN-RUPP PUMPS 88B2-B Installation, operation, and maintenance manual with parts list

GORMAN-RUPP PUMPS

GORMAN-RUPP PUMPS 88B2-B Installation, operation, and maintenance manual with parts list

BUSCH COBRA DS 2141 A instruction manual

BUSCH

BUSCH COBRA DS 2141 A instruction manual

Argal ZMR Series Use manual

Argal

Argal ZMR Series Use manual

MCDonald 120912GRP installation instructions

MCDonald

MCDonald 120912GRP installation instructions

manuals.online logo
manuals.online logoBrands
  • About & Mission
  • Contact us
  • Privacy Policy
  • Terms and Conditions

Copyright 2025 Manuals.Online. All Rights Reserved.