WARNINGS
&
WARNING
To reduce the risk of fire, burn hazard or otherinjury, read
this safety manual carefully and completelybefore using this
appliance.
& WARNING
Before cleaning, make sure the gas supply and control knob is in
the OFF position and that the burner and oven has cooled.
&
WARNING
Never operate this appliance unattended. lf a fire should occur,
keep away fromthe applia nce and immediately call your fire
department. Do not attempt to extinguish an oil or a grease fire
with water.
Failure to follow these instructions could result in fire, explosion
or burn hazard which could cause property damage, personal
injury or death.
&
WARNING
FOR OUTDOOR USE ONLY.
& WARNING
Spiders and insectscan nest inside the burner of the appliance
and disrupt gas flow lnspect the burner at leastoncea year.
& WARNING
When usinga match to light the appliance, make sure to use the
included matchstick holder.
& WARNING
Do not store this appliance indoorsunless the gas cylinder is
disconnected.
&
WARNING
Do not store gas cylinder in a building, garage or any other
enclosed area and keep out of reach of children at all times.
& WARNING
This appliance is not intended to be install ed in or on recreational
vehicles and/or boats.
&
& DANGER
lf you smell gas:
Shut off gas to the appliance
• Extinguish any open flam e
lf odour continues, keep away from the appliance and
immediately call your gas supplier or your fire department.
&
WARNING
a.
Keep the fuel supply hose away from any heated surface(s).
b.
The use of alcohol, prescription or non-prescription drugs
may impair the consumerSs ability to properly assemble or
safely operate the appliance.
c.
Keep children and pets away from the appliance at all times.
d.
Do not move the appliance when in use.
e.
This appliance is not intended for and should never be used as
a heater.
WARNING
Check all gas supply fittings for leaks beforeeach use. Do not
use the appl iance until all connec tions have been checkedand
do not leak.
&
WARNING
Do not smoke while leak testing. Never leak test with an open
flam e.
&
WARNING
When lighting, keep your face and hands as far away from the
appliance as possible.
&
WARNING
Minimum clearance from sides of unit to combustible
construction is 610mm124 inches).
1
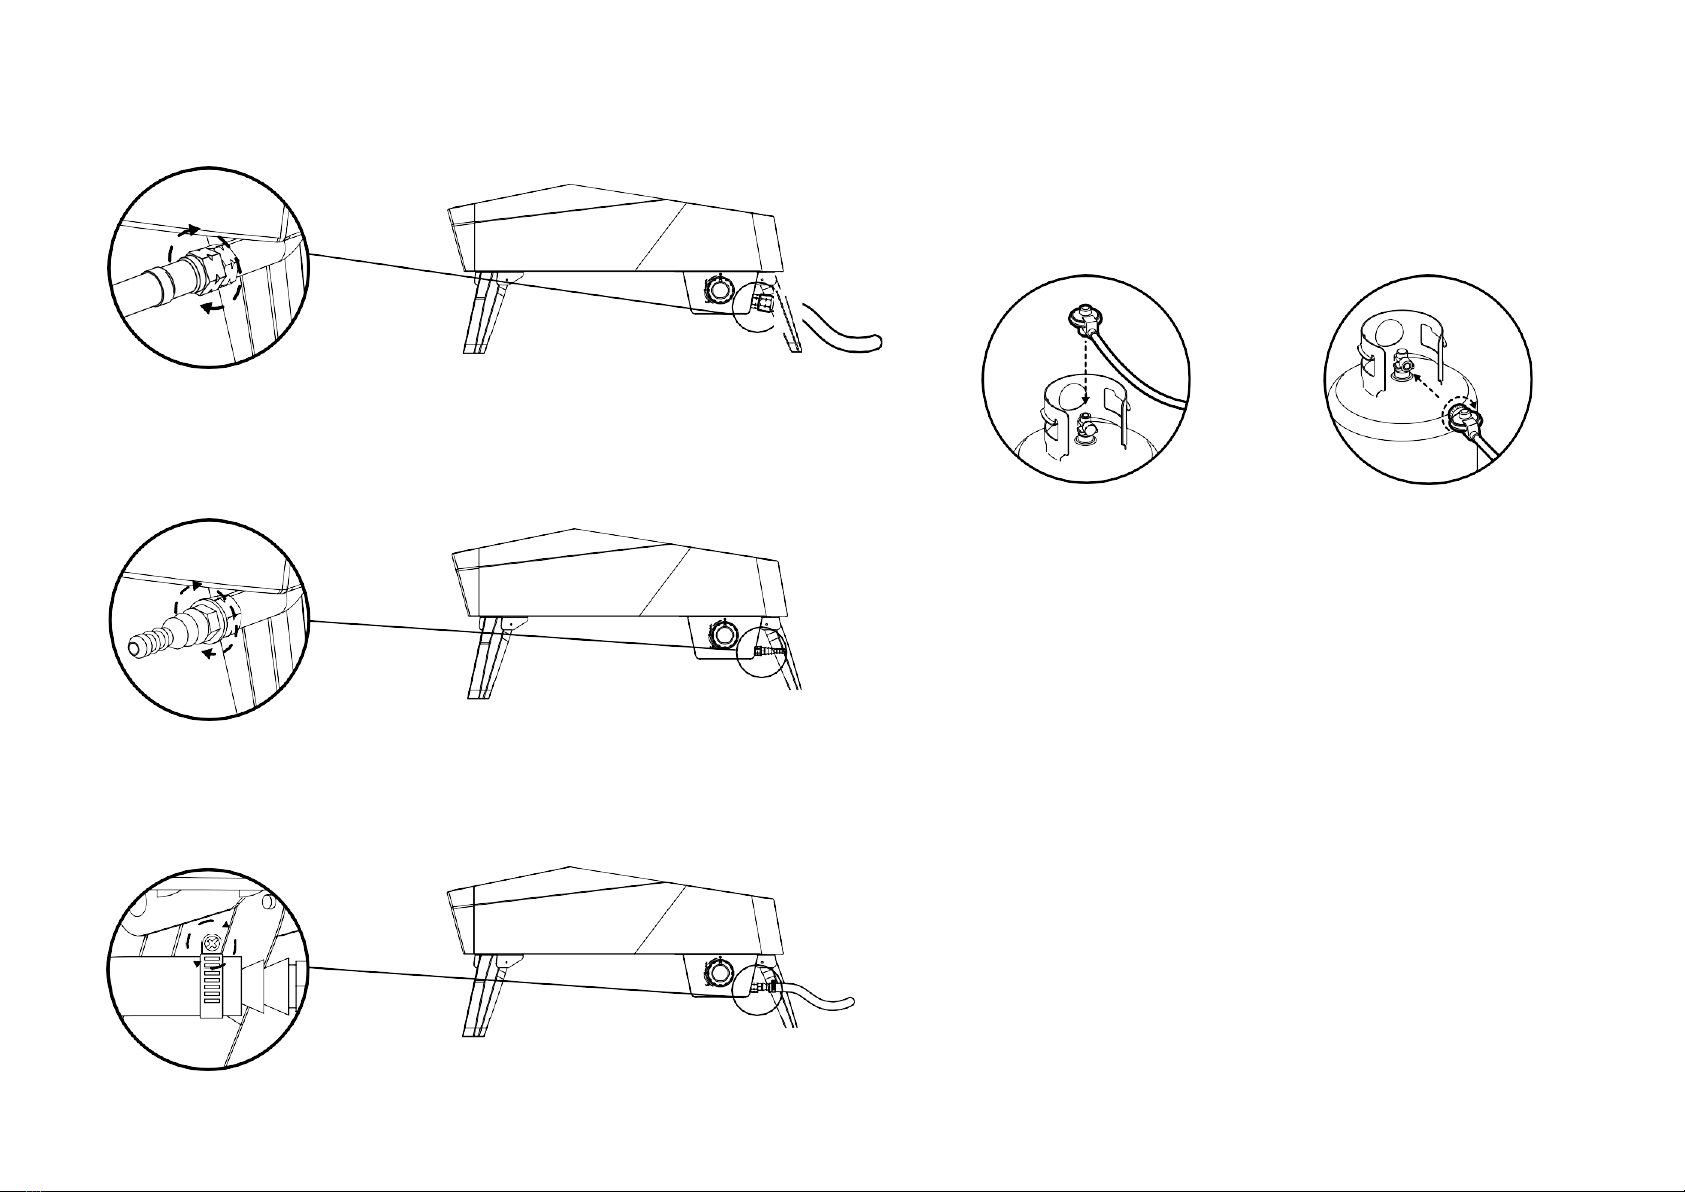
LIGHTING INSTRUCTION
- TO LIGHTTHEBURNER
•
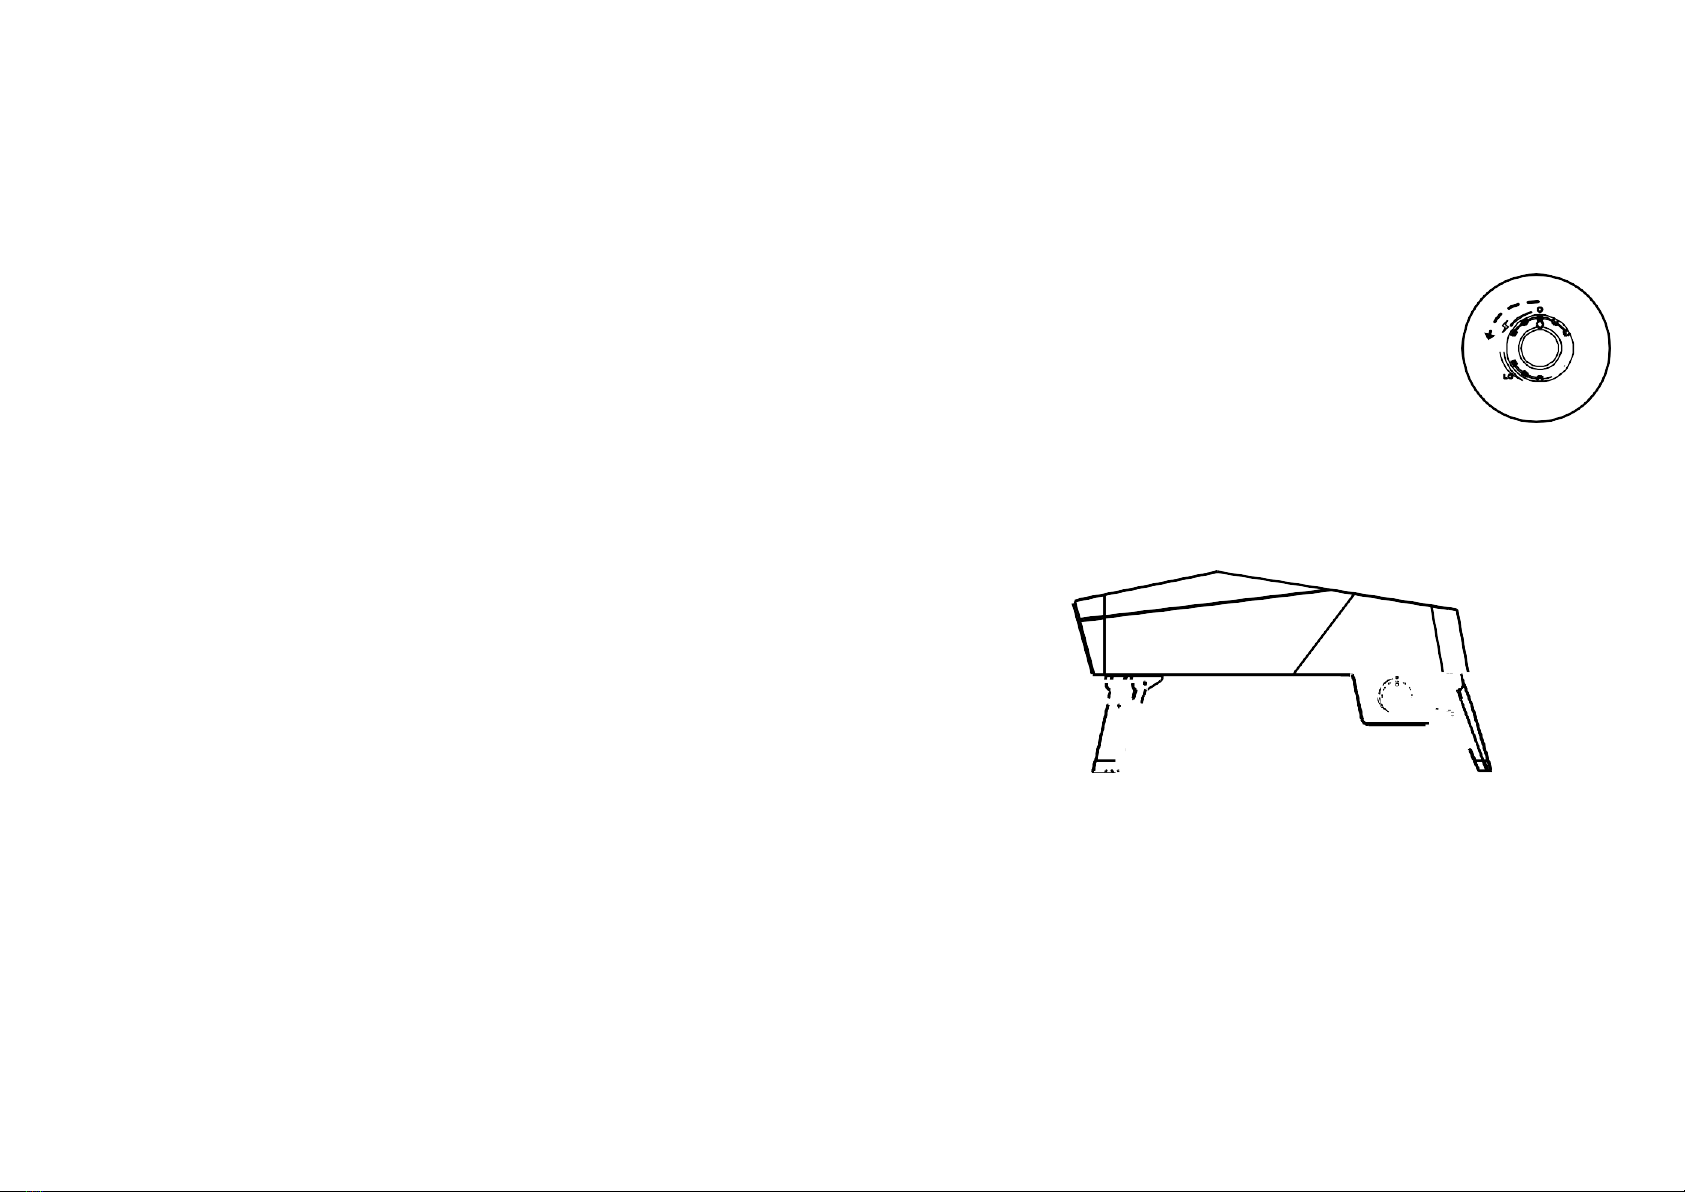
Make sure the control knob is in OFF position, and the n turn the liquid
propane cylinder va lve ON by slowly turning counterclockwise .
•
Push in and slowly turn the control knob anticlockwise until you heat a
click and the burner ignites.
•
lf burner doesn' t light, tum the knob O FF, wait 5 minut es and re peat the
lighting.
Do not store spare LP-gas cylinder under or near the appliance.
Never fill the cylinder beyond 80 percent full.
lf the information beyond is not followed exactly, a fire causing death or serious
injury may occur.
Minimal clearence from sides and back of lhe unil lo combustable construction,
36 inches from the sides and 36 inches from the front.
Not not ues the appliance under ove rhead combustable surfaces.
CAU TION:Use only the gas pressure regulator supplied wilh lhis appliance.
This regulator is set for an outlet pressure of 11 iwc.
Turn off the LP supply al cylinder when appliance is nor in use.
This appliance is no intended for comm ercial use.
Main Burner 1.20mm 15000
Modet:
P200
EN
Butane, propane or the ir mixture
4.4 kW
1.08mm 1.08mm 0.94mm
BE, CH, CY, C2, ES, FR, GB, GR, IE, IT, LT, LU, LV,
PT, SK, SI
HU,
IT, LT, NL, NO, SE, SI,
SK, RO, HR, TR, BG, IS,
LU, MT. LV
CH,
This applia nce shall be installed in conformity with the current re gulations and used only in a
well-ventilated location. Consult the instructions before installing and usi ng this appliance .