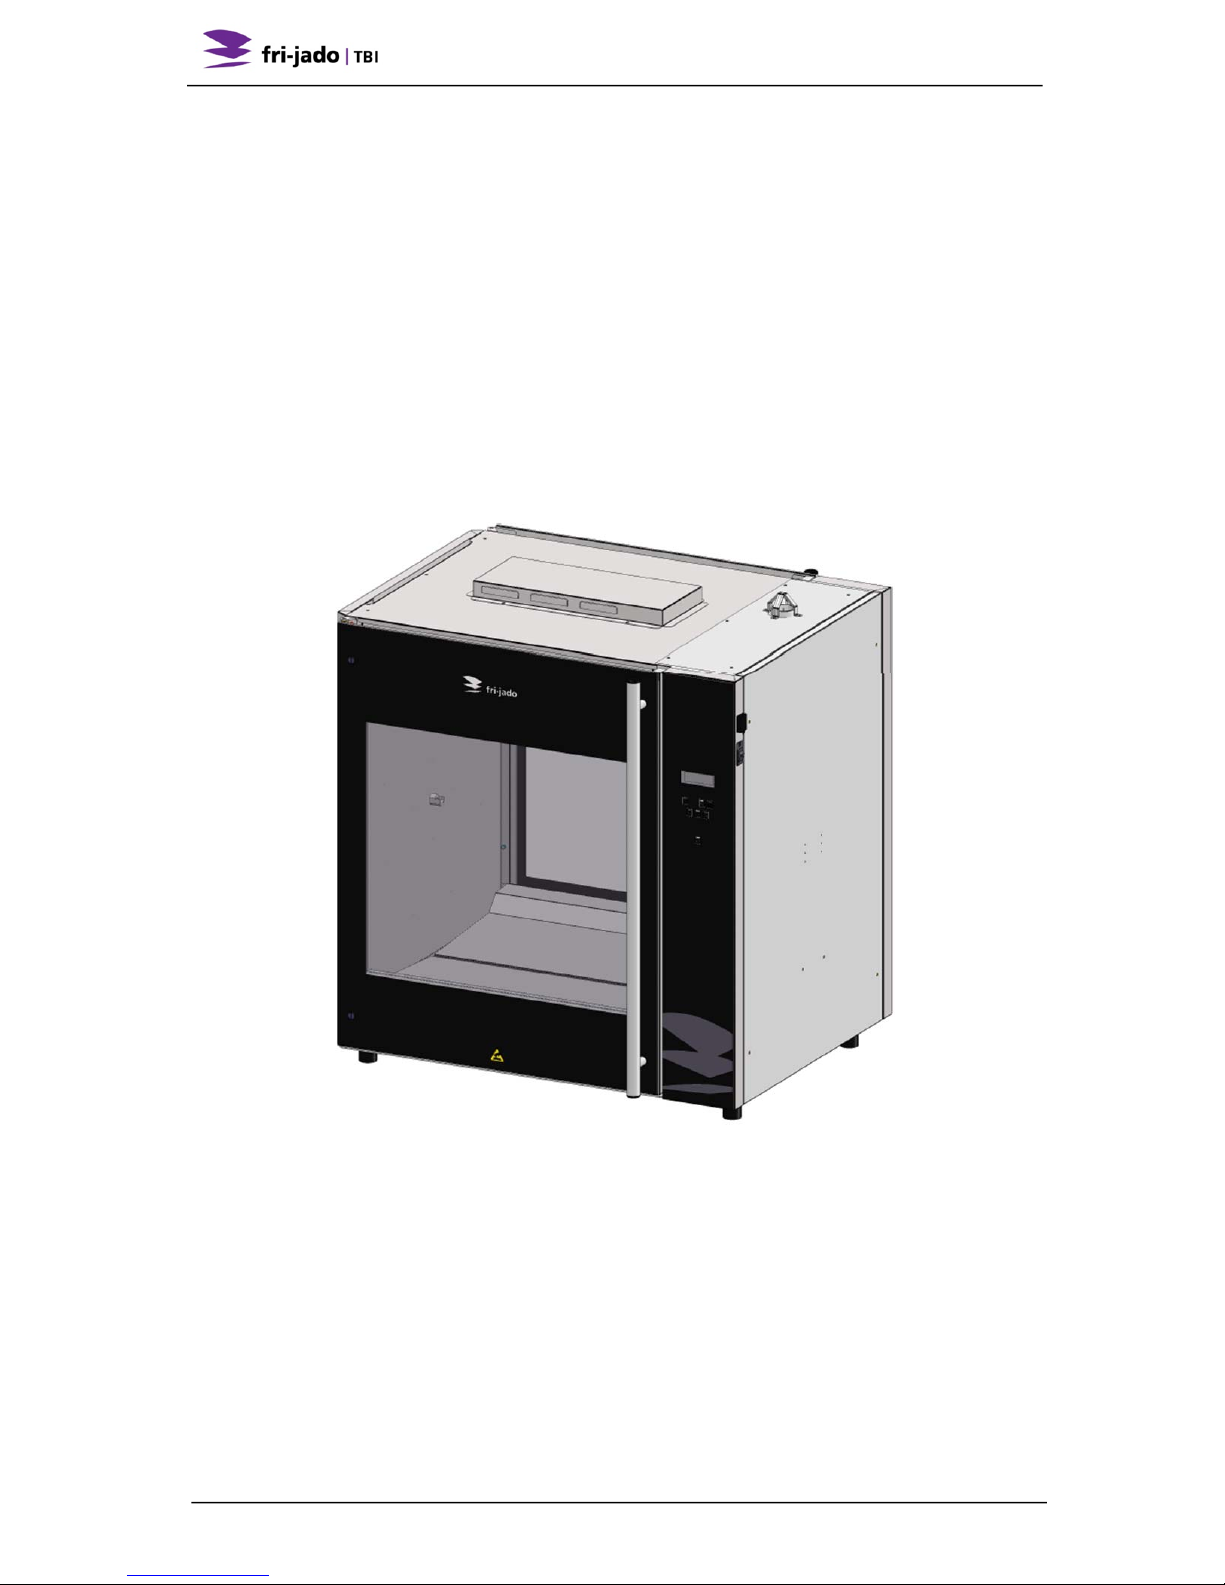
Fri-Jado TDR 7 User manual

TDR7/8PecoGas
EN(OriginalInstruction) 9123983/1309
USER MANUAL
TDR 7 Programmable eco Gas
TDR 8 Programmableeco Gas

TDR7/8PecoGas
EN2/48
KEEP THIS USER MANUAL FOR FUTURE USE
© 2013 Fri-Jado BV, Etten-Leur, The Netherlands.
We advise you to contact your supplier for the guarantee period and conditions. Further we
refer to our General Terms and Conditions for Sales and Delivery that are available upon
request.
The manufacturer does not accept any liability for damage or injury caused by failing to
adhere to these regulations or by not observing the usual caution or care in actions,
operation, maintenance or repair activities, even if not explicitly described in this manual.
As a result of constant commitment to improvement, it may happen that your unit deviates in
detail from what is described in this manual. For this reason, the given instructions are only
a guideline for the installation, use, maintenance and repair of the unit referred to in this
manual.
This manual has been composed with the utmost care. The manufacturer shall, however,
not be held responsible for any mistakes in this manual nor for any consequences thereof.
The user is allowed to copy this manual for own use. Further all rights are reserved and
nothing in this manual may be reproduced and/or made public in any way.
Modifications:
In case of unauthorised modifications in or on the unit, every liability on the part of the
manufacturer becomes null and void.

TDR7/8PecoGas
EN3/48

TDR7/8PecoGas
EN4/48
CONTENTS
1.INTRODUCTION............................................................................................................6
1.1.General...........................................................................................................................6
1.2.Identification of the unit................................................................................................6
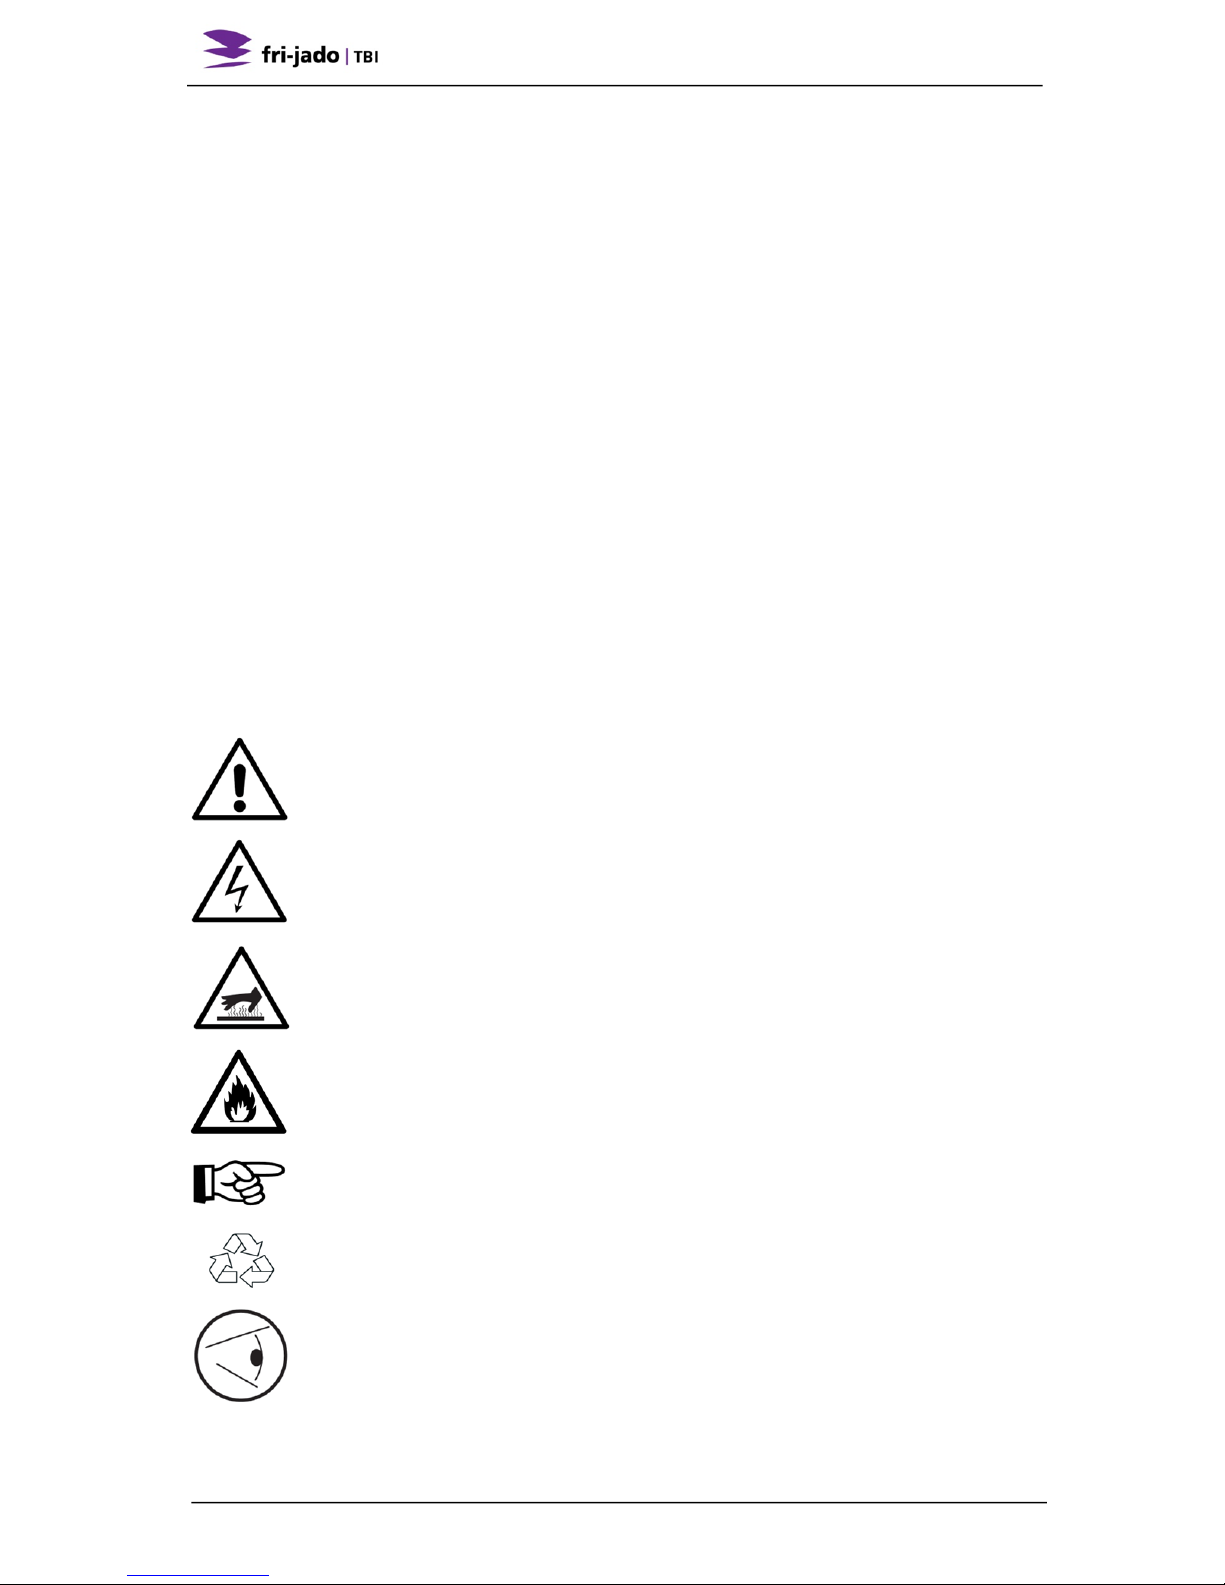
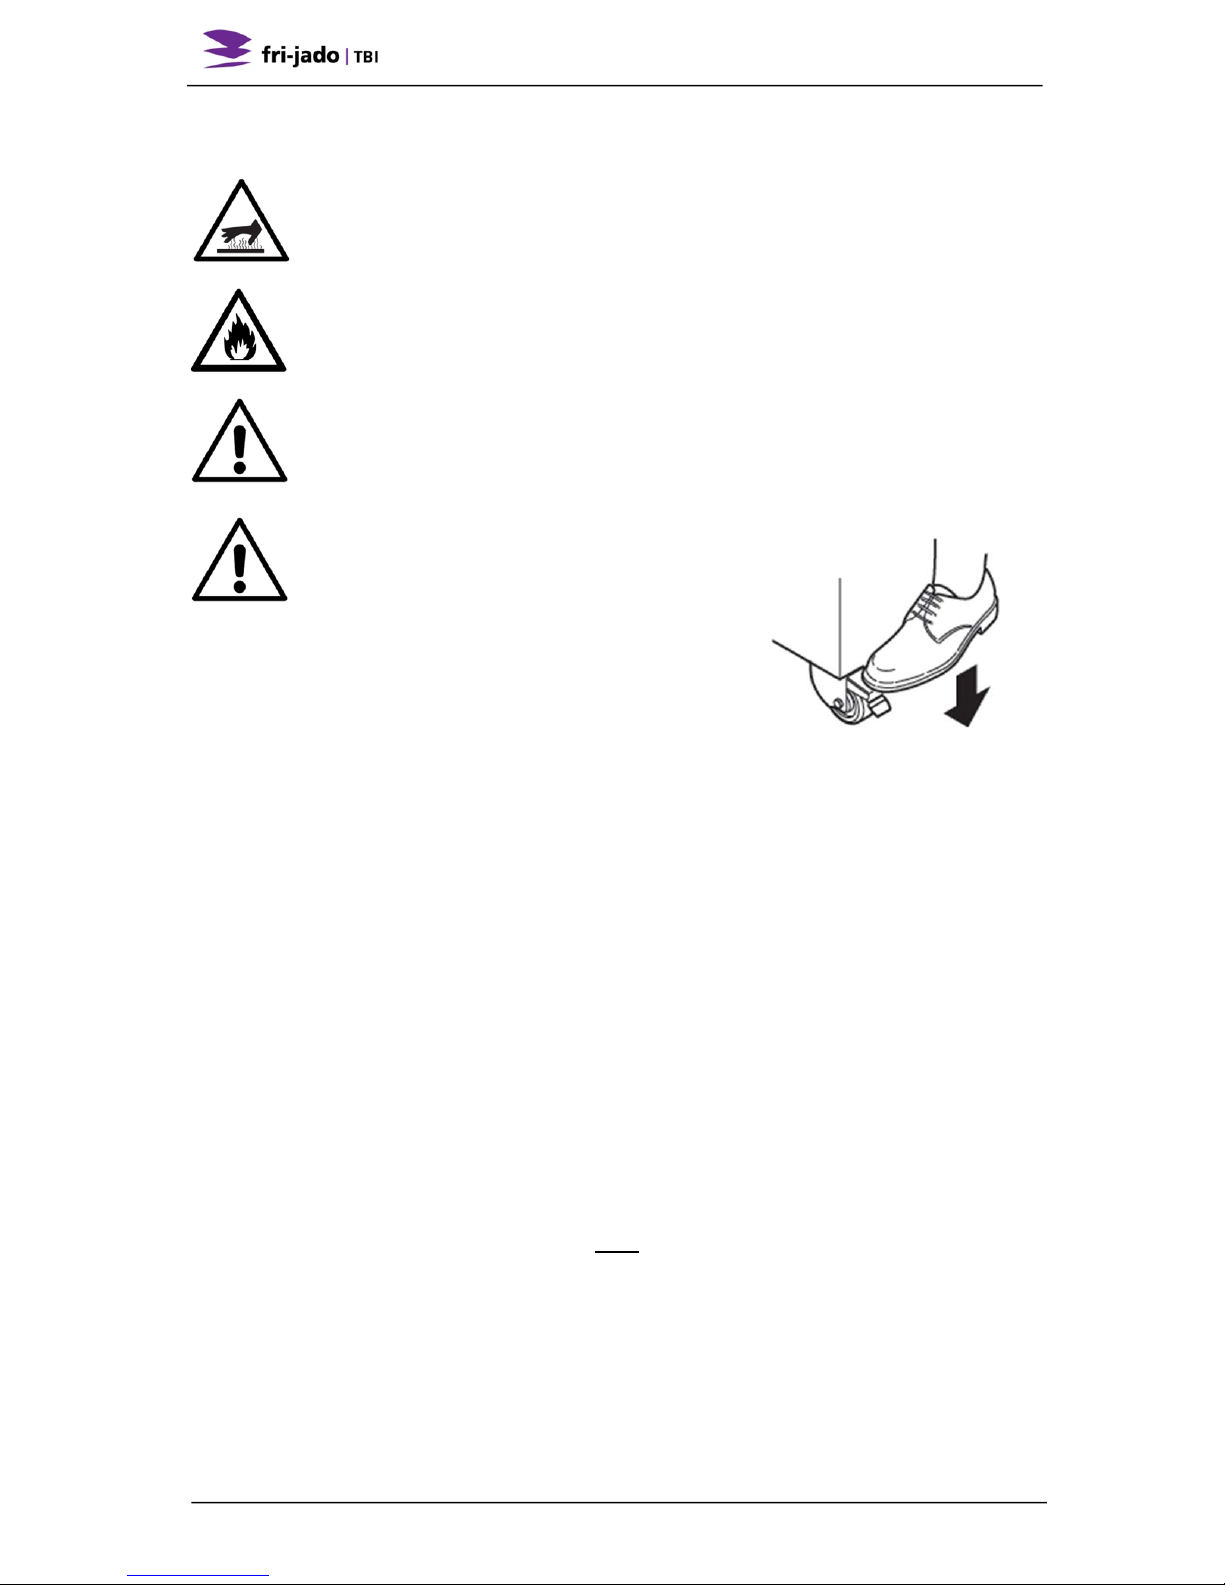
1.3.Pictograms and symbols.............................................................................................6
1.4.Safety instructions........................................................................................................7
1.4.1.General.......................................................................................................................7
1.4.2.Moving........................................................................................................................8
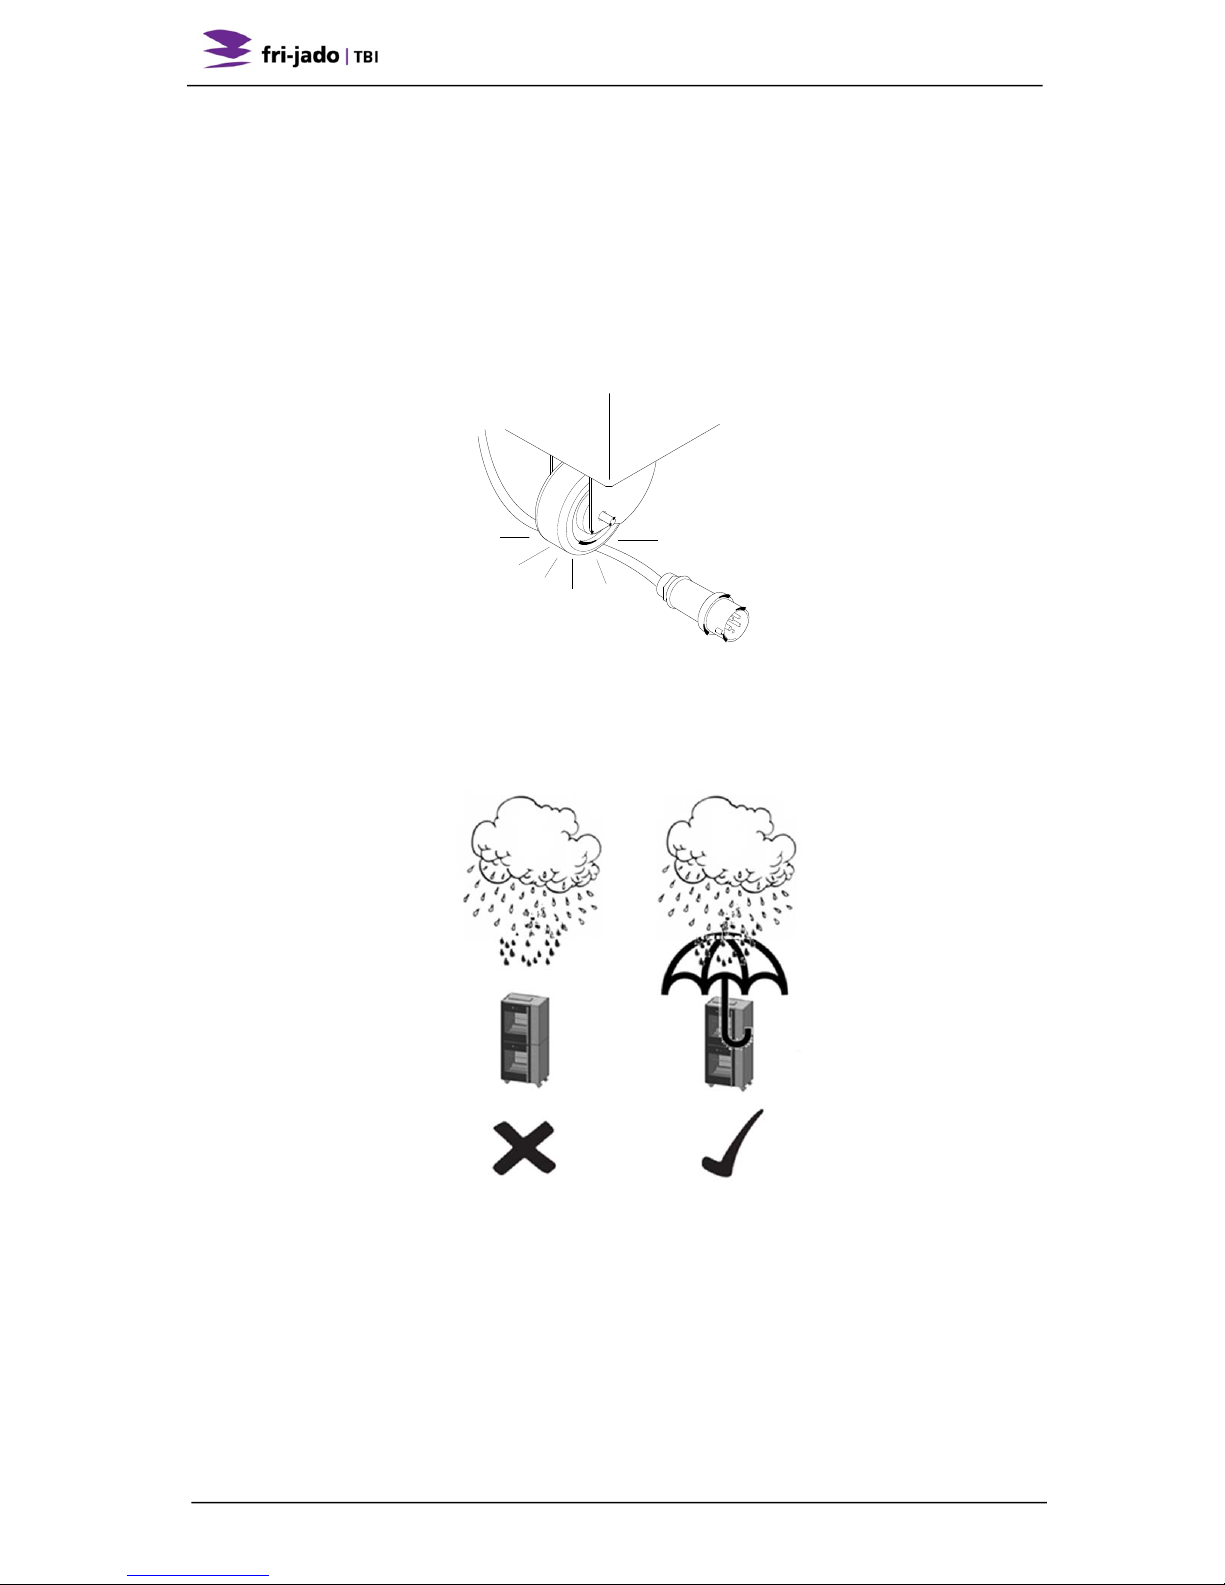
1.4.3.Outdoor use restrictions...........................................................................................8
1.5.Hygiene..........................................................................................................................9
1.6.Service and technical support.....................................................................................9
1.7.Storage...........................................................................................................................9
1.8.Disposal..........................................................................................................................9
2.DESCRIPTION OF THE UNIT....................................................................................10
2.1.Technical description.................................................................................................10
2.2.Intended use................................................................................................................10
2.3.Accessories.................................................................................................................10
3.INSTALLATION AND FIRST USE.............................................................................11
3.1.Unpacking the unit......................................................................................................11
3.2.Dismantling the pallet.................................................................................................12
3.3.Installation and positioning........................................................................................12
3.4.First use........................................................................................................................14
3.4.1.Metal odour..............................................................................................................15
4.OPERATION AND USE..............................................................................................16
4.1.Control Panel...............................................................................................................16
4.2.Switching-on the unit..................................................................................................17
4.3.Loading the rotisserie.................................................................................................17
4.3.1.Loading the rotisserie using meat forks..............................................................18
4.3.2.Loading the rotisserie using V-shape spits (accessory)...................................19
4.3.3.Loading the rotisserie using meat baskets (accessory)....................................20
4.3.4.Loading the rotisserie using chicken racks (accessory)...................................20
4.3.5.Loading the rotisserie using two different accessories.....................................21
4.4.Grilling time..................................................................................................................21
4.5.Taking out the products.............................................................................................22
4.5.1.Taking out the meat fork........................................................................................22
4.5.2.Taking out the V-shape spit (accessory).............................................................22
4.5.3.Taking out the chicken rack (accessory).............................................................22
4.5.4.Taking out the meat basket (accessory).............................................................22
4.6.Emptying grease drawer............................................................................................23

TDR7/8PecoGas
EN5/48
4.7.Switching-off the unit..................................................................................................23
5.OPERATION................................................................................................................24
5.1.Operation of the rotisserie.........................................................................................24
5.2.Operation options.......................................................................................................27
5.2.1.To end a running program.....................................................................................27
5.2.2.Check the actual temperature...............................................................................27
5.2.3.Check the remaining time in a program..............................................................28
5.2.4.Show all actual program information...................................................................28
5.2.5.Eco function.............................................................................................................29
5.2.6.Cook correction.......................................................................................................29
5.2.7.Display information.................................................................................................30
6.MANAGER MENU.......................................................................................................31
6.1.Manager menu items.................................................................................................31
6.2.Programming the rotisserie.......................................................................................31
6.3.Programming parameters..........................................................................................37
6.4.Change pin code.........................................................................................................39
6.5.Clock.............................................................................................................................39
6.6.Transfer........................................................................................................................39
6.7.Version.........................................................................................................................39
6.8.USB...............................................................................................................................40
7.CLEANING AND MAINTENANCE.............................................................................41
7.1.Maintenance schedule...............................................................................................41
7.2.Daily Cleaning.............................................................................................................41
7.3.Weekly Cleaning.........................................................................................................42
7.4.Three Monthly Cleaning.............................................................................................43
8.MALFUNCTIONS AND SERVICE..............................................................................44
8.1.Replace the mains cord.............................................................................................44
8.2.Replace the gas hose................................................................................................45
8.3.Replace a lamp...........................................................................................................45
9.TECHNICAL SPECIFICATIONS................................................................................46
10.ACCESSORIES AND OPTIONS................................................................................47

TDR7/8PecoGas
EN6/48
1. INTRODUCTION
1.1. General
This manual is intended for the user of the TDR 7/8 Peco Gas. The features and controls are
being described, along with directions for the safest and most efficient use, in order to
guarantee a long life of the unit.
1.2. Identification of the unit
The identification plate can be found on the outside of the machine, and contains the
following data:
Name of the supplier or the manufacturer
Model
Serial number
Year of construction
Country of destination
Kind of gas
Gas pressure
Included gas power
Mains voltage
Frequency
Electrical power consumption
1.3. Pictograms and symbols
In this manual, the following pictograms and symbols are used:
WARNING
Possible physical injury or serious damage to the unit, if the instructions
are not carefully followed.
WARNING
Hazardous electrical voltage.
WARNING
Danger of getting injured by hot surfaces.
WARNING
Risk of fire
Suggestions and recommendations to simplify indicated actions.
Recycling symbol.
Direction of view symbol.

TDR7/8PecoGas
EN7/48
1.4. Safety instructions
WARNING
The top cover (in particular the flue tube) and the outside of the unit can
be very hot.
WARNING
Do not put any objects on the equipment as this may cause fire. Keep
all openings free from obstacles.
WARNING
Keep the opening between the equipment and the table surface free
from obstacles in order to ensure good ventilation in the electrical
compartment.
WARNING
Always use the brakes on both front wheels:
1.4.1. General
The user of the unit will be fully responsible for abiding the locally prevailing safety- rules and
regulations.
The unit may be operated by qualified and authorised persons only. Anyone working on or
with this unit must be familiar with the contents of this manual and carefully follow all
guidelines and instructions. Never change the order of the steps to be performed. The
management must instruct the personnel on the basis of this manual and follow all
instructions and regulations.
The pictograms, labels, instructions and warning signs attached to the unit, are part of the
safety measures. They may never be covered or removed, and have to be clearly visible
during the entire lifetime of the unit.
Immediately repair or replace damaged or illegible pictograms, warnings and instructions.
To avoid short-circuiting, never clean the unit using a water hose. For cleaning
instructions, see section 7.
During the grill process, the unit can get very hot.
When the door is opened the rotor stops and the heater is switched off.
The unit must be cleaned regularly to ensure proper functioning and prevent fire
hazard (over heating). Especially the back of the fan plate.
The fat collecting drawer must be emptied regularly, to prevent overflow.
This appliance is not intended for the use by persons (including children) with
reduced physical, sensory or mental capabilities, or lack of experience and
knowledge, unless they have been given supervision or instruction concerning use of
the appliance by a person responsible for their safety.
Children should be supervised to ensure that they do not play with the appliance.

TDR7/8PecoGas
EN8/48
1.4.2. Moving
When moving the unit:
Before moving the unit, first switch off the mains voltage by pulling the plug from the
wall socket and empty the fat collecting drawer. After that, cool-down the unit for at
least ten minutes.
The units equipped with wheels are not suited to pass ledges or obstacles higher
than 10 mm (0.4 inch).
When moving the unit, always push at the centre of the unit. Never on top. Never at
the bottom.
Make sure that the wheels can move freely, so they never touch the power lead (see
Figure 1).
Figure 1
1.4.3. Outdoor use restrictions
To avoid short-circuiting, the units may not be used outdoors unprotected. Placing under a
screen is allowed.
Figure 2

TDR7/8PecoGas
EN9/48
1.5. Hygiene
The quality of a fresh product always depends on hygiene. Especially grilling products. With
the risk of salmonella contamination – especially for chicken products – you must make sure
that grilled products can never be mixed with uncooked products. Also contact between
grilled products and hands or tools that have been in contact with raw chicken meat, must be
avoided at all times.
Hands or tools that have been in contact with raw chicken meat, must be cleaned thoroughly.
1.6. Service and technical support
The electrical schematics of your unit is included. In case of malfunctions you can contact
your dealer/service agent. Make sure you have the following data available:
Model.
Serial number.
This data can be found on the identification plate.
1.7. Storage
If the unit will not be used temporarily, and will be stored, follow these instructions:
Clean the unit thoroughly.
Wrap the unit from getting dusty.
Store the unit in a dry, non-condensing environment.
1.8. Disposal
Dispose of the machine, any components or lubricants removed from it safely in accordance
with all local and national safety and environment requirements.

TDR7/8PecoGas
EN10/48
2. DESCRIPTION OF THE UNIT
2.1. Technical description
Heating takes place by means of gas that is burnt in a heat exchanger placed in the ceiling.
A fan mixes the gas and air, which mixture is ignited by means of an automatic ignition. The
combustion takes place in the inner part of the heat exchanger and is therefore not visible.
The flue gasses are discharged through a flue tube through the ceiling. Fans ensures an
equally divided heat. In order to maintain the set temperature the heat exchanger is
repeatedly switched on and off during the grilling process.
During the entire process, the interior of the unit will be illuminated by halogen lamps.
The unit control keeps the temperature inside the unit fixed to level set by the operator. The
control has a capability to store 99 different programs.
The rotor is being wheeled by a maintenance-free motor and gearbox. The glass panes are
equipped with a heat reflecting layer to keep the heat inside the grill.
The plating of the unit is made of stainless steel. The product contact parts are made of
stainless steel AISI 304 (eventual with PTFE coating). The mains cable is provided with a
plug.
Refer to the data plate for the applicable gas system.
2.2. Intended use
The TDR has been designed for grilling meat products. Any other use will not be regarded
as intended use.
The manufacturer accepts no liability whatsoever for loss or injury caused by failing to strictly
adhere to the safety guidelines and instructions in this manual or due to carelessness during
installation, use, maintenance and repair of the unit referred to in this manual and any of its
accessories.
Use the unit in perfect technical condition only.
2.3. Accessories
Your unit contains the following standard accessories:
Meat forks.
User manual.
For optional accessories refer to section 10.

TDR7/8PecoGas
EN11/48
3. INSTALLATION AND FIRST USE
All packing materials used for this unit are suited for recycling.
After unpacking, check the state of the unit. In case of damage, store the packing material,
and contact the transporter within fifteen working days after receiving the goods.
3.1. Unpacking the unit
Your unit is packed in a plastic cover with protective corners, and a carton box around it.
All units are placed on a wooden pallet. Around the box there are two tightening straps.
Figure
3
Figure 4
Figure 5
Remarks Figure 5:
1. Cut the two transportation seals from both sides of the rotor.
2. Remove the transportation block of the fat collecting drawer.
3. Remove all remaining packing materials from the unit.
4. Take off the standard accessories.

TDR7/8PecoGas
EN12/48
3.2. Dismantling the pallet
For proper unpacking the unit, the pallet must be taken apart. Use the instructions shown in
Figure 6.
Figure 6
3.3. Installation and positioning
WARNING
Install the equipment in a sufficiently ventilated room in order to prevent
concentrations of harmful substances in that room.
WARNING
Always install the equipment under a ventilated cooker hood.
WARNING
The equipment is not suitable for direct connection to an air duct.
WARNING
The wall socket and the gas provisions are to be installed by a
registered installer in accordance with the current national and local
regulations.
WARNING
Settings on the gas equipment are secured by the manufacturer and
should under no circumstances be broken by the installer. Settings must
not be changed.

TDR7/8PecoGas
EN13/48
WARNING
Do not store or use gasoline or other flammable vapours or liquids in the
vicinity of the appliance.
Figure 7
The user must have sufficient freedom of movement to properly operate the unit (see
Figure 7).
The minimum free distance must be at least 100 mm (4 inch).
During grilling, the glass panes will get very hot. While positioning, keep the unit out
of children’s reach.
The gas connection has an outside diameter of ½ inch. The gas connection must be
mounted by a registered installer.
The oven must be installed so that the flow of combustion and ventilation air will not
be obstructed. Make sure there is an adequate supply of air in the room to allow for
that required combustion of gas of the oven chamber.
Keep the space around the bottom and the ventilation opening in the top of the TDR
free from obstacles to guarantee a good air flow in the electrical compartment and
combustion chamber.
In case of a wheeled unit, the floor must be flat and levelled. Additional a restraint
cable is to be installed to limit the amount of appliance movement to prevent stress
and damage to the gas connector and/or electrical connection.
The unit has a mains plug, and must be connected to a wall socket with the proper
mains voltage. The wall socket must be mounted by a certified electrician.

TDR7/8PecoGas
EN14/48
3.4. First use
When using the unit for the first time, clean the interior thoroughly with soap suds and heat
up the unit, see section 3.4.1. After commissioning discolouration of the cooking/grilling area
can occur.
The cleaning remains will find its way to the fat collection drawer, so this drawer must be
cleaned and emptied after cleaning the unit.

TDR7/8PecoGas
EN15/48
Place the bottom plates in the grilling compartment (see Figure 8).
Figure 8
3.4.1. Metal odour
To remove the metal odour that will appear at first use, the unit must be heated at the
maximum temperature of 250 °C (482 °F) for at least half an hour.
BottomPlates

TDR7/8PecoGas
EN16/48
4. OPERATION AND USE
WARNING
Hot glass, grease and parts can cause burns. Use with care when
operating and servicing the unit.
WARNING
Check the grease drawer after each cooking process and empty already
when about half full to avoid overflowing.
WARNING
In the event a gas odour is detected, shut down the unit at main shut of
valve and contact the local gas company or gas supplier for service.
4.1. Control Panel
Figure 9
ON/OFF
UNDO
LIST
FORWARD
OK
BACK
ROTOR
USBport
Burnerreset&failurelight

TDR7/8PecoGas
EN17/48
Functions of the controls
Button Function
ON / OFF Switching the unit on / off
UNDO Go back to previous menu
LIST Receipt / Programming modus
FORWARD One step ahead in setting
ROTOR Switching the rotor on
OK Acknowledge a function or change
BACK One step back in setting
RESET Reset the gas burner controller (see section 8)
4.2. Switching-on the unit
4.3. Loading the rotisserie
First select a program (see section 5).
When the door is open press the rotor button to activate the rotor. This allow easy loading or
unloading the products.
Whilst loading the unit, make sure that the rotor gets evenly loaded, so that the mass of the
products is evenly spread over de rotor, causing an equal balance. Do not allow empty meat
forks, meat baskets and chicken racks etc. in the grilling process.

TDR7/8PecoGas
EN18/48
Figure 10
4.3.1. Loading the rotisserie using meat forks
The unit will be equipped with a set of meat forks.
Whole uncut chickens should always be grilled using the meat forks.
This way their natural fat will baste each other, giving a perfectly slender
cooking result.
Refer to the You-Tube movie: “Fri-Jado instruction for binding and
loading chicken”.
Figure 11
For preparing chicken or any other poultry, you can work as follows (see Figure 12).
Figure 12
1. Insert one point of the meat fork through the chest at the position of the wings. Insert
the other point through the drum sticks. Don’t forget to include the wings.

TDR7/8PecoGas
EN19/48
2. Leave some space between the products, for an even exposure and browning.
3. Put the meat forks onto the rotor disks in such a way that during grilling the chicken
breasts face the operator.
4. Put the points of the meat forks through the appropriate holes in the rotor disks (see
Figure 13).
5. The other end of the meat forks must be put through the corresponding holes in the
opposite rotor disk.
Figure 13
6. To insert the remaining meat forks in the unit, act as follows:
Switch-on the unit using the on/off button’.
With the door opened, use the rotor button to move the rotor to easily insert the
next meat fork. Keep the rotor button pressed until the rotor reaches the desired
position. To load the next meat fork, press the rotor button to rotate the rotor to
the next loading position.
Repeat these steps, until all products are loaded.
4.3.2. Loading the rotisserie using V-shape spits (accessory)
Figure 14
If you are using V-shape spits act as follows:
Place the skewer into the small outside hole on the rotor end plate on your left (as
you face the oven). The back of the V-shape spit should be pointing towards you (see
Figure 14).
Fit the other end on the spit into the small corresponding holes on the rotor end plate
on your right (as you face the oven).
Make sure the spit is level. If spit is not level make sure you are using the correct
holes on the rotor end plates.

TDR7/8PecoGas
EN20/48
4.3.3. Loading the rotisserie using meat baskets (accessory)
Figure 15
If you are using meat baskets act as follows:
Attach the meat baskets to the appropriate pins. Make sure the accessory is level.
Whilst loading the unit with meat baskets, you must see to it, that the rotor gets
evenly loaded, so that the mass of the products is evenly spread over de rotor,
causing an equal balance.
Also see to it that no meat parts are sticking out of the baskets
Figure 16
4.3.4. Loading the rotisserie using chicken racks (accessory)
When using chicken racks you can use the principle as described in section 4.3.3.
Figure 17
This manual suits for next models
1
Table of contents
Other Fri-Jado Kitchen Appliance manuals