Corelle Brands World Kitchen Orbit Fryer WK-OC/C/SG User manual

Instruction Manual
WORLD KITCHEN
Orbit Fryer
(Pictures are for reference purposes only. Actual product may vary.)
Please read the instruction manual carefully before using this product
and keep the manual for future use.
Corelle Brands (Asia Pacific) Pte Ltd
238A Thomson Road, #25-09/10
Novena Square Tower A
Singapore 307684
CorelleBrandsAP CorelleBrandsAP corellebrandsasia.com
|(65) 6933 4601 (Fax)(65) 6468 2008
WORLD KITCHEN® is a registered trademark of Corelle Brands LLC.
© 2019 Corelle Brands LLC EN05/2019

Contents
Foreword
General Safety
General Description
Overview of Functions
Functions and Reading Displays
Cooking Preparations
Cleaning and Maintenance
Determining Causes of Errors
Technical Specifications
Environmental Friendliness Report
Product Warranty Card
P1
P2~P4
P5~P6
P7
P7~P9
P10
P11
P12
P13
P14
P15~P16

Foreword
General Safety
Warning
Warning Please read the safety instructions carefully to help
prevent risk of personal injury or property damage.
Please use an earthed, wall-mounted power
socket. To avoid fire caused by power surges,
do not plug multiple appliances into a single
power socket.
Power
socket must
be earthed
to avoid
power
surges.
When the appliance is in use, please do not
cover ventilation holes with towels or other
such objects. Doing so can easily cause
damage to the appliance.
Do not splash water onto the appliance or
immerse it in water. Doing so may cause
electrocution or a short circuit.
Please choose a flat, stable surface away from
flammable or explosive sources. Failing to do
so may result in accidents such as fires and
burns.
Take note of any possible risk of damage towards the
user or items.
“Prohibited” sign. Prohibited actions.
“Compulsory” sign. Compulsory actions.
Attention
Dear user,
Thank you for using WORLD KITCHEN’s Orbit Fryer. Before using the
product, please read this manual carefully for instructions on its proper
usage. Please keep the warranty card that comes together with this manual
for future use.

Before cooking, please ensure that the
internal pot is rotated towards the left and
securely locked.
The use of a non-proprietary internal pot is
strictly prohibited.
Ensure that there are no contaminants and
water stains on the infrared temperature
sensor to avoid aecting the accuracy of
temperature control.
Do not place any metallic or sharp objects in
the internal pot and do not use metalware
while the appliance is in operation to avoid
damaging the internal pot’s coating.
Dry the inside and outside of the internal pot
before using to prevent rusting or
malfunctions.
While the appliance is in use or shortly after
using it, please do not touch hot areas such
as the steam vent and internal pot with bare
hands.
Place the internal pot on a flat and stable
surface after removing it from the fryer. To
prevent the pot from tipping over and causing
burns, do not move or touch the internal pot
unnecessarily, especially if the pot contains
hot soup or food.
Please stop using the appliance immediately should it display
any abnormalities or malfunction.
To avoid accidents such as the pot tipping
over and causing burns, do not let children or
persons who are not operating the appliance
touch or move it while in use.
Please only use the fryer’s proprietary power
cord. If the power cord is damaged, it must be
replaced by the manufacturer or a professional
repairman to prevent risk of danger.
Persons without professional repair
qualifications should not attempt to
disassemble or repair the appliance.
Please do not plug in or unplug the power
cord with wet hands or a wet cloth. For safety
reasons, after using the appliance, unplug the
power cord from the socket.
This fryer model cannot be used together
with an external timer or separate remote
control system.
Attention

General Description
2. Appliance Body
Internal pot
“locked/unlocked” marking
Appliance angle
rotation button
Appliance body
Control panel
Infrared
temperature
sensor
Frame
3. Control Panel
1. Lid
Lid
Steam valve
Lid notch (can only be covered when notch is
aligned with control panel)
Proprietary Internal Pot
Installation and removal of internal pot:
After placing the internal pot into the appliance,
rotate it anti-clockwise until it cannot be rotated
further. At this angle, the pot is locked in place
and the installation is complete. To remove the
pot, rotate it clockwise.
Adjusting the position of the body of the
appliance:
Use the button below the left handle to adjust
the pot to 90° (vertical), 50° (incline) or 0°
(horizontal).
(Pictures are for reference purposes only. Actual
product may vary.)
“Rotate” adjustment
button
Timing and code
display
“Stir Fry” function
“Optional” function
“Sous-vide” function
“Rice Cooking”
function
Power display
On/O button
Time increase
adjustment button
Time reduction
adjustment button
“Function”
adjustment button
“Power” adjustment
button

Function
Stir Fry
Optional
Sous-vide
Cook Rice
Pot
Position
Rotation
On/O
With/
Without
Lid
Preset
Temperature
Timing
Preset
(adjustable
range)
Cooking
Capacity-
Minimum -
Maximum (g/L)
Power and
Temperature
50°
incline
Vertical
Vertical Optional Optional
Optional
With lid
Optional Optional
Vertical
Low heat
approximately 160°C
Medium heat
approximately
200°C
High heat
approximately 220°C
200-500g
5min
(0~99min)
15min
(0~900min)
60min
(0~900min)
3L
3L
1-5L
Low heat
approximately 110°C
Medium heat
approximately 160°C
High heat
approximately
180-200°C
Low heat
approximately 55°C
Medium heat
approximately 75°C
High heat
approximately 95°C
Medium heat
approximately 125°C
200°C
160°C
75°C
125°C
Overview of Functions
Functions and Reading Displays
Plug the appliance into a power source. The “On/O” button will be in red.
Press the “On/O” button once and all the icons on the display panel will light
up. The appliance is now in standby mode. Press and hold the “On/O” button
to turn o the appliance. This will turn the “On/O” button’s display to red.
Turning On/O
*The above-mentioned cooking capacities are for reference purposes only.
After pressing the “On/O” button, press the “Function” button to select the
“Stir Fry” function.
The default time setting is 5 minutes, the default heat setting is medium
and the default internal pot rotation is on. If the appliance is left idle for
approximately 4 seconds, it automatically enters into cooking mode. Now,
the “Stir Fry” display light will stop blinking and the “Function” display goes dark.
Timing can be adjusted using the “+” and “-” buttons. Timing can also be
adjusted at any time during the cooking process.
Power can be adjusted using the “Power” button. Power can also be adjusted
at any time during the cooking process.
Hitting the “Rotate” button once either stops or starts rotation. Rotation can
be adjusted at any time during the cooking process.
Press the button below the left handle to adjust the body to the stir fry
position (approximately at a 50° incline).
Add oil, ingredients and seasoning in steps or all at once.
After cooking, press the button below the left handle to adjust the body to
the serving position (horizontal position).
1.
2.
3.
4.
5.
6.
7.
8.
1.
2.
1.
2.
3.
4.
1.
2.
3.
4.
5.
“Stir Fry” Function
“Optional” Function
“Sous-vide” Function
Place the food in the pot.
After pressing the “On/O” button, press the “Function” button to select the
“Optional” function. The default time setting is 15 minutes and default heat
setting is medium. If the appliance is left idle for approximately 4 seconds, it
automatically enters into cooking mode. Now, the “Optional” display light
will not blink and the “Function” display will go dark.
Depending on your requirement, adjust the pot’s position to vertical or
inclined.
Press the “Rotate” button if you need the pot to rotate.
Maintain the pot in vertical position.
Add an appropriate amount of water to the pot.
Place the food in a vacuum pack, vacuum out the air and place the pack in
the water.
After pressing the “On/O” button, press the “Function” button to select the
“Sous-vide” function. The default time setting is 60 minutes and default heat
setting is medium. If the appliance is left idle for approximately 4 seconds, it
automatically enters into cooking mode. Now, the “Sous-vide” display light
will not blink and the “Function” display light will go dark.
Timing can be adjusted using the “+” and “-” buttons. Timing can also be
adjusted at any time during the cooking process.
Suggestion:
To reduce loss of heat and nutrition, covering the pot with the lid while stir
frying is recommended.
It is normal for a small amount of smoke to escape if you adjust the power
too high or heat the oil for too long.

Cooking Preparations
Make sure you have installed the internal pot! (Lock it in place by rotating left.)
Prepare ingredients and seasonings, and follow standard washing and cutting
procedures.
Turn on the power source and press the On/O button to turn on the
appliance.
The usage of a non-proprietary internal pot is strictly prohibited.
Ensure that there are no contaminants and water stains on the infrared
temperature sensor to avoid aecting the accuracy of temperature control.
Do not place any metallic or sharp objects in the pot and do not use
metalware while the appliance is in operation to avoid damaging the internal
pot’s coating.
Dry the inside and outside of the internal pot before using to avoid rust or
malfunction.
While the appliance is in use or shortly after use, do not touch hot areas such
as the steam vent and internal pot with bare hands.
Place the internal pot on a flat and stable surface after removing it from the
fryer. To prevent burns, do not move or touch the internal pot unnecessarily,
especially if the pot contains hot soup or food.
After pouring out the food, remove the plate before returning the appliance’s
body to its original position.
Please stop using immediately should the appliance display any abnormalities
or malfunction.
Depending on your cooking preferences, it is not necessary to preheat the oil
for cooking if it does not require the oil to be hot.
To reduce the loss of heat and nutrition, covering the pot with the lid while stir
frying is recommended.
When the soup or gravy in the internal pot has dried up, stop heating to avoid
burning the food.
1.
2.
3.
1.
2.
3.
Attention:
Attention:
1.
2.
3.
4.
5.
6.
7.
8.
Filling ⅔ of the pot with water is recommended.
Preheating for a short time before putting in the food is recommended.
While cooking sous-vide, please maintain the pot in vertical position and do
not tilt or rotate it to avoid burns caused by the spilling of hot food or liquids.
Keep the appliance out of reach of children to avoid burns by the spilling of
hot soup if the pot is tilted or rotated.
1.
2.
3.
1.
2.
3.
1.
2.
1.
2.
3.
4.
•
•
•
6. Power can be adjusted using the “Power” button. Power can also be
adjusted at any time during the cooking process.
Suggestion:
Maintain the pot in vertical position.
Add an appropriate amount of rice and water to the pot.
After pressing the “On/O” button, press the “Function” button to select the
“Cook Rice” function. The default heat setting is medium. If the appliance is
left idle for approximately 4 seconds, it automatically enters into cooking
mode. Now, the “Cook Rice” display light will not blink and the “Function”
display light will go dark.
“Cook Rice” Function
While cooking the rice, please maintain the vertical position of the pot and do
not tilt or rotate it to avoid burns caused by hot food or liquids leaking out.
Keep the appliance out of reach of children to avoid burns by the spilling of
hot soup if the pot is tilted or rotated.
It is normal for the pot to develop minor scorch marks because this appliance
simulates the cooking of rice over a firewood stove.
Suggestion:
Press the “Rotate” button to stop or start rotating the internal pot.
Time can be added or reduced using the “+” and “-” buttons.
The default setting for the “Stir Fry” function is 5 minutes. The time is
lengthened or shortened by 1 minute with each press of the button.
The default setting for the “Sous-vide” function is 60 minutes. The time is
lengthened or shortened by 10 minutes with each press of the button.
The default setting for the “Optional” function is 15 minutes. The time is
lengthened or shortened by 5 minutes with each press of the button.
A “beep” sound will accompany each press of a button.
Error warning: “Beep beep” sounds lasting 10 seconds. A warning sign will be
displayed on the time display panel.
Completion of the procedure will be accompanied by “beep beep” sounds
lasting 10 seconds.
Power Adjustment
Internal Pot Rotation Adjustment
Timing Adjustment
Others
Press the “Power” button to adjust the power. The default heat setting is
medium.

Cleaning and Maintenance
Before cleaning and doing maintenance, please make sure that the appliance
has been unplugged from the power source and the internal pot has cooled
completely.
Washing the steam valve: Remove the steam valve from the lid by pulling
outwards. Wash with water and dry with a soft cloth. After that, put the steam
valve back in the lid.
Washing the internal pot: Remove the internal pot and rinse with water. When
the pot is greasy, wrap the edge of the internal pot with a cleaning cloth. Hold
the internal pot with both hands and rotate clockwise till it cannot be rotated
further. Lift and remove, then use a soft brush to wash the pot. After washing,
wipe the internal pot dry with a clean cloth. Attention: Remove and install the
internal pot gently. Do not use steel wool sponges to clean and wash the
internal pot.
If you need to clean the body of the appliance or the inside of it, please either
wipe it with a dry cloth or a damp cloth that has been wrung dry. Do not wash
directly with water. After cleaning and doing maintenance, please correctly
install the steam valve and internal pot. Ensure that all of the fryer’s
accessories are put back in place for subsequent use.
1.
2.
3.
4.
1.
2.
3.
4.
5.
Electrical overload (electrical leakage) protection.
Overheating protection (thermostat double protection). Highest temperature
must not exceed 250°C. Exceeding it causes the electrical supply to be cut
o.
Empty load protection.
Over/under voltage protection.
If no buttons are pressed within 3 minutes after the appliance enters stop
mode, the appliance will automatically turn itself o.
Protective Functions of Appliance
Determining Causes of Errors
Malfunction Type Solution
Over/under voltage
Overheating or abnormal
behaviour of temperature
sensor
Abnormal behaviour of the
NTC thermistor near the CN1
resistor on the circuit board
Please email us at
asiaconsumer@corellebrands.com
for more information.
Please email us at
asiaconsumer@corellebrands.com
for more information.
Please email us at
asiaconsumer@corellebrands.com
for more information.
Please email us at
asiaconsumer@corellebrands.com
for more information.
Please email us at
asiaconsumer@corellebrands.com
for more information.
Malfunction of the infrared
sensor control
Warning appears when actual
temperature detected by
infrared sensor exceeds 200°C
Appliance is jammed or display
abnormal electrical circuit
functions
Button panel is not properly
connected to the heating panel
Heating panel is not properly
connected to button panel
Heating abnormalities or failure
to heat up (internal pot has
been correctly installed)
Wait for voltage to return to normal
before using appliance
Wait for the appliance to cool and
power it up again. If the error
persists, please send the appliance
to the after-sales service centre for
repairs.
Code
E1
E2
E3
E4
E5
E6
E7
E8
E9
Wait for the appliance to cool and
power it up again. If the error
persists, please send the appliance
to the after-sales service centre for
repairs.
Remove and reinstall the internal
pot, then power the appliance up
again. If the error persists, please
send the appliance to the
after-sales service centre for repairs.

Technical Specifications
Place of
Manufacture
Product Model
Number
Operating
Standard
External
Dimensions
Heating
Method
Control
Method
Net Weight
Gross Weight
Body Capacity
Control Panel
Voltage Rating
Power Rating
Power Cord
Length
Other
Functions
Foshan, Guangdong
WK-OC/C/SG
Safety Mark 190518-11
Length 310 x width 370 x height 365mm
IH electromagnetic heating
Microcomputer control
7.4kg
9.2kg
6L
Touchscreen
220-240V ~ 50Hz
2000W
1.10m
Rotation adjustment, power adjustment, time adjustment
Environmental Friendliness Report
The following table lists the possible toxic and harmful substances or
elements present in electrical and electronic products in accordance
with the requirements in the People’s Republic of China’s “Measures for
the Administration of the Restricted Use of the Hazardous Substances
Contained in Electrical and Electronic Products”.
Toxic and Harmful Substances or Elements
Component
Name Lead Mercury Cadmium Chromium
(VI)
Polybrominated
Biphenyl
Polybrominated
Diphenyl Ether
Circuit Board
Components
Hardware Parts
Plastic Structural
Components
Packaging
Materials
Heating
Components
Electrical
Machinery
Components
Plastic Parts
Power Cord
Components
Others
This table was drawn up in accordance with SJ/T11364 requirements.
O: Indicates that the levels of all toxic and harmful substances in the homogeneous materials
used in the component are within the limits stipulated by GB/T26572.
X: Indicates that the levels of the toxic and harmful substances in at least one of the
homogeneous materials used in the component exceed the limits stipulated by GB/T26572.
Explanation for presence of harmful substance: The levels of harmful substances and elements
in the materials used in our company’s products comply with the limits stipulated by the
GB/T26572 standard for harmful substances. There is an “X” against one of the components
because we are still unable to find a substitute for the harmful element based on today’s
technology. Our company will continue to strive to keep in step with technological
advancements to find a substitute for the harmful substance. Should the environmental
friendliness of harmful substances improve due to technological advancements, we will include
it in a new edition of this manual.

Product Warranty Card
Please keep this product’s warranty card, instruction manual and proof of
purchase together for future use. The warranty will be void if the warranty card
and proof of purchase is misplaced. The user should fill in the warranty card, then
scan and send it to the email address: asiaconsumer@corellebrands.com within 2
weeks of purchase.
Thank you for purchasing a WORLD KITCHEN kitchen technology product. Please
fill in the form below with clear and accurate information after your purchase:
User’s Name
Product Model
Number
Product
Serial Number
Quantity
Purchased
Date of
Purchase
Receipt
Number
Email Address Phone
Number
Country of
Purchase
Dealer’s
Name
The user should have purchased the product via the company’s authorised
sales channels.
The user must provide the product’s original proof of purchase and
warranty card.
Any installation, usage and the maintenance of the appliance should be
carried out strictly in accordance with the rules and requirements stipulated
by the instruction manual.
The product was not purchased via our company’s authorised dealers and
channels.
Failure to provide relevant proof of purchase should the sales receipt or
warranty card for the product be lost.
Malfunctions and damages caused by foreign objects entering the internal
part of the product due to human negligence.
The product is disassembled or repaired by any entities and persons not
specified and commissioned by our company to carry out repairs, and
especially if damage arises from the act.
Product damage such as rust and inner lining breakage that are caused by
Human Negligence or misuse.
Damage caused by external forces (e.g. natural disasters, fires and wars).
The product’s warranty period is expired.
1.
2.
3.
1.
2.
3.
4.
5.
6.
7.
Warranty Terms and Conditions
Failure to comply with the following rules will void the repair and exchange
warranty services.
Warranty Exclusions
The warranty does not cover malfunctions or damages resulting from any of the
situations listed below.
Warranty Service Rules
Products that have been used for industrial or experimental purposes, as
well as products that have been fitted with other accessories or which
functions have been altered.
Damage caused to the product during the delivery process because of the
unforeseen mechanical impact, stacking, dropping or flooding, but is not
due to inherent product quality issues.
8.
9.
1.
2.
3.
4.
5.
6.
Warranty Services
When purchasing the appliance, please fill in this warranty card with
complete and accurate information. Keep the product receipt, warranty
card and product packaging for future use.
When warranty services are required, please produce your product purchase
receipt and warranty card at the same time.
To facilitate a smooth delivery process for warranty and repair services,
please use the product’s original packaging.
Our company will provide warranty services to the user in accordance to the
warranty policy stipulated by this warranty card. We bear no responsibility
for providing services beyond what is stipulated by this warranty card and
the relevant laws of the country (including the “Consumer Rights Protection
Law”, ”Product Quality Law”, and the country’s product quality regulations
for repair, exchanges and refunds).
Please keep this warranty card in a safe place. No replacement will be
provided if lost.
Warranty period: 12 months. The date on the receipt is the commencement
of the warranty.
Important Note
This product is intended for household use only. It is not meant for commercial use
(including businesses, guesthouses, hotels, restaurants, places of entertainment,
serviced apartments and other business establishments, as well as experimental
purposes in laboratories). Should the user use the products for purposes beyond
its intended use, the user bears full personal responsibility for any consequence
that arises from the usage.
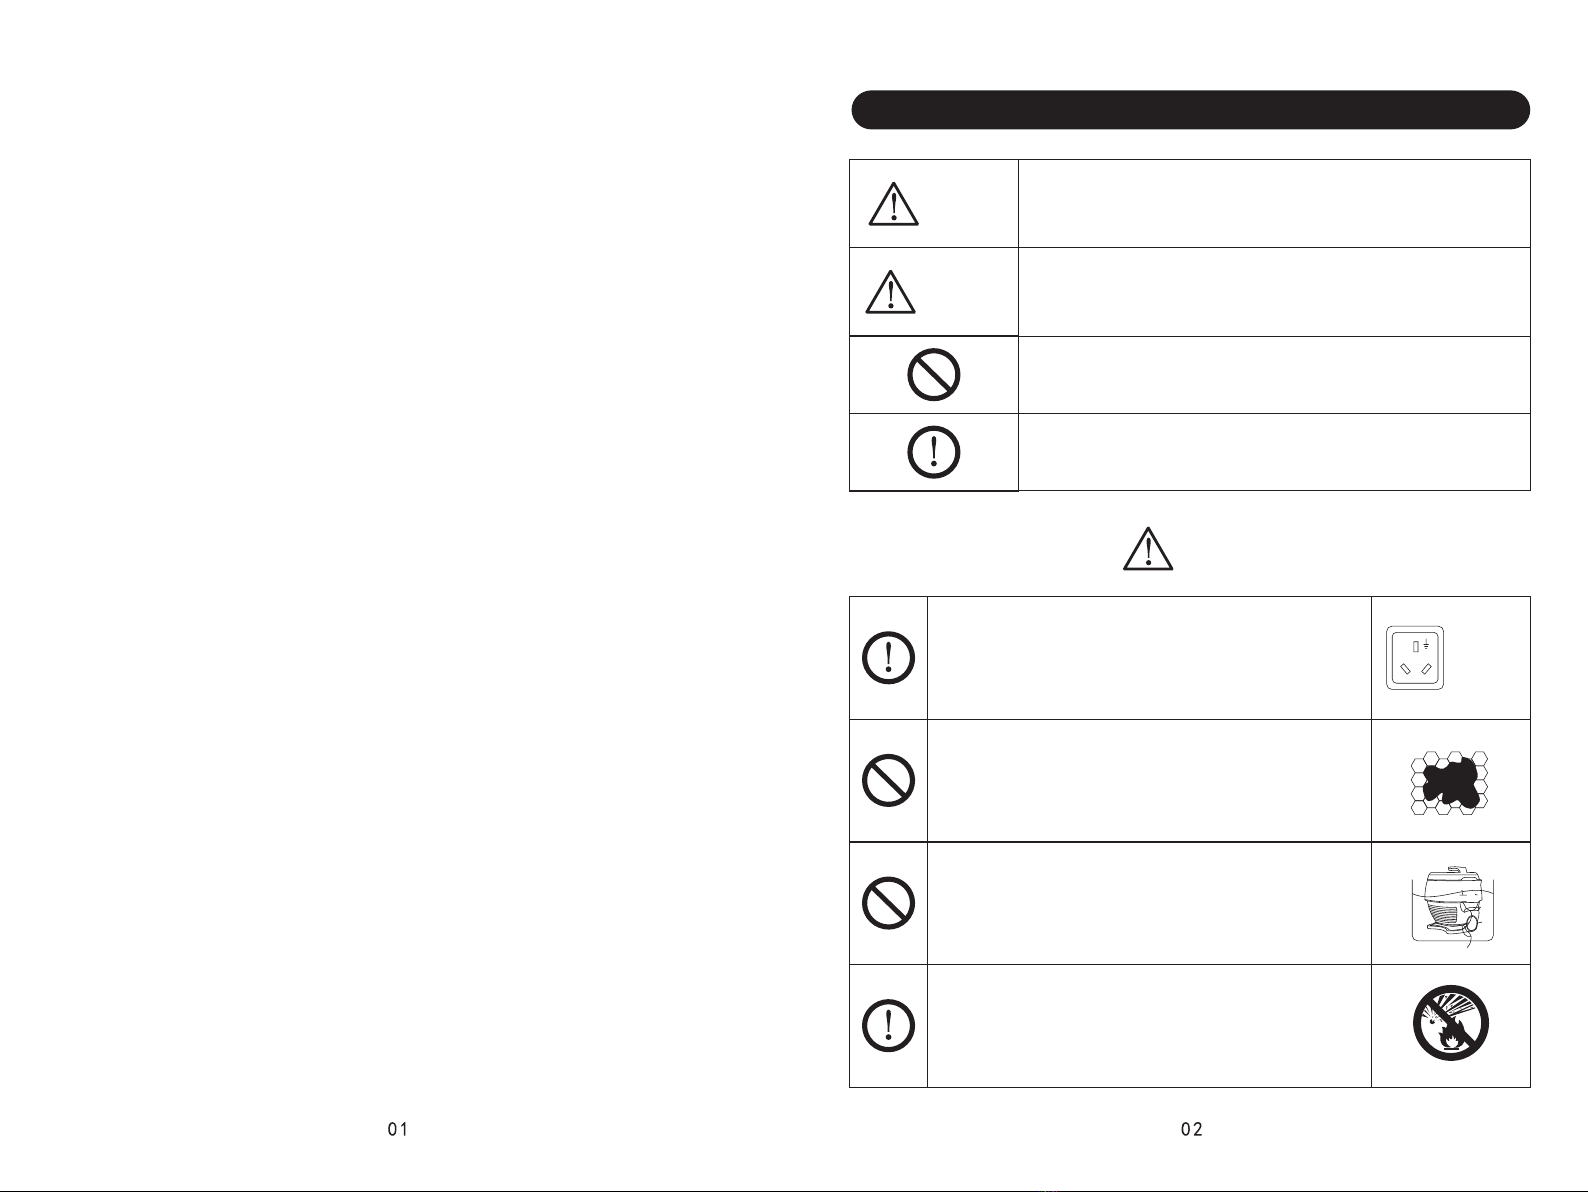
Attention
Warranty Service Procedures
Our company will provide warranty services in accordance to relevant
regulations during the warranty period if warranty terms and conditions are
met, and warranty exception clauses are not violated.
Should the user discover faults while using our company’s products, please
immediately email Corelle Brands (Asia Pacific) Pte Ltd. In order to be eligible
for product replacement, the user should produce a valid sales receipt and
warranty card, and describe how the product was used and the fault
encountered to our sta. After verifying the information, we will carry out
necessary tests and repair works. The user is responsible to deliver the faulty
product to the respective regional oce advised by our sta. After repairs are
complete, the user should pick up the product and approve the work done and
ax his/her signature on the installation/ repair service form.
Table of contents