manuals.online logo
Brands
  1. Home
  2. •
  3. Brands
  4. •
  5. Costway
  6. •
  7. Indoor Furnishing
  8. •
  9. Costway JV10877 User manual

Costway JV10877 User manual

Other Costway Indoor Furnishing manuals
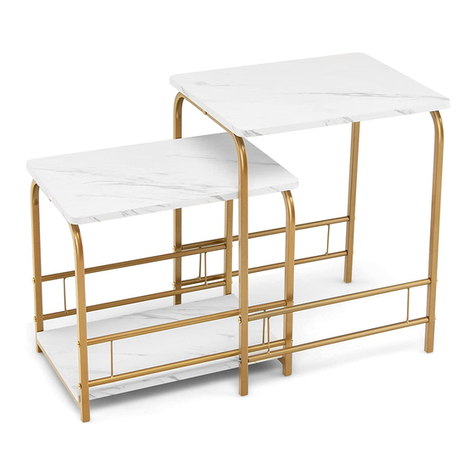
Costway HV10184 User manual

Costway

Costway HV10184 User manual

Costway BC10150 User manual

Costway

Costway BC10150 User manual

Costway KC54240 User manual

Costway

Costway KC54240 User manual

Costway HW63889 User manual

Costway

Costway HW63889 User manual

Costway HW65207 User manual

Costway

Costway HW65207 User manual

Costway NP11032 User manual

Costway

Costway NP11032 User manual

Costway JV10662 User manual

Costway

Costway JV10662 User manual

Costway TY580400 User manual

Costway

Costway TY580400 User manual

Costway HV10353WH User manual

Costway

Costway HV10353WH User manual

Costway HU10550 User manual

Costway

Costway HU10550 User manual

Costway HV10405 User manual

Costway

Costway HV10405 User manual

Costway JV10895WH User manual

Costway

Costway JV10895WH User manual

Costway HW65209 User manual

Costway

Costway HW65209 User manual

Costway TA10018 User manual

Costway

Costway TA10018 User manual

Costway PV10054 User manual

Costway

Costway PV10054 User manual

Costway JV10804 User manual

Costway

Costway JV10804 User manual

Costway HW65203 User manual

Costway

Costway HW65203 User manual

Costway OP2767 User manual

Costway

Costway OP2767 User manual

Costway HW67227 User manual

Costway

Costway HW67227 User manual

Costway HW68469 User manual

Costway

Costway HW68469 User manual

Costway NP10004 User manual

Costway

Costway NP10004 User manual

Costway JV11159-2 User manual

Costway

Costway JV11159-2 User manual

Costway HW63331 User manual

Costway

Costway HW63331 User manual

Costway HW63923 User manual

Costway

Costway HW63923 User manual

Popular Indoor Furnishing manuals by other brands

Regency LWMS3015 Assembly instructions

Regency

Regency LWMS3015 Assembly instructions

Furniture of America CM7751C Assembly instructions

Furniture of America

Furniture of America CM7751C Assembly instructions

Safavieh Furniture Estella CNS5731 manual

Safavieh Furniture

Safavieh Furniture Estella CNS5731 manual

PLACES OF STYLE Ovalfuss Assembly instruction

PLACES OF STYLE

PLACES OF STYLE Ovalfuss Assembly instruction

Trasman 1138 Bo1 Assembly manual

Trasman

Trasman 1138 Bo1 Assembly manual

moss DESIGN Caisson Credenza Assembly instructions

moss DESIGN

moss DESIGN Caisson Credenza Assembly instructions

Aquaglide FULL DECK 15.0 owner's manual

Aquaglide

Aquaglide FULL DECK 15.0 owner's manual

AREBOS AR-HE-SW30 user manual

AREBOS

AREBOS AR-HE-SW30 user manual

Till-Hilft Fulda 87005.330 Assembly instructions

Till-Hilft

Till-Hilft Fulda 87005.330 Assembly instructions

Twoey Outside 2010 quick start guide

Twoey Outside

Twoey Outside 2010 quick start guide

Hettich Easys 200 operating instructions

Hettich

Hettich Easys 200 operating instructions

The bedboss RELAX 404 Series owner's manual

The bedboss

The bedboss RELAX 404 Series owner's manual

Oeseder Möbelindustrie Bern 991 720 Assembly instructions

Oeseder Möbelindustrie

Oeseder Möbelindustrie Bern 991 720 Assembly instructions

Next ALIX A27743 Assembly instructions

Next

Next ALIX A27743 Assembly instructions

BROSA Hans Assembly guide

BROSA

BROSA Hans Assembly guide

Prodigg MINIKA PBA015T-FUR installation manual

Prodigg

Prodigg MINIKA PBA015T-FUR installation manual

Whittier Wood Furniture McKenzie 3504AFGACa quick start guide

Whittier Wood Furniture

Whittier Wood Furniture McKenzie 3504AFGACa quick start guide

Habitat Ipanema Bar 846/9760 manual

Habitat

Habitat Ipanema Bar 846/9760 manual

manuals.online logo
manuals.online logoBrands
  • About & Mission
  • Contact us
  • Privacy Policy
  • Terms and Conditions

Copyright 2025 Manuals.Online. All Rights Reserved.

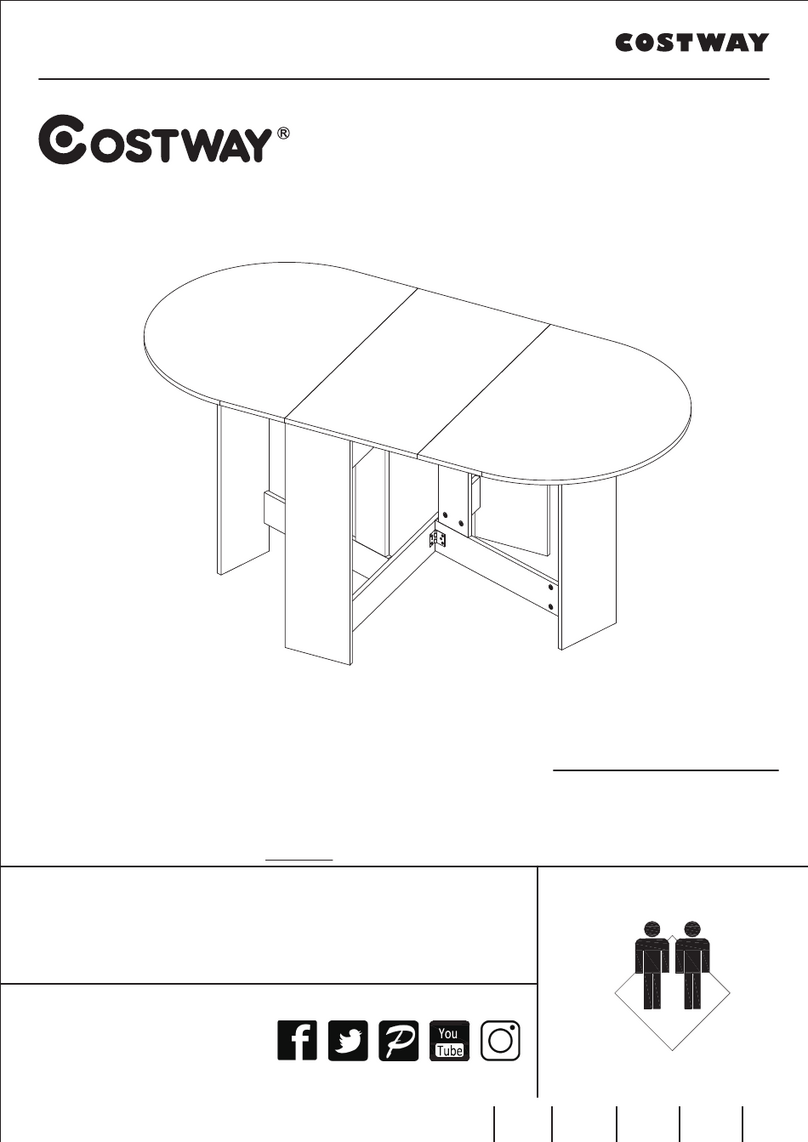
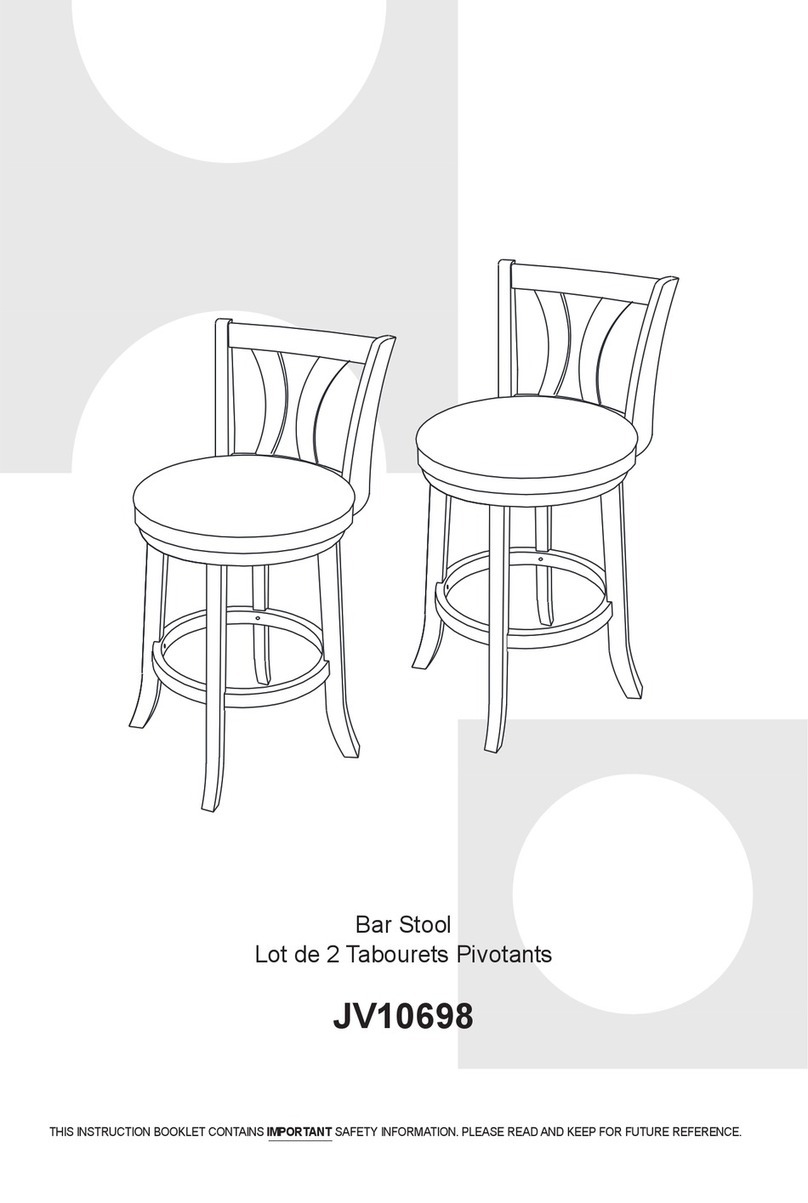
JV10877
Bar Table
Table de Bar
THIS INSTRUCTION BOOKLET CONTAINS IMPORTANT SAFETY INFORMATION. PLEASE READ AND KEEP FOR FUTURE REFERENCE.
Before You Start
Please read all instructions carefully.
Retain instructions for future reference.
Separate and count all parts and hardware.
Read through each step carefully and follow the proper order.
We recommend that, where possible, all items are assembled near to the area in
which they will be placed in use, to avoid moving the product unnecessarily once
assembled.
Always place the product on a flat, steady and stable surface.
Keep all small parts and packaging materials for this product away from babies
and children as they potentially pose a serious choking hazard.
FR
Veuillez lire attentivement toutes les instructions.
Conservez les instructions pour vous y référer ultérieurement.
Vérifiez toutes les pièces et les accessoires.
Lisez attentivement chaque étape et suivez l’ordre correct.
Nous recommandons que, dans la mesure du possible, tous les produits
soient assemblés à proximité de la zone où ils seront utilisés, afin d’éviter tout
déplacement inutile du produit une fois assemblé.
Placez toujours le produit sur une surface plane et stable.
Conservez toutes les petites pièces de ce produit et les matériaux d’emballage
hors de portée des bébés et des enfants, car ils pourraient présenter un risque
d’étouffement.
Avant de Commencer
EN
02
PART LIST / LISTE DES PIÈCES
03
A1
B 1
C1
D 1
E1
F 1
G1
H 1
I1
J1
K1
L 1
M1
N1
O1
P1
Q1
R1
S2
C
O
N
R
L
M
P
Q
XE
A
B
J
G
F
D
H
I
K
T
V
W
U
T1
U1
V1
W 1
X1
Y 1
Y
S
S
• Pour faciliter le montage, lisez toutes les instructions avant l’assemblage et
suivez les illustrations étape par étape.
• Conservez les instructions pour une utilisation future.
• Assemblage requis pas un adulte
• En raison de la présence de petites pièces lors de l’assemblage, tenir hors de
portée des enfants jusqu’à ce que l’assemblage soit terminé.
• To ensure ease of assembly, please read all instructions before assembly and
follow the step by step illustrations.
• Keep instructions for future use.
• Adult assembly required.
• Due to the presence of small parts during assembly, keep them out of the reach
of children until the assembly is complete.
• Never place liquids or damp cloths on this furniture.
• Never use chemical cleaning products as they can damage the finish. For
cleaning, use only a slightly damp cloth and wipe dry.
• To avoid dulling of the finish, do not place the furniture in direct sunlight.
• Do not put plastic or rubber rings under the product. Use felt protectors made of
cloth.
• To clean, use a soft or slightly damp cloth, then wipe with a clean, dry cloth.
• Ne laissez jamais de liquides ou de chiffons humides reposer sur ce meuble.
• N’utilisez jamais de produits de nettoyage chimiques. Ils peuvent endommager
la finition. Pour le nettoyage, n’utilisez qu’un chiffon légèrement humide et
essuyez-les.
• Pour éviter l’émoussement de la finition, ne placez pas les meubles à la lumière
directe du soleil.
• Ne mettez pas d’anneaux en plastique ou en caoutchouc sous les appareils.
Utilisez un tissu de protecteurs en feutre.
• Pour nettoyer, utilisez un chiffon doux ou légèrement humide, puis essuyez
avec un chiffon propre et sec.
!
!
MAINTENANCE TIPS / CONSEILS D’ENTRETIEN
NOTES ON ASSEMBLY / NOTES POUR L’ASSEMBLAGE
04
(1) Screw / Vis ∅6.3x50mm
x4(2) Screw / Vis ∅4x38mm
(3) Minifix Bolt / Boulon Minifix
x4
x48
(4) Wood Dowel / Cheville à bois ∅8x30mm
x6(5) P/H Screw / Vis ∅4x22mm
(6) Screw / Vis ∅4x20mm
x54
x16
(7) Screw / Vis ∅3.5x15mm
x9(8) PVC Nail with Pin / Clou en PVC avec épingle
(9) Minifix Cam / Came Minifix
x30
x48
(10) Handle / Poignée - 128mmx3
HARDWARE / ACCESSOIRES
05
HARDWARE / ACCESSOIRES
TOOLS NOT INCLUDED / OUTILS NON INCLUS
3.5m/ 12'
x11(11) Iron L Bracket / Support en L en fer
(12) Shelf Support / Support d'étagère
∅5x16mm
x4
(13) PVC Block / Bloc de PVC - 35mm
x1(14) Door Stopper / Butée de porte
(15) Hinges / Charnières 7/8"
x8
x4
(16) Drawer Slide / Glissière de tiroir 12"
x1(17) Drawer Slide / Glissière de tiroir 12"
(18)
Screw / Vis ∅4x25mm
x1
x16 (19)
Allen Key / Clé Allen M4
x1 (20)
Screw / Vis
x16
M10x16mm
06
STEP 1 3x12
STEP 2
3
B
A
D
A
B
6
13
14
6x16
12 x4
13 x8
14 x1
12
ÉTAPE 1
ÉTAPE 2
07
PLEASE MAKE SURE TO FIX THE SCREWS AS PER ABOVE POINTED
HOLES.
THE INSTRUCTION IS TO AVOID DEFORMATION OF THE PRODUCT'S
APPEARANCE.
16
7
16 7
STEP 3
STEP 4 3x8
7x4
16 x1
FRONT
FRONT / AVANT
BACK
BACK / ARRIÈRE
TOP
TOP / SUPÉRIEU
SECOND HOLE
SECOND HOLE / DEUXIÈME TROUS
B
A
3
H
I
K
ÉTAPE 3
ÉTAPE 4
VEUILLEZ VOUS ASSURER QUE LES VIS SONT FIXÉES
CONFORMÉMENT AUX INSTRUCTIONS RELATIVES AUX
TROUS INDIQUÉS CI-DESSUS AFIN D'ÉVITER TOUTE
DÉFORMATION DE L'ASPECT GÉNÉRAL DES PRODUITS.
08
JH
I
4x4
STEP 5
STEP 6
E
A
4x2
4
4
ÉTAPE 5
ÉTAPE 6
09
Minifix Setup : / Configuration de Minifix :
STEP 7
STEP 8
STEP 1 / ÉTAPE 1
UNLOCK / DÉVERROUILLER
STEP 3 / ÉTAPE 3
LOCK / VERROUILLER
STEP 2 / ÉTAPE 2
9
9x3
4x3
A
E
G
D
A
4
ÉTAPE 7
ÉTAPE 8
10