Product Manual
2. Select the (+) icon in the middle of the program
to add a video le to be cut.
3. The duration of the video is displayed on the
bottom right of the screen. This is the total
length of the video. For example, if your video
le is 14 hours long, the start point would
be 00:00:0.000 and the end point would be
14:00:00.000.
4. Adjust the start point and end point to remove
any unwanted footage. For example, if your
video started at 5:45:00 and ended at 19:45:00
and you would like the video le to be from
6:00 to 19:00, you would enter 00:15:00.000
as the Start Point and 13:15:00.000 as the End
Point.
5. Since all les are the same format, select “1.
Direct Cut.” Click “browse” at the bottom to
select the location where you would like the
merged le to be saved.
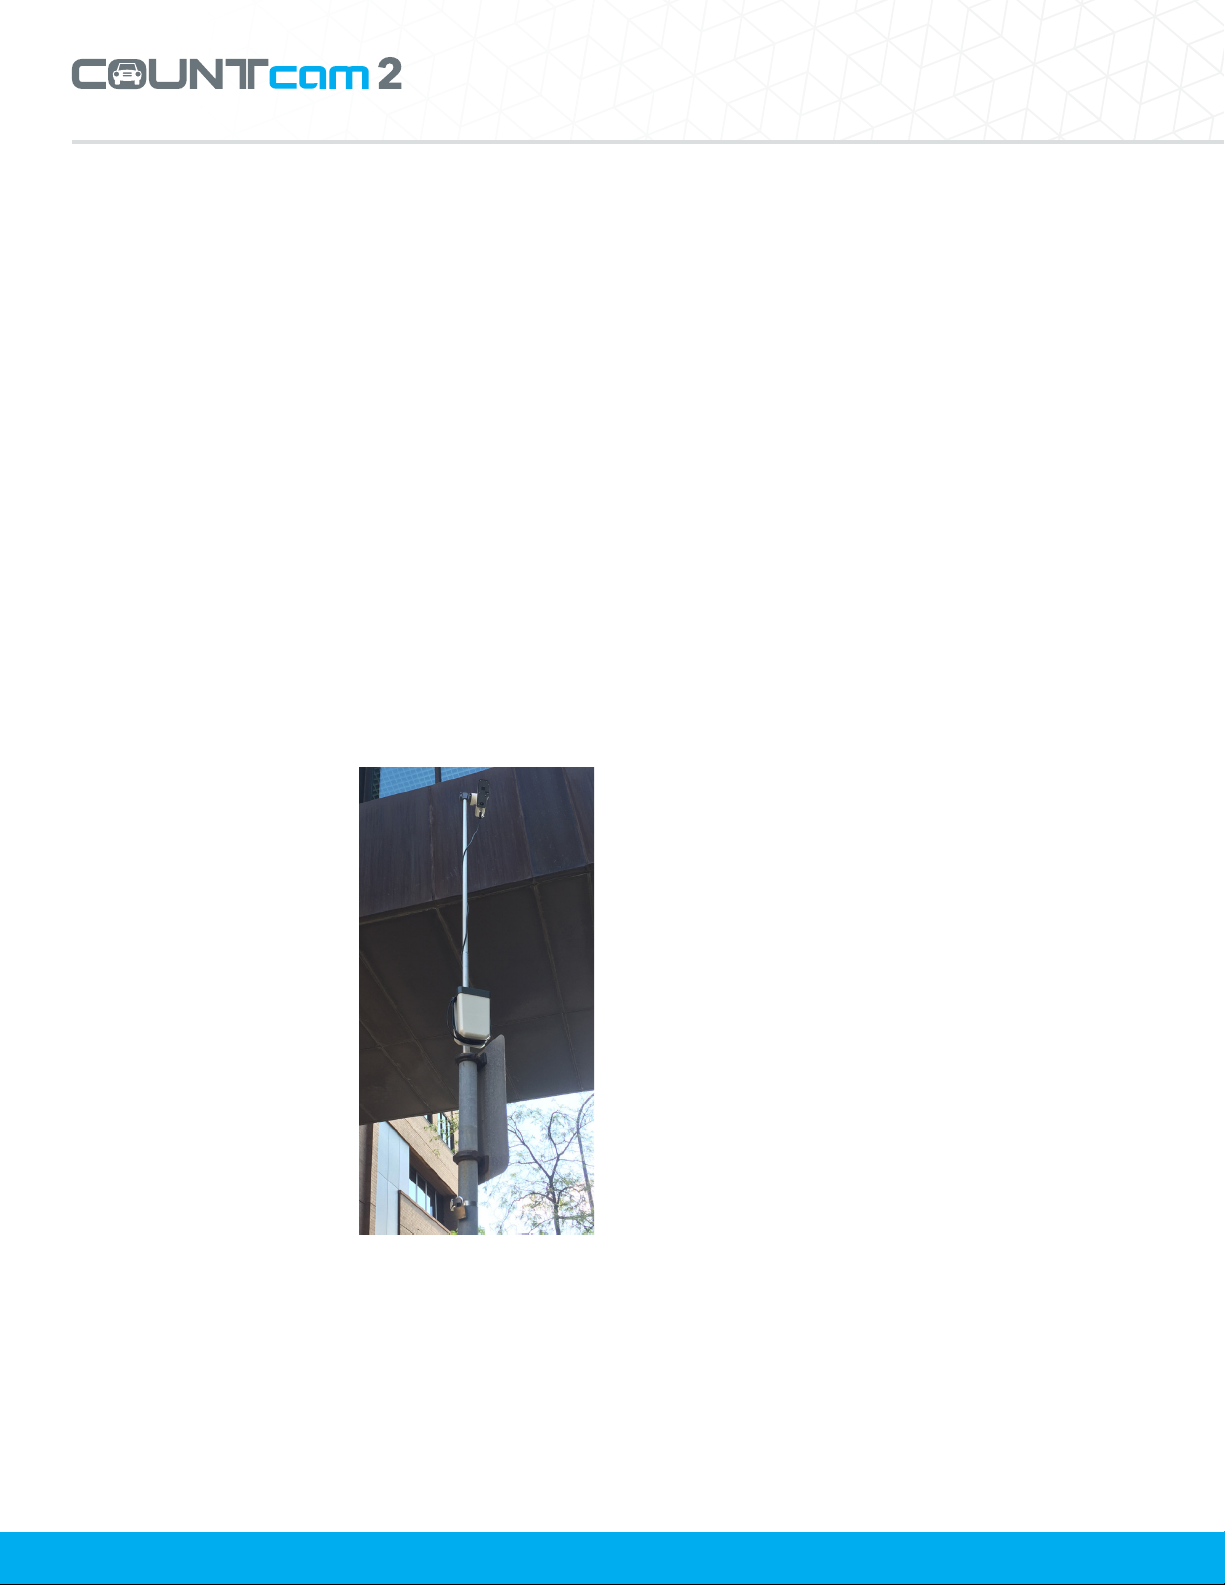
5. Using the Booster Pack
The COUNTcam 2 Booster Pack allows you
to extend the recording run time of your
COUNTcam 2. The Booster Pack will add 50 hours
of runtime to your COUNTcam 2 to allow the
COUNTcam 2 to record up to 100 hours of video
footage on a single charge.
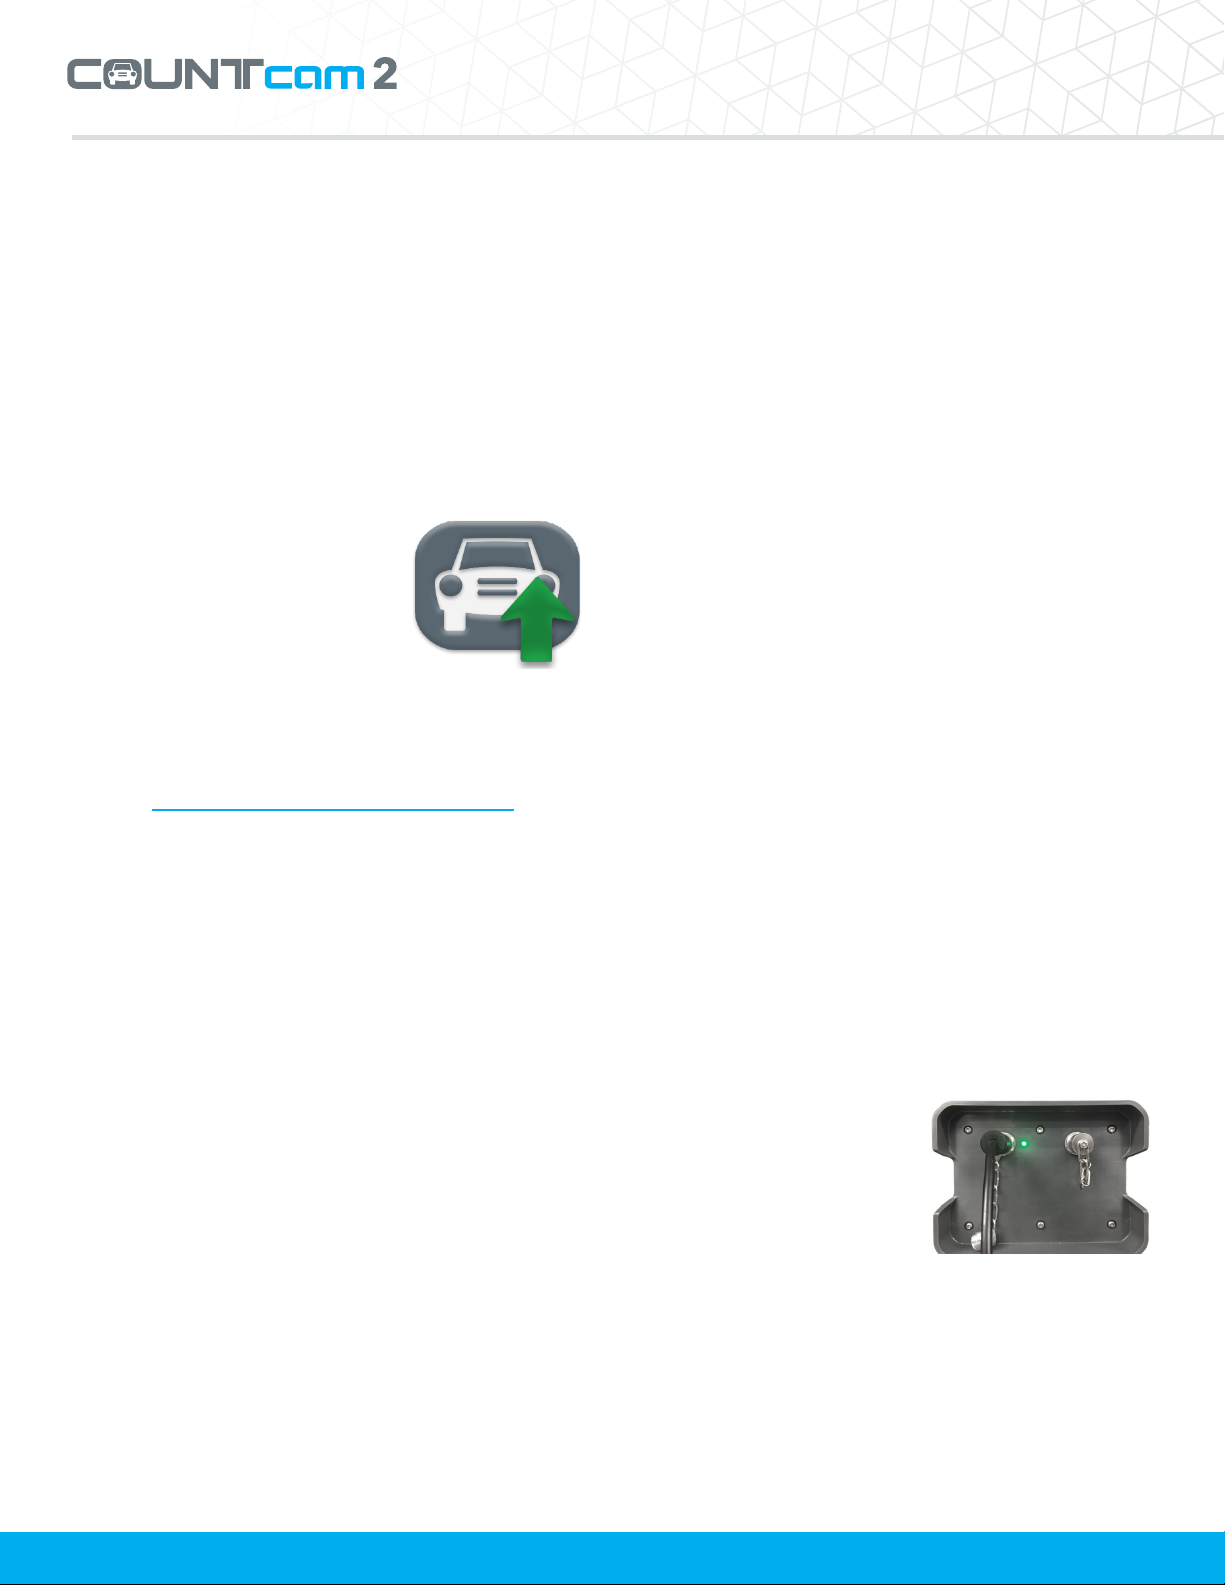
Charging the Booster
Pack
TheBoosterPackwillneed
to be charged before use.
The charging port of the
Booster Pack is located
on the top of the device. The Charging Port on the
Booster Pack is a 3-pin female connector labeled
“INPUT”. To plug in the charger, align the three pin
connector of the charger with the alignment nub
of the charging port and gently insert the charger
connector. After alignment, use the locking screw
to secure the connection. The green charging
name of the drive can be changed.
To access the recorded video les,
Open Untitled > DV > Movie.
4. The COUNTcam 2 creates video in 30 minute
segments. Drag the desired video les to the
folder of your choice on your computer to
begin the video le download.
Using the COUNTcam Video Uploader
The COUNTcam Video
Uploader is a free, easy-to-use
video editing tool. You can
use this software to merge
multiple les into one large
le, and splice video les to
remove unwanted data.
The COUNTcam Video Uploader can be
downloaded for free by clicking the following link:
COUNTcam Video Uploader Install
Once installed, open the program and select
“Video Joiner” to merge multiple les from the
COUNTcam 2 into one video le. For instructions
on how to use the software, please download the
instructions here.
1. Select the (+) icon on the right side of the
program and navigate to the COUNTcam 2
folder and select the desired videos to be
joined.
2. Once all the desired videos are in the list, select
the “Join” icon to begin merging the les.
3. Since all les are the same format, select “1.
Direct Join.” Click “browse” at the bottom to
select the location where you would like the
merged le to be saved.
After merging video les, you can use the video
cutter to remove unwanted sections of video at the
beginning or end of the le.
1. Select the Video Cutter tab at the top of the
program.
6