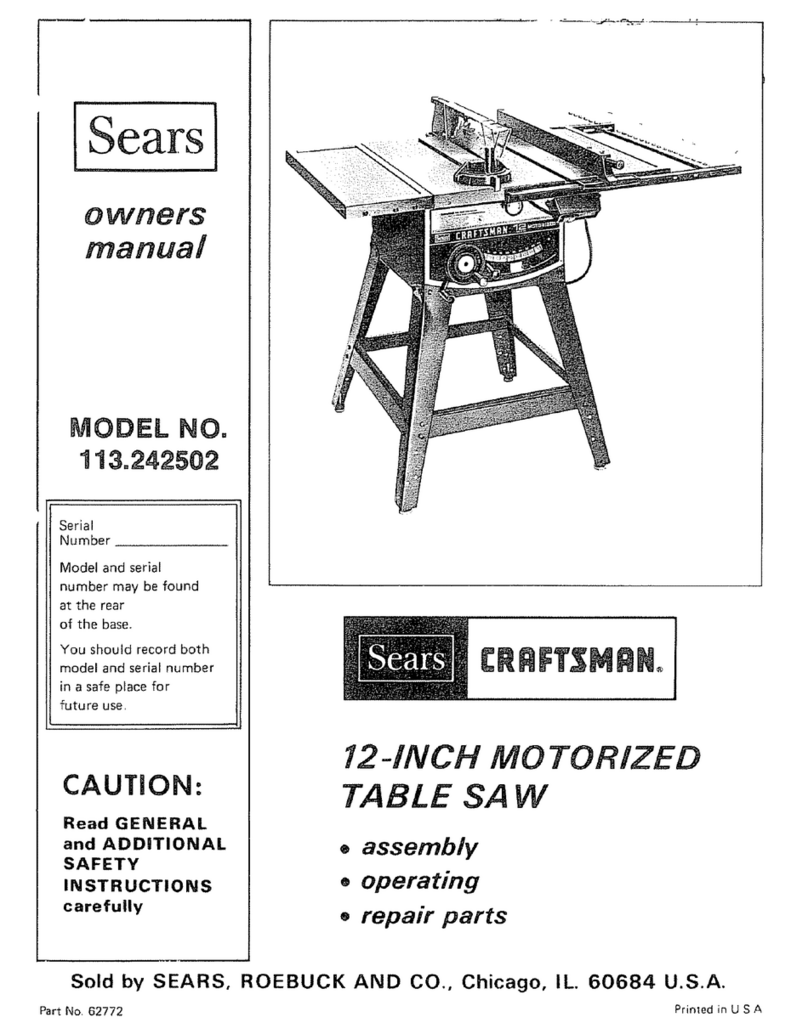
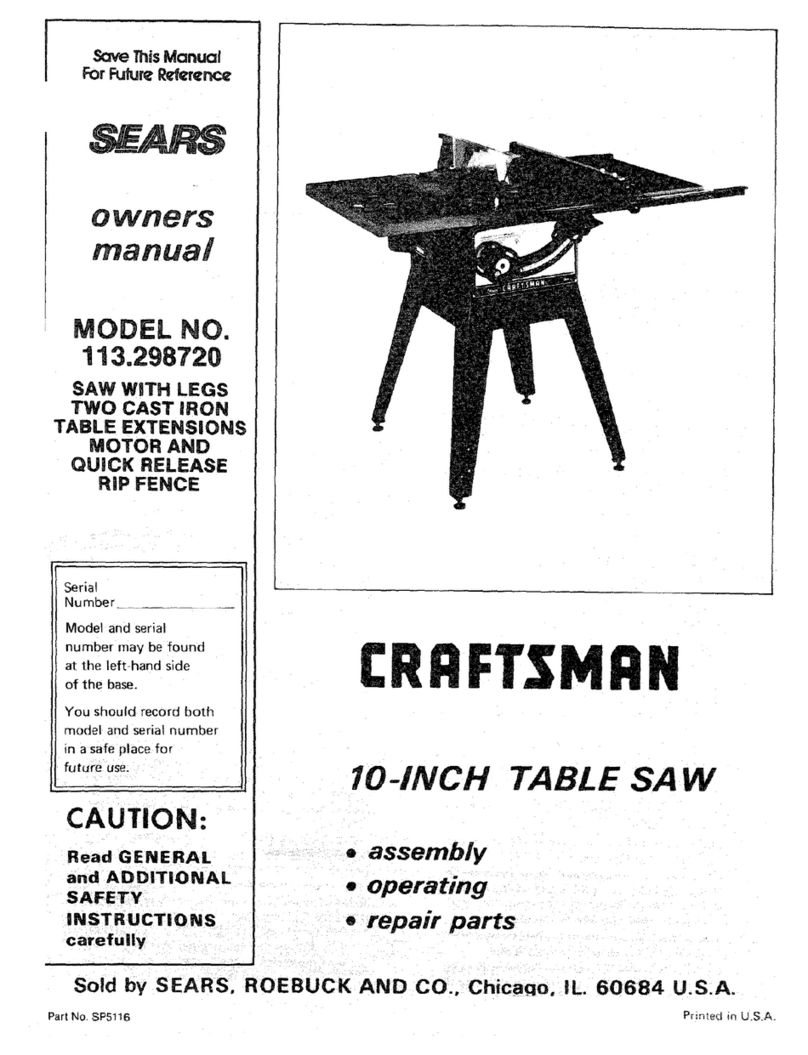
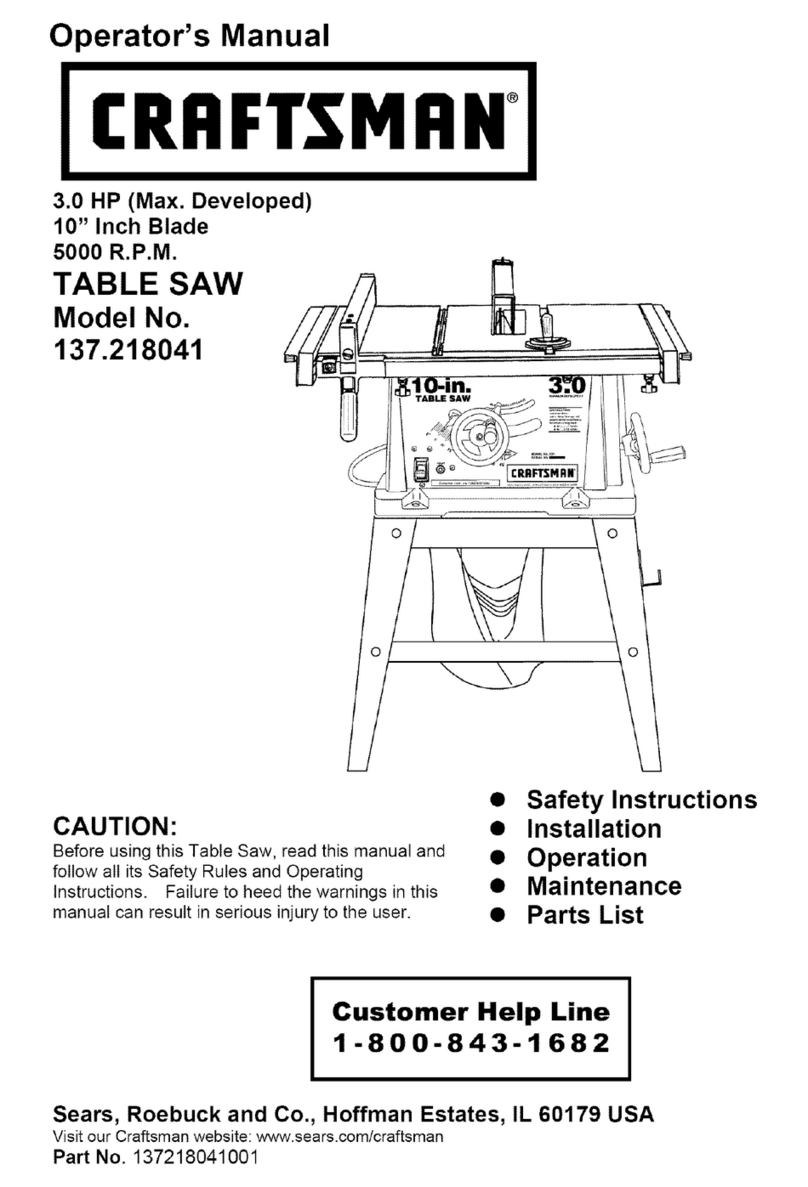
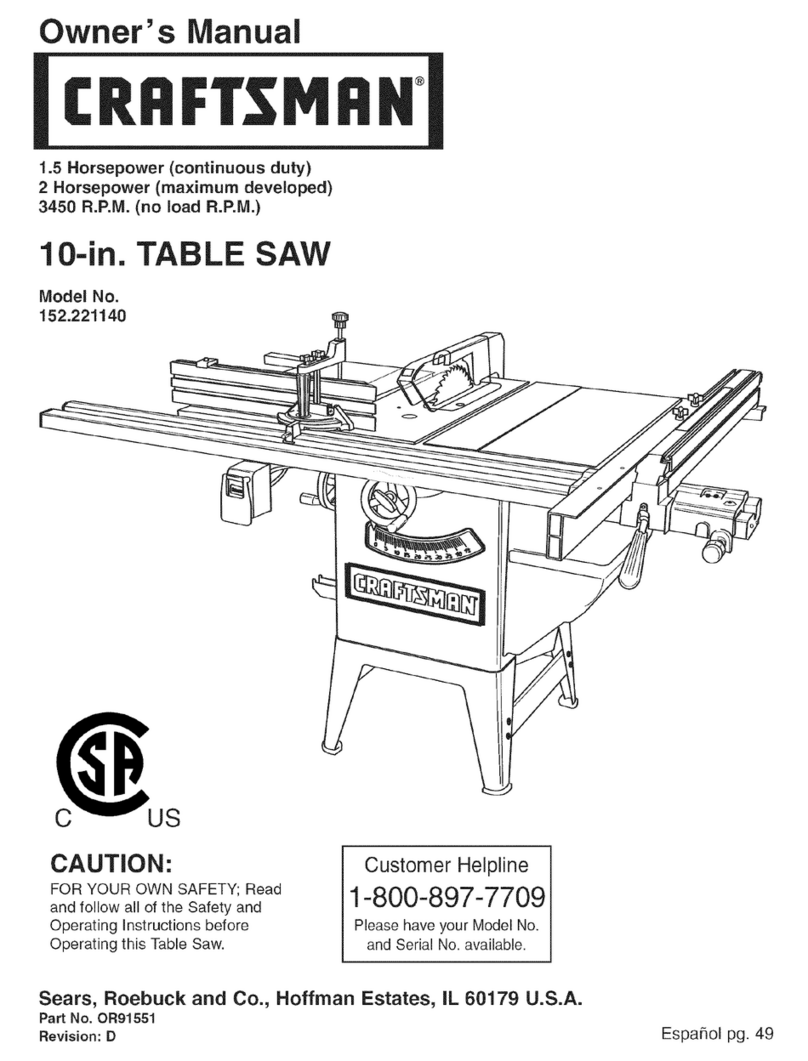
FULL ONE YEAR WARRANTY ON CRAFTSMAN TABLE SAW
If within one year from the date of purchase, this Craftsman Table Saw fails due to a defect in
material or workmanship, Sears wil! repair it, free of charge.
WARRANTY SERVICE IS AVAILABLE BY SIMPLY CONTACTING THE NEAREST SEARS
SERVICE CENTER/DEPARTMENT THROUGHOUT THE UNITED STATES.
This warranty applies only while this product is in use in the United States.
This warranty gives you specific legal rights, and you may also have other rights which vary
from state to state.
Sears, Roebuck and Co., D/817 WA Hoffman Estates, IL. 60179
SAFETY INSTRUCTIONS FOR TABLE SAW
Safety is a combination of common sense, staying
alert and knowing how your table saw works. Read
this manual to understand this saw.
BEFORE USING THE SAW:
WARNING: TO AVOID MISTAKES THAT COULD
CAUSE SERIOUS, PERMANENT INJURY, DO NOT
PLUG THE SAW IN UNTIL THE FOLLOWING STEPS
HAVE BEEN SATISFACTORILY COMPLETED.
1. Assembly and alignment (See pages 8-20).
2 Learn the use and function of the ON-OFF switch,
guard, spreader, anti-kickback device, miter gauge,
fence, table insert and blade elevation and bevel
controls. (See page 21).
3. Review and understanding of all safety instructions
and operating procedures in this manual.
4. Review of the maintenance methods for this saw.
(See page 32).
Read the following DANGER label found on the
front of the saw:
Ii [ DANGER ] FORYOUROWN SAFETY:
_tEAD AND UNDERSTAND OWNERS MANUAL BEFORE OPERATING MALJHIN[
JS[ %A_SLAD[ _,_ AAD _ )_ T_4L, SAW_, 2 _ roc, _(]," PERF_IA_I OPFRATIONS _q_[H#,NC,
_tP"_DS _'J' ;_ PA'_'F SAWB_AO_ ' NEvEeREA, H m£OUND ;a_,VER',&_B_Ar)E
WHEN INSTALLING OR MOVING THE SAW:
1. AVOID DANGEROUS ENVIRONMENT. Use the
saw in adry place protected from rain Keep work
area well righted.
2. To avoid injury from unexpected saw movement:
a. Put the saw on a firm level surface where there
is plenty of room for handling and properly
supporting the workp_ece.
b. Support the saw so the table is level and the
saw does not rock.
c Bolt the saw to the floor if it tends to siip, walk,
or slide during normal use.
d. When us=ngtabre extensions over 24" wide on
any side of the saw, bolt the saw to the floor or
prop up the outer end of the extension from
the floor to keep the saw from tipping.
3 Put the saw where neither operators or bystand-
ers must stand in line with the saw blade.
4 GROUND THE SAW- This saw has an approved
3-conductor cord and a 3-prong grounding type
pt,Jg. The plug fits grounding type outlets design-
ed for 120 volt 15 amp circuits. The green
conductor in the cord is the grounding wire. To
avoid electrocution, NEVER connect the green
wire to a live terminal.
5. To avoid injury from electrical shock, make sure
your fingers do not touch the plug's met31 prongs
when plugging in or unplugging the saw.
6. To avoid back injury, get help or use recom-
mended casters when you need to move the saw.
Always get help if you need to lift the saw. Hold
the saw close to your body. Bend your knees so
you can lift with your legs, not your back.
7. NEVER STAND ON TOOL. Serious injury could
occur if the tool tips or you accidentally hit the
cutting tool. Do not store anything above or near
the tool where anyone might stand on the tool to
reach them.
BEFORE EACH USE:
1. Inspect your saw.
a. To avoid injury from accidental starting, unplug
the saw, turn the switch off and remove the
switch key before raising or removing the
guard, changing the cutting tool, changing
the setup or adjusting anything.
b. Check for alignment of moving parts, binding
of moving parts, breakage of parts, mounting,
and any other conditions that may affect the
way it works. If any part is missing, bent, or
broken in any way, or any electrical parts don't
work properly, turn the saw off and unplug the
saw.
c. Replace damaged, missing, or failed parts
before using the saw again
d. Use the sawblade guard, spreader, and anti-
kickback pawls for any thru-sawing (whenever
the blade comes through the top of the work-
p,ece). Make sure the pawls work properly.
Make sure the spreader is in line with the
sawblade.
e. REM©VE ADJUSTING KEYS AND
WRENCHES. Form habit of checking for and
removing keys and adiusting wrenches from
toot before turning it on.
f. To avoid injury from jams. slips or thrown pieces
(kickback and throwback):
1. USE ONLY RECOMMENDED ACCESSO-
RIES. Follow the instructions that come with
the accessories. Consult the owner's manual
