manuals.online logo
Brands
  1. Home
  2. •
  3. Brands
  4. •
  5. Craftsman
  6. •
  7. Trimmer
  8. •
  9. Craftsman Quickwind CMCST920 User manual

Craftsman Quickwind CMCST920 User manual

Other manuals for Quickwind CMCST920

2

This manual suits for next models

1

Other Craftsman Trimmer manuals

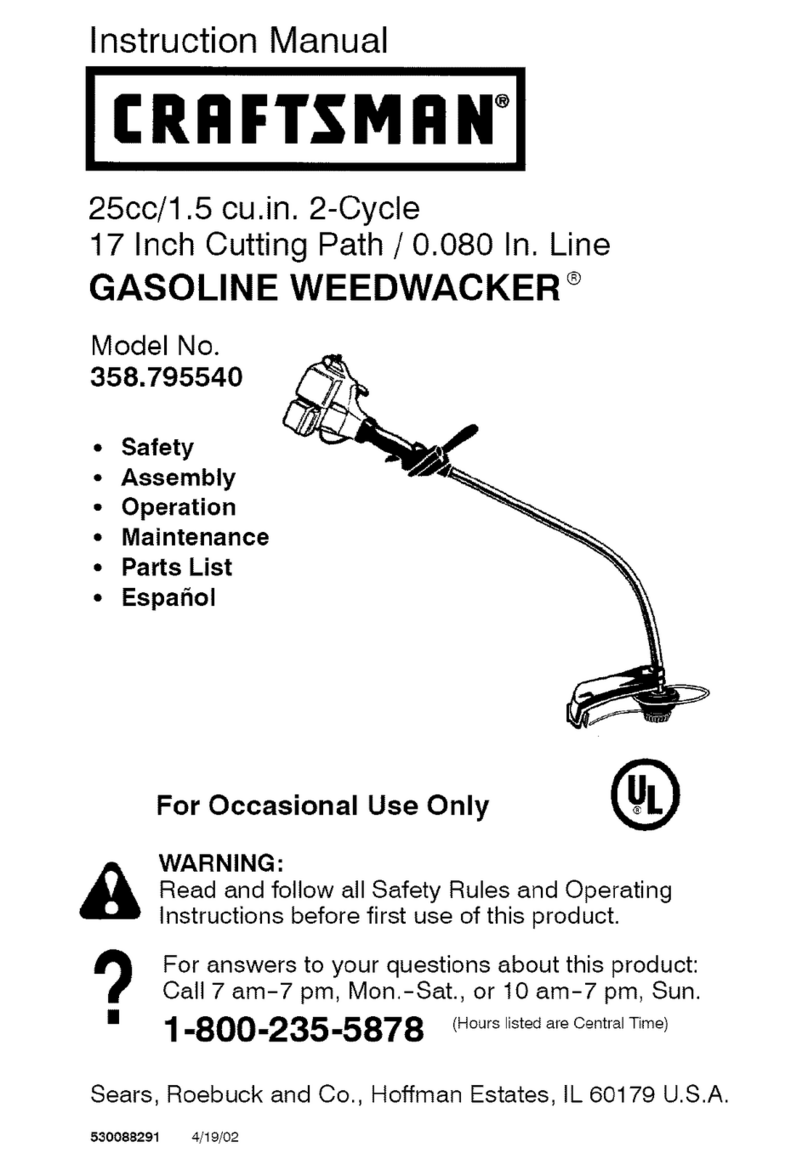
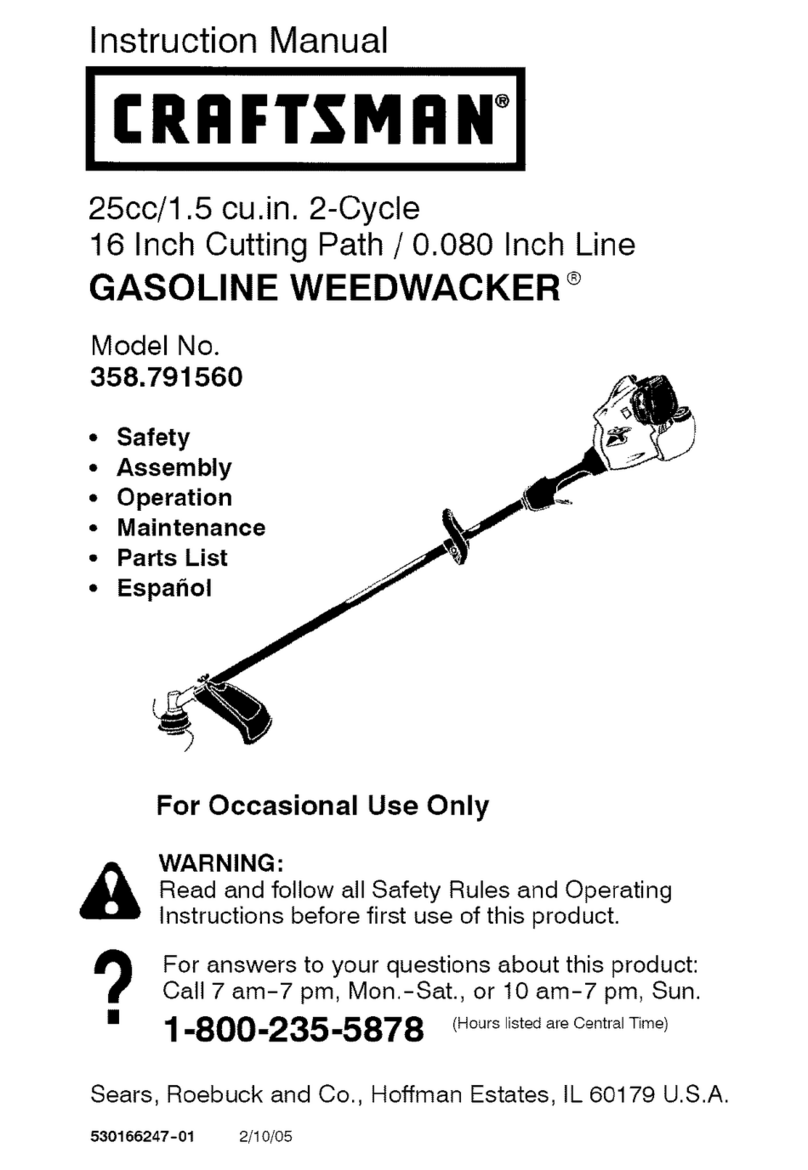
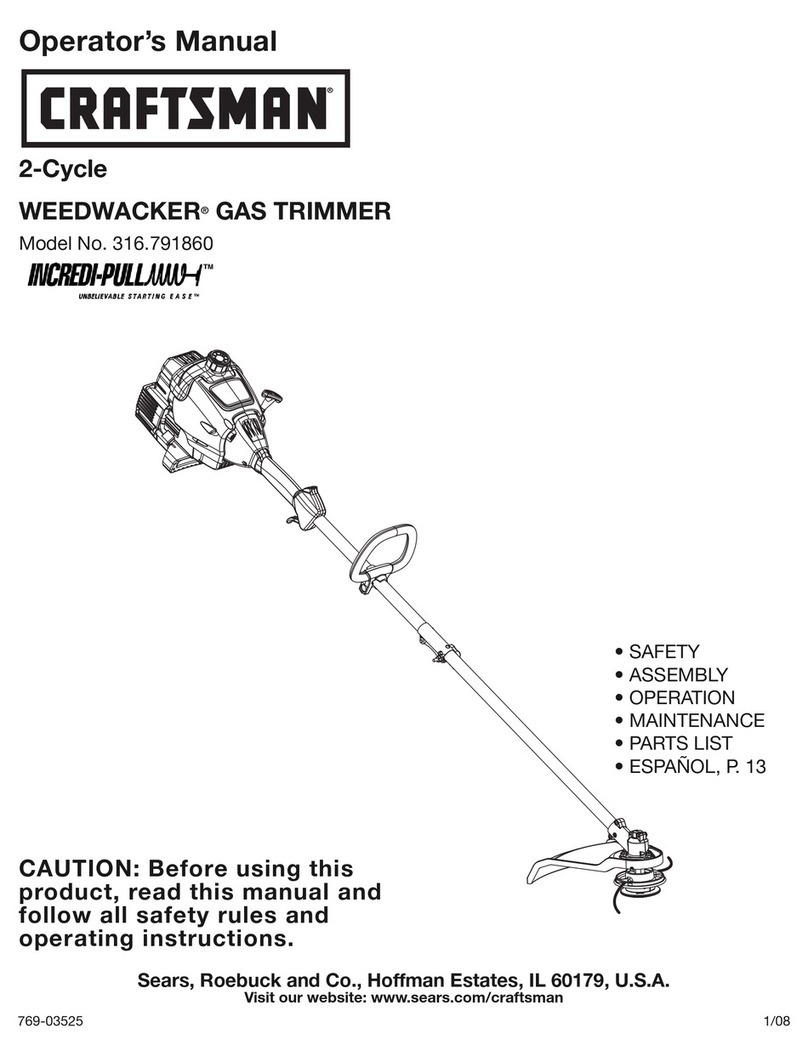
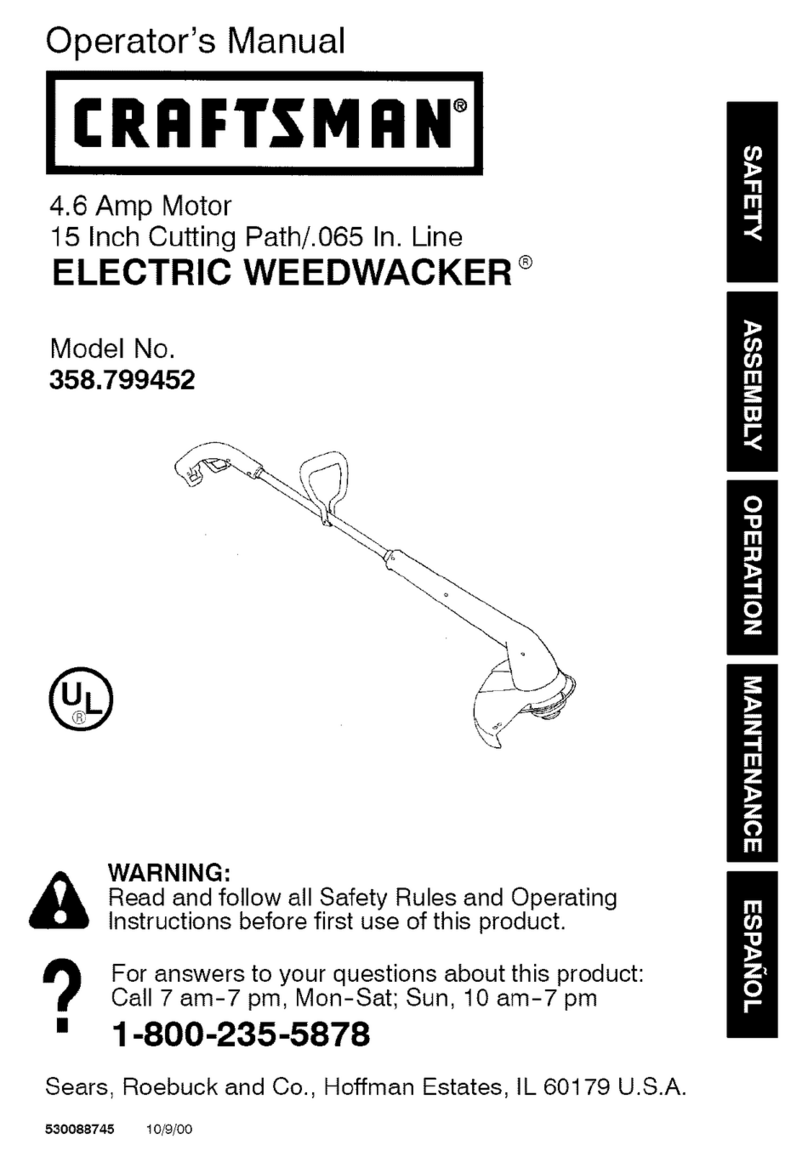
Craftsman INCREDI.PULL 316.791841 User manual

Craftsman

Craftsman INCREDI.PULL 316.791841 User manual

Craftsman INCREDI.PULL 316.791700 User manual

Craftsman

Craftsman INCREDI.PULL 316.791700 User manual

Craftsman Weedwacker 358.745310 User manual

Craftsman

Craftsman Weedwacker 358.745310 User manual

Craftsman 358.796131- 26.2cc User manual

Craftsman

Craftsman 358.796131- 26.2cc User manual

Craftsman 320.74905 User manual

Craftsman

Craftsman 320.74905 User manual

Craftsman 74545 - 15 in. Electric Line Trimmer User manual

Craftsman

Craftsman 74545 - 15 in. Electric Line Trimmer User manual

Craftsman WEEDWACKER 316.791200 User manual

Craftsman

Craftsman WEEDWACKER 316.791200 User manual

Craftsman CMEHTS8022 User manual

Craftsman

Craftsman CMEHTS8022 User manual

Craftsman WEEDWACKER 358.745300 User manual

Craftsman

Craftsman WEEDWACKER 358.745300 User manual

Craftsman 944.361064 User manual

Craftsman

Craftsman 944.361064 User manual

Craftsman WEEDWACKER 316.74556 User manual

Craftsman

Craftsman WEEDWACKER 316.74556 User manual

Craftsman CMCST910 User manual

Craftsman

Craftsman CMCST910 User manual

Craftsman WEEDWACKER 358.745510 User manual

Craftsman

Craftsman WEEDWACKER 358.745510 User manual

Craftsman WEEDWACKER 358.792010 User manual

Craftsman

Craftsman WEEDWACKER 358.792010 User manual

Craftsman 316.79189 User manual

Craftsman

Craftsman 316.79189 User manual

Craftsman WEEDWACKER 358.791070 User manual

Craftsman

Craftsman WEEDWACKER 358.791070 User manual

Craftsman WEEDWACKER 358.745500 User manual

Craftsman

Craftsman WEEDWACKER 358.745500 User manual

Craftsman BRUSHWACKER 358.795820 User manual

Craftsman

Craftsman BRUSHWACKER 358.795820 User manual

Craftsman 358.799240 User manual

Craftsman

Craftsman 358.799240 User manual

Craftsman 358.798470 User manual

Craftsman

Craftsman 358.798470 User manual

Craftsman 315.115830 User manual

Craftsman

Craftsman 315.115830 User manual

Craftsman WEEDWACKER 358.791590 User manual

Craftsman

Craftsman WEEDWACKER 358.791590 User manual

Craftsman WEEDWACKER 316.791890 User manual

Craftsman

Craftsman WEEDWACKER 316.791890 User manual

Craftsman WEEDWACKER Incredi-Pull 316.711471 User manual

Craftsman

Craftsman WEEDWACKER Incredi-Pull 316.711471 User manual

Popular Trimmer manuals by other brands

LawnMaster LML261 Safety and operating manual

LawnMaster

LawnMaster LML261 Safety and operating manual

McCulloch TrimMac ST+ instruction manual

McCulloch

McCulloch TrimMac ST+ instruction manual

Gardena EasyCut 48 PLUS operating instructions

Gardena

Gardena EasyCut 48 PLUS operating instructions

Gardena ComfortCut 450/25 user manual

Gardena

Gardena ComfortCut 450/25 user manual

Twose TF500 Operator's manual

Twose

Twose TF500 Operator's manual

Echo SRM-230 parts catalog

Echo

Echo SRM-230 parts catalog

netta PHTEG06AA-450 manual

netta

netta PHTEG06AA-450 manual

Total TGTLI20301 manual

Total

Total TGTLI20301 manual

Maestro MR680 owner's manual

Maestro

Maestro MR680 owner's manual

Andis Experience D4X specification

Andis

Andis Experience D4X specification

Flymo EASICUT 5500 Original instructions

Flymo

Flymo EASICUT 5500 Original instructions

Troy-Bilt AST TB25CS Operator's manual

Troy-Bilt

Troy-Bilt AST TB25CS Operator's manual

Homelite F-3040 user manual

Homelite

Homelite F-3040 user manual

Ozito LTR-301 instruction manual

Ozito

Ozito LTR-301 instruction manual

Flymo Contour Cordless 24 V Original instructions

Flymo

Flymo Contour Cordless 24 V Original instructions

McCulloch T22 LS Operator's manual

McCulloch

McCulloch T22 LS Operator's manual

COCKRAFT PRO HL36-S Original instructions

COCKRAFT

COCKRAFT PRO HL36-S Original instructions

Weed Eater BC2400 instruction manual

Weed Eater

Weed Eater BC2400 instruction manual

manuals.online logo
manuals.online logoBrands
  • About & Mission
  • Contact us
  • Privacy Policy
  • Terms and Conditions

Copyright 2025 Manuals.Online. All Rights Reserved.

English (original instructions)
WARNING: To reduce the risk of injury, read the
instructionmanual.
AVERTISSEMENT : afin de réduire le risque de blessures, lire
le mode d’emploi del’outil.
ADVERTENCIA: Para reducir el riesgo de lesiones, lea el
manual deinstrucciones.
CMCST920 CMCST960 Large Guard / Grand protecteur / Protección Grande
ENGLISH
FRANÇAIS
Attaching Large Guard
WARNING:To reduce the risk of serious personal injury, turn unit off and remove
the battery pack before making any adjustments or removing/installing attachments or
accessories. An accidental start‑up can causeinjury.
WARNING:NEVER OPERATE APPLIANCE WITHOUT GUARD FIRMLY IN
PLACE. The guard must always be properly attached on the appliance to protect theuser.
1. Rotate the spindle plate until the hole1 aligns with notch2 in the housing. Insert the
included rod through the notch and into the hole, to prevent the spindle3 fromturning. This
locks the spindle in place and allows the spool to beremoved.
2. While holding the rod in place, remove the spool4 by gripping the spool grip cover5 and
rotating the spool coverclockwise.
3. Remove the spindle lock plate6.
Fig.A
6
3
1
2
4
5
4. Using a crosshead screwdriver, remove the 4 screws7 securing the cover8.
Fig.B
7
5. Remove the cover8.
Fig.C
8
6. Place the the large guard9 onto the motor housing in place of the cover and thread the 4
screws intoplace.
Fig. D
9
7. Using a crosshead screwdriver, tighten the screws until secure.
8. Install spindle lock plate6 onto the spindle3, so the double D shaped retaining nut on the
spindle sits inside the base of the spindlelockplate.
9. Rotate the spindle lock plate until the hole1 aligns with notch2 in the housing. Insert the
included rod through the notch and into the hole, to prevent the spindle3 fromturning.
10. While holding the rod in place, install the spool4 by gripping the spool grip cover5 and
rotating the spool covercounterclockwise.
Fixer le grand protecteur
AVERTISSEMENT :afin de réduire le risque de blessure corporelle grave,
éteignez l’outil et retirez le bloc‑piles avant d’effectuer tout ajustement ou de retirer/installer
des pièces ou des accessoires. Un démarrage accidentel peut causer desblessures.
AVERTISSEMENT :NE JAMAIS FAIRE FONCTIONNER L’OUTIL SANS
QUE LE PROTECTEUR SOIT FERMEMENT FIXÉ EN PLACE. Le protecteur doit toujours être
bien fixé à l'outil pour protéger lesutilisateurs.
1. Tournez la plaque de l’axe jusqu’à ce que le trou1 s’aligne avec l’encoche2 dans le boîtier.
Insérez la tige incluse à travers l’encoche et dans le trou afin d’empêcher l’axe3 de tourner.
Cela verrouille l’axe en place et permet de retirer labobine.
2. Tout en maintenant la tige en place, retirez la bobine4 en saisissant le capot de la poignée
de la bobine5 et en tournant le capot de la bobine dans le sens des aiguilles dans le sens
des aiguilles d'unemontre.
3. Retirez la plaque de verrouillage de l’axe6.
Fig.A
6
3
1
2
4
5
4. À l’aide d’un tournevis cruciforme, retirez les 4 vis7 qui fixent le capot8.
CRAFTSMAN 701East Joppa Road,Towson, MD 21286
Copyright © 2020
07/20 Part No. N878243
Fig.B
7
5. Retirez le capot8.
Fig.C
8
6. Placez le grand protecteur9 sur le boîtier du moteur au lieu du capot et mettez les 4 vis
enplace.
Fig.D
9
7. À l’aide d’un tournevis cruciforme, serrez les vis jusqu’à ce qu’elles soient bienserrées.
8. Installez la plaque de verrouillage de l’axe6 sur l'axe3 afin que l’écrou de retenue en forme
de double D sur l’axe demeure à l’intérieur de la base de la plaque de verrouillage del’axe.
9. Tournez la plaque de verrouillage de l’axe jusqu’à ce que le trou1 s’aligne avec l’encoche2
dans le boîtier. Insérez la tige incluse à travers l’encoche et dans le trou afin d’empêcher
l’axe3 de tourner.
10. Tout en maintenant la tige en place, installez la bobine4 en saisissant le capot de la poignée
de la bobine5 et en tournant le capot de la bobine dans le sens des aiguilles dans le sens
contraire des aiguilles d'unemontre.
ESPAÑOL
Instalación de Protección Grande
ADVERTENCIA:Para reducir el riesgo de lesiones personales, apague la
unidad y retire el paquete de batería antes de realizar cualquier ajuste o retirar/instalar
conexiones o accesorios. Un arranque accidental puede causarlesiones.
ADVERTENCIA:NUNCA OPERE EL APARATO SIN LA PROTECCIÓN
FIRMEMENTE EN SU LUGAR. La protección siempre debe estar conectada adecuadamente
en el aparato para proteger alusuario.
1. Gire la placa de husillo hasta que el orificio1 se alinee con la muesca2 del alojamiento.
Inserte la varilla incluida a través de la muesca y en el orificio, para evitar que el husillo3 gire.
Esto bloquea el husillo en su lugar y permite retirar elcarrete.
2. Mientras sostiene la varilla en su lugar, retire el carrete4 sosteniendo la cubierta de la
agarradera del carrete5 y girando la cubierta del carrete en el sentido de las manecillas
delreloj.
3. Retire la placa de bloqueo del husillo6.
Fig.A
6
3
1
2
4
5
4. Con un destornillador de cruz, retire los 4 tornillos7 que aseguran la cubierta8.
Fig. B
7
5. Retire la cubierta8.
Fig. C
8
6. Coloque la protección grande9 sobre el alojamiento del motor en lugar de la cubierta y
enrosque los 4 tornillos en su lugar.
Fig. D
9
7. Con un destornillador de cruz, apriete los tornillos hasta que esténseguros.
8. Instale la placa de bloqueo del husillo6 en el husillo3, de modo que la tuerca de retención
en forma de doble D en el husillo se asiente dentro de la base de la placa de bloqueo
delhusillo.
9. Gire la placa de bloqueo del husillo hasta que el orificio1 se alinee con la muesca2 del
alojamiento. Inserte la varilla incluida a través de la muesca y en el orificio, para evitar que el
husillo3 gire.
10. Mientras sostiene la varilla en su lugar, instale el carrete4 sujetando la cubierta de la
agarradera del carrete5 y girando la cubierta del carrete en sentido contrario a las manecillas
delreloj.