volume, bass, treble adjustment;
◆Built-in DSP automatic frequency control button
function;
◆Support for automatic camera tracking function,
and a variety of control protocol of CREATOR,
PELCO-P/D, VISCA;
◆All-metal shell, circuit and outer shell
strengthened with wire connection, with the
contact 12kV, air 15kV antistatic ability;
◆The controller can be mounted on a standard
19 inch rack.
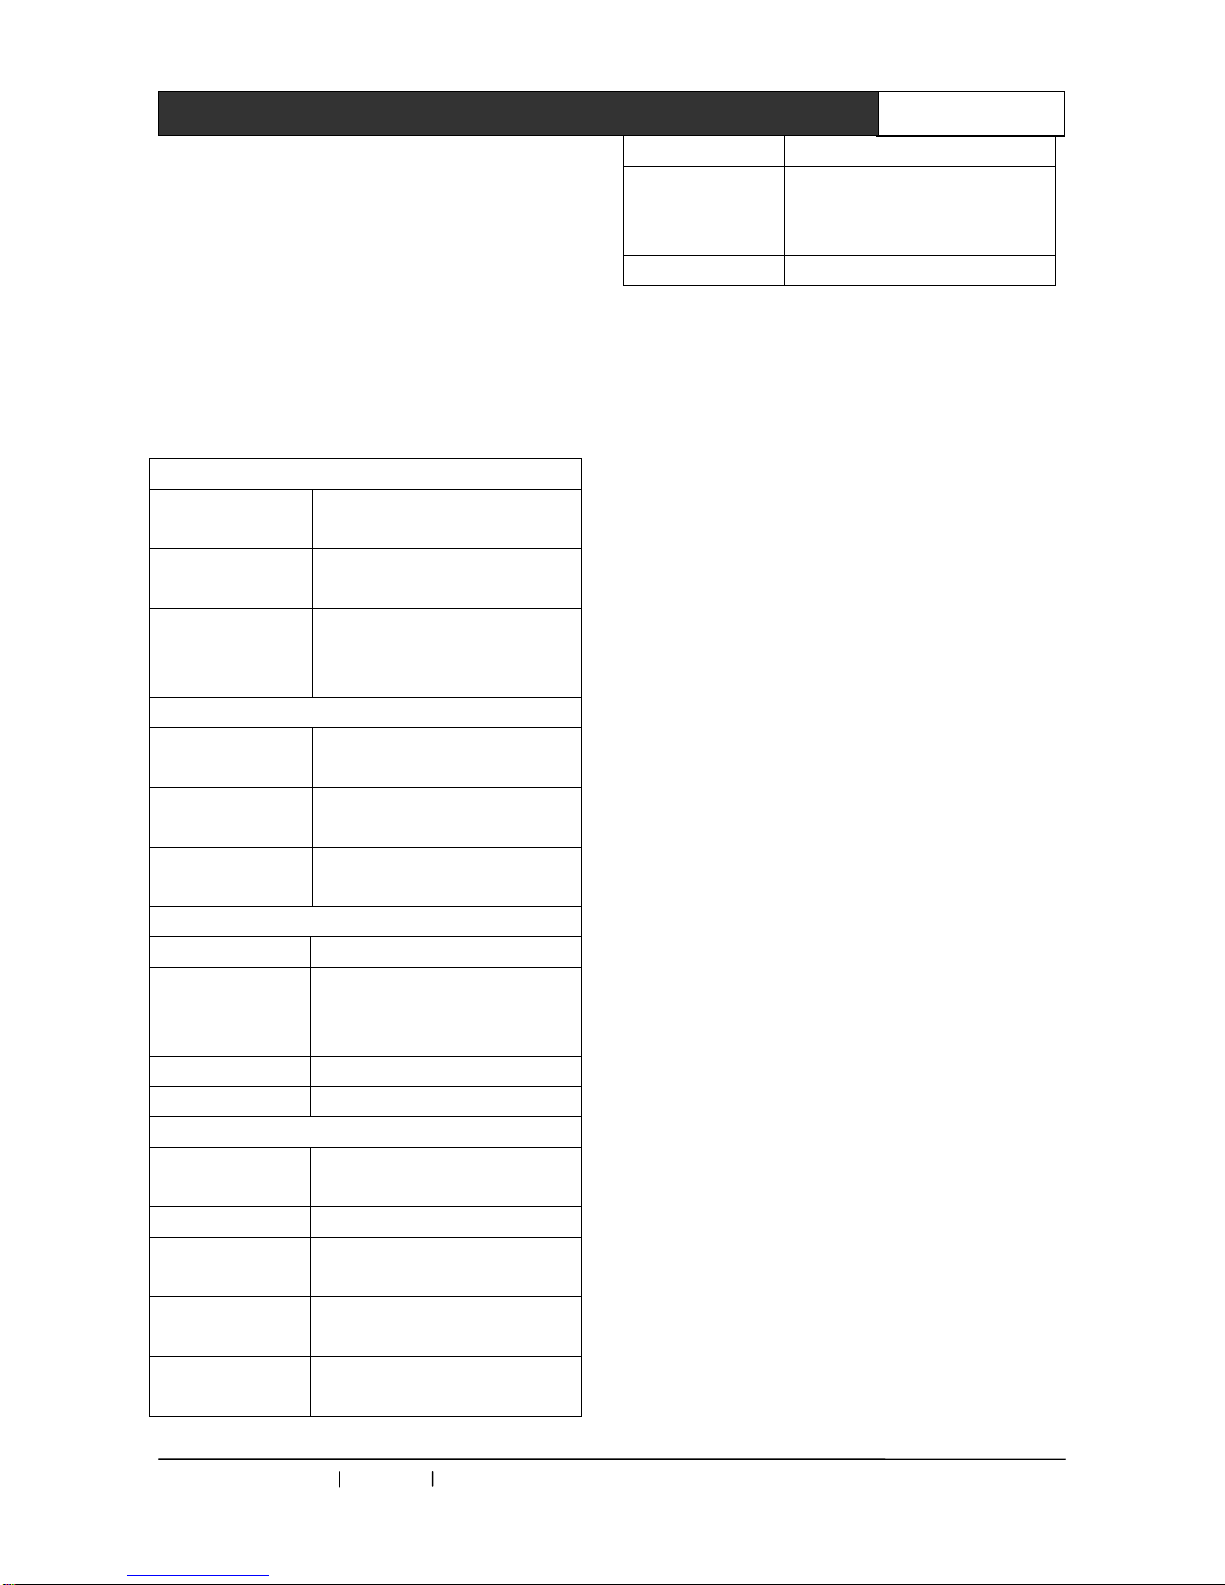
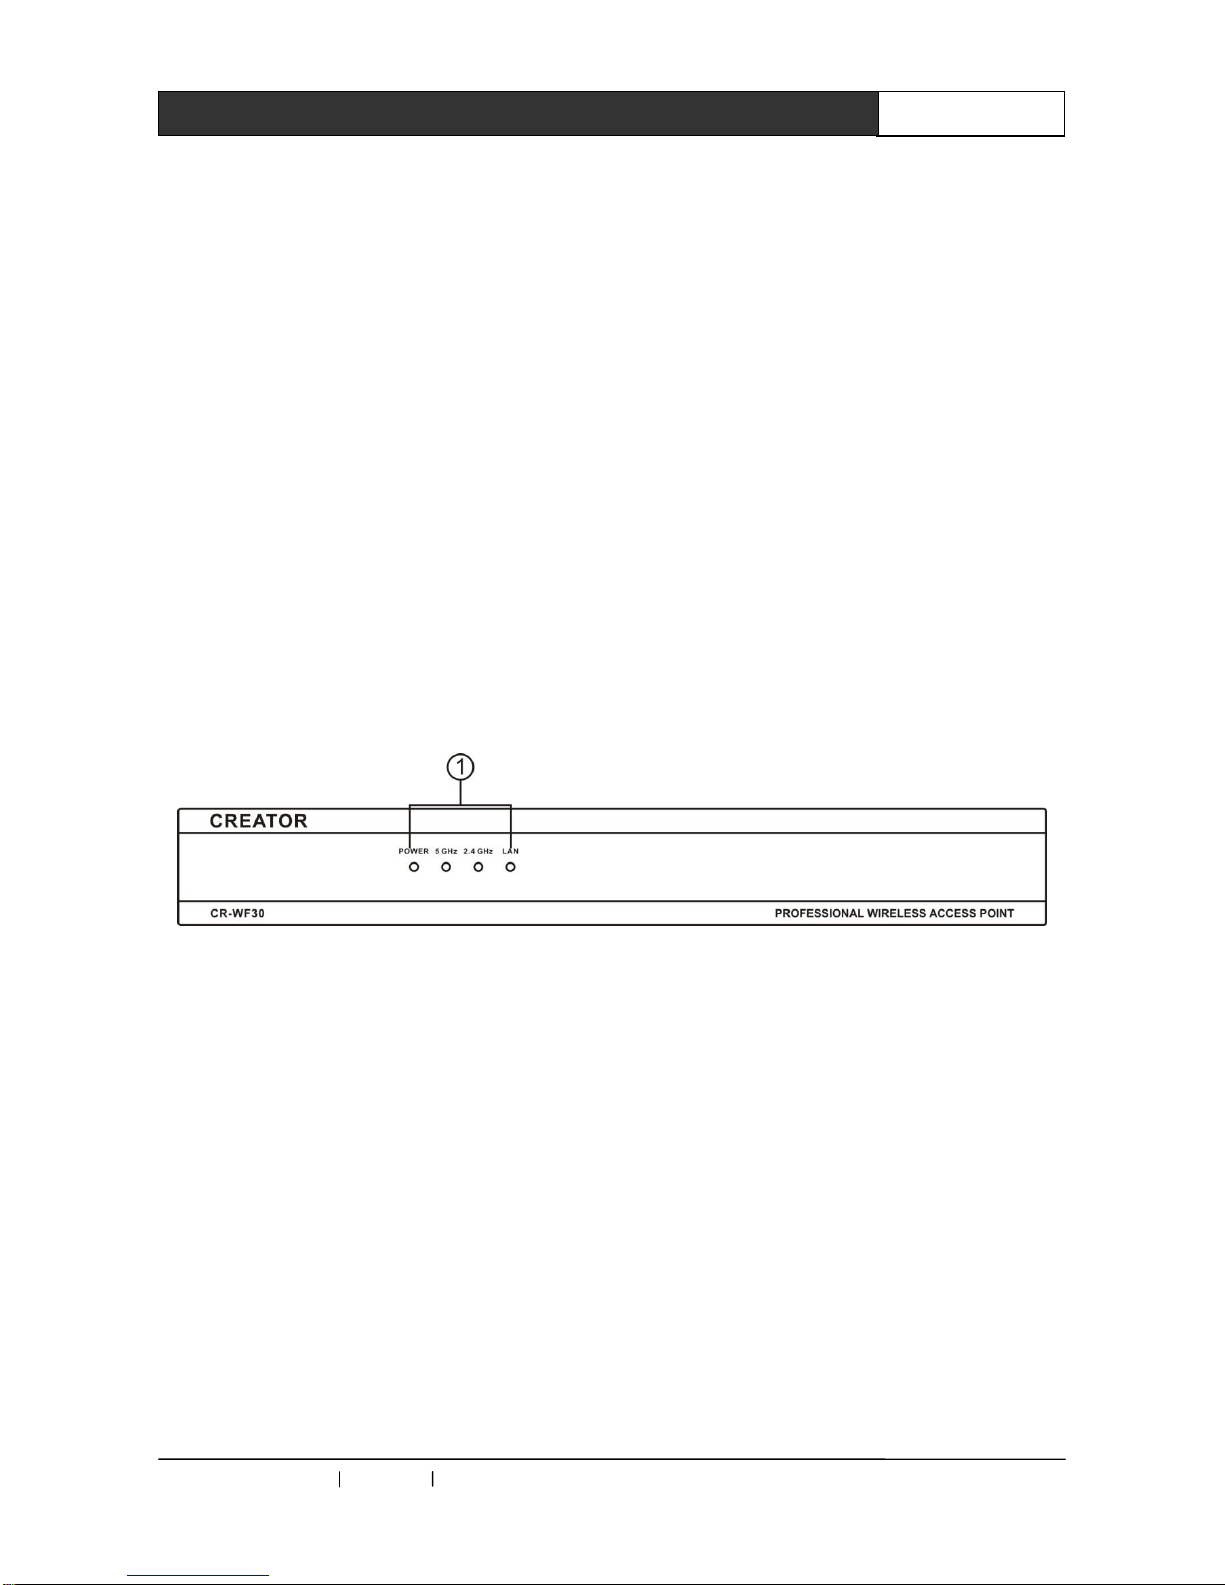
2.4 CR-WiFi6201 Panel Key
Operation
In order to facilitate the management and use,
CREATOR design the navigation panel and LCD
display, which is simple to operate and easy to
master.
Basic operating instructions
Function key Arrow keys “ENTER”
confirm key
Arrow keys “ENTER” to confirm
No operation for about ten seconds after the
completion of installation, the system will
automatically exit the setting interface.
LCD screen display
The LCD screen is in long bright state when the
controller is on, and displays the current system
state and operation information with white letters
on the blue backlight.
Key lamp description
Key lamp is in flashing red state, the red lamp
flash once, means the setting of key function or
parameter has been successful, and the LCD
screen will display the corresponding information.
2.4.1 MENU Button Operation
MENU button can do operation for MIC MODE,
MIC ACTIVE 'S, BASS, TREBLE, VOLUME,
SYSTEM ENQUIRY, ID ENQUIRY and CAMERA.
The basic steps are as follows:
1, Press the "MENU" button, LCD displays the
first option "MIC MODE";
2, Press the “ ” or “ ”" button to browse all
options, while the LCD screen display the current
operating state, then select the setting required
option, press "ENTER" to confirm;
3, Enter the option parameter setting interface,
Press the “ ” or “ ”" button to move the cursor
to select your setting required option;
4, Press "ENTER" button to confirm the
parameters set.
When you have not exit the setting
interface, press "MENU" button, the screen
will display the last operated option, instead
of displaying the first option.
For example
Set the microphone mode to NORMAL
(quantitative model), operation steps are as
follows:
1, Press the "MENU" key to enter the microphone
mode selection interface in the navigation panel,
while the key lamp was lit once, and LCD screen
has a corresponding display;
2, Press the “ ” or “ ” direction key to move left
or right, each time the direction key “ ” or “ ”
is pressed, the key lamp will be lit at the same
time; select the "MIC MODE" option, press
"ENTER" to confirm, the "ENTER" lamp be lit,
LCD screen displays the menu of microphone
mode settings;
3, Press the “ ” or “ ” direction key to move
cursor left or right, select "NORMAL" (quantitative
model), at the same time the button lamp is lit,
and LCD screen has a corresponding display.
4, Then press "ENTER" to confirm the operation
so as to complete the operation.
You can also directly press the microphone mode
setting key "MODE" on navigate panel to enter
the menu setting. Follow the third and fourth
steps to finish the operation with more
convenience. The operations of other keys on