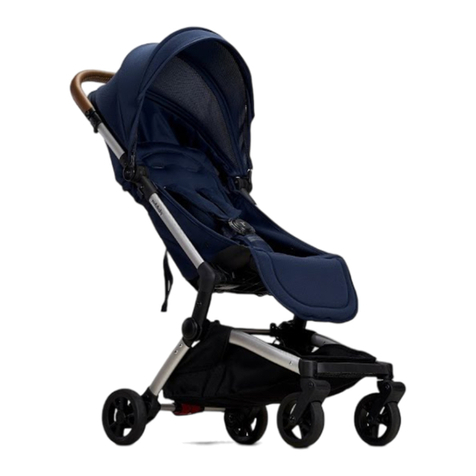
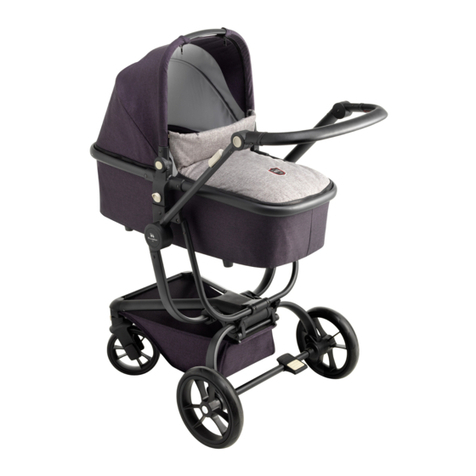
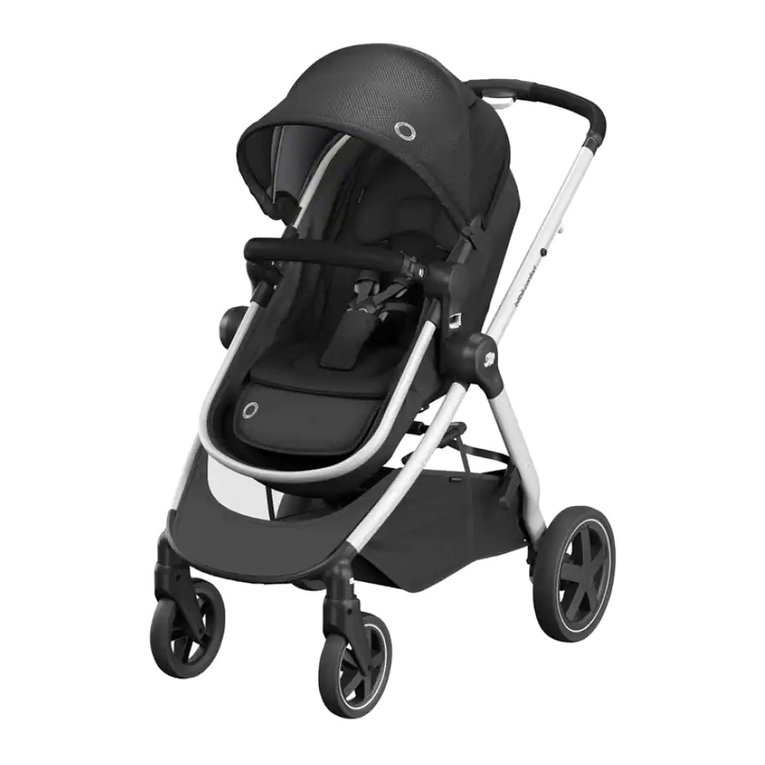
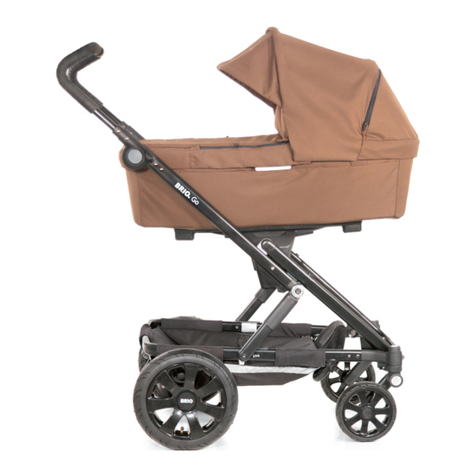
Crescent twist User manual

classic
instruction manual
Read these instructions carefully before use.
Important - Keep these instructions for future use
city
classic
instruction manual
Read these instructions carefully before use.
Important - Keep these instructions for future use
city
twist instruction manual

Product Name: Baby Stroller
Model Name: BP001
BABY STROLLER USER MANUAL
This Product Meet EN1888-1:2018 Standard
Weight and age: up to 15KG or 3 years old
For Safety of baby,before using this product ,please read this user manual carefully
IMPORTANT-READ CAREFULLY AND KEEP FOR FUTURE REFERENCE
twist

VARNING!
WARNING:
• Never leave your child unattended.
• Ensure that all the locking devices are engaged before use.
• To avoid injury ensure that your child is kept away when
unfolding and folding this product.
• Do not let your child play with this product.
• Always use the restraint system.
• Check that the pram body or seat unit attachment devices are
correctly engaged before use.
• This product is not suitable for running or skating.
• Lock the stroller when place and remove the children.
• The max-loading weight for the basket is 5kg.
• Any load attached to the handle and/or on the back of the
backrest and/or on the sides of the vehicle will affect the
stability of the vehicle.
• Do not carry more than one child in this baby stroller.
• Any extra accessories aren’t allowed without the seller’s
permission, only use replacement parts supplied and
approved by the manufacture.
• This vehicle does not replace a cot or a bed. Should your child
need to sleep, then it should be placed in a suitable pram body,
cot or bed.
• Never use this product on a stand.
• Use only on a firm, horizontal level dry surface.
• Not add another mattress on top of the mattress provided or
recommended by the manufacturers.
• The vehicle is suitable up to 22 kg or 4 years whichever comes first.
2
• Denna vagn är utformad för att endast transportera ett barn.
• EN standard : EN1888-1:2018.
• Använd alltid selen när barnet sitter i sittdelen.
• Lämna aldrig ditt barn utan tillsyn.
• Använd inga reservdelar eller tillbehör som inte är godkända av eller levererade av Crescent.
• Lås alltid till bromsen när produkten står stilla
• Använd inte vagnen nära öppen eld eller exponerade lågor.
• Överbelasta inte korgen, maxvikt 5 kg.
• Låt inte ditt barn leka med den här produkten. Låt inte ditt barn produkt eller stå på
den här produkten .
• Eventuell belastning på handtaget påverkar barnvagnens stabilitet.
• För att undvika kvävningsrisk, håll borta från förpackningsplastpåsarna.
• Överdriven vikt eller höjd på barnet påverkar vagnens stabilitet.
• Använd alltid den mest tillbakalutade ställningen för nyfödda barn.
• Se till att alla låsanordningar är inkopplade före användning.
• Förvara inte denna produkt i våt, kall eller hög temperatur.
• Låt inte ditt barn komma nära produkten när du fääler ihop eller fäller upp den.
• Denna produkt är inte lämplig för löpning eller skridskoåkning.

Packing list :
1 PCS Backrest , 1 PCS Bumper bar , 2 PCS rear wheels , 1 PCS frame
What’s in the box
3
vad nns i lådan
Innehåll
1 st ryggstöd , 1 st Bumper bar , 2 st bakhjul , 1 st chassi

Assembly Method
●Pull up the handle bar as arrow showed , there is “click “ voice
after unfold the frame (Figure 1).
●Put the rear wheels into the axle hole until fully plug in (Figure 2).
●Adjust the backrest to the most upright position as (Figure 3).
●Put the seat into joint holder of stroller frame(Figure 4).
4
4
2
①
②
3
1①
②
montering
• Dra upp styret som pilen visar, det hörs ett ”klick” när chassit har fällts upp korrekt
(Figur 1).
• Sätt in bakhjulen i axelhålet tills de är helt anslutna (Figur 2).
• Justera ryggstödet till det mest upprättstående läget som (Figur 3).
• Sätt in sitsen i hållaren på barnvagnsramen (Figur 4).

Instructions
●Put the bumper bar into slot (Figure 5).
●Clench press button on the handle bar to adjust the length of handle
bar (Figure 6).
Adjusting the backrest
●Pull up the backrest button to adjust (Figure 1,2)
5
2
1
6
5
Instructions
●Put the bumper bar into slot (Figure 5).
●Clench press button on the handle bar to adjust the length of handle
bar (Figure 6).
Adjusting the backrest
●Pull up the backrest button to adjust (Figure 1,2)
5
2
1
6
5
användning
• Sätt in bågen i spåret (Figur 5).
• Tryck på knappen på styret för att justera längden på styret (Figur 6).
Justering av ryggstödet
• Dra upp ryggstödsknappen för att justera (Figur 1,2)

Adjusting the footrest
●Press the two buttons on the
footrest to adjust the footrestwith
two hands (Figure 3)
Using the brakes
●Braking downward , Unbraking
upward (Figure 4)
4
3
6
Fitting the seat unit (parent facing and forward facing)
●Pull up the seat release button ,take out the backrest and reverse , then
put the seat into joint holder(Figure 5,6)
Using the harness buckles as ( Figure 7,8)
6
5
8
7
användning
Justering av fotstödet
• Tryck på de två knapparna på fotstödet för
att justera fotstödet med två händer
(Figur 3)
Montering av sittenheten (bakåt och framåtvänd)
• Tryck på sätets frigöringsknapp, ta ut ryggstödet och backa, sätt sedan in sätet i
hållaren (Figur 5,6)
Använda selens spännen som visas (Figur 7,8)
Använder bromsarna
• Bromsa nedåt, släpp bromsen uppåt
(Figur 4)

7
Adjusting the harness system
●According to the height of child to adjust the harness as figure 9,10.
1
2
10
1
2
3
9
●Release harness webbing as Figure 11.
●Tense the harness webbing as Figure 12.
●Adjusting the backrest safety webbing (Figure 13).
●Adjusting the crotch webbing (Figure 14).
12
11
14
13
användning
Justering av selen
• Utifrån barnets längd justera selen som gur 9,10.
• Lossa selens band (gur 11).
• Spänn selens band (gur 12).
• Justering av ryggstödets säkerhetsband (Figur 13).
• Justering av grenbandet (Figur 14).

8
●Open all snap button to take off fabric (Figure 1,2).
●To avoidchild injury accident , please check and maintenance this
product regularly ;
●The fabric can be machine washing (Highest temperature is 30°),Do
not allow the irritant detergent or decolorizer. For other parts , please
use soap and mild detergent .
●Regularly check and inspect if have loose screw or damage parts or
sewing thread breakage .please replace broken parts if necessary.
●When disassembly , please follow the user manual to operate
carefully to avoid unnecessary damage.
2
1
Care and maintance
Fabric disassembly
skötsel och underhåll
demontera klädsel
• Kontrollera och underhåll denna produkt regelbundet för att undvika barnskada.
• Tyget kan tvättas i maskin (högsta temperaturen är 30°), Använd inte tvättmedel
eller avfärgningsmedel. För övriga delar, använd tvål och milt rengöringsmedel.
• Kontrollera och inspektera regelbundet om det nns lösa skruvar eller skadade delar.
Vänligen byt ut trasiga delar vid behov.
• Vid demontering, vänligen följ bruksanvisningen för att använda den noggrant för att
undvika onödig skada.
• Öppna alla tryckknappar för att ta av tyget (Figur 1,2)

a
1
2
3
a
b
c
c
d
e
4
●Pull the second lock button with one
hand , and press the backrest button to
adjust the backrest to the most recline
position .
●Hold the handle bar to adjust to the
lowest position .
●Two hands to press the button on the
footrest , adjust the footrest to lowest
position .
●Hold the handle bar to hit downward
to fold stroller.
e
d
b
9
Folding Method
ihopfällning
• Tryck på den andra låsknappen med en
hand och tryck på ryggstödsknappen för
att justera ryggstödet fullt bakåt.
• Använd två händer för att trycka på
knapparna på fotstödet, justera fotstödet
till lägsta läget.
• Håll i handtaget för att justera till
lägsta positionen.
• Håll i styret skjut det framåt/neråt för
att fälla ihop barnvagnen

WARNING!
WARNING:
• Never leave your child unattended.
• Ensure that all the locking devices are engaged before use.
• To avoid injury ensure that your child is kept away when
unfolding and folding this product.
• Do not let your child play with this product.
• Always use the restraint system.
• Check that the pram body or seat unit attachment devices are
correctly engaged before use.
• This product is not suitable for running or skating.
• Lock the stroller when place and remove the children.
• The max-loading weight for the basket is 5kg.
• Any load attached to the handle and/or on the back of the
backrest and/or on the sides of the vehicle will affect the
stability of the vehicle.
• Do not carry more than one child in this baby stroller.
• Any extra accessories aren’t allowed without the seller’s
permission, only use replacement parts supplied and
approved by the manufacture.
• This vehicle does not replace a cot or a bed. Should your child
need to sleep, then it should be placed in a suitable pram body,
cot or bed.
• Never use this product on a stand.
• Use only on a firm, horizontal level dry surface.
• Not add another mattress on top of the mattress provided or
recommended by the manufacturers.
• The vehicle is suitable up to 22 kg or 4 years whichever comes first.
2
• This stroller is designed to carry up to 1 child only.
• Executive standard : EN1888-1:2018.
• When child is in seat unit always use the restrain system.
• Never leave your child unattended.
• Do not use any replacement parts or accessories not approved by or supplied by Crescent.
• Always apply the brakes whenever the product is stationary
• Do not use the stroller near open res or exposed ames.
• Do not overload the basket, Maximum weight of 5 kg /11 lbs.
• Do not let your child play with this product. Do not allow your product to climb or stand on
this product .
• Any load attached to the handle affects the stability of the pram /pushchair.
• To avoid suffocation hazard, keep away from the packing plastic bags.
• Excessive weight or height of child affects the stability of stroller.
• Always use the most reclined position for new born babies.
• Ensure that all the locking devices are engaged beforeuse.
• Do not storage this product in wet, cold or high temperature environment.
• Do not let your child close to the product when you folding or unfolding.
• This product is not suitable for running or skating.

Packing list :
1 PCS Backrest , 1 PCS Bumper bar , 2 PCS rear wheels , 1 PCS frame
What’s in the box
3
whats in the box
Packing list
1 PCS Backrest , 1 PCS Bumper bar , 2 PCS rear wheels , 1 PCS frame

Assembly Method
●Pull up the handle bar as arrow showed , there is “click “ voice
after unfold the frame (Figure 1).
●Put the rear wheels into the axle hole until fully plug in (Figure 2).
●Adjust the backrest to the most upright position as (Figure 3).
●Put the seat into joint holder of stroller frame(Figure 4).
4
4
2
①
②
3
1①
②
assembly method
• Pull up the handle bar as arrow showed, there is “click “ voice after unfold the frame
(Figure 1).
• Put the rear wheels into the axle hole until fully plug in (Figure 2).
• Adjust the backrest to the most upright position as (Figure 3).
• Put the seat into joint holder of stroller frame(Figure 4).

Instructions
●Put the bumper bar into slot (Figure 5).
●Clench press button on the handle bar to adjust the length of handle
bar (Figure 6).
Adjusting the backrest
●Pull up the backrest button to adjust (Figure 1,2)
5
2
1
6
5
Instructions
●Put the bumper bar into slot (Figure 5).
●Clench press button on the handle bar to adjust the length of handle
bar (Figure 6).
Adjusting the backrest
●Pull up the backrest button to adjust (Figure 1,2)
5
2
1
6
5
instructions
• Put the bumper bar into slot (Figure 5).
• Clench press button on the handle bar to adjust the length of handle bar (Figure 6).
Adjusting the backrest
• Pull up the backrest button to adjust (Figure 1,2)

Adjusting the footrest
●Press the two buttons on the
footrest to adjust the footrestwith
two hands (Figure 3)
Using the brakes
●Braking downward , Unbraking
upward (Figure 4)
4
3
6
Fitting the seat unit (parent facing and forward facing)
●Pull up the seat release button ,take out the backrest and reverse , then
put the seat into joint holder(Figure 5,6)
Using the harness buckles as ( Figure 7,8)
6
5
8
7
instructions
Adjusting the footrest
• Press the two buttons on the footrest to
adjust the footrestwith two hands (Figure
3)
Fitting the seat unit (parent facing and forward facing)
• Pull up the seat release button, take out the backrest and reverse, then put the seat into
joint holder(Figure 5,6)
Using the harness buckles as ( Figure 7,8)
Using the brakes
• Braking downward, Unbraking upward
(Figure 4)

7
Adjusting the harness system
●According to the height of child to adjust the harness as figure 9,10.
1
2
10
1
2
3
9
●Release harness webbing as Figure 11.
●Tense the harness webbing as Figure 12.
●Adjusting the backrest safety webbing (Figure 13).
●Adjusting the crotch webbing (Figure 14).
12
11
14
13
instructions
Adjusting the harness system
• According to the height of child to adjust the harness as gure 9,10.
• Release harness webbing as Figure 11.
• Tense the harness webbing as Figure 12.
• Adjusting the backrest safety webbing (Figure 13).
• Adjusting the crotch webbing (Figure 14).

8
●Open all snap button to take off fabric (Figure 1,2).
●To avoidchild injury accident , please check and maintenance this
product regularly ;
●The fabric can be machine washing (Highest temperature is 30°),Do
not allow the irritant detergent or decolorizer. For other parts , please
use soap and mild detergent .
●Regularly check and inspect if have loose screw or damage parts or
sewing thread breakage .please replace broken parts if necessary.
●When disassembly , please follow the user manual to operate
carefully to avoid unnecessary damage.
2
1
Care and maintance
Fabric disassembly
care and maintenance
fabrics disassembly
• To avoidchild injury accident, please check and maintenance this product regularly.
• The fabric can be machine washing (Highest temperature is 30°),Do not allow the irritant
detergent or decolorizer. For other parts, please use soap and mild detergent .
• Regularly check and inspect if have loose screw or damage parts or sewing thread
breakage .please replace broken parts if necessary.
• When disassembly, please follow the user manual to operate carefully to avoid
unnecessary damage.
• Open all snap button to take off fabric (Figure 1,2)

a
1
2
3
a
b
c
c
d
e
4
●Pull the second lock button with one
hand , and press the backrest button to
adjust the backrest to the most recline
position .
●Hold the handle bar to adjust to the
lowest position .
●Two hands to press the button on the
footrest , adjust the footrest to lowest
position .
●Hold the handle bar to hit downward
to fold stroller.
e
d
b
9
Folding Method
folding method
• Pull the second lock button with one
hand, and press the backrest button to
adjust the backrest to the most recline
position.
• Two hands to press the button on the
footrest, adjust the footrest to lowest
position.
• Hold the handle bar to adjust to the
lowest position.
• Hold the handle bar to hit downward
to fold stroller

Table of contents
Other Crescent Stroller manuals
Crescent
Crescent infinity S User manual
Crescent
Crescent DIVA User manual

Crescent
Crescent compact User manual
Crescent
Crescent Performance User manual
Crescent
Crescent duo lightway User manual
Crescent
Crescent Nordic XT User manual
Crescent
Crescent ultra User manual
Crescent
Crescent classic User manual
Crescent
Crescent trike User manual
Crescent
Crescent Comfort User manual

