manuals.online logo
Brands
  1. Home
  2. •
  3. Brands
  4. •
  5. Crosley
  6. •
  7. Air Conditioner
  8. •
  9. Crosley CATS06A1 User manual

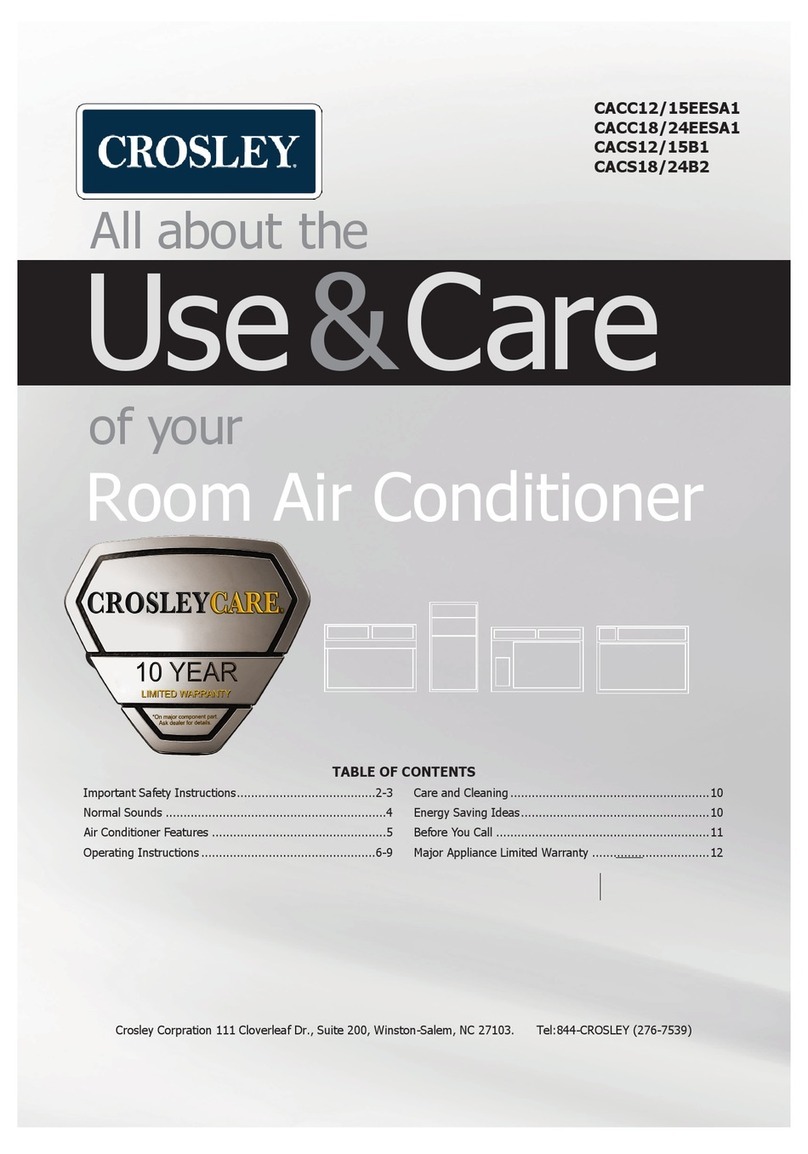
Crosley CATS06A1 User manual

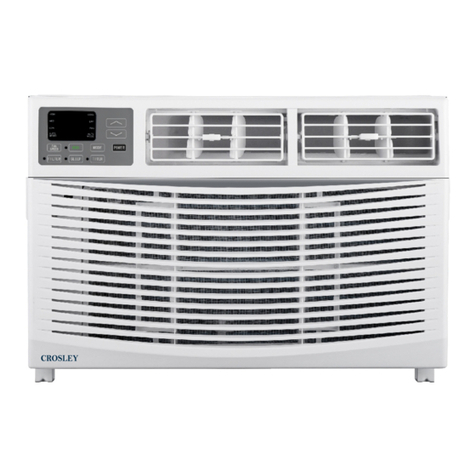
USE & CARE GUIDE
66,000 - 12,000 BTU
Window Air Conditioner
www.crosley.com
TM
Customer Focused. Quality Driven.
CATS06A1 | CATS08A1 | CATS10A1 | CATS12A1
INTRODUCTION
IMPORTANT SAFETYINSTRUCTION ...........................................................................
...................................................................................
PACKING LIST ............................................................................................................
INSTALLATION&ASSEMBLY INSTRUCTIONS ..............................................................
USING YOUR AIR CONDITIONER ................................................................................
........................................................................
CARE AND CLEANING ................................................................................................
TROUBLESHOOTING .................................................................................................
ELECTRICAL REQUIREMENTS
OPERATING YOUR AIR CONDITIONER
1
2
3
4
9
11
12
13
1
2
(6K-8K) 0-8 amps
(10K-12K) 0-12 amps
(6K-8K) 10-amp
(10K-12K) 15-amp
3
4
FIG. 1
FIG. 2
0
8
OFFSET
STOOL
SILL
INTERIOR
WALL
EXTERIOR
WALL
OFFSET
STOOL
SILL
INTERIOR
WALL
EXTERIOR
WALL
5
(Only used for 6K/8K)
6
FIG. 3
3
FIG. 4
FIG. 5
7
(Suggest to keep a downward
oblique, to let accumulated rain water to drain out,
from back side of the unit bottom.)
FIG. 6
FIG. 7
FIG. 8
FIG. 9
FIG. 10
FIG. 11
FIG. 12
FIG. 13
8
FIG. 14
9
1. Without timer setting,the
operation mode is Cooling,Dry, Fan and Auto,and
the set temperature will be displayed.
Time will be displayed under timer setting.
Digital Display:
and Button:2. Use these buttons on the
control panel and remote to increase or decrease
the Set Temperature or Timer.
Temperature range: 61 ~88 or 16 ~31 .
3. Turn the air conditioner on and
off.
Power Button:
Press the mode button to cycle
through the various modes: Cool, Dry, Fan and
Auto.
4. Mode Button:
Use these buttons on the control
panel and remote to set the Timer.
Timer Off: The timed stop is programmed by
pressing TIMER button. Set the rest time by
pressing the button or until the rest
time displayed is to your demand then press
TIMER button again.
Timer On: When the unit is off, press TIMER
button at the first time, set the temperature with
pressing the button or . Press TIMER
button at the second time, set the rest time with
pressing the button or . Press TIMER
button at the third time, confirm the setting, then
the rest time to next automatical switching-on
could be read on the display of the machine.
Note: It can be set to automatically turn off or on in
0.5-24 hours. Each press of the
buttons will increase or decrease the timer. The
Timer can be set in 0.5 hours increment below 10
hours and 1 hour increment for 10 hours or above.
The SET light will turn on while setting.
To cancel the setted function, press the TIMER
button again.
5. Timer Button:
Cool Mode: The cooling function allows the air
conditioner to cool the room and at the same time
reduces Air humidify. Press the MODE button to
activate the cooling function. To optimize the
function of the air conditioner, adjust the
temperature and the speed by pressing the button
indicated.
Dry Mode: This function reduces the humidity of
the air to make the room more comfortable. Press
MODE button to set the DRY mode. An automatic
function of alternating cooling cycles and air fan
is activated.
Fan Mode: The conditioner works in only
ventilation. Press MODE button to set the FAN
mode. With pressing FAN SPEED button the
speed changes in the following sequence: Hi, Med
and Lo in FAN mode. The remote control also
stories the speed that was set in the previous
mode of operation.
Auto Mode: In AUTO mode the unit automatically
chooses the fan speed and the mode of operation
(COOL,DRY or FAN).In this mode the fan speed
and the temperature are set automatically
according to the room temperature (tested by
the temperature sensor which is incorporated
in the indoor unit.).
1
2
3
4
5
6
7
8
9
AUTO
SPEED
AUTO
MODE
10
When the unit is in ECO mode, the
light will turn on. In ECO mode, the unit will
turn-off once the room is cooled to the user set
temperature. The fan will also be off at this point.
The unit will turn back on when the room
temperature rises above the user set temperature.
Before the compressor stars, the fan motor will
keep running 10 minutes-stop 20 seconds-and
again, to provide much more comfortable feeling,
and save the energy.
6. Eco Button:
Press the SLEEP button, the Sleep
Light will be on after 10s, and all the left lights will
be off. In SLEEP mode, the air-conditioner will
automatically adjust the temperature and fan
speed to make the room more comfortable during
the night. The set temperature will automatically
raise by 1 every 30-60 minutes and at most
change six times until the set temperature is 28 .
And every running time depends on the set
temperature.
7. Sleep Button:
Press the FAN SPEED button
to choose the fan speed options. You can choose
Hi, Med, Lo or auto speed in COOL mode and
choose Hi, Med, Lo in FAN mode.
8. Fan Speed Button:
9. When the Filter Check light is off,
it is useless to press the Filter Check button. When
the Filter Check light is on, it can turn off the light
by pressing the Filter Check button. After the
fan motor works for 500 total hours, the Filter
Check light will turn on to remind the user to clean
the filter.
Filter Button:
10. To direct the airflow,
horizontal wheel to control the horizontal direction,
air deflector to control the vertical direction.
Directional Louvers:
horizontal wheelair deflector air deflector
11
Press the SLEEP button, the Sleep
Light will be on after 10s, and all the left
lights will be off. In SLEEP mode, the
air-conditioner will automatically adjust the
temperature and fan speed to make the room
more comfortable during the night. The set
temperature will automatically raise by 1
every 30-60 minutes and at most change six
times until the set temperature is 28 . And
every running time depends on the set
temperature.
4. Sleep:
1. Turn the air conditioner on and off.Power:
2. Press the COOL button to COOL mode.Cool:
and :3. Use these buttons on the control
panel and remote to increase or decrease the
Set Temperature or Timer. Temperature range:
61 ~88 or 16 ~31 .
1
4
5
6
3
3
7
8
10
9
2
When the unit is in ECO mode, the light
will turn on. In ECO mode, the unit will turn-off
once the room is cooled to the user set
temperature. The fan will also be off at this
point. The unit will turn back on when the room
temperature rises above the user set
temperature.Before the compressor stars, the fan
motor will keep running 10 minutes-stop 20
seconds-and again, to provide much more
comfortable feeling, and save the energy.
Press the Fan Only button to FAN
ONLY mode.
9.
10.
Eco:
Fan Only:
Press the FAN SPEED button to
choose the fan speed options. You can choose
Hi, Med, Lo or auto speed in COOL mode and
choose Hi, Med, Lo in FAN mode.
7. Fan Speed:
To press the DISPLAY button, it can
switch off/on all lights or LED display.
8. Display:
Use these buttons on the control panel
and remote to set the Timer.
Timer Off: The timed stop is programmed by
pressing TIMER button. Set the rest time by
pressing the button or until the rest
time displayed is to your demand then press
TIMER button again.
Timer On: When the unit is off, press TIMER
button at the first time, set the temperature with
pressing the button or . Press TIMER
button at the second time, set the rest time with
pressing the button or . Press TIMER
button at the third time, confirm the setting, then
the rest time to next automatical switching-on
could be read on the display of the machine.
Note: It can be set to automatically turn off or on
in 0.5-24 hours. Each press of the
buttons will increase or decrease the timer. The
Timer can be set in 0.5 hours increment below
10 hours and 1 hour increment for 10 hours or
above. The SET light will turn on while setting.
To cancel the setted function, press the TIMER
button again.
5. Timer:
In AUTO mode the unit automatically
chooses the fan speed and the mode of operation
(COOL,DRY or FAN).In this mode the fan speed
and the temperature are set automatically according
to the room temperature (tested by the temperature
sensor which is incorporated in the indoor unit.).
6. Auto Mode:
12
FIG. 15
15
13
14
Your air conditioner is warranted by Crosley. Crosley has authorized CrosleyCare authorized servicers to perform service
under this warranty. Crosley authorizes no one else to change or add to any of these obligations under this warranty.
Any obligations for service and parts under this warranty must be performed by an authorized CrosleyCare servicer. For
one year from your original date of purchase, Crosley will pay all costs for repairing or replacing any parts of this
appliance that prove to be defective in materials or workmanship when such appliance is installed, used and maintained
in accordance with the provided instructions.
From the second to the fifth year from your original purchase date, Crosley will repair or replace any parts in the Sealed
Refrigeration System (compressor, condenser, evaporator and tubing) that proves to be defective in materials or
workmanship. In years 2-5, the consumer will be responsible for diagnostic, labor and parts costs as well as any
removal, transportation and reinstallation expenses which are incurred during service on components other than those
covered under the Sealed Refrigeration System 5-year warranty.
From the sixth to the tenth year from your original purchase date, CrosleyCare will replace the compressor
with a compressor of the same or substantially the same quality as the manufacturer's original when this product is
installed, operated and maintained according to instructions attached to or furnished with the product. Please see
warranty information packed with product or ask the dealer for complete warranty details.
Exclusions – This warranty does not cover the following:
1. Products with original serial numbers that have been removed, altered or cannot be readily determined.
2. Product that has been transferred from its original owner to another party or removed outside the USA.
3. Rust on the interior or exterior of the unit.
4. Products purchased "as-is" are not covered by this warranty.
5. Products used in a commercial setting.
6. Service calls which do not involve malfunction or defects in materials or workmanship, or for appliances not
in ordinary household use or used other than in accordance with the provided instructions.
7. Service calls to correct the installation of your appliance or to instruct you how to use your appliance.
8. Expenses for making the appliance accessible for servicing, such as removal of trim, cupboards, shelves,
etc., which are not a part of the appliance when it is shipped from the factory.
9. Service calls to repair or replace appliance light bulbs, air filters, water filters, other consumables, or knobs,
handles, or other cosmetic parts.
10. Surcharges including, but not limited to, any after hour, weekend, or holiday service calls, tolls, ferry trip
charges, or mileage expense for service calls to remote areas, including the state of Alaska.
11. Damages to the finish of appliance or home incurred during installation, including but not limited to floors,
cabinets, walls, etc.
12. Damages caused by: services performed by unauthorized service companies; use of parts other than
genuine Crosley parts or parts obtained from persons other than authorized service companies; or external
causes such as abuse, misuse, inadequate power supply, accidents, fires, or acts of God.
DISCLAIMER OF IMPLIED WARRANTIES; LIMITATION OF REMEDIES
CUSTOMER'S SOLE AND EXCLUSIVE REMEDY UNDER THIS LIMITED WARRANTY SHALL BE PRODUCT REPAIR OR
REPLACEMENT AS PROVIDED HEREIN. CLAIMS BASED ON IMPLIED WARRANTIES, INCLUDING WARRANTIES OF
MERCHANTABILITY OR FITNESS FOR A PARTICULAR PURPOSE, ARE LIMITED TO ONE YEAR OR THE SHORTEST
PERIOD ALLOWED BY LAW, BUT NOT LESS THAN ONE YEAR. CROSLEY SHALL NOT BE LIABLE FOR
CONSEQUENTIAL OR INCIDENTAL DAMAGES SUCH AS PROPERTY DAMAGE AND INCIDENTAL EXPENSES
RESULTING FROM ANY BREACH OF THIS WRITTEN LIMITED WARRANTY OR ANY IMPLIED WARRANTY. SOME
STATES AND PROVINCES DO NOT ALLOW THE EXCLUSION OR LIMITATION OF INCIDENTAL OR CONSEQUENTIAL
DAMAGES, OR LIMITATIONS ON THE DURATION OF IMPLIED WARRANTIES, SO THESE LIMITATIONS
OR EXCLUSIONS MAY NOT APPLY TO YOU. THIS WRITTEN WARRANTY GIVES YOU SPECIFIC LEGAL RIGHTS.
YOU MAY ALSO HAVE OTHER RIGHTS THAT VARY FROM STATE TO STATE.
If You Need Service
Keep your receipt, delivery slip, or some other appropriate payment record to establish the warranty period
should service be required. If service is performed, it is in your best interest to obtain and keep all receipts.
Service under this warranty must be obtained by contacting CrosleyCare at the addresses or phone numbers below.
This warranty only applies in the USA. Your appliance is warranted by Crosley / CrosleyCare.
Crosley authorizes no person to change or add to any obligations under this warranty. Obligations for service and parts
under this warranty must be performed by CrosleyCare or an authorized service company. Product features or
specifications as described or illustrated are subject to change without notice.
CrosleyCare Service Crosley Corporation
1-844-CROSLEY (276-7539) 1-704-956-2523
3 Sperry Road 952 Copperfield Blvd NE
Fairfield, NJ 07004 Concord, NC 28025

This manual suits for next models

3

Other Crosley Air Conditioner manuals

Crosley CAE10MR410A13 Owner's manual

Crosley

Crosley CAE10MR410A13 Owner's manual

Crosley CATS15A1 User manual

Crosley

Crosley CATS15A1 User manual

Crosley 2020217A1040 User manual

Crosley

Crosley 2020217A1040 User manual

Crosley CA15WYR1 User manual

Crosley

Crosley CA15WYR1 User manual

Crosley CATM05A1 User manual

Crosley

Crosley CATM05A1 User manual

Crosley CAHE25ER12 User manual

Crosley

Crosley CAHE25ER12 User manual

Crosley CTWMHE12B2 User manual

Crosley

Crosley CTWMHE12B2 User manual

Crosley CAE8ESRR410A16 User manual

Crosley

Crosley CAE8ESRR410A16 User manual

Crosley MEDIAN Series User manual

Crosley

Crosley MEDIAN Series User manual

Crosley CAME28B2 User manual

Crosley

Crosley CAME28B2 User manual

Crosley CAHE8ERR410A14 Owner's manual

Crosley

Crosley CAHE8ERR410A14 Owner's manual

Crosley CAE29ERR410A19 User manual

Crosley

Crosley CAE29ERR410A19 User manual

Crosley 2020213A0871 User manual

Crosley

Crosley 2020213A0871 User manual
Crosley 66129901156 User manual

Crosley

Crosley 66129901156 User manual

Crosley CAE5M0 User manual

Crosley

Crosley CAE5M0 User manual

Crosley 2020217A2269 User manual

Crosley

Crosley 2020217A2269 User manual

Crosley 2020215A0585 User manual

Crosley

Crosley 2020215A0585 User manual

Crosley CAE5MR410A22 User manual

Crosley

Crosley CAE5MR410A22 User manual
Crosley CAWE12ERR410A10 User manual

Crosley

Crosley CAWE12ERR410A10 User manual

Crosley CAWE12ER1 User manual

Crosley

Crosley CAWE12ER1 User manual

Crosley CATHE18A2 User manual

Crosley

Crosley CATHE18A2 User manual

Crosley FAC122P1AB User manual

Crosley

Crosley FAC122P1AB User manual
Crosley CAR24CSS2 User manual

Crosley

Crosley CAR24CSS2 User manual

Crosley FFRE2533S21 User manual

Crosley

Crosley FFRE2533S21 User manual

Popular Air Conditioner manuals by other brands

Carrier Fan Coil 42B Installation, operation and maintenance manual

Carrier

Carrier Fan Coil 42B Installation, operation and maintenance manual

Mitsubishi Electric Mr.Slim MSZ-A24NA operating instructions

Mitsubishi Electric

Mitsubishi Electric Mr.Slim MSZ-A24NA operating instructions

Daikin FFQ09Q2VJU Operation manual

Daikin

Daikin FFQ09Q2VJU Operation manual

LG I27TTC owner's manual

LG

LG I27TTC owner's manual

Haier HWF05XC3 user manual

Haier

Haier HWF05XC3 user manual

Celair Profile Series owner's manual

Celair

Celair Profile Series owner's manual

Frigidaire FFPA1422R1 use & care

Frigidaire

Frigidaire FFPA1422R1 use & care

Kaden KCS Series manual

Kaden

Kaden KCS Series manual

Haier AB052MAERA Operation & installation manual

Haier

Haier AB052MAERA Operation & installation manual

Mitsubishi Electric Mr. Slim PUZ-M200YKA2.UK Service manual

Mitsubishi Electric

Mitsubishi Electric Mr. Slim PUZ-M200YKA2.UK Service manual

Carrier 40GJB owner's manual

Carrier

Carrier 40GJB owner's manual

Samsung CH094EAM Service manual

Samsung

Samsung CH094EAM Service manual

Mitsubishi Electric MS-GK36VAT operating instructions

Mitsubishi Electric

Mitsubishi Electric MS-GK36VAT operating instructions

Admiral AW-05CM1FLU use and care manual

Admiral

Admiral AW-05CM1FLU use and care manual

Daikin FTKS40JVLT Service manual

Daikin

Daikin FTKS40JVLT Service manual

Samsung AS07P2GE/XCH Owner's instructions

Samsung

Samsung AS07P2GE/XCH Owner's instructions

ALPATEC AC 12 FIT user manual

ALPATEC

ALPATEC AC 12 FIT user manual

Gree GWH09AB-D3DNA1D/I Service manual

Gree

Gree GWH09AB-D3DNA1D/I Service manual

manuals.online logo
manuals.online logoBrands
  • About & Mission
  • Contact us
  • Privacy Policy
  • Terms and Conditions

Copyright 2025 Manuals.Online. All Rights Reserved.