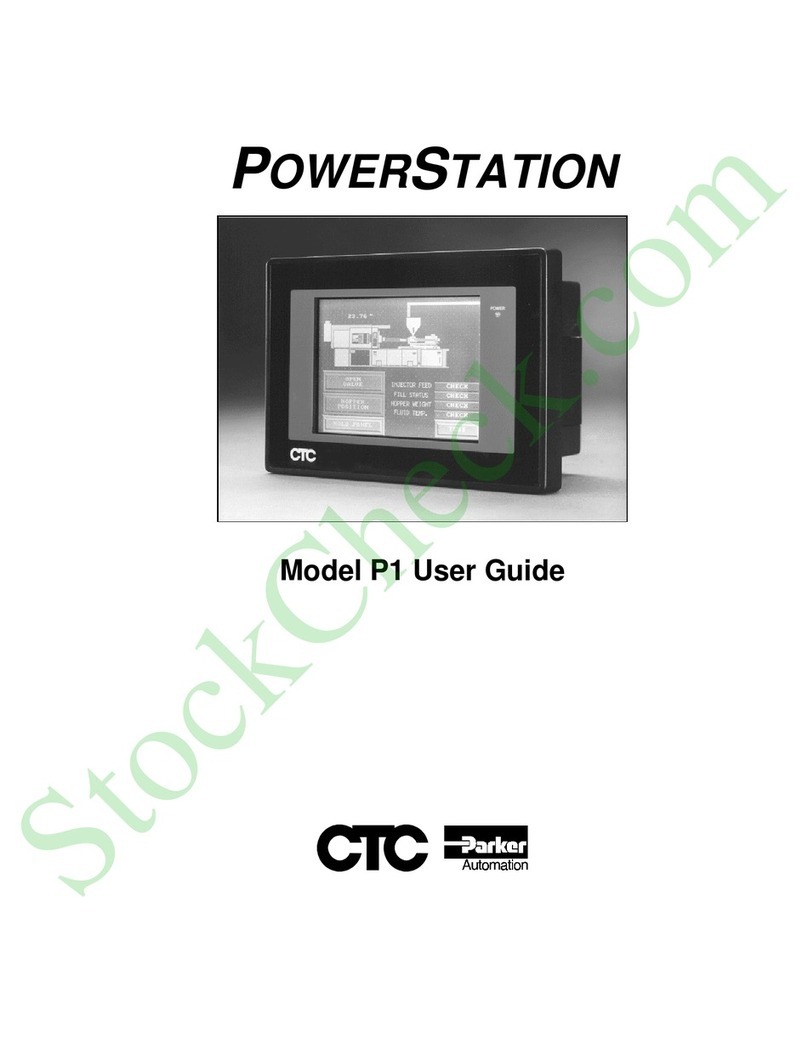
CTC Parker Automation PC/104 User manual

CTC Parker Automation
A3-05741-100
P1 PC/104 Cover Installation
Introduction
The PC/104 backshell expansion covers are designed to protect P1 Power-
Station PC/104 expansion cards (8-bit and 16-bit, +5V, +12V only) and fit
securely on the back of the P1 unit. These coversare strong, vented, plastic
and metal enclosures with detachable slots on the side panels.
There are three available P1 PowerStation PC/104 expansion kits. Each kit
includes an expansion cover with removable side panels, securing screws,
all necessary mounting hardware, and a grounding wrist strap. This docu-
ment provides instructions for installing the single, double, and triple PC/
104 expansion covers to the back of the P1 PowerStation.
Note You can install up to three PC/104 expansion cards on the P1
PowerStation, provided that the cards do not exceed the total
availablepowertotheexpansioncards(+5V@0.75A,+12V@
0.1A). Note that the P1 will only support 8-bit and 16-bit PC/
104 expansion cards
Electrostatic Discharge Precautions
Modern integrated electronic devices, especially CPUs and memory chips,
areextremelysensitivetoelectrostaticdischarges(ESD)andfields.Before
you install a PC/104 expansion cover, be sure to follow these precautions
to protect you and the PowerStation from harm resulting from ESD.
1. To avoid electric shock, always disconnect the power from the
PowerStation before you remove the backshell cover or separate
the backshell from the front panel. Do not touch any components
of the CPU card or other cards while the PowerStation is on.
2. Disconnect power before making any hardware configuration
changes. The sudden rush of power as you connect a jumper or in-
stall a card may damage sensitive electronic components.
3. Only handle internal components in an ESD safe location using
appropriate grounding methods.
• Always ground yourself to remove any static charge before
you touch the CPU card.

P1 PC/104 Cover Installation
2
CTC Parker Automation
• Be particularly careful not to touch the chip connectors.
• Keep the adapter in its anti-static packaging when it is not in-
stalled in the PowerStation, and place it on a static dissipative
mat when you are working on it.
• Wear a grounding wrist strap for continuous protection.
Installing the PC/104 Cover for One Card
Follow these steps to install the expansion cover for a single PC/104 card:
1. Turn off the PowerStation.
2. Disconnect the power source from the PowerStation.
Important The PC/104 expansion cover kit includes an ESD wrist strap.
To prevent static discharge, you must wear this wrist strap, or
an equivalent one, connected to a known earth ground.
3. Copy the PowerStation serial number from the backshell label
onto the label located on the expansion cover.
4. Remove the two fastening screws that secure the original metal
PC/104 protective cover.
5. Install the new silver metallic cover included with the expansion
cover and fasten with two metric 3x5 (M3x5) screws.
metric 3x5 screws
metallic cover
short standoffs

P1 PC/104 Cover Installation
CTC Parker Automation
3
This will expose the PC/104 connector and the two pre-
installed standoffs on the metallic cover.
6. Install the two short standoff screws included with the PC/104
cover kit into the two empty screw holes located at the lower two
corners of the backshell of the P1 unit.
Refer to the preceding diagram for standoff locations.
Note Be careful not to overtighten the standoffs.
7. Install the PC/104 card securely onto the PC/104 connector.
The PC/104 card should rest evenly on the four standoffs.
8. Snap off the detachable plastic slots of the PC/104 side panels, as
needed,for any PC/104cardconnector(s)to show throughtheside
panel(s).
9. Place the new PC/104 expansion cover on the backshell and align
over the PC/104 card. The cover will align with the standoffs in
only one orientation for securing to the backshell; the solid side of
the cover should face the top of the unit
10. Secure the PC/104 cover to the backshell using the four longer,
slotted screws provided with the PC/104 expansion cover kit.
11. Perform any cable connections or further setup required for the
PC/104 card.
The P1 PowerStation with the expansion coveris now ready tobe mounted
back in its enclosure.
Note Access to the Compact Flash (CF) card on the PowerStation is
restricted once the PC/104 expansion cover is installed on the
P1 unit. If you wish to remove or replace the CF card on the
PowerStation, the PC/104 cover may need to be removed.
Installing the PC/104 Cover for Two Cards
Installation of a PC/104 Expansion Cover for two cards is similar to the
installation of the cover for one card, except for a few additional steps.
Follow these steps to install the expansion cover for two cards:
1. Follow Steps 1 through 6 for installing a PC/104 expansion cover
for one card. See the preceding set of instructions.

P1 PC/104 Cover Installation
4
CTC Parker Automation
2. Fasten four of the longer standoff screws to the four corner points
of the first PC/104 card.
3. Install the second PC/104 card securely onto the first PC/104 card
connector.
The second PC/104 card should rest evenly on the longer set
of standoffs.
Note If you are installing a PC/104 card on top of a MachineLogic
Control Adapter, be sure that no metallic parts of the card are
touching the touch relay of the ControlAdapter(metallicboxon
bottom of the card). Otherwise, a short may occur and damage
the MachineLogic Control Adapter.
If you are installing a PC/104 MachineLogic Control Adapter
with a UCS adapter, it must be installed last (top card) in order
for the card to fit properly within the expansion cover.
4. Fasten a second set of the longer standoff screws onto the second
PC/104 card.
5. Remove the detachable metal side panels of the PC/104 cover, as
needed, for the connectors of the PC/104 cards to show through
the side panel.
6. Place the new PC/104 expansion cover on the backshell and align
over the PC/104 card. Make sure the non-detachable side of the
cover is facing the top of the unit.
metric 3x5 screws
long standoffs
metal side panel

P1 PC/104 Cover Installation
CTC Parker Automation
5
7. Secure the PC/104 cover to the backshell using four metric 3x5
(M3x5) screws provided with the PC/104 expansion cover kit.
8. Perform any cable connections or further setup required for the
PC/104 card.
The P1 PowerStation with the expansion coveris now ready tobe mounted
back in its enclosure.
Note Access to the Compact Flash (CF) card on the PowerStation is
restricted once the PC/104 expansion cover is installed on the
P1 unit. If you wish to remove or replace the CF card on the
PowerStation, the PC/104 cover may need to be removed.
Installing the PC/104 Cover for Three Cards
Installation of a PC/104 Expansion Cover for three cards is similar to the
installation of the cover for two cards, except for a few additional steps.
Follow these steps to install the expansion cover for three cards:
1. Follow Steps 1 through 6 for installing a PC/104 expansion cover
for onecard. Seethe first set ofinstructionsatthe beginningof this
document.
2. Follow Steps 2 through 4 for installing a PC/104 expansion cover
for two cards. See the preceding set of instructions.
Refer to the preceding two card installation diagram for a
visual representation of the following installation steps.
3. Install the third PC/104 card securely onto the second PC/104 card
connector.
The third PC/104 card should rest evenly on the longer set of
standoffs.
Note If you are installing a PC/104 card on top of a MachineLogic
Control Adapter, be sure that no metallic parts of the card are
touchingthetouchrelayoftheControlAdapter(metallicboxon
bottom of the card). Otherwise, a short may occur and damage
the MachineLogic Control Adapter.
If you are installing a PC/104 MachineLogic Control Adapter
with a UCS adapter, it must be installed last (top card) in order
for the card to fit properly within the expansion cover.

P1 PC/104 Cover Installation
6
CTC Parker Automation
4. Fasten a third set of the longer standoff screws onto the third PC/
104 card.
5. Remove the detachable metal side panels of the PC/104 cover, as
needed, for the connectors of the PC/104 cards to show through
the side panel.
6. Place the new PC/104 expansion cover on the backshell and align
over the PC/104 card. Make sure the non-detachable side of the
cover is facing the top of the unit.
7. Secure the PC/104 cover to the backshell using four metric 3x5
(M3x5) screws provided with the PC/104 expansion cover kit.
8. Perform any cable connections or further setup required for the
PC/104 card.
The P1 PowerStation with the expansion coveris nowready tobe mounted
back in its enclosure.
Note Access to the Compact Flash (CF) card on the PowerStation is
restricted once the PC/104 expansion cover is installed on the
P1 unit. If you wish to remove or replace the CF card on the
PowerStation, the PC/104 cover may need to be removed.
Table of contents
Other CTC Parker Automation Computer Hardware manuals
Popular Computer Hardware manuals by other brands

Advantech
Advantech MIC-7 Series Startup manual

Connect Tech
Connect Tech FREE FORM/PCI-104 104 user manual

ENERMAX
ENERMAX CLUSTER UCCL12 datasheet

ThingsMatrix
ThingsMatrix TML07 quick start guide

Smacq Technologies
Smacq Technologies PCI-1232 user manual

NXP Semiconductors
NXP Semiconductors PCA9555 Product data sheet