5
General information
Key steps to the perfect roof
Installing your rst roof
Training is always recommended before installing a Cure It GRP roof. Training is available either on-site with a trained and experienced installer
or can be arranged with your distributor. Please contact Cure It technical on 03301 222666 to book onto a training course or contact your
distributor for further details.
Key steps to the perfect roof
After reading this manual please refer to this page. Always remember the following key rules when installing a Cure It GRP roof. These are
areas where mistakes are most commonly made:
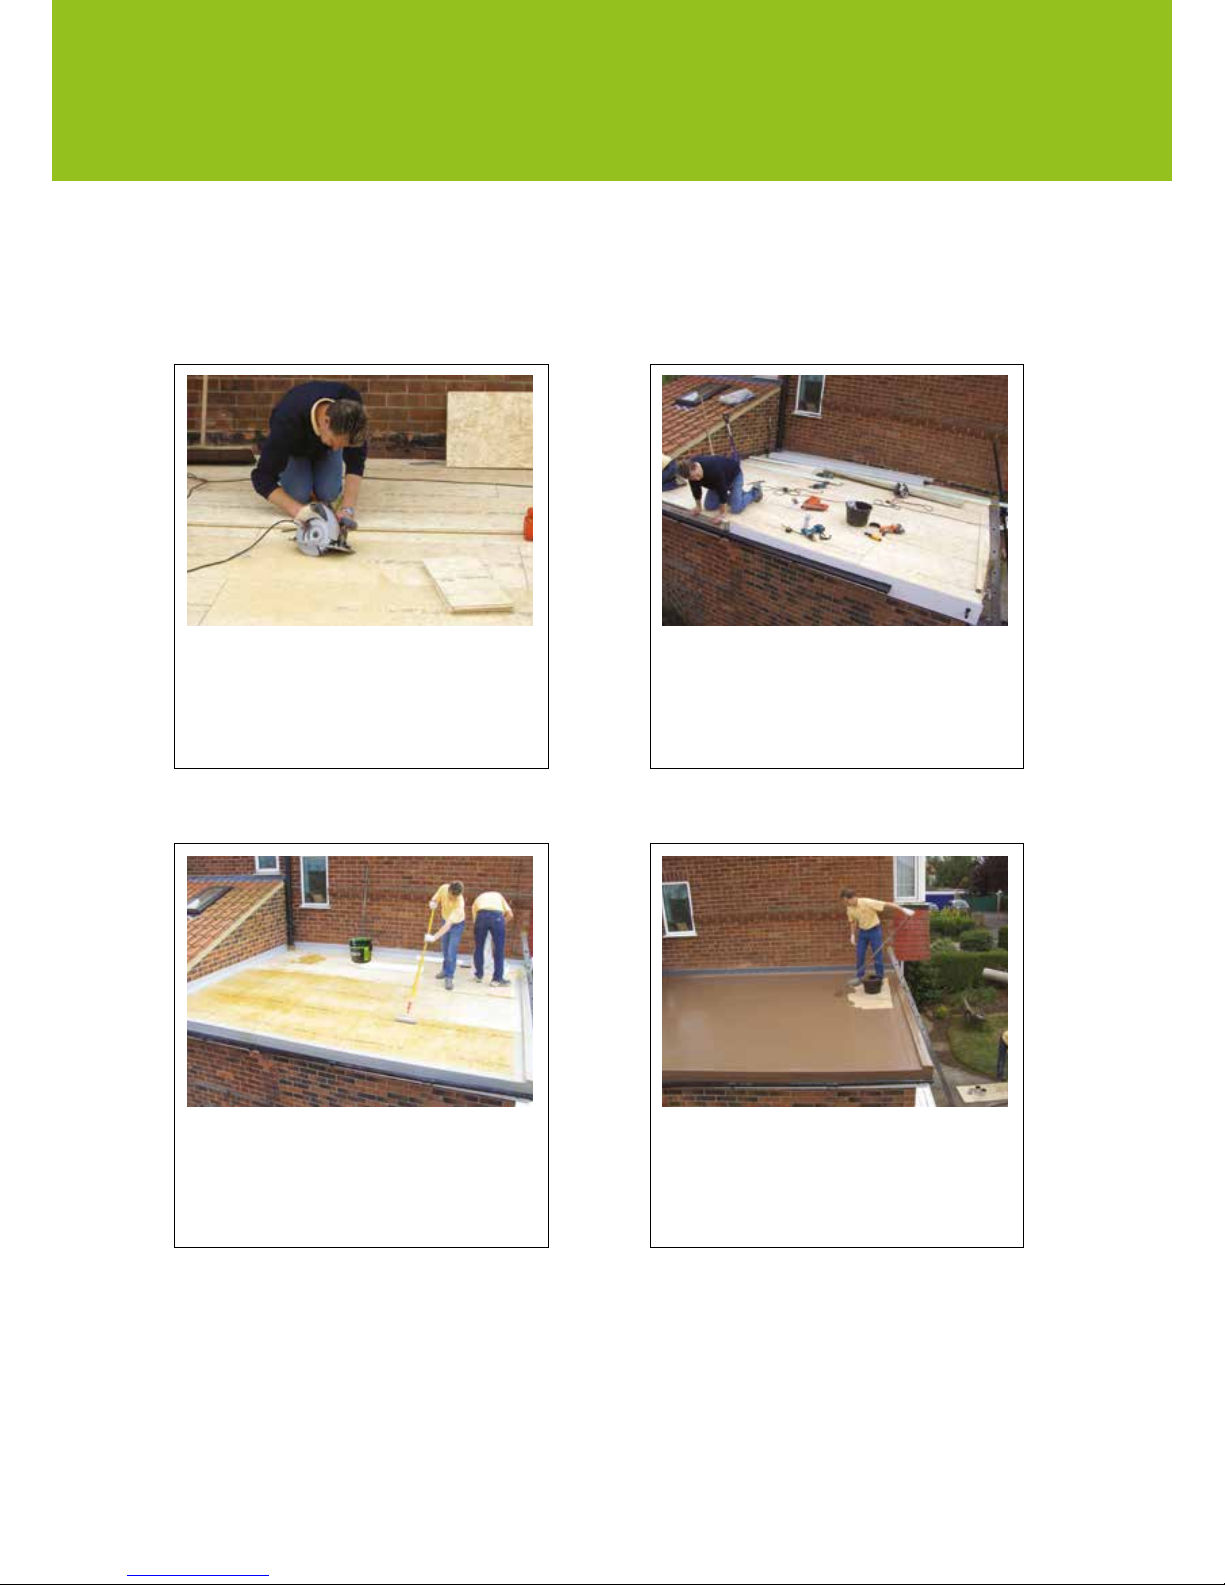
Decking
• When using OSB3 18mm T & G boards always lay the boards with the tongue and groove gap face up (usually writing face up).
• Always stagger the joints.
• Do not use sections of boards less than 400mm.
• Leavea25mmexpansiongapagainstanywalls(thiswillbecoveredbythellettrim/ashing).
• Non T & G boards need to have joints gapped as per the manufacturers instructions then taped (with masking tape)
and bandaged (laminate bandage across the joints).
• For all decking use ring shank nails or screws (nailgun recommended) to penetrate 40mm into the joist at 200mm centres on each joist.
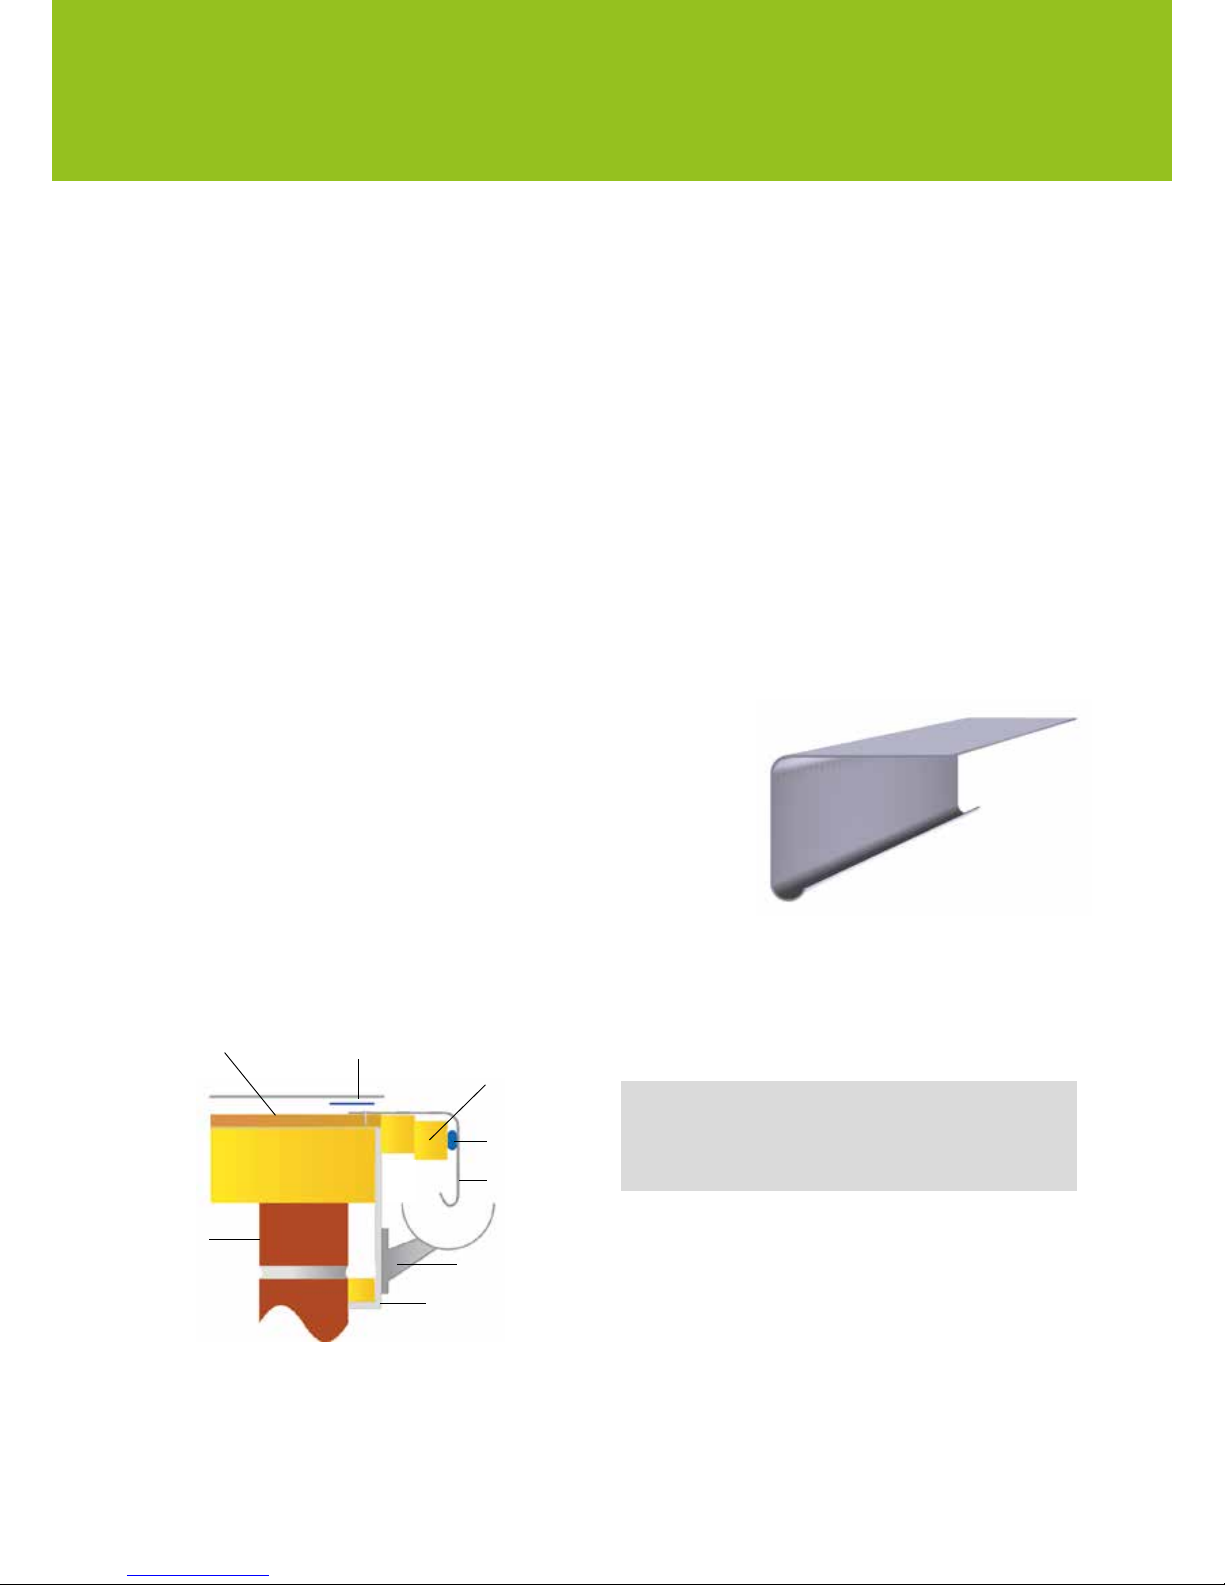
GRP Edge Trims
• WhenxingtheGRPedgetrimsalwaysusetrimadhesivetobondthetrimsaroundtheperimeter.Withouttrimadhesive,thetrims
willpullupontotheroofandaredifculttox.
• GRP edge trims should be used around the entire perimeter of the roof.
• Useanexpansionjoint(E280trim)iftheroofisover100m².
Applying the Cure it Resin/Reinforcement Mat
• Bandage all joints between trim sections and between trim and decking.
• DonotuseCureItroongmaterialsinwetordampconditionsorapplyontoanydampormoistareas.TheyWILLfail.
• Never apply Cure It directly onto brickwork.
• When dealing with a complicated detail that isn’t covered in this guide call the Cure It technical support team (details on back cover).
• When the Cure It Resin and the Reinforcement Mat have been applied, lightly sand the entire area with 40 grit sandpaper before topcoating.
• Alwayshavealargevisqueensheetonsite.IntheeventofrainSTOPandcovertheroofwiththesheet.
• Always stir the resin and topcoat thoroughly in the can before use.
• HardenerisrequiredforboththeResinandTopcoat.
• Always measure the hardener from a safety dispenser. Use suitable protective goggles and gloves when handling the hardener.
• BeforelayingtheReinforcementMat,ensurethattheareahasbeencoatedwithCureItRoongResin.
Do not lay Reinforcement Mat onto a dry deck.
• The laminate should become transparent when consolidated with the paddle roller. Apply more resin if the reinforcement
mat is too dry (still white).
Topcoating/nishing
• Don’t forget to add hardener to the topcoat.
• Apply the topcoat within a day of the laminate.
• Wipe the surface with acetone if it has been left over night.
• Lightly sand the area and acetone wipe if it has been a couple of days.
• Follow the re-topcoating notes on this guide if the roof has been left any longer.
• Donotapplyresinortopcoatontosurfacesabove35C.