Current eFlux User manual

IMPORTANT: Please refer to additional safety warnings on last page.
- eFlux wave pumps create a tremendous amount of water flow. Do not install pump where the
strong current can harm corals or animals.
- Do not install pump too close to the sand bed where it will not stir/suck the sand.
- Pumps can also produce powerful waves in both wave and surge mode. Ensur
e your aquarium is
designed for wave pumps and ensure pumps ar
e mounted low enough not to push water out of the
aquarium.
- Magnet mounting assembly is very powerful. Be cautious not to cause injury to fingers.
- Keep out of reach of children.
- Never place magnets or pump near sensitive electronics, sharp objects or attractive surfaces.
- Never run wave pump dry or out of water.
- Always place spacer between magnets when not in use.
- Always unplug with dry hands for any maintenance or service.
- eFlux wave pumps are 24VDC. Ensure one 24VDC UL® transformer is used per wave pump.
- Ensure 24VDC UL® transformer is plugged into a GFCI approved outlet with a drip loop.
- Turn controller OFF and disconnect pump from power before performing any service
- Ensure eFlux wave pumps and any accessories all have a drip loop installed before plugging into
the wave pump manifold HUB as shown below.
SAVE THESE INSTRUCTIONS
AC Power
GFCI Outlet
24VDC
Power Supply
Wave Pump
LED Display
Wave Pump
Manifold HUB
P1P3 P2
LCK P/S SRE SUR PUL FRE FLO
24VDC
Power Supply
Drip
Loop
Drip
Loop
Ensure use of drip
loop for all cables
Use only with GFCI
Protected AC Outlet
Ensure correct voltage power
supply for each component
Use caution when
installing magnets
Ensure pump location
will not spill water from
wave motion
Ensure use of drip
loop for all cables
Safety Instructions & Warnings 1
What’s Included & Installation 2
eFlux Wave Pump Installation 3
Warranty & Safety Warnings 4
Thank You!
For purchasing our eFlux Wave pump.
Please read all instructions before
getting in the LOOP!
eFlux Accessory Wave Pump
Safety Instructions & Warnings
Table of Contents
Page 1

Step 1. Ensure all components are unpacked, unwrap cords and ensure there is no damage.
Step 2. Choose a mounting location inside the aquarium vertical wall for your pump. Clean location
of any dirt, algae or calcium deposits.
Step 3. Install cable wrapping around
wave pump cable. This protects the pump
cable from triggerfish, urchins and other
animals that may damage pump cable. Place
pump prefilter over pump end.
Step 4. Carefully separate magnet from
pump and place pump into position in tank.
Attach pump to tank using magnet. Swivel
and adjust pump as desired.
Connecting Accessory Wave Pump to Wave Pump Manifold HUB
Step 5. Determine which pump connection port on the Wave Pump Manifold HUB (sold separately)
you wish to plug wave pump into. Wave pump connection ports #1 & #2 are multi-mode flow
controllable. Pump connection port #3 is for wave pumps running in stream mode ONLY (only flow
rate is adjustable).
#1685
Wave Pump
Manifold HUB
(sold separately)
P1P3 P2
Magnet
Attachment
Cable Wrapping
Pump Prefilter
(optional)
Installation - READ SAFETY WARNINGS BEFORE INSTALLATION
Each eFlux Accessory Wave Pump includes:
Item Description Quantity
A eFlux Accessory Wave Pump 1
B Magnet Swivel Bracket Assembly(pre-installed) 1
C 24V DC Transformer, UL® Listed 1
D Wave Pump Prefilter 1
E Pump Cable Wrapping 1
or
C
A
B
D
E
24VDC
NOTE: eFLUX Accessory Wave Pumps are a LOOP Add-on and MUST
be used with an existing LOOP compatible controller and manifold HUB.
Installation Instructions
Table of Contents
Pump #1
Connection
Pump #1
DC Input
Pump #2
DC Input
Pump #3
DC Input
Pump #3
Connection
Pump #2
Connection
Communication
Indicator LED Light
Port #1
Port #2
Port #3
Port #4
Micro USB Ports
Specifications:
Wave Pump DC Inputs:
Voltage: 24VDC
Max. DC Input per channel: 72w@24VDC
Max. DC Output per channel: 60w@24VDC
Pump Connections:
P1=Pump #1 (Primary Wave Pump)
P2=Pump #2 (Secondary Wave Pump)
P3=Pump #3 (Flow Mode Wave Pump Only)
Micro USB Ports:
Port #1= Communications
Port #2= Wave Pump LED Display
Port #3= Communications
Port #4= Communications
Page 2

AC Power
GFCI Outlet
24VDC
Transformer Wave Pump
Manifold HUB
P1P3
Step 6. Plug accessorry wave pump into desired pump connection port on wave pump manifold HUB,
ensuring a drip loop is in place.
Step 7. Plug DC transformer into matching pump DC input on wave pump manifold HUB, ensuring drip
loop is in place.
Step 8. Follow instructions in Orbit IC manual or eFlux wave pump manual to adjust flow mode and flow
rate on wave pump.
Maintenance and Service
** Always turn wave pump OFF and disconnect DC power when servicing. Unplug and disconnect
wave pump from wave pump manifold HUB and disconnect DC power when servicing **
As your wave pumps continually run in your reef aquarium, it is best to ensure they are cleaned every 3-6
months to ensure the pump runs at optimal speed. High levels of calcium and minerals can often create
calcium deposits on the impeller, shortening the lifespan and causing excessive noise and/or lead to
failure.
To clean:
1. Turn power off to pump, disconnect both the wave pump and DC input from the wave pump manifold
HUB.
2. Carefully disassemble the wave pump from the swivel bracket and twisted the front casing of the pump
off the main pump and place in a small container. BE CAREFUL - the impeller is made of ceramic and is
breakable. Orings are all quite small, so ensure to keep all components in the small container.
3. Create a cleaning solution consisting of a 1:1 mixture of freshwater and white vinegar. Pour solution
into container and allow it to soak overnight. (Ensure connection end of pump is kept dry.)
4. Carefully re-assemble pump, rinse under freshwater and re-install into your aquarium.
P2
eFlux Accessory Wave Pump
Installation
Connect to Pump
Connection P1, P2, P3
Connect to Pump
DC Input P1, P2, P3
Page 3

GFCI Outlet
Drip Loop
P1P3 P2
Drip
Loop
DC
Do not install pumps where strong currents can harm animals. Do
not install close to sand bed where it can suck/stir sand.
Pumps can produce powerful wave action in both wave and surge
modes. Ensure your aquarium is designed for wave pumps and
ensure pumps are mounted low enough not to push water out of
the aquarium tank.
Magnet assembly is VERY powerful. Be cautious not to cause
injury to fingers.
Keep magnets and all accessories out of reach of children.
Never place magnets or pump near sensitive electronics, sharp
objects or other attractive surfaces.
Do not run pumps dry or out of water.
Always place spacer between magnets when not in use.
Always unplug with dry hands for maintenance or servicing.
Turn all controllers OFF and disconnect power supply before
performing any service or maintenance.
This product MUST be powered by a UL or ETL listed power supply.
To avoid possible electric shock, power supply MUST be plugged
into a GFCI wall outlet installed by a certified electrician in
accordance with all local codes. All products must have a drip loop.
Accessory Wave Pump
This product MUST be purchased from an authorized Curr
ent-USA
reseller. Visit our website for a list of unauthorized resellers.
Current USA, Inc. warrants this product against defects in
materials and worksmanship for ONE (1) YEAR from the date of
original retail purchase and is none transferable.
Current-USA One Year Limited Warranty
Safety Warnings and Warranty
Page 4
Other manuals for eFlux
2
Other Current Other manuals
Popular Other manuals by other brands
Freecom
Freecom NETWORK STORAGE CENTER datasheet

Dometic
Dometic 8700 Series MasterFlush Operation manuals
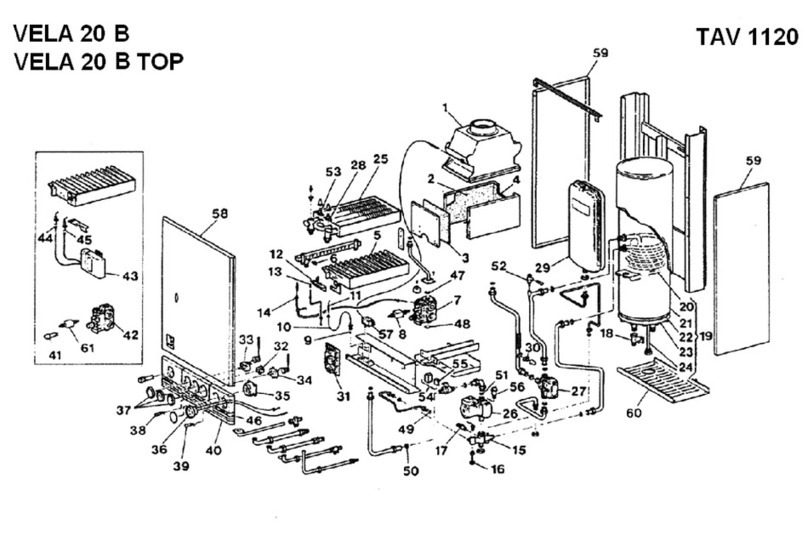
LAMBORGHINI
LAMBORGHINI VELA 20 B - SCHEMA manual

Fishman
Fishman Fluence Bass pickup user guide

System Cleaners
System Cleaners Voyager operating instructions
ReelCraft
ReelCraft 5400 OHP operating instructions
