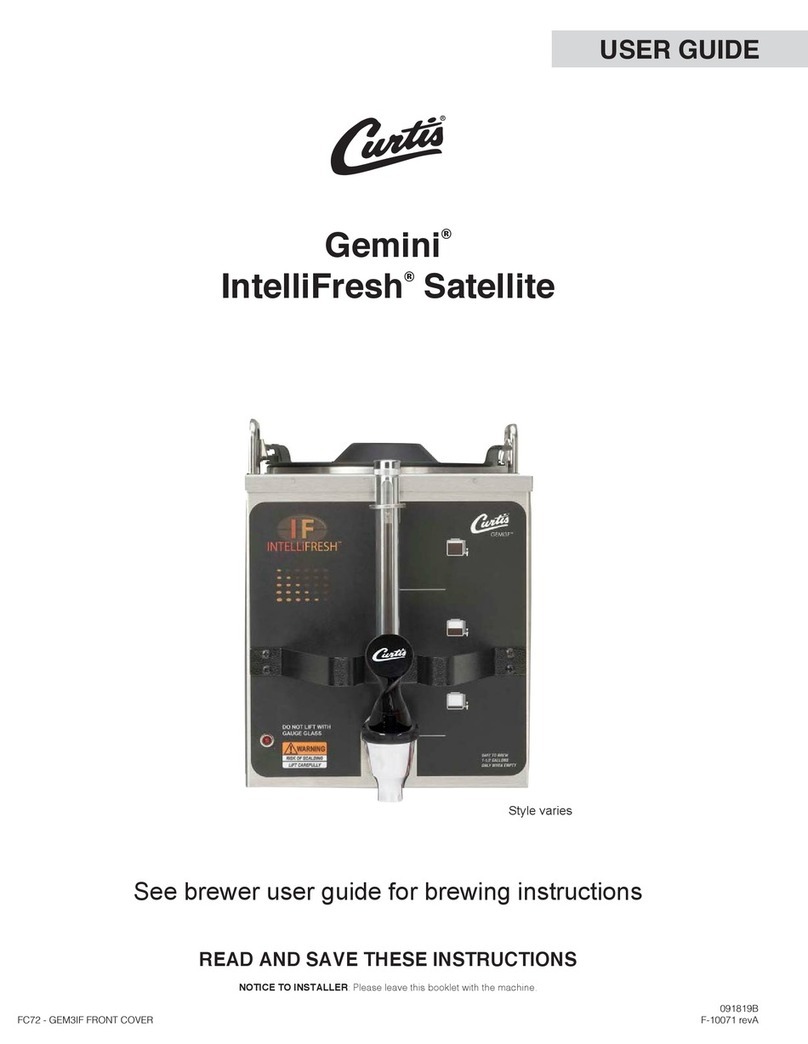
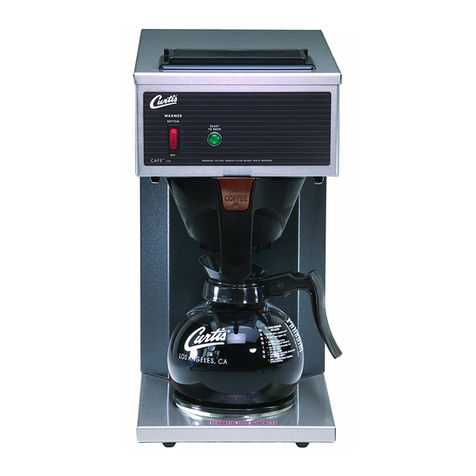
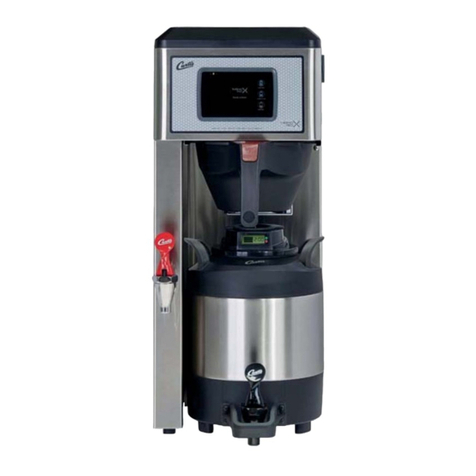
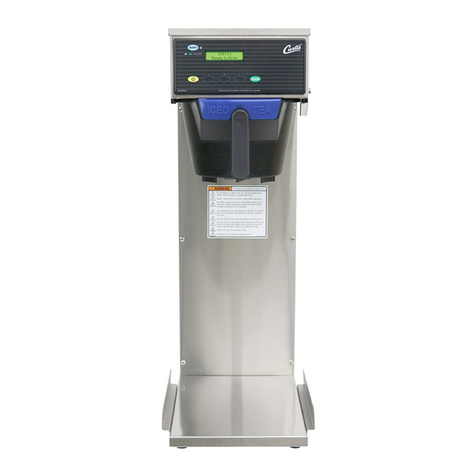
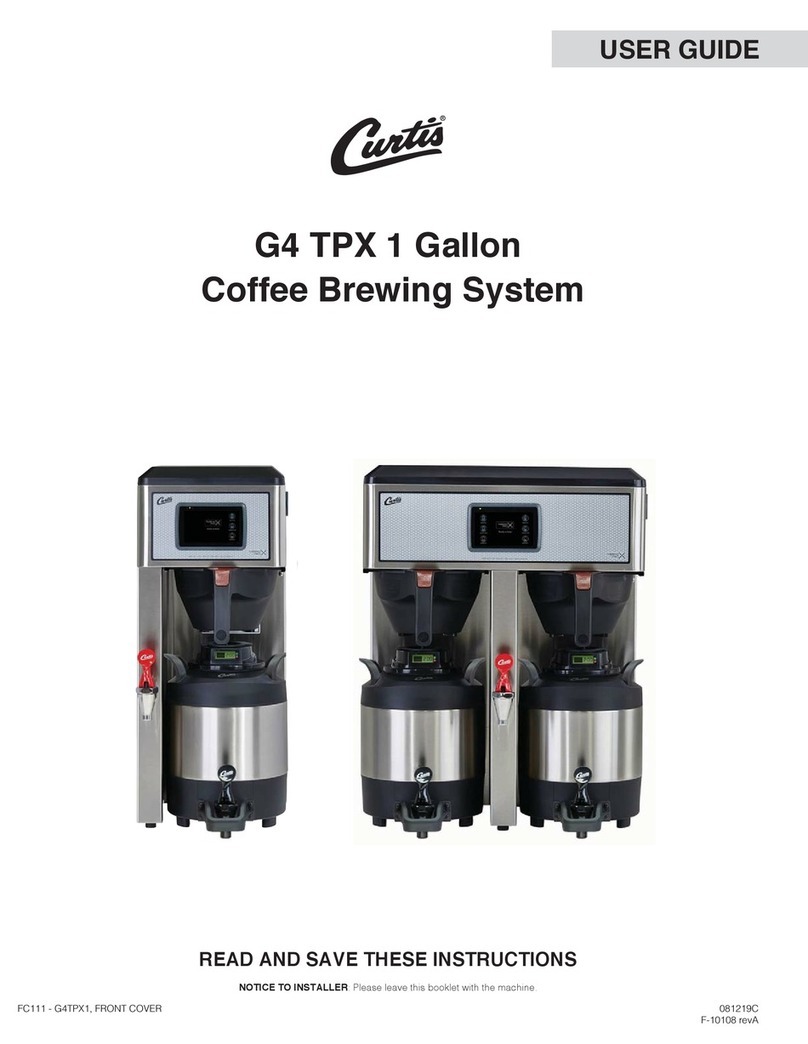
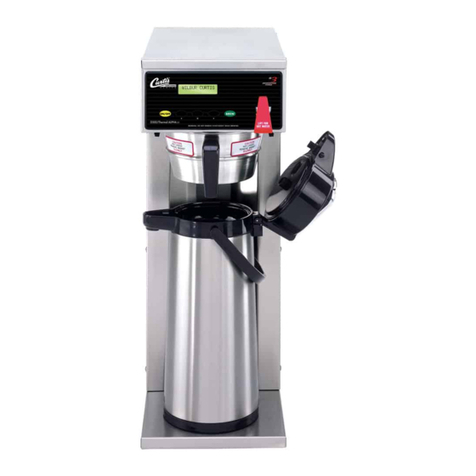
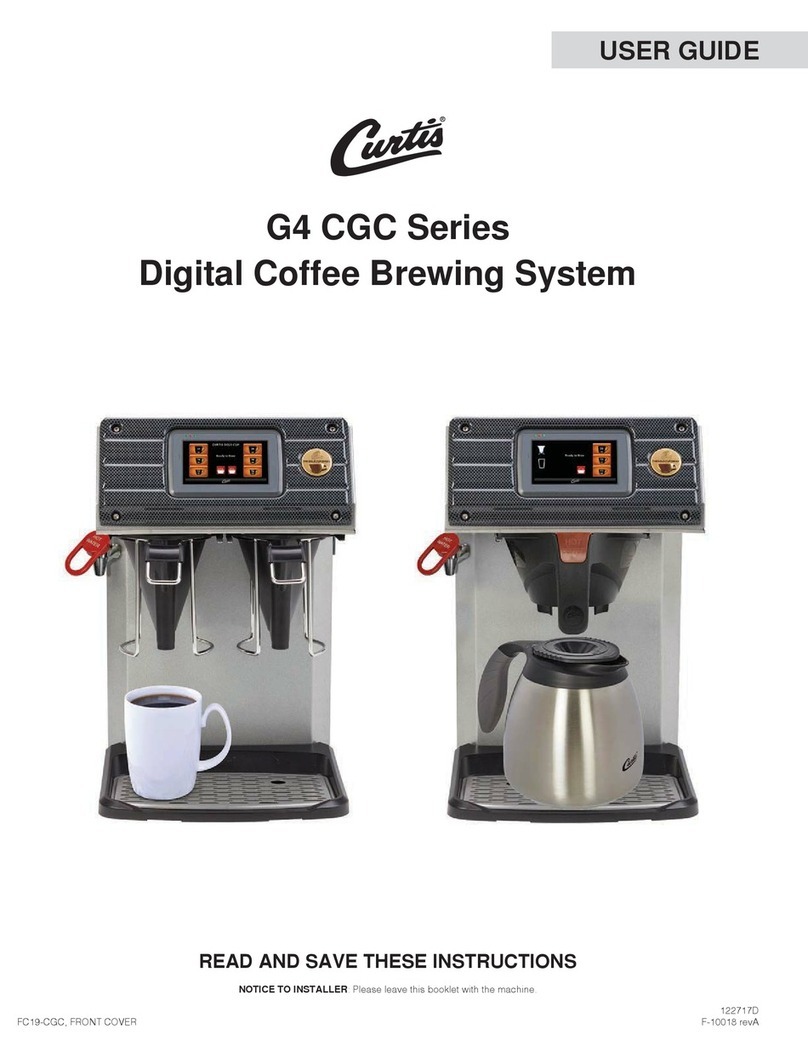
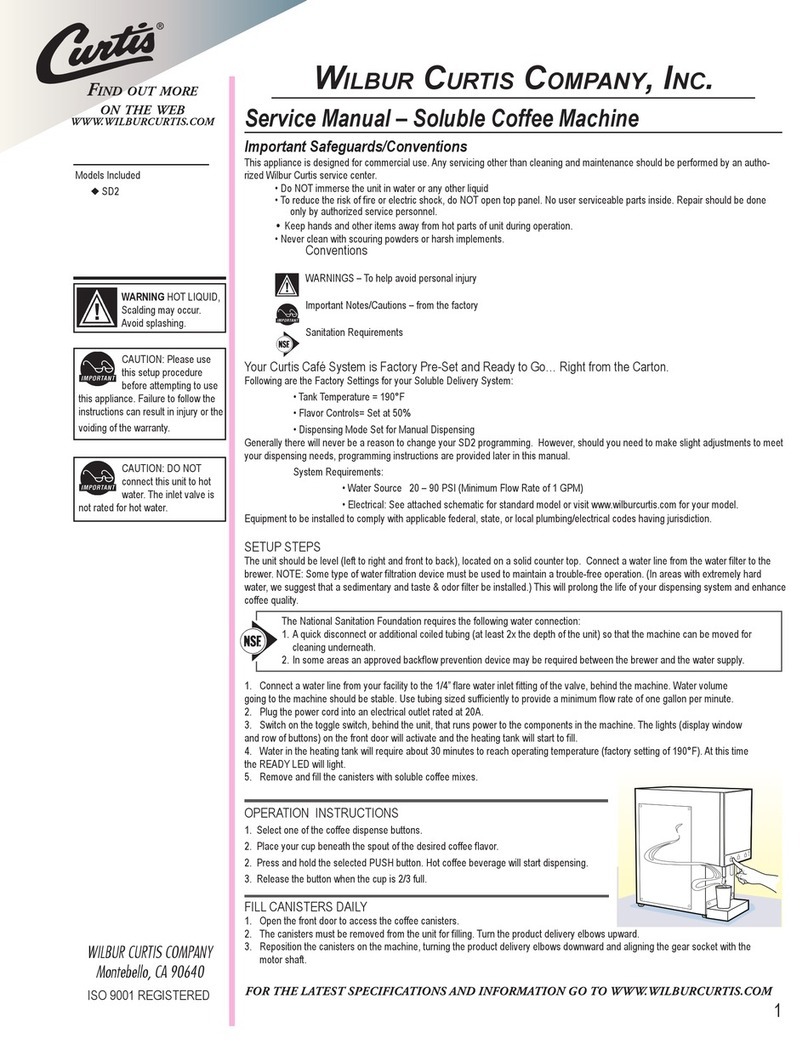
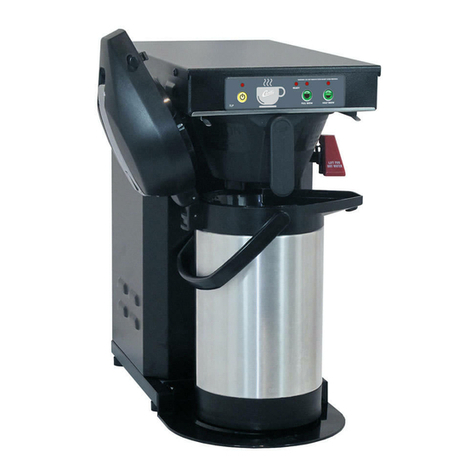
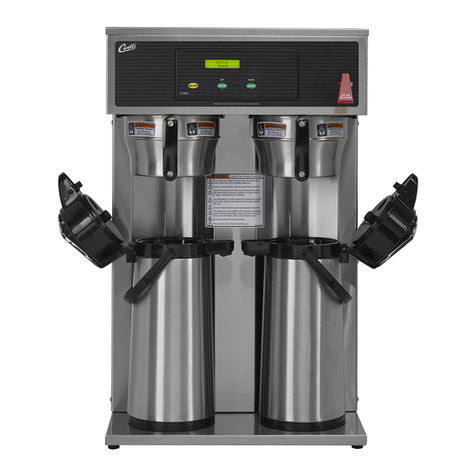
Curtis Thermapro G4 User manual

Curtis Equipment : Brewer + Grinder Resources & General Troubleshooting
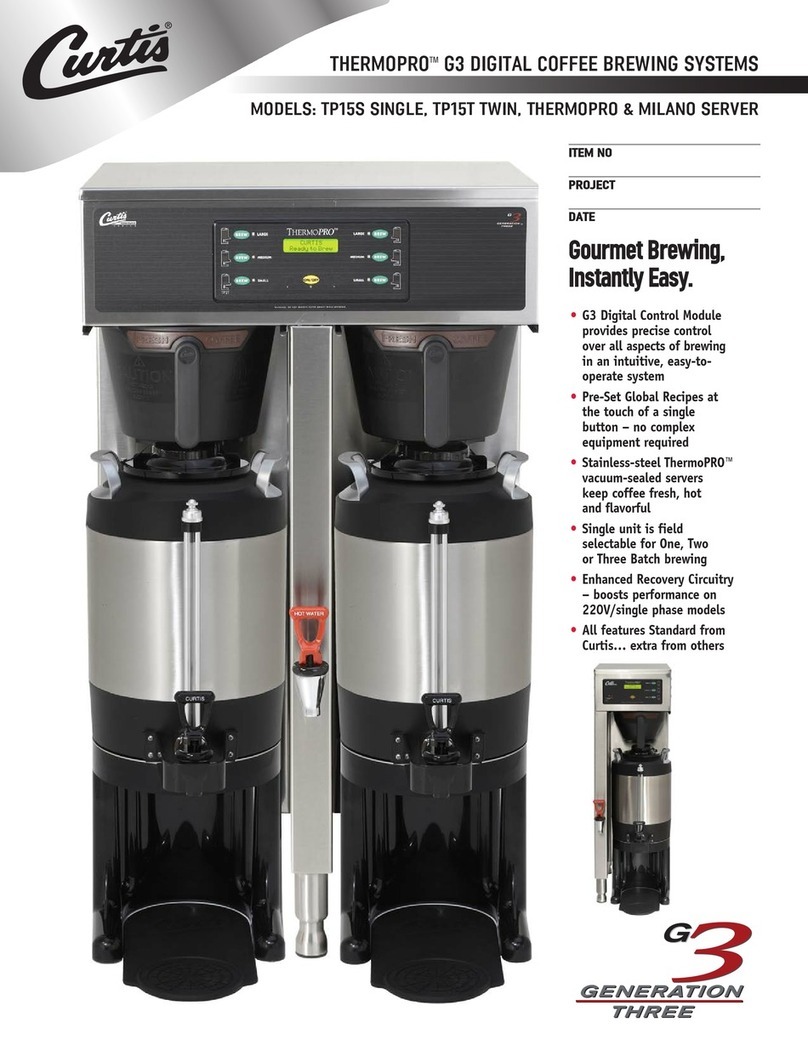
Curtis G4 Thermapro Brewer
Product Page & Brochure
User Manual
Toubleshooting : Using the Diagnostics
1. Enter programming mode by tapping the (white) Curtis logo on the touchscreen 5 times.
2. Enter the access code & press OK (default code is 1234 unless changed by store)
3. The MAIN MENU screen will appear. Press CONTROL SETTINGS.
4. Press DIAGNOSTICS. When prompted, place an empty container under the brew basket, then press OK.
5. Press a button to test the desired circuit, or press AUTO TEST to test all circuits. If a button is highlighted green then the circuit has
passed the electrical test. If the button is highlighted red, further maintenance is likely required.
a. If the circuit test fails, check to make sure that power is being supplied to the component during normal operation. If
power is supplied, and it still does not operate, replace the component. If power is not being supplied, check the wiring.
b. If a valve circuit passes the test, check for a mechanical failure by listening to the valve “click” when the test button is
pressed. To check for a failed pump, run a brew cycle and check for fluid flow through the pump.
Error Messages
Message Display
Description
Likely Cause
Maintenance Required
Warning
Maintenance Required
Brew count “Gallons Since Reset” exceeds programmed PM
period
Low Water Flow Warning
Low Water Flow
The Inlet valve remains on longer than 40 seconds (during
the brew cycle only) and repeats TWICE during that brew
cycle. It should clear upon the next brew cycle and if the
same low-flow exists again, the warning will reappear.
Internal Error 2 Warning
UPM-UCM have a mismatch in their
settings
Firmware update is needed
Water Level Error
Fill run error/Overflow
The water inlet valve has either been open for more than 10
minutes or the initial tank fill has been open for 120 seconds.
Sensor Error
Open sensor
Break in the temperature thermistor circuit or short circuit
Over Temp. Error
Excess temperature
The sensor is reading that the temperature in the heating
tank has risen above 210 F, or the sensor has shorted out.
Internal Error 1
UPM-UCM Communication
Break in the UPM-UCM communication circuit
Configuration Error
UPM software revision does not support
the model selected
The universal power module (UPM) has an old software
version and is not compatible with the brewer model in which
it has been installed

Simple Reset
1. Turn the toggle switch on the back of the brewer to OFF position for 5 seconds, then flip back to ON.
Water Not Hot Enough
1. If the water heats, but is not hot enough, first check for the correct temperature setting on the control panel. Reprogram as
necessary.
2. If the temperature setting is OK, and the actual water temperature does not match the setting on the control panel, replace the
temperature sensor.
Water Heats More Slowly Than Usual
1. Check for power across the terminals of the heating element. If power is being supplied, disconnect the heating element and check
for continuity. Replace a heating element if the resistance is too high (normal resistance is 13 Ohms)
2. If there is no power to the heating element, check the wiring to any element that does not have the proper voltage across it. Also
check for corroded connections anywhere between the power cord and the heating element.
Dispenser Overflows During Brewing
1. Check to make sure the control module (UCM) brew, bypass, and dilution levels are set properly.
2. Check for a missing spray head. Replace as needed.
3. Make sure the dispenser is empty before starting the brew cycle. If not, empty it before brewing.
No Power - Display Not Lit
1. Make sure the circuit breaker to the circuit supplying power to the brewer is not tripped and is turned on.
2. Make sure the main power toggle switch on the back is turned on.
3. Verify that all wires from the power cord are properly connected inside the unit. Check to make sure wires are not
burned/overheated.
4. Check the low voltage input to the universal control module (UCM) from the transformer. If there is power into the UCM, but the
display is blank, the UCM is probably bad.
5. If there is no power into the UCM, trace the circuit back (using the wiring diagram in the manual) to the power cord to find out
where power is lost.
6. If there is power into the thermostat reset switch, but not out, check to make sure that the water tank is not empty. If the tank is
empty, the reset switch has probably opened up due to low water level. Go to “Water Tank Does Not Fill” procedure. If there is water
in the tank, but no power out, push in on the reset switch button to see if it restores power. If power is restored, check to make sure
that the switch is not opening up at the wrong temperature. If there is still no power through the switch after pushing the button,
replace the thermostat reset switch.
Brewer Does Not Start When Brew Button is Pressed
1. If BREWING appears on the display, check for faulty wiring and connections between the universal power module and the valves.
2. If BREWING does not appear on the display, check for a faulty universal control module or universal power module.
Sensor Error Message
1. Check the resistance across the leads of the temperature sensor while it is disconnected from the UPM. If an open curcuit is
measured (resistance above 200 k), replace the sensor.
2. If the sensor resistance is less than 200 k check the sensor wires for corrosion and reconnect them to the UPM. Afterward, if the
error message comes back after resetting the control and power modules, replace the UPM.

Water Tank Overfills
1. Turn the toggle switch on the back of the brewer ON and OFF. If water continues to flow when the switch is in both positions, replace
the inlet valve.
2. If water stops flowing to the water tank when the switch is turned OFF and continues when the switch is turned back ON, remove the
orange wire from the water probe on the tank. While power is ON, short the end of the orange wire to the metal surface on the
outside of the tank. If the water tank stops filling when the orange wire is shorted, check for a corroded connection to the water
probe.
3. If water does not stop flowing when the orange wire is shorted, check the tank ground connection and the continuity of the orange
wire connecting to the UPM. If both are OK, replace the UPM.
Water Tank Does Not Fill
Note : No water or low water in the tank can cause the tank to overheat, resulting in the thermostat reset switch opening. If after connecting a
tank refill problem there is still no power to the control panel, reset the machine.
1. Check to make sure the water supply is turned on. Check for a plugged water supply line or plugged inlet valve.
2. If there are no plugs, check for power across the inlet valve terminals. If power is being supplied, but there is no water flow, replace
the inlet valve.
3. If power is not being supplied, check the wires between the UPM and inlet valve. Check for corroded connections.
4. If the wiring between the UPM and the inlet valve is OK, but there is no power to the inlet valve, remove the orange wire from the
water tank probe. If the water tank starts to fill, replace the water probe. If the water tank does not start to fill, replace the UPM.
Water Level Error Message
1. Check to make sure that the flow rate from the water supply line meets the minimum flow rate specifications for the brewer. Check
water pressure.
2. Check for blockage at the inlet valve or outlet. Check for blockage in the tubing between the inlet valve and the water tank.
3. Check the water probe wire for an open condition or corroded connection.
4. If the probe connections are OK, cycle power to the unit by turning the rear toggle switch OFF, then back ON. Check to see if power
is applied to the inlet valve terminals. If power is applied to the terminals, but there is not a water flow, replace the inlet valve.
5. Check for power from the UPM to the inlet valve. If the wiring is OK, replace the UPM.
“Internal Error 1” Message
1. Check the wiring harness that connects from pins 4,9, and 11 of the 14 pin connector on the UPM to pins 2, 3, and 6 of the 8-pin
connector to the UCM.
“Internal Error 2” Message
1. The UPM and the UCM have a mismatch in their settings. A firmware update is needed. Refer to manual.
Calibration / Programming / Dial-In
1. Tap the white Curtis logo on the touch screen 5 times to enter programming mode.
2. The ACCESS CODE screen will appear. The default passcode is 1, 2, 3, 4 and once the code is entered press OK. The MAIN MENU
screen will appear. (The access code can be reset in the control settings sub-menu, under Passwords)
3. Open the CONTROL SETTINGS menu on the touchscreen. Press DIAGNOSTICS to run a system auto-test.
4. Press the TEMPERATURE menu. Make sure brewers are set to 200° F.
5. Next check WARMER SETTINGS and confirm with General Manager whether they would like to set an Auto-OFF (options for 1-12
hours).
6. Touch QUALITY TIMER and adjust to 2 hours.
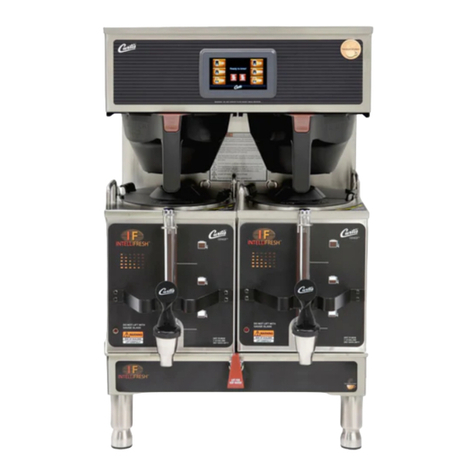
7. Open the BREW SETTINGS menu on the touchscreen. When you first enter the BREW SETTINGS programming menu, you will be
prompted to select a BREW button to change the settings for. To program more than one BREW button, finish programming the first,
then reenter the BREW SETTINGS menu to program the second.
8. Choose BREW BY VOLUME. Make sure a loaded brew basket with 240 g of Tupelo Honey Blend is secured in the brewer and an
empty airport is underneath. Press START to begin. When the desired volume is reached, press STOP. The brew volume is now set.
Repeat to create a half batch setting. Repeat again for decaf.
9. Choose PULSE BREW settings. Make sure Tupelo Honey Blend is set to C while Tupelo Honey Decaf is set to B.
10. Once satisfied with dial-in, press EXIT. All settings will be saved.
Curtis Twin Coee Grinder
Product Page & Brochure
User Manual
Adjusting the Timer
1. Place a paper filter on top of a scale beneath the grinder spout.
2. Turn o the unit with the ON/OFF button on the front of the grinder.
3. Press and hold the LARGE grind button.
4. Press and release the ON/OFF button while continuing to hold the grind
button.
5. In the red window, the programmed grind time for the button pressed
will appear in seconds. Continue to hold the grind button and the time
digits will start at 00 and continue to increase. Release the button to set
the new time. The TIMER SETTINGS table (below) can be used to estimate
the amount of ground coee that will result from each setting.
6. Wait for the motor to completely stop (~10 seconds).
7. To set and exit, press and release any other grind button.
8. Repeat the above steps to reprogram any of the other grind buttons.
Grinder Adjustment Procedure
1. Remove coee beans from the hopper.
2. Run the grinder to clear the grinding burrs of remaining coee.
3. Disconnect the power cord.
4. Remove the front cover.
5. Locate the adjusting screw and lock nut on the front of the grinder motor. Loosen the lock nut.
6. Run the motor during adjustment, turning the adjustment screw clockwise will result in a finer grind. If you hear the grinding burrs
starting to touch, immediately back o at least a ⅛ turn. Turning the screw counter-clockwise will result in a coarser grind.
7. To lock in the setting, hold the adjustment screw in place with a screwdriver and tighten the lock nut.
8. Grind some coee beans to determine if the desired fineness/coarseness has been achieved.
9. Disconnect the power cord and replace the front cover.
Replacing a Broken Shear Disk
1. Remove the beans from the hopper.
2. Disconnect the power cord.

3. Remove the front cover.
4. On the grind motor assembly, take out the two thumb screws and remove the housing cover.
5. Pull out the grinding burr/feed worm assembly. The inner half of the grinding burrs will remain within the housing.
6. Separate the shear cap and shear drive. The broken shear disk should fall out from the slot on the drive.
7. Inspect the housing and clean out any coee or debris. Look for something that could have gotten caught inside the housing that
would have caused the shear disk to break.
8. Re-insert the feed worm and grinding burr on the motor shaft.
9. Push the shear drive through the burr/feed worm assembly and align the larger slot with the tongue on the motor shaft.
10. Rotate the burr/feed worm assembly to align the slot with the narrow slot on the shear drive.
11. Slip a new shear disk into the slot. Cover it with the shear cap.
12. Replace the grind cap and thumb screws. Replace the front cover. Reconnect the power cord.
Grinder Does Not Grind Coee - None of the Motors Run
1. Check to make sure that the power cord is connected and the circuit breaker connected to the electrical outlet is not o or tripped.
Check to make sure the ON/OFF button on the front of the unit is activated.
2. Check the circuit breaker on the back of the unit. Push in on the button to reset. If the button pops back out, check the electrical
shorts inside the unit, for example, a shorted motor.
3. Check to see if any of the buttons are working. If some of the buttons work, but others do not, jump below to “Only Some Buttons
Work.”
Grinder Does Not Grind Coee On One Side - Other Side Still Runs
1. Disconnect power and check to make sure the funnel feeding beans into the grinder on the side that is not working is not
clogged/jammed.
2. Check to see if the gear motor is getting power. If yes, the gear motor is bad.
3. Check the gear motor wiring, then check to make sure that the control board is supplying power to the gear motor. If not, the
control board is bad.
Grinder Does Not Grind Coee - Motor Still Runs
1. Disconnect power and check to make sure the funnels feeding beans into the grinder on both sides are not clogged.
2. Check for a broken shear disk on the grinder motor assembly.
Only Some Buttons Work
1. Disconnect the membrane switch panel from the control board. Use a multi-meter to check the button that has no eect when
pressed. If the button functions normally, but the unit does not function when it is pressed, the control board may be bad.
Coee Too Coarse or Too Fine
1. Disconnect the power and check to make sure the grinder motor housing cover is on straight and properly seated.
2. Try adjusting the grinding burrs. If adjusting the burrs does not work, the grinding burrs may be worn and require replacement.
Grinder Shuts O Before Brew Basket is Filled
1. To adjust the volume of coee ground, adjust the timer.
Other Curtis Coffee Maker manuals

Curtis
Curtis PC-3GT User manual

Curtis
Curtis RU-150-20 User manual

Curtis
Curtis D1000GT12A000 User manual

Curtis
Curtis G4 CGC Series User manual

Curtis
Curtis PCGT3 User manual

Curtis
Curtis CAFEPC2CS10000 User manual

Curtis
Curtis G4GEMXSIFT30 User manual

Curtis
Curtis C500AP User manual

Curtis
Curtis Alpha 1D User manual

Curtis
Curtis C1000AP User manual

Curtis
Curtis EXPR User manual

Curtis
Curtis D60GT User manual

Curtis
Curtis ALP1GT Instruction Manual

Curtis
Curtis TLCG1509S User manual

Curtis
Curtis ALPHA 1GT User manual

Curtis
Curtis TPC15T User manual

Curtis
Curtis G3 GEMX IntelliFresh FreshTrac GEMXSIFT... User manual

Curtis
Curtis CGC User manual

Curtis
Curtis RU Series User manual

Curtis
Curtis FreshTrac TFT64 User manual