Page 1
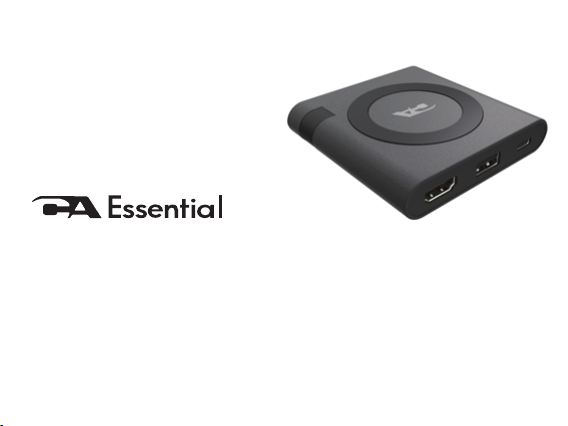
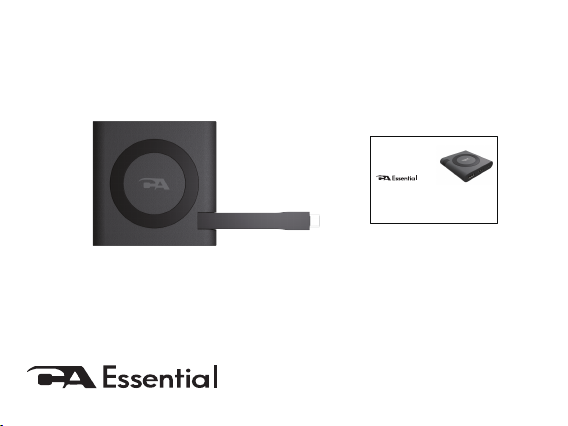
Using CA Essential Micro Docking Station
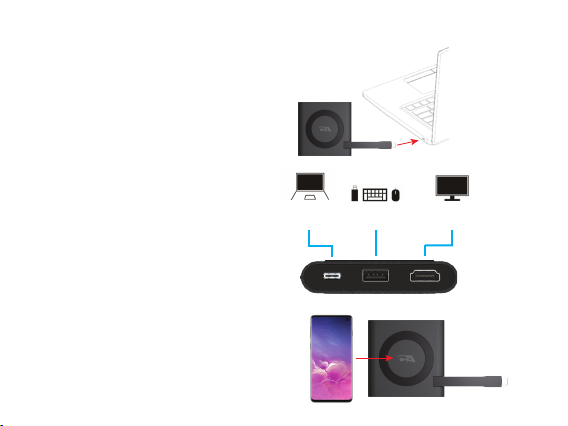
- The CA Essential Micro Docking Station will get its power when connected to the Laptop’s
USB Type C port. The functionality will vary based on the power available from the
Laptop’s USB Type C port.
- Power available for attached peripherals and wireless charging are dependent on the
power supplied by your Laptop’s USB Type C port. The USB Type C port on your laptop
may support either 7.5W or 15W. If the power supplied is 15W then all the functions of the
CA Essential Micro Docking Station can be used simultaneously. If the power supplied is
7.5W NOT all functions of the CA Essential Micro Docking Station can be used simultane-
ously.
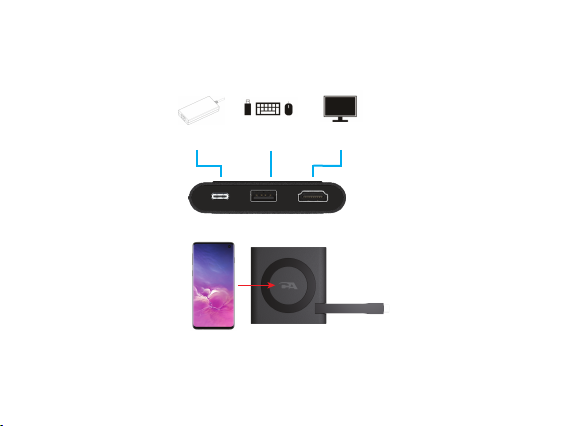
- The 7.5W power supplied by the Laptop’s USB Type C port will not allow the Qi Wireless
Charger, USB Type A port, USB Type C port and the HDMI port to be used simultaneously.
On these Laptops the Qi Wireless Charger will be disabled when the USB Type A port and
USB Type C port are being used.
- If the power supplied by the Laptop’s USB Type C port is 7.5W a USB Type C 15W Power
Adapter purchased separately will be necessary to power the CA Essential Micro Docking
Station to allow the Qi Wireless Charger, USB Type A port, USB Type C port and the HDMI
port to be used simultaneously.
Note: USB Type C 15W Power Adapter and Cable available at www.cyberacoustics.com