10
Port Multiplier:
In Port Multiplier (PM) mode, you can run up to 15 drives from a single
SATA port via a PM cable. In a PM setup, the drives connected to the
PM cable will function as a JBOD system.
Note: Separate power is required for the drives in a PM setup. All
the drives will share the same SATA speed, so they will be unable
to attain the maximum rate.
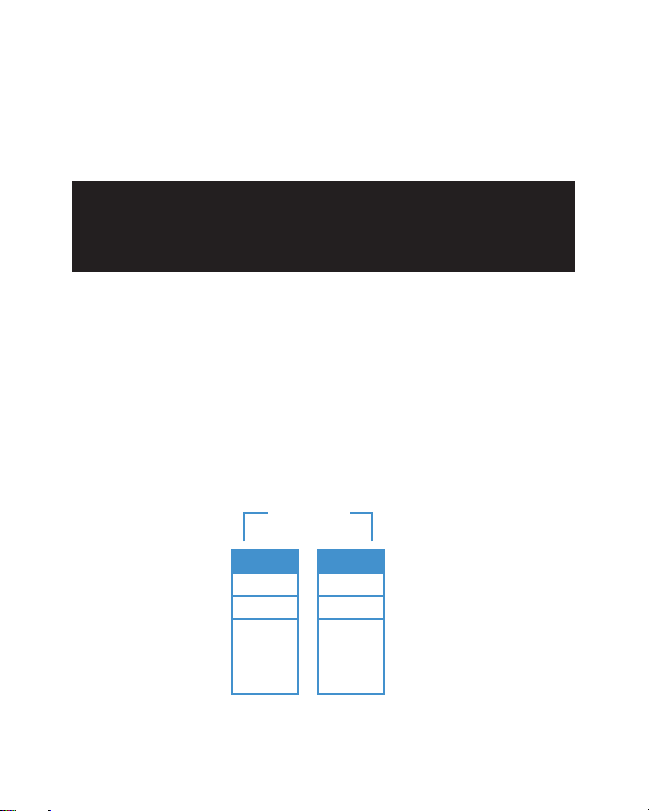
Configuring the RAID Mode
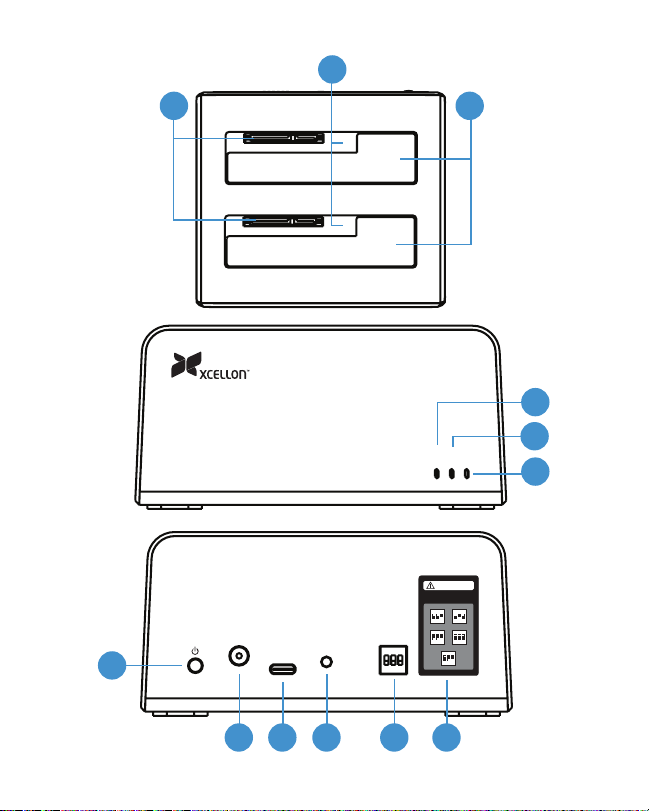
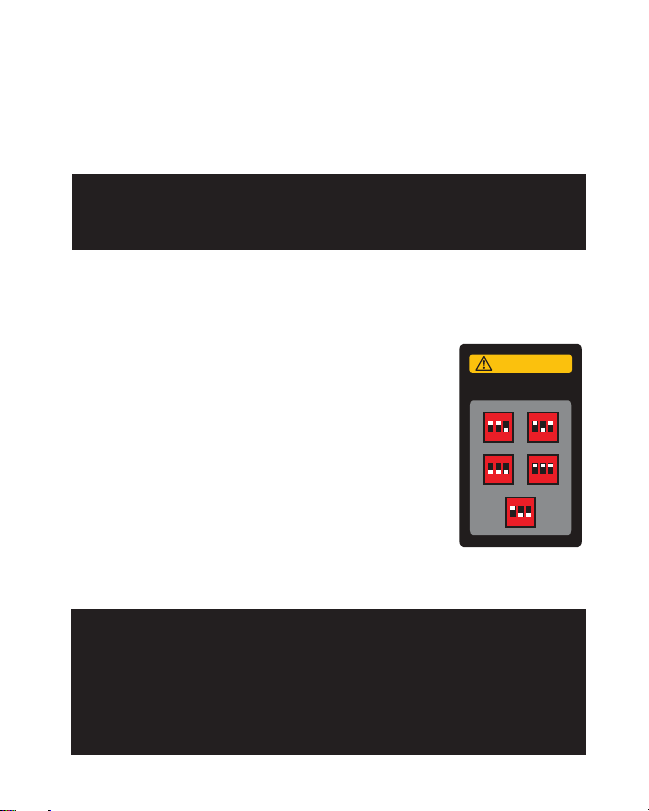
RAID modes are configured via the switches on the back of the dock.
To configure the RAID mode, follow these steps:
1. With both drives installed into the dock,
set the RAID mode switches to the desired
configuration as shown in the table to the right.
2. Press and hold the Set button for ten seconds.
This will start the RAID setup procedure, during
which the HD status LEDs will blink purple
intermittently.
3. After ten seconds, let go of the Set button. At
this point, the LEDs will have stopped blinking,
and your computer will have recognized your
drives in the new RAID mode.
Note: If your disks are formatted, then you will not need to reformat
them after reconfiguring the RAID mode, but you will lose your data. You
may need to initialize your disk drives after configuring the RAID mode.
If your computer does not recognize your disks after reconfiguring
the RAID mode, try rebooting the dock or your computer. For more
information, refer to Troubleshooting on page 16.
WARNING
Back up all data before
changing the RAID mode
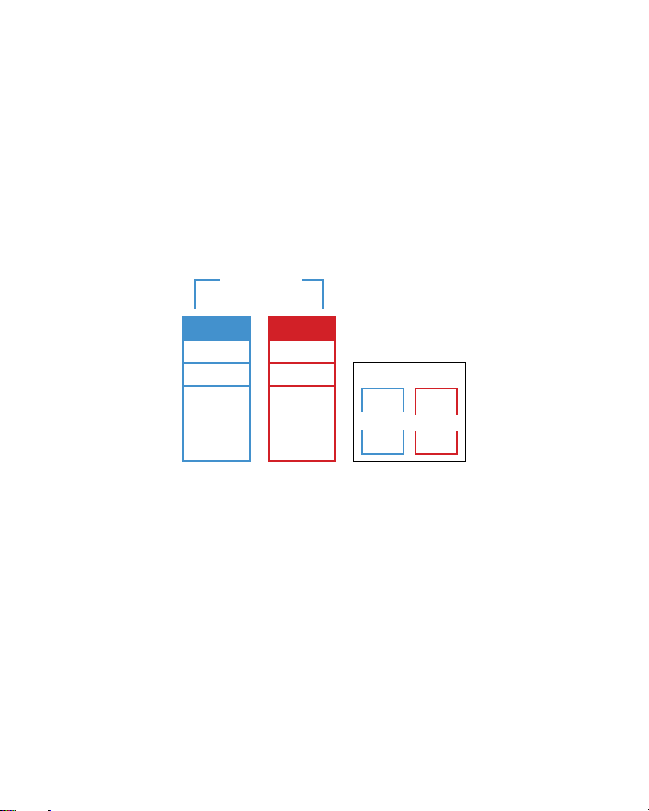
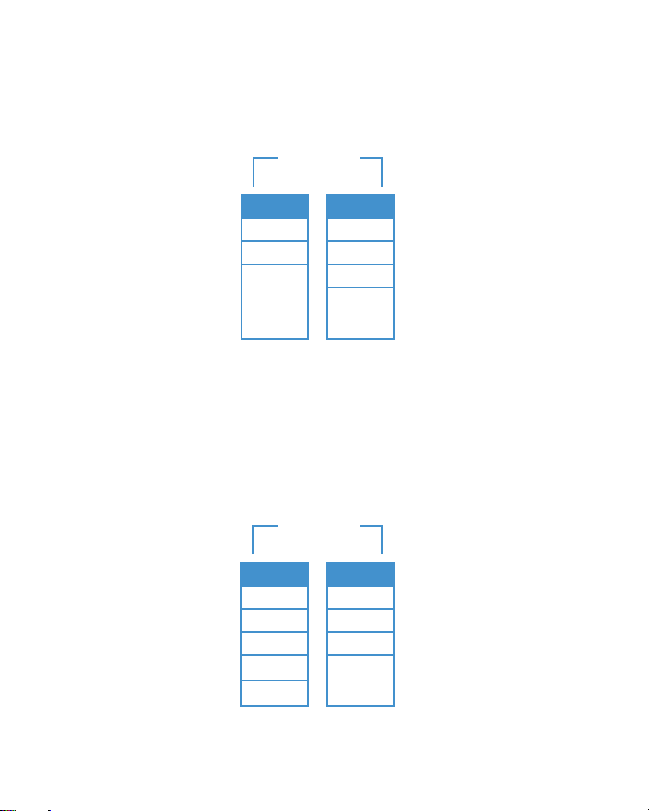
RAID 0
12 3
ON
RAID 1
12 3
ON
JBOD
12 3
ON
SPAN
12 3
ON
PM
12 3
ON
!
!