!
!
General Hazards!
All moving parts of the Blast Chiller are suitably guarded and the moving parts can only be
accessed by using tools which should only be attempted by a qualified person.!
!
Electrical Connection!
This product is supplied with a moulded 13 Amp plug which needs a suitable socket. This
cabinet should not be used outside and should be used in a dry environment.The plug
needs to be accessible once the equipment is placed in its final position. Should the plug
need changing, this must be done by a qualified person.!
!
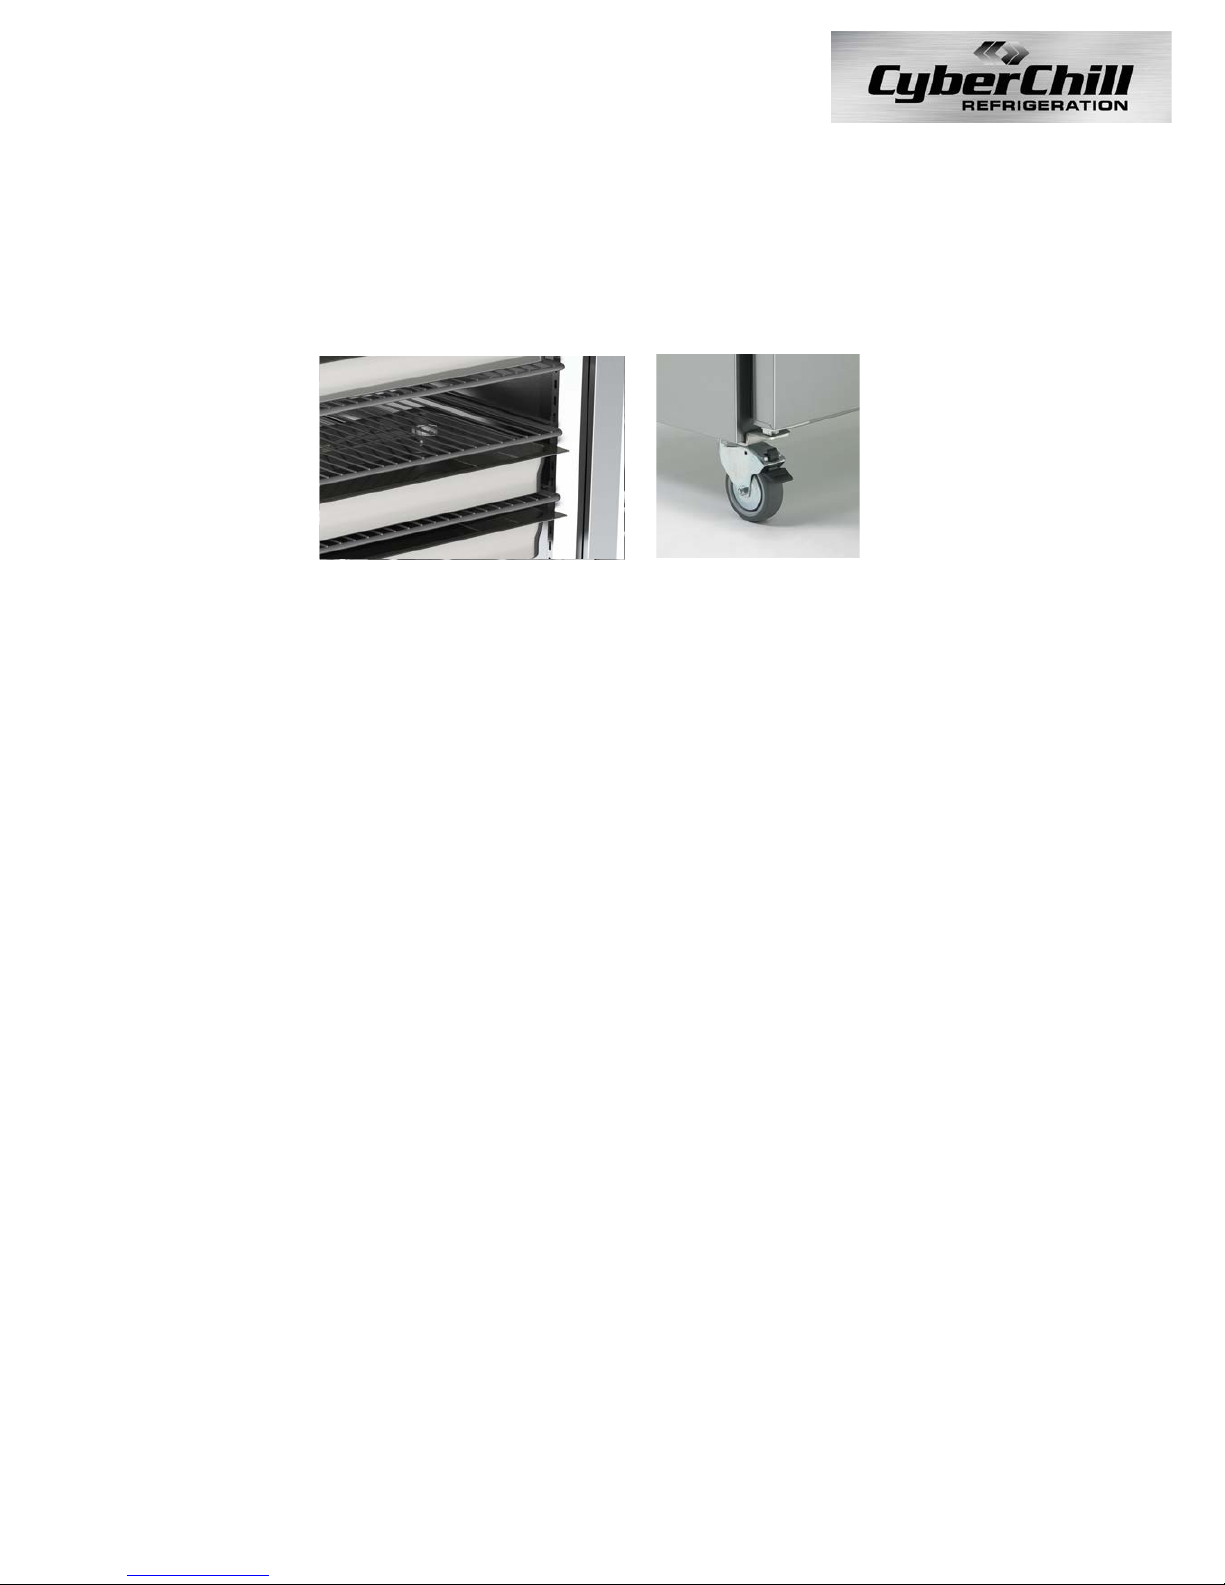
Unpacking!
Leave all packaging in place until blast chiller is in its final position to avoid damage.When
the cabinet is in its final position, carefully remove all packaging and check for damage.
Any damage should be reported immediately to your dealer.All packaging should be
carefully disposed of and recycled where possible.!
!
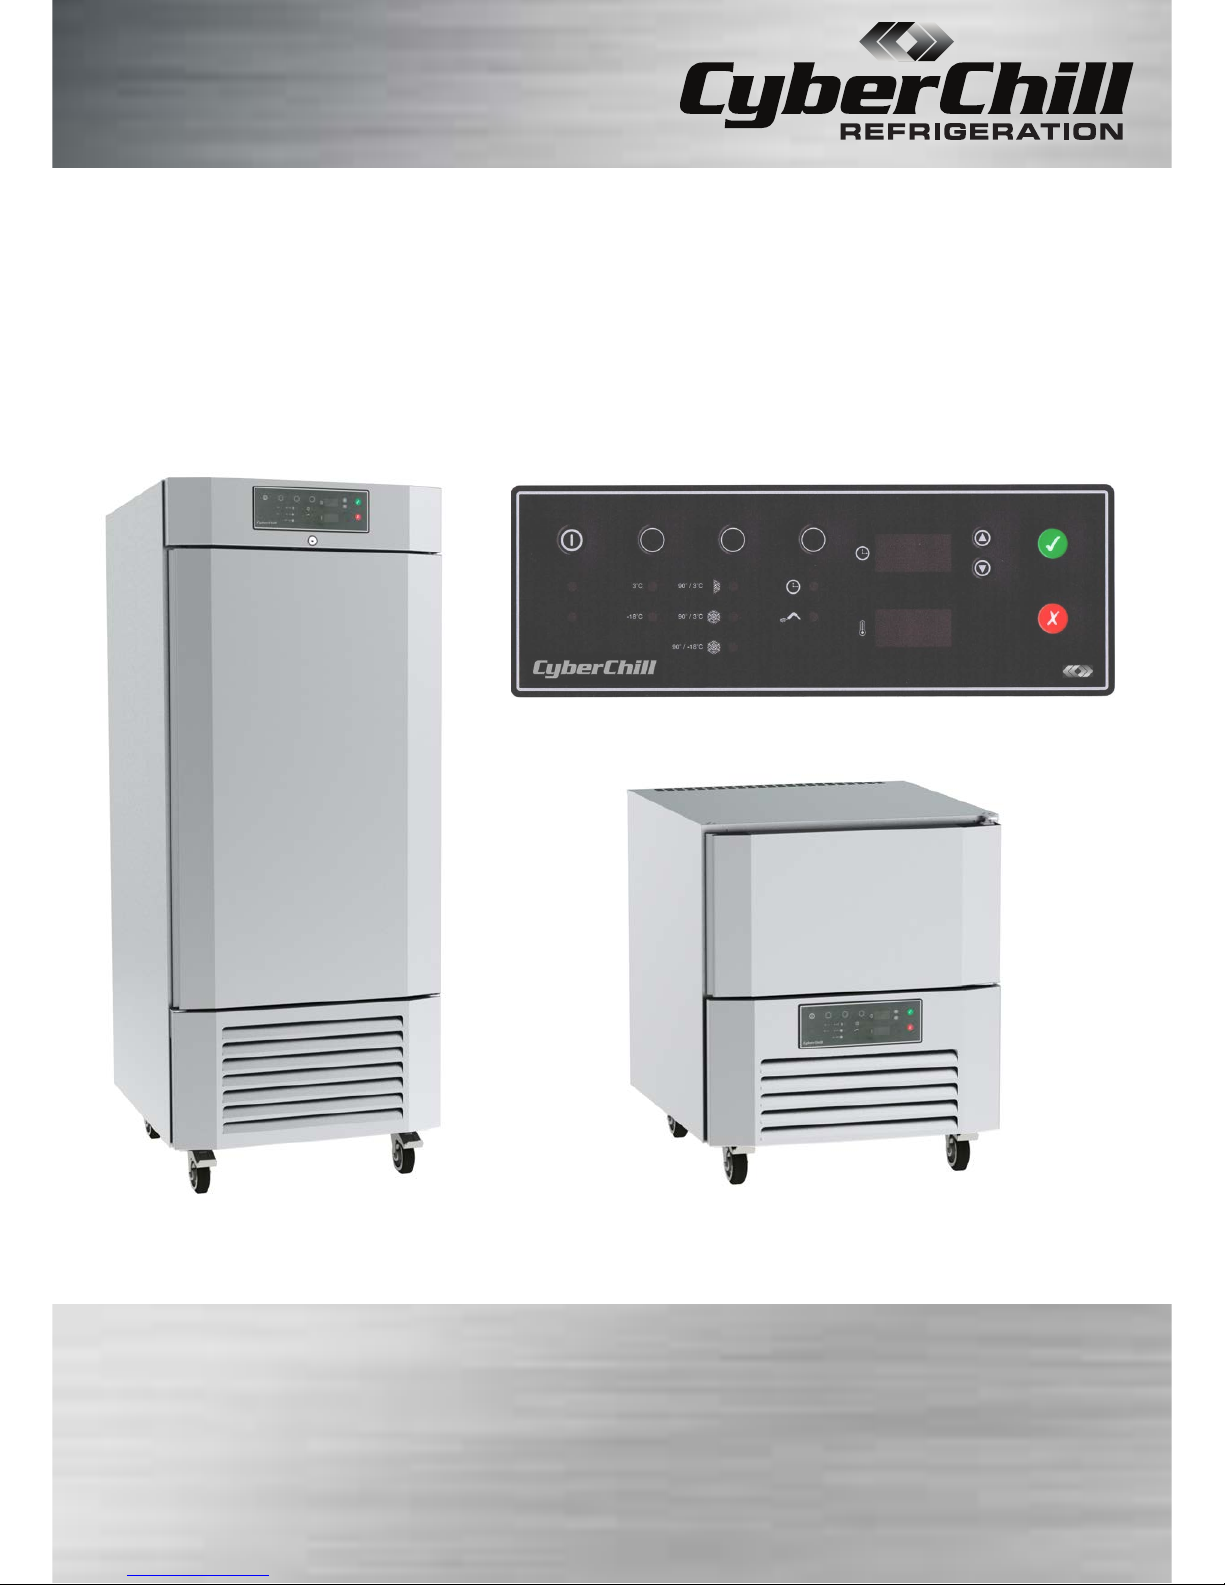
Installation!
The cabinet is very easy to move around as CyberChill blast chillers are supplied on
castors as standard. If for any reason the cabinet has to be laid down, it should always be
laid on its back and not its side or front to avoid damage. When lowering or raising the
cabinet extreme care should be taken as the castors can run away whilst lifting or
lowering. A person should always be standing at the base of the cabinet whilst it is being
lowered or raised. Cabinet should not be plugged in for at least 1 hour if it has been laid
down or tipped during installation.!
This product must be placed on a level floor to ensure the automatic door closing and
correct draining of condensate.!
!
Ventilation!
Refrigeration equipment, and Blast Chiller in particular, generates a lot of heat.ABlast
Chiller gives off the same heat as a 3kW electric heater. Therefore, it is very important that
it must be installed with sufficient space around it for ventilation and for maintenance
access. Ventilation grills must not be blocked, or even partially blocked as this could affect
the cabinetʼs performance and life span.!
!