3
4
1
2
1
Pakke
Package
5
04.04
INTERNATIONAL
09 -- 0153 -- 00
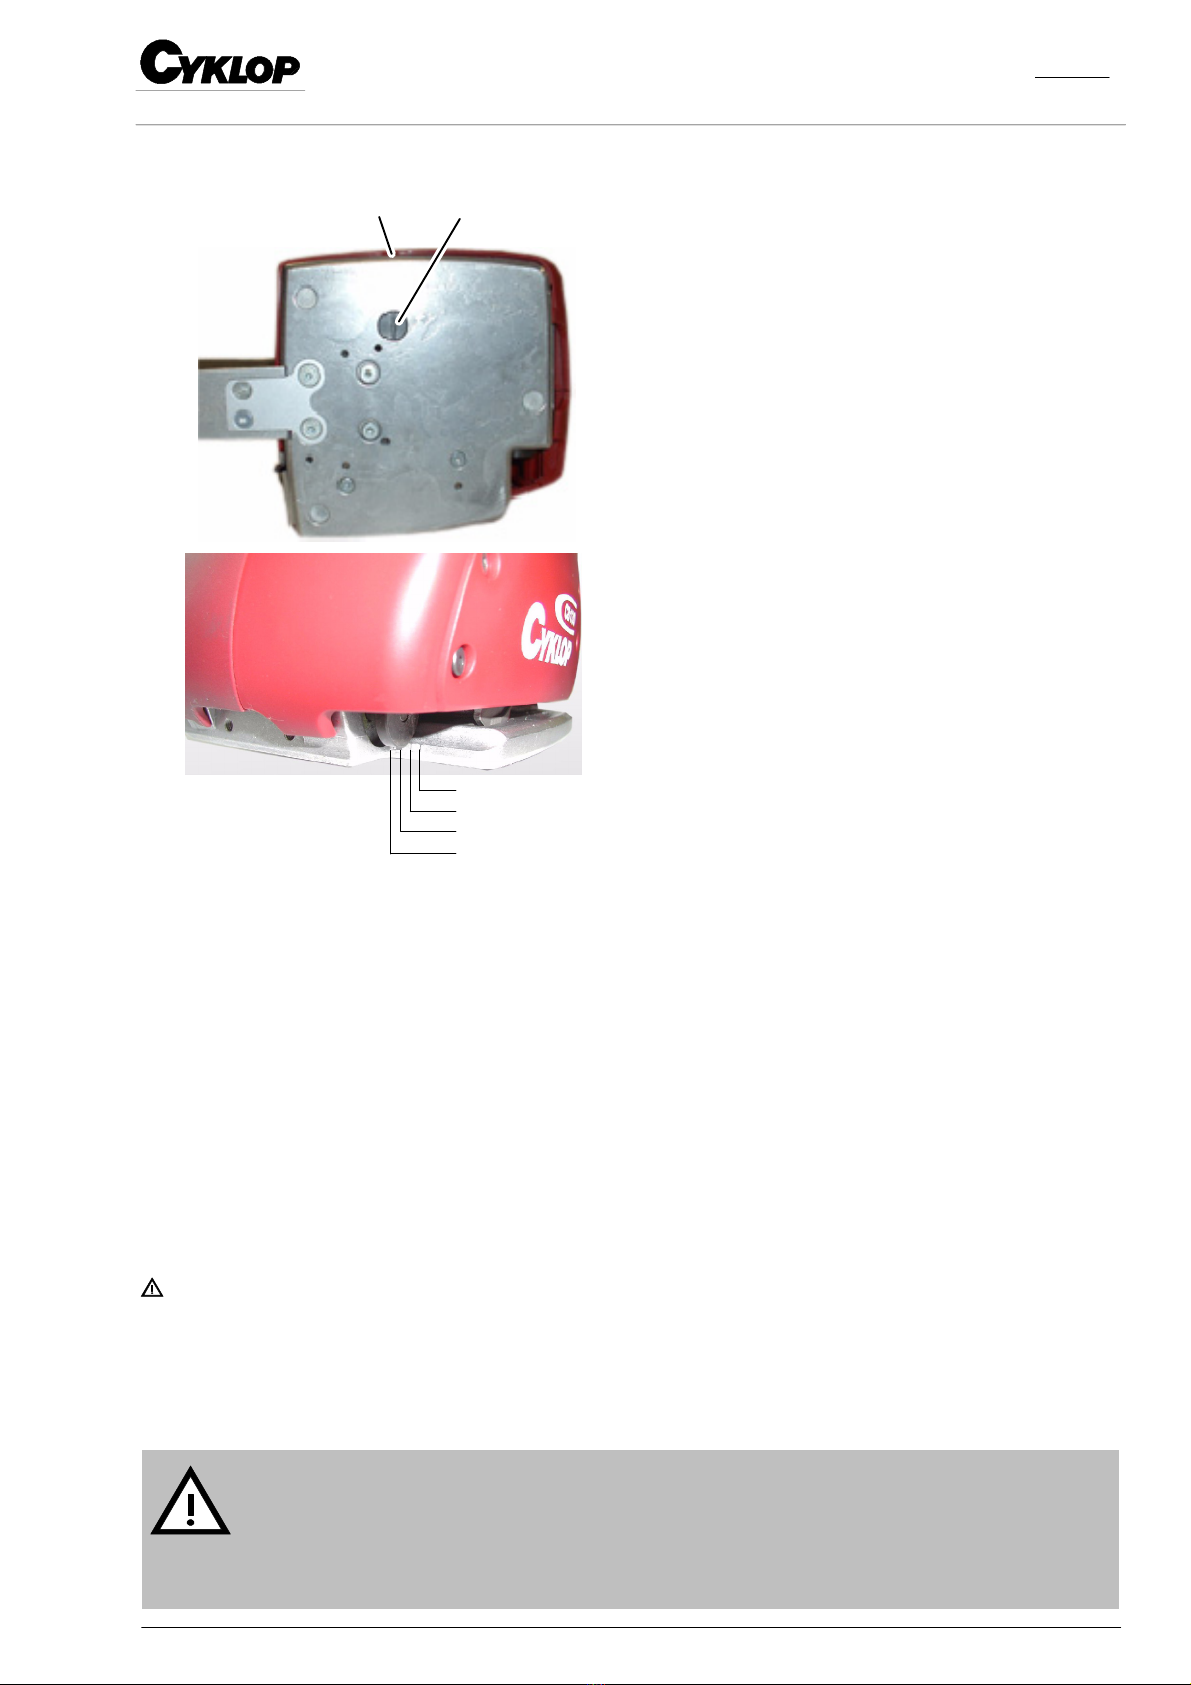
Funktion / Function
Fastgør det nederste bånd i bøjlen (1)
Træk båndtransportøren over (2)
Båndet plomberes ved friktionssvejsning (3)
Kniven (4) skærer båndet af.
Clampthelowerstrapintotheclamp(1)
Pull over the capstan (2)
The straps are sealed through friction welding (3)
The blade (4) cuts the strap off.
Friktionssvejsning: Den varme, der produceres ved friktionen
mellem de to båndender medfører, at overfladen på de to
båndender smelter sammen. Plomberingen sker pga. det
vedvarende tryk.
Friction sealing: Heat produced by friction between the two
strapping ends results in melting the strapping surface.
The seal is caused by simultaneous pressure.
Risiko for forbrænding
Den varme, der opstår ved friktionen -- sammensmeltningen af båndene -- når en temperatur
på ca. 200_C.
Danger of injury
The heat which is caused by friction -- melting the strap -- reaches a temperature of approx. 200oC.
Ibrugtagning / Starting
Tilslutning / Connection
Inden den første ibrugtagning skal batteriet i ladeapparatet oplades. Efter endt opladning tages batteriet ud af opla-
deren og anbringes i håndapparatet. Apparatet er nu klar til drift.
Charge the battery accumulator prior to the first use. After charging time, take the battery accumulator off the char-
ger and install it into the hand unit. The unit is ready for operation.
Risiko
For at undgå at operatøren kommer til skade, må der kun anvendes originale batterier.
Risk
To avoid the risk of injury to the operator, only original batteries should be used.
Udskiftning af batteri / Replacing battery
Hvis apparatet ikke skal anvendes i længere tid, eller hvis batteriet er tomt, skal batteriet fjernes ved at løsne det
bag på apparatet. If the tool is not to be operation for a certain length of time or the battery is empty, remove the
battery from beneath the tool.
Tryk på klemmerne (7, pil) og træk batteriet ned og ud af
værktøjet (se billedet).
Når batteriet installeres igen, blinker en diode kortvarigt
grønt i kort tid, og apparatet er klar til drift.
Press the clamps (7, arrow) and pull the battery down and
out of the tool (see picture).
When installing the battery again a diode will blink
green (3), the hand tool is ready for use.
VIGTIGT!
Defekte batterier må ikke kommes i
affaldsspanden. Disse skal bortskaffes i
henhold til gældende miljøregulativer.
IMPORTANT!
Do not throw the battery into the waste bin.
Dispose according to the regulations for
environment protection.