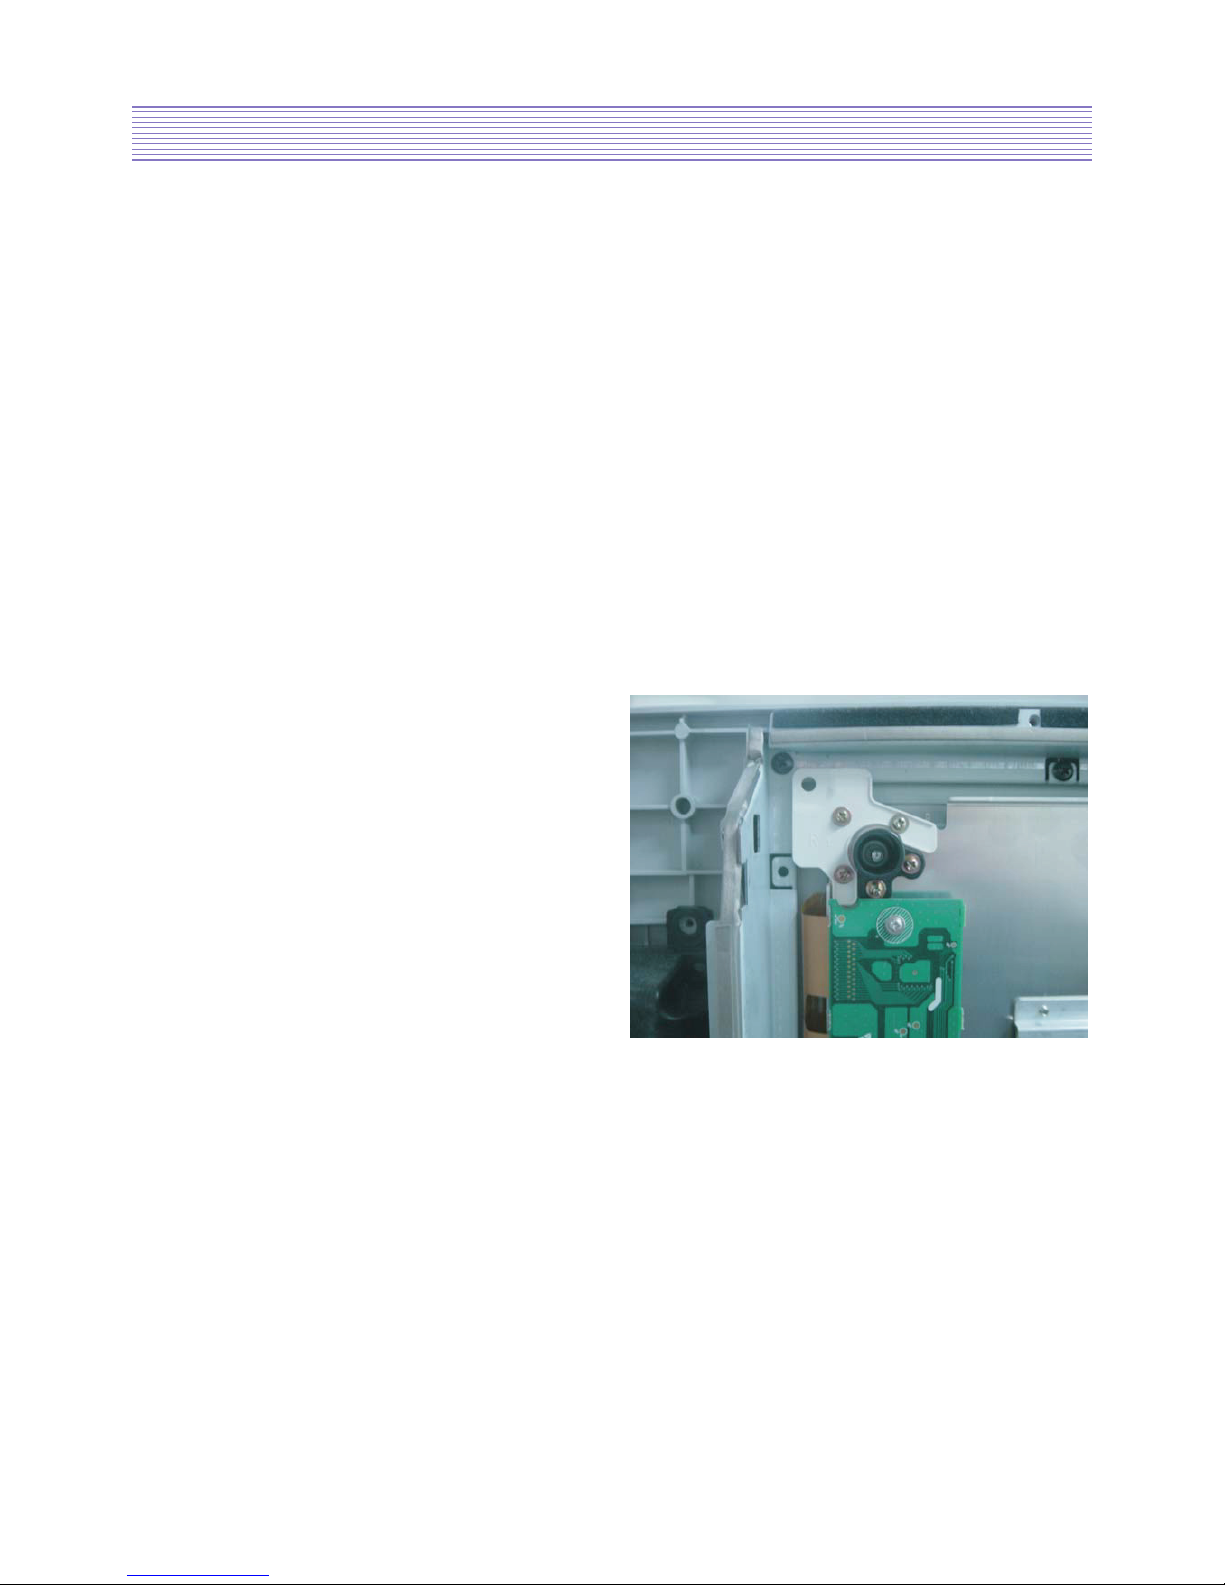
Product Specification
-5-
ITEM SPECIFICATION REMARK
3-7. SPEAKER OUTPUT 10W(R) + 10W(L)
3-8. POWER REQUIREMENT AC 100V~240V, 50/60Hz
3-9. POWER CONSUMPTION 200 W
3-10.Phone Jack(Upgrade) S/W Upgrade
3-11. AV OUTPUT SCART(CVBS, SOUND R/L) 1 Port
3-12. FUNCTION
1) SCALING HDMI : Screen Mode(16:9, 4:3)
PC : Screen Mode(16:9, 4:3), H/V Position, Auto
TV / AV : Screen Mode(16:9, 4:3, LB(16:9), LBS(16:9), 14:9,
LB(14:9), LBS(14:9), Auto)
COMPONENT : Screen Mode(16:9, 4:3)
2) OSD Language 19 Languages (English, Greek, Dutch, German, Russian,
Rumanian, Swedish, Danish, Finnish, Norwegian, Spanish,
Italian, Franch, Polish, Portuguese, Czech, Hungarian, Arab, Parsi)
3) PIP/POP TV, Video, S-Video / HDMI
4) OTHERS Still, Sleep Mode, Sound Mode, Timer, Screen Mode,
TeleText, MGDi WSS
4. OPTICAL
4-1. SCREEN SIZE 32"(81.2Cm) DIAGONAL
4-2. ASPECT RATIO 16 : 9
4-3. NUMBER OF PIXELS 852(H) X 480(V)
4-4. DISPLAY COLOR 1,073,000,000 Colors (10 Bits for each RGB)
4-5. CELL PITCH 277 (H) X 830 (V)(1Pixel=aSetofRGBCells)
4-6. PEAK LUMINANCE Typical 550cd/ß≥(25% White Window, 60Hz)
Average 60:1 (In a bright room with 100Lux at center, 60Hz)
4-7. CONTRAST RATIO 10,000:1
4-8. VIEWING ANGLE FREE
5. USERCONTROL & ACCESSORIES
5-1. CONTROL BUTTON(SET)
SOFT S/W : MOVE/CH(UP, DOWN), VOLUME(LEFT, RIGHT),
MENU, INPUT SELECT ,POWER
5-2. REMOTE CONTROL
Power, Recall, 10KEY(0~9), Still, Screen Size, Menu, TV, AV,
(R-55E05)
Multimedia, PREV PR, Mute, PR(UP/DOWN), VOL(UP/DOWN),
TeleText, CYAN, Index, Red, Green, Yellow, Reveal, Update,
Expand, Subpage, Hold, Picture Mode, Sound Mode, MTS,
Sound Effect,
PIP,
PR Up(Sub), Sleep Timer, EDIT, Position,
PR Down(Sub), Swap, Source(Sub), MGDI, COLOR TEMP
5-3. ACCESSORIES
REMOTE CONTROL, INSTRUCTION MANUAL, POWER CORD
5-4. OPTIONAL PARTS WALL HANGER