manuals.online logo
Brands
  1. Home
  2. •
  3. Brands
  4. •
  5. Daikin
  6. •
  7. Heat Pump
  8. •
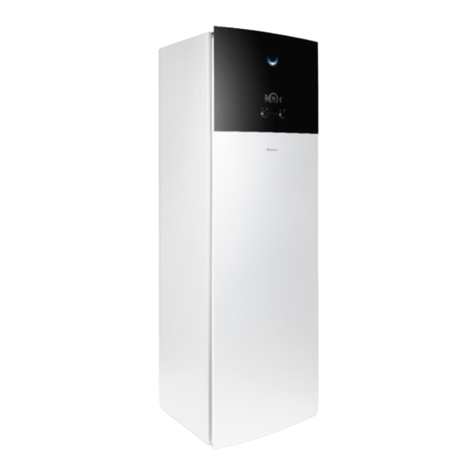
  9. Daikin Altherma 3 R F+W Product information sheet

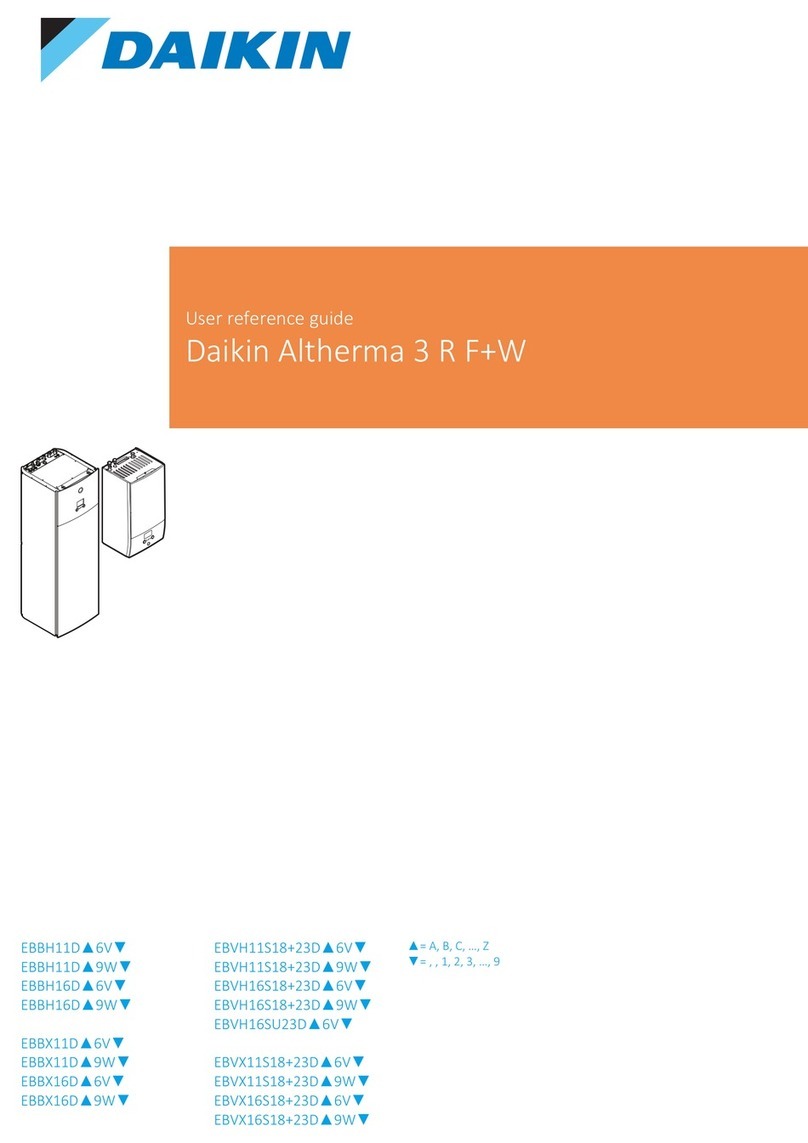
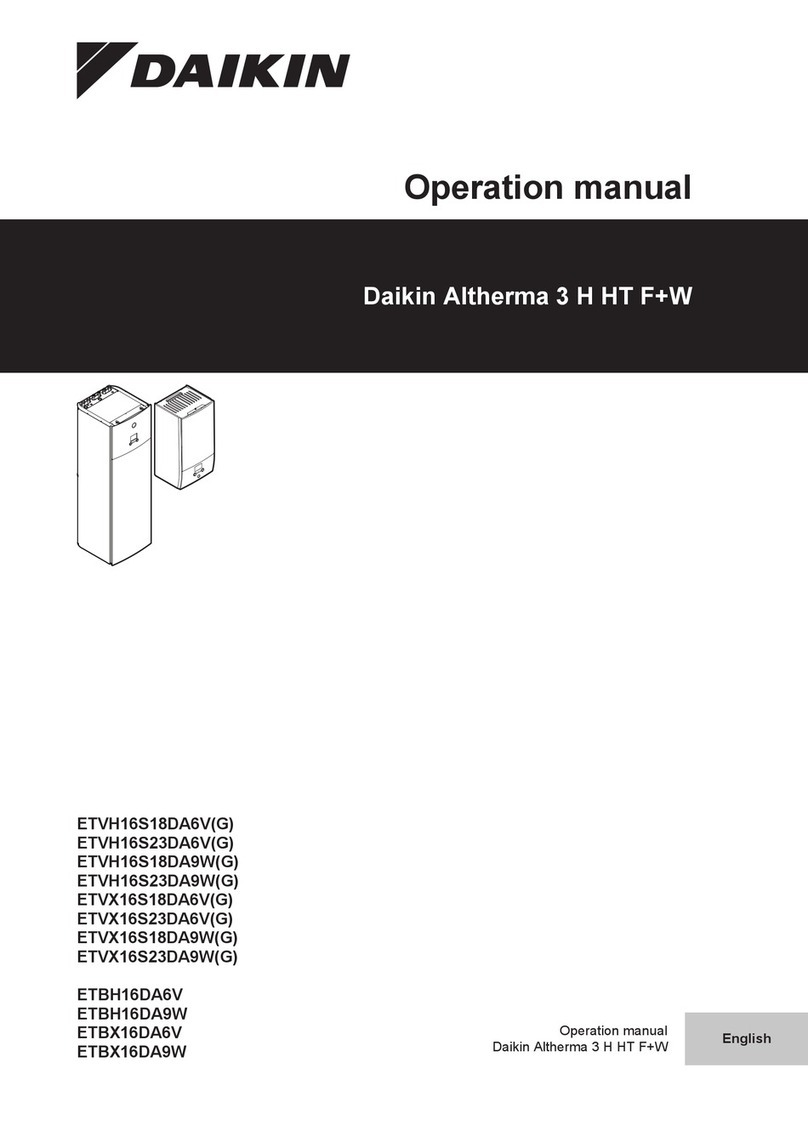
Daikin Altherma 3 R F+W Product information sheet

User reference guide
Daikin Altherma 3 R F+W
EHBH04DA6V7
EHBH08DA6V7
EHBH08DA9W7
EHBX04DA6V7
EHBX08DA6V7
EHBX08DA9W7
EHVH04S18D*6V7
EHVH04S23D*6V7
EHVH08S18D*6V7
EHVH08S23D*6V7
EHVH08S18D*9W7
EHVH08S23D*9W7
EHVX04S18D*3V7
EHVX04S18D*6V7
EHVX04S23D*3V7
EHVX04S23D*6V7
EHVX08S18D*6V7
EHVX08S23D*6V7
EHVX08S18D*9W7
EHVX08S23D*9W7
EHVH04SU18DA6V7
EHVH04SU23DA6V7
EHVH08SU18DA6V7
EHVH08SU23DA6V7
Table of contents
User reference guide
2
EHBH/X04+08DA*V7 + EHVH/X04+08S(U)18+23DA/DJ3V+6V+9W7
Daikin Altherma 3 R F+W
4P618959-1 – 2020.03
Table of contents
1 General safety precautions 4
1.1 About the documentation .............................................................................................................................................. 4
1.1.1 Meaning of warnings and symbols ................................................................................................................ 4
1.2 For the user..................................................................................................................................................................... 5
2 About this document 7
3 About the system 9
3.1 Components in a typical system layout.......................................................................................................................... 9
4 Operation 10
4.1 User interface: Overview ................................................................................................................................................ 10
4.2 Possible screens: Overview............................................................................................................................................. 11
4.2.1 Home screen................................................................................................................................................... 12
4.2.2 Main menu screen.......................................................................................................................................... 14
4.2.3 Setpoint screen............................................................................................................................................... 15
4.2.4 Detailed screen with values ........................................................................................................................... 16
4.3 Turning operation ON or OFF ......................................................................................................................................... 16
4.3.1 Visual indication.............................................................................................................................................. 16
4.3.2 To turn ON or OFF .......................................................................................................................................... 17
4.4 Space heating/cooling control........................................................................................................................................ 18
4.4.1 About space heating/cooling control............................................................................................................. 18
4.4.2 Setting the space operation mode................................................................................................................. 18
4.4.3 Determining which temperature control you are using................................................................................ 20
4.4.4 To change the desired room temperature .................................................................................................... 20
4.4.5 To change the desired leaving water temperature ....................................................................................... 21
4.5 Domestic hot water control............................................................................................................................................ 22
4.5.1 About domestic hot water control................................................................................................................. 22
4.5.2 Reheat mode .................................................................................................................................................. 23
4.5.3 Scheduled mode............................................................................................................................................. 24
4.5.4 Scheduled + reheat mode .............................................................................................................................. 24
4.5.5 To change the domestic hot water temperature .......................................................................................... 25
4.5.6 Using DHW powerful operation..................................................................................................................... 25
4.6 Advanced usage .............................................................................................................................................................. 26
4.6.1 Using quiet mode ........................................................................................................................................... 27
4.6.2 Using holiday mode........................................................................................................................................ 28
4.6.3 Reading out information ................................................................................................................................ 28
4.6.4 To configure time and date............................................................................................................................ 29
4.7 Preset values and schedules........................................................................................................................................... 29
4.7.1 Using preset values......................................................................................................................................... 29
4.7.2 Setting the energy prices................................................................................................................................ 30
4.7.3 Using and programming schedules................................................................................................................ 32
4.7.4 Schedule screen: Example.............................................................................................................................. 33
4.8 Weather-dependent curve ............................................................................................................................................. 37
4.8.1 What is a weather-dependent curve? ........................................................................................................... 37
4.8.2 2-points curve................................................................................................................................................. 38
4.8.3 Slope-offset curve........................................................................................................................................... 38
4.8.4 Using weather-dependent curves.................................................................................................................. 40
4.9 Menu structure: Overview user settings........................................................................................................................ 42
4.10 Installer settings: Tables to be filled in by installer........................................................................................................ 43
4.10.1 Configuration wizard ...................................................................................................................................... 43
4.10.2 Settings menu................................................................................................................................................. 43
5 Energy saving tips 45
6 Maintenance and service 46
6.1 Overview: Maintenance and service .............................................................................................................................. 46
6.2 To find the contact/helpdesk number............................................................................................................................ 47
7 Troubleshooting 48
7.1 To display the help text in case of a malfunction........................................................................................................... 48
7.2 To check the malfunction history ................................................................................................................................... 48
7.3 Symptom: You are feeling too cold (hot) in your living room........................................................................................ 48
7.4 Symptom: The water at the tap is too cold.................................................................................................................... 49
7.5 Symptom: Heat pump failure ......................................................................................................................................... 49
7.6 Symptom: The system is making gurgling noises after commissioning......................................................................... 50
Table of contents
User reference guide
3
EHBH/X04+08DA*V7 + EHVH/X04+08S(U)18+23DA/DJ3V+6V+9W7
Daikin Altherma 3 R F+W
4P618959-1 – 2020.03
8 Relocation 51
8.1 Overview: Relocation...................................................................................................................................................... 51
9 Disposal 52
10 Glossary 53
1 | General safety precautions
User reference guide
4
EHBH/X04+08DA*V7 + EHVH/X04+08S(U)18+23DA/DJ3V+6V+9W7
Daikin Altherma 3 R F+W
4P618959-1 – 2020.03
1 General safety precautions
1.1 About the documentation
▪The original documentation is written in English. All other languages are
translations.
▪The precautions described in this document cover very important topics, follow
them carefully.
▪The installation of the system, and all activities described in the installation
manual and in the installer reference guide MUST be performed by an authorised
installer.
1.1.1 Meaning of warnings and symbols
DANGER
Indicates a situation that results in death or serious injury.
DANGER: RISK OF ELECTROCUTION
Indicates a situation that could result in electrocution.
DANGER: RISK OF BURNING
Indicates a situation that could result in burning because of extreme hot or cold
temperatures.
DANGER: RISK OF EXPLOSION
Indicates a situation that could result in explosion.
WARNING
Indicates a situation that could result in death or serious injury.
WARNING: FLAMMABLE MATERIAL
CAUTION
Indicates a situation that could result in minor or moderate injury.
NOTICE
Indicates a situation that could result in equipment or property damage.
INFORMATION
Indicates useful tips or additional information.
Symbols used on the unit:
1 | General safety precautions
User reference guide
5
EHBH/X04+08DA*V7 + EHVH/X04+08S(U)18+23DA/DJ3V+6V+9W7
Daikin Altherma 3 R F+W
4P618959-1 – 2020.03
Symbol Explanation
Before installation, read the installation and operation
manual, and the wiring instruction sheet.
Before performing maintenance and service tasks, read the
service manual.
For more information, see the installer and user reference
guide.
The unit contains rotating parts. Be careful when servicing or
inspecting the unit.
Symbols used in the documentation:
Symbol Explanation
Indicates a figure title or a reference to it.
Example: " 1–3 Figure title" means "Figure 3 in chapter 1".
Indicates a table title or a reference to it.
Example: " 1–3 Table title" means "Table 3 in chapter 1".
1.2 For the user
WARNING
If you are NOT sure how to operate the unit, contact your
installer.
WARNING
This appliance is not intended for use by persons, including
children, with reduced physical, sensory or mental
capabilities, or lack of experience and knowledge, unless
they have been given supervision or instruction concerning
use of the appliance by a person responsible for their
safety.
Children should be supervised to ensure that they do not
play with the appliance.
Cleaning and user maintenance must not be carried out by
children without supervision.
WARNING
To prevent electrical shocks or fire:
▪Do NOT rinse the unit.
▪Do NOT operate the unit with wet hands.
▪Do NOT place any objects containing water on the unit.
1 | General safety precautions
User reference guide
6
EHBH/X04+08DA*V7 + EHVH/X04+08S(U)18+23DA/DJ3V+6V+9W7
Daikin Altherma 3 R F+W
4P618959-1 – 2020.03
CAUTION
▪Do NOT place any objects or equipment on top of the
unit.
▪Do NOT sit, climb or stand on the unit.
▪Units are marked with the following symbol:
This means that electrical and electronic products may NOT be mixed with
unsorted household waste. Do NOT try to dismantle the system yourself: the
dismantling of the system, treatment of the refrigerant, of oil and of other parts
must be done by an authorized installer and must comply with applicable
legislation.
Units must be treated at a specialized treatment facility for reuse, recycling and
recovery. By ensuring this product is disposed of correctly, you will help to
prevent potential negative consequences for the environment and human
health. For more information, contact your installer or local authority.
▪Batteries are marked with the following symbol:
This means that the batteries may NOT be mixed with unsorted household
waste. If a chemical symbol is printed beneath the symbol, this chemical symbol
means that the battery contains a heavy metal above a certain concentration.
Possible chemical symbols are: Pb: lead (>0.004%).
Waste batteries must be treated at a specialized treatment facility for reuse. By
ensuring waste batteries are disposed of correctly, you will help to prevent
potential negative consequences for the environment and human health.
2 | About this document
User reference guide
7
EHBH/X04+08DA*V7 + EHVH/X04+08S(U)18+23DA/DJ3V+6V+9W7
Daikin Altherma 3 R F+W
4P618959-1 – 2020.03
2 About this document
Thank you for purchasing this product. Please:
▪Read the documentation carefully before operating the user interface to ensure
the best possible performance.
▪Request the installer to inform you about the settings that he used to configure
your system. Check if he has filled in the installer settings tables. If not, request
him to do so.
▪Keep the documentation for future reference.
Target audience
Endusers
Documentation set
This document is part of a documentation set. The complete set consists of:
▪General safety precautions:
-Safety instructions that you must read before operating your system
-Format: Paper (in the box of the indoor unit)
▪Operation manual:
-Quick guide for basic usage
-Format: Paper (in the box of the indoor unit)
▪User reference guide:
-Detailed step-by-step instructions and background information for basic and
advanced usage
-Format: Digital files on http://www.daikineurope.com/support-and-manuals/
product-information/
Latest revisions of the supplied documentation may be available on the regional
Daikin website or via your installer.
The original documentation is written in English. All other languages are
translations.
Breadcrumbs
Breadcrumbs (example: [4.3]) help you to locate where you are in the menu
structure of the user interface.
1To enable the breadcrumbs: In the home screen or main menu
screen, press the help button. The breadcrumbs appear in the
top left corner of the screen.
2To disable the breadcrumbs: Press the help button again.
This document also mentions these breadcrumbs. Example:
1Go to [4.3]: Space heating/cooling > Operation
range.
This means:
2 | About this document
User reference guide
8
EHBH/X04+08DA*V7 + EHVH/X04+08S(U)18+23DA/DJ3V+6V+9W7
Daikin Altherma 3 R F+W
4P618959-1 – 2020.03
1Starting from the home screen, turn the left dial and go to
Space heating/cooling.
4
Space heating/cooling
2Press the left dial to enter the submenu.
3Turn the left dial and go to Operation range.
Operation range
4.3
4Press the left dial to enter the submenu.
3 | About the system
User reference guide
9
EHBH/X04+08DA*V7 + EHVH/X04+08S(U)18+23DA/DJ3V+6V+9W7
Daikin Altherma 3 R F+W
4P618959-1 – 2020.03
3 About the system
Depending on the system layout, the system can:
▪Heat up a space
▪Cool down a space (if a heating/cooling heatpump model is installed)
▪Produce domestic hot water (if a DHWtank is installed)
3.1 Components in a typical system layout
d
ab
ce
f
gBC A
AMain zone. Example: Living room.
BAdditional zone. Example: Bedroom.
CTechnical room. Example: Garage.
aOutdoor unit heatpump
bIndoor unit heatpump
cDomestic hot water (DHW) tank
dUser interface of the indoor unit
eUser interface used as room thermostat
fUnderfloor heating
gRadiators, heatpump convectors, or fancoil units
INFORMATION
The indoor unit and the domestic hot water tank (if installed) can be separated or
integrated depending on the indoor unit type.
4 | Operation
User reference guide
10
EHBH/X04+08DA*V7 + EHVH/X04+08S(U)18+23DA/DJ3V+6V+9W7
Daikin Altherma 3 R F+W
4P618959-1 – 2020.03
4 Operation
4.1 User interface: Overview
The user interface has the following components:
b
c
a
aStatus indicator
bLCD screen
cDials and buttons
a
b
c
aStatus indicator
bLCD screen
cDials and buttons
Status indicator
The LEDs of the status indicator light up or blink to show the operating mode of the
unit.
LED Mode Description
Blinking blue Standby The unit is not in operation.
Continuous blue Operation The unit is in operation.
Blinking red Malfunction A malfunction occurred.
See "7.1To display the help text in case
of a malfunction"[448] for more
information.
LCD screen
The LCD screen has a sleeping function. After a certain time of non-interaction with
the user interface, the screen darkens. Pressing any button or rotating any dial
awakens the display. The time of non-interaction differs depending on the user
permission level:
▪User or Advanced user: 15min
▪Installer: 1h
Dials and buttons
You use the dials and buttons:
▪To navigate through the screens, menus and settings of the LCD screen
▪To set values
4 | Operation
User reference guide
11
EHBH/X04+08DA*V7 + EHVH/X04+08S(U)18+23DA/DJ3V+6V+9W7
Daikin Altherma 3 R F+W
4P618959-1 – 2020.03
a b c d e
Item Description
aLeft dial The LCD shows an arc on the left side of the display when
you can use the left dial.
▪: Turn, then press the left dial. Navigate through the
menu structure.
▪: Turn the left dial. Choose a menu item.
▪: Press the left dial. Confirm your choice or go to a
submenu.
bBack button : Press to go back 1 step in the menu structure.
cHome button : Press to go back to the home screen.
dHelp button : Press to show a help text related to the current page (if
available).
eRight dial The LCD shows an arc on the right side of the display when
you can use the right dial.
▪: Turn, then press the right dial. Change a value or
setting, shown at the right side of the screen.
▪: Turn the right dial. Navigate through the possible
values and settings.
▪: Press the right dial. Confirm your choice and go to
the next menu item.
4.2 Possible screens: Overview
The most common screens are as follows:
4 | Operation
User reference guide
12
EHBH/X04+08DA*V7 + EHVH/X04+08S(U)18+23DA/DJ3V+6V+9W7
Daikin Altherma 3 R F+W
4P618959-1 – 2020.03
+
–
a
OR
b
c
c2
c4
c1
c3
aHome screen
bMain menu screen
cLower level screens:
c1: Setpoint screen
c2: Detailed screen with values
c3: Screen with weather-dependent curve
c4: Screen with schedule
4.2.1 Home screen
Press the button to go back to the home screen. You see an overview of the unit
configuration and the room and setpoint temperatures. Only symbols applicable
for your configuration are visible on the home screen.
6
1.6
bar
18 Feb 2018
22:19
55
18
21
45
f
i
j
h
g
e
d
a
b
c
Possible actions on this screen
Go through the list of the main menu.
Go to the main menu screen.
Enable/disable breadcrumbs.
Item Description
21
21
The temperatures are shown in circles. If the circle is grey,
the corresponding operation (example: space heating) is
currently not active.
Outdoor unit
a2 a3
a1
a1 : Outdoor unit
a2 : Quiet mode active
a3 Measured ambient temperature
4 | Operation
User reference guide
13
EHBH/X04+08DA*V7 + EHVH/X04+08S(U)18+23DA/DJ3V+6V+9W7
Daikin Altherma 3 R F+W
4P618959-1 – 2020.03
Item Description
Indoor unit /
domestic hot
water tank
b1
b2
b1 Indoor unit:
▪: Floor-standing indoor unit with integrated tank
▪: Wall-mounted indoor unit with separated tank
▪: Wall-mounted indoor unit
b2 Water pressure
Space
operation
mode
c▪: Cooling
▪: Heating
Disinfection /
Powerful
d▪: Disinfection mode active
▪: Powerful operation active
Date / time eCurrent date and time
Holiday f: Holiday mode active
Main zone
g3
g1
g4
g2
g1 Heat emitter type:
▪: Underfloor heating
▪: Fancoil unit
▪: Radiator
g2 Leaving water temperature setpoint
g3 Room thermostat type:
▪: Daikin user interface used as room thermostat
▪: External control
▪Hidden: Leaving water temperature control
g4 Measured room temperature
Additional
zone
h3
h1 h2
h1 Heat emitter type:
▪: Underfloor heating
▪: Fancoil unit
▪: Radiator
h2 Leaving water temperature setpoint
h3 Room thermostat type:
▪: External control
▪Hidden: Leaving water temperature control
Domestic hot
water
i1 i2
i1 : Domestic hot water
i2 Measured tank temperature
Malfunction j or : A malfunction occurred
See "7.1To display the help text in case of a
malfunction"[448] for more information.
4 | Operation
User reference guide
14
EHBH/X04+08DA*V7 + EHVH/X04+08S(U)18+23DA/DJ3V+6V+9W7
Daikin Altherma 3 R F+W
4P618959-1 – 2020.03
4.2.2 Main menu screen
Starting from the home screen, press ( ) or turn ( ) the left dial to open
the main menu screen. From the main menu, you can access the different setpoint
screens and submenus.
a
2
Main zone
Additional zone
Room
Malfunctioning
Space heating/cooling
aSelected submenu
Possible actions on this screen
Go through the list.
Enter the submenu.
Enable/disable breadcrumbs.
Submenu Description
[0] or Malfunctioning Restriction: Only displayed if a malfunction
occurs.
See "7.1To display the help text in case of a
malfunction"[448] for more information.
[1] Room Restriction: Only displayed if a room
thermostat is connected to the indoor unit.
Set the room temperature.
[2] Main zone Shows the applicable symbol for your main
zone emitter type.
Set the leaving water temperature for the
main zone.
[3] Additional zone Restriction: Only displayed if there are two
leaving water temperature zones. Shows the
applicable symbol for your additional zone
emitter type.
Set the leaving water temperature for the
additional zone (if present).
[4] Space heating/
cooling
Shows the applicable symbol for your unit.
Put the unit in heating mode or cooling mode.
You cannot change the mode on heating only
models.
[5] Tank Restriction: Only displayed if a domestic hot
water tank is present.
Set the domestic hot water tank temperature.
[7] User settings Gives access to user settings such as holiday
mode and quiet mode.
[8] Information Displays data and information about the
indoor unit.
[9] Installer settings Restriction: Only for the installer.
Gives access to advanced settings.
4 | Operation
User reference guide
15
EHBH/X04+08DA*V7 + EHVH/X04+08S(U)18+23DA/DJ3V+6V+9W7
Daikin Altherma 3 R F+W
4P618959-1 – 2020.03
Submenu Description
[A] Commissioning Restriction: Only for the installer.
Perform tests and maintenance.
[B] User profile Change the active user profile.
[C] Operation Turn heating/cooling functionality and
domestic hot water preparation on or off.
4.2.3 Setpoint screen
The setpoint screen is displayed for screens describing system components that
need a setpoint value.
Examples
[1] Room temperature screen
+
–
21°C
1
Room
[2] Main zone screen
+
–
35°C
2
Main zone
[3] Additional zone screen
+
–
45°C
3
Additional zone
[5] Tank temperature screen
+
–
50°C
5
Tank
Explanation
a1
d
+
–
d
ed
e
c
a2
b1
b2
Possible actions on this screen
Go through the list of the submenu.
Go to the submenu.
Adjust and automatically apply the desired temperature.
Item Description
Minimum temperature limit a1 Fixed by the unit
a2 Restricted by the installer
Maximum temperature limit b1 Fixed by the unit
b2 Restricted by the installer
Current temperature cMeasured by the unit
Desired temperature dTurn the right dial to increase/
decrease.
4 | Operation
User reference guide
16
EHBH/X04+08DA*V7 + EHVH/X04+08S(U)18+23DA/DJ3V+6V+9W7
Daikin Altherma 3 R F+W
4P618959-1 – 2020.03
Item Description
Submenu eTurn or press the left dial to go to
the submenu.
4.2.4 Detailed screen with values
Example:
a bc
a bc
7.2.1
Time/date
Hours 11
30
Minutes
aSettings
bValues
cSelected setting and value
Possible actions on this screen
Go through the list of settings.
Change the value.
Go to the next setting.
Confirm changes and proceed.
4.3 Turning operation ON or OFF
4.3.1 Visual indication
Certain functionalities of the unit can be enabled or disabled separately. If a
functionality is disabled, the corresponding temperature icon in the home screen
will be greyed out.
Room temperature control
1.6
bar
55
19
42
18
a
1.6
bar
55
19
42
18
b
aRoom temperature control ON
bRoom temperature control OFF
4 | Operation
User reference guide
17
EHBH/X04+08DA*V7 + EHVH/X04+08S(U)18+23DA/DJ3V+6V+9W7
Daikin Altherma 3 R F+W
4P618959-1 – 2020.03
Space heating/cooling operation
1.6
bar
55
19
42
18
c
1.6
bar
55
19
42
18
d
cSpace heating/cooling operation ON
dSpace heating/cooling operation OFF
Tank heating operation
1.6
bar
55
19
42
18
e
1.6
bar
55
19
42
18
f
eTank heating operation ON
fTank heating operation OFF
4.3.2 To turn ON or OFF
Room temperature control
1Go to [C.1]: Operation > Room.
Operation
Room
Space heating/cooling On
On
C.1
2Set operation to On or Off.
Space heating/cooling operation
NOTICE
Room frost protection. Even if you turn OFF space heating/cooling operation ([C.2]:
Operation > Space heating/cooling), room frost protection –if enabled– will
remain active.
NOTICE
Water pipe freeze prevention. Even if you turn OFF space heating/cooling operation
([C.2]: Operation > Space heating/cooling), water pipe freeze prevention –if
enabled– will remain active.
4 | Operation
User reference guide
18
EHBH/X04+08DA*V7 + EHVH/X04+08S(U)18+23DA/DJ3V+6V+9W7
Daikin Altherma 3 R F+W
4P618959-1 – 2020.03
1Go to [C.2]: Operation > Space heating/cooling.
Operation
Space heating/cooling
Tank Off
On
On
Room
C.2
2Set operation to On or Off.
Tank heating operation
NOTICE
Disinfection mode. Even if you turn OFF tank heating operation ([C.3]: Operation >
Tank), disinfection mode will remain active. However, if you turn it OFF while
disinfection is running, an AH error occurs.
1Go to [C.3]: Operation > Tank.
Operation
Tank Off
On
Space heating/cooling
C.3
2Set operation to On or Off.
4.4 Space heating/cooling control
4.4.1 About space heating/cooling control
Controlling space heating/cooling typically consists of the following stages:
1Setting the space operation mode
2Controlling the temperature
Depending on the system layout and installer configuration, you use a different
temperature control:
▪Room thermostat control
▪Leaving water temperature control
▪External room thermostat control
4.4.2 Setting the space operation mode
About space operation modes
Your unit can be a heating or a heating/cooling model:
▪If your unit is a heating model, it can heat up a space.
▪If your unit is a heating/cooling model, it can both heat up and cool down a
space. You have to tell the system which operation mode to use.
To determine if a heating/cooling heat pump model is installed
1Go to [4]: Space heating/cooling.
2Check if [4.1] Operation mode is listed and editable. If so, a
heating/cooling heat pump model is installed.
4 | Operation
User reference guide
19
EHBH/X04+08DA*V7 + EHVH/X04+08S(U)18+23DA/DJ3V+6V+9W7
Daikin Altherma 3 R F+W
4P618959-1 – 2020.03
To tell the system which space operation to use, you can:
You can… Location
Check which space operation mode is currently used. Home screen
Set the space operation mode permanently. Main menu
Restrict automatic changeover according to a monthly
schedule.
To check which space operation mode is currently used
The space operation mode is displayed on the home screen:
▪When the unit is in heating mode, the icon is shown.
▪When the unit is in cooling mode, the icon is shown.
The status indicator shows if the unit is currently in operation:
▪When the unit is not in operation, the status indicator will show a blue pulsation
with an interval of approximately 5 seconds.
▪While the unit is in operation, the status indicator will light up blue constantly.
To set the space operation mode
1Go to [4.1]: Space heating/cooling > Operation mode
2Select one of the following options:
▪Heating: Only heating mode
▪Cooling: Only cooling mode
▪Automatic: The operation mode changes automatically
based on the outdoor temperature. Restricted according to
the operation mode schedule.
Automatic heating/cooling changeover is NOT applicable for heating only models.
When Automatic is selected, the changing of the operation mode is based on the
Operation mode schedule [4.2].
To restrict automatic changeover according to a schedule
Conditions: You set the space operation mode to Automatic.
1Go to [4.2]: Space heating/cooling > Operation mode
schedule.
2Select a month.
3For each month, select an option:
▪Reversible: Not restricted
▪Heating only: Restricted
▪Cooling only: Restricted
4Confirm the changes.
Example: Changeover restrictions
When Restriction
During cold season.
Example: October, November, December, January,
February and March.
Heating only
4 | Operation
User reference guide
20
EHBH/X04+08DA*V7 + EHVH/X04+08S(U)18+23DA/DJ3V+6V+9W7
Daikin Altherma 3 R F+W
4P618959-1 – 2020.03
When Restriction
During warm season.
Example: June, July and August.
Cooling only
In-between.
Example: April, May and September.
Heating/Cooling
If both the Operation mode and the Operation mode schedule are set to
Automatic, the operation mode will be determined by the outdoor temperature.
4.4.3 Determining which temperature control you are using
To determine which temperature control you are using (method1)
Check the installer settings table filled in by the installer.
To determine which temperature control you are using (method 2)
You can see on the home screen which temperature control you are using.
6
1.6
bar
22:19
55
21
45
18
a2
a1
b
18 Feb 2018
a1 Heat emitter of the main zone (in this example Underfloor heating)
a2 Heat emitter of the additional zone (in this example Radiator). If no icon is displayed, there is no
additional zone.
bRoom thermostat type of the main zone:
If b=… Then the temperature control is…
Main zone Additional zone (if any)
Room thermostat control External room thermostat
control
External room thermostat
control
No icon Leaving water
temperature control
Leaving water
temperature control
4.4.4 To change the desired room temperature
During room temperature control, you can use the room temperature setpoint
screen to read out and adjust the desired room temperature.
1Go to [1]: Room.
Room
1

Other manuals for Altherma 3 R F+W

1

This manual suits for next models

10

Other Daikin Heat Pump manuals

Daikin Altherma 3 WS EWSAH06UD Series User manual

Daikin

Daikin Altherma 3 WS EWSAH06UD Series User manual

Daikin altherma ERHQ014BAV3 User manual

Daikin

Daikin altherma ERHQ014BAV3 User manual

Daikin VRV IV-S RXTQ-TAVJU Series User manual

Daikin

Daikin VRV IV-S RXTQ-TAVJU Series User manual

Daikin ETSHB16P30EF How to use

Daikin

Daikin ETSHB16P30EF How to use

Daikin EDHQ011BB6V3 User manual

Daikin

Daikin EDHQ011BB6V3 User manual

Daikin Aurora Series User manual

Daikin

Daikin Aurora Series User manual

Daikin Altherma 3 R W User manual

Daikin

Daikin Altherma 3 R W User manual

Daikin ERGA04DAV3A How to use

Daikin

Daikin ERGA04DAV3A How to use

Daikin R13LV2S User manual

Daikin

Daikin R13LV2S User manual

Daikin LRMEQ3AY1 User guide

Daikin

Daikin LRMEQ3AY1 User guide

Daikin RKD24HV2S User manual

Daikin

Daikin RKD24HV2S User manual

Daikin Altherma 3 R F Product information sheet

Daikin

Daikin Altherma 3 R F Product information sheet

Daikin EWLQ025KCW1N User manual

Daikin

Daikin EWLQ025KCW1N User manual

Daikin Altherma 3 R W User manual

Daikin

Daikin Altherma 3 R W User manual

Daikin Altherma EKHVMRD50ABV1 User manual

Daikin

Daikin Altherma EKHVMRD50ABV1 User manual

Daikin GQI-Eco Series User manual

Daikin

Daikin GQI-Eco Series User manual

Daikin Altherma 3 GEO EGSAH10DA9W User manual

Daikin

Daikin Altherma 3 GEO EGSAH10DA9W User manual

Daikin RZQ100KV4A User manual

Daikin

Daikin RZQ100KV4A User manual

Daikin ERHQ006BBV3 User manual

Daikin

Daikin ERHQ006BBV3 User manual

Daikin Altherma 3 R MT F Series How to use

Daikin

Daikin Altherma 3 R MT F Series How to use

Daikin VRV II RXYQ5MATL User manual

Daikin

Daikin VRV II RXYQ5MATL User manual

Daikin VRV II Series User manual

Daikin

Daikin VRV II Series User manual

Daikin FTQ18PBVJU User manual

Daikin

Daikin FTQ18PBVJU User manual

Daikin Altherma EHYKOMB AA Series Product information sheet

Daikin

Daikin Altherma EHYKOMB AA Series Product information sheet

Popular Heat Pump manuals by other brands

Sanyo ECO-i CHDX09053 datasheet

Sanyo

Sanyo ECO-i CHDX09053 datasheet

Hitachi RAS-FSXNSE Series instruction manual

Hitachi

Hitachi RAS-FSXNSE Series instruction manual

Bosch Compress 7001i AW user guide

Bosch

Bosch Compress 7001i AW user guide

Vaillant geoTHERM exclusive installation instructions

Vaillant

Vaillant geoTHERM exclusive installation instructions

Chiltrix CX45 Installation and operation manual

Chiltrix

Chiltrix CX45 Installation and operation manual

Dimplex SI 5CS Installation and operating instructions

Dimplex

Dimplex SI 5CS Installation and operating instructions

York SUNLINE 2000 BP 072 Technical guide

York

York SUNLINE 2000 BP 072 Technical guide

Immergas MAGIS COMBO Instructions and warnings

Immergas

Immergas MAGIS COMBO Instructions and warnings

Rinnai DONSR07A12 owner's manual

Rinnai

Rinnai DONSR07A12 owner's manual

atecpool HiHeat ATHP30 Installation instructions manual

atecpool

atecpool HiHeat ATHP30 Installation instructions manual

Lennox TPA036H4N4 installation instructions

Lennox

Lennox TPA036H4N4 installation instructions

Nibe AMS 10-8 Installer manual

Nibe

Nibe AMS 10-8 Installer manual

Goodman GPH13 Service instructions

Goodman

Goodman GPH13 Service instructions

Mitsubishi Electric Mr.Slim PLA-A12BA6 Service manual

Mitsubishi Electric

Mitsubishi Electric Mr.Slim PLA-A12BA6 Service manual

Airrex AHSC-12 Operating instructions and parts manual

Airrex

Airrex AHSC-12 Operating instructions and parts manual

Gree 3VIR09HP115V1AH quick start guide

Gree

Gree 3VIR09HP115V1AH quick start guide

Worcester Greenstar Oilfit Flexi CF Flue installation instructions

Worcester

Worcester Greenstar Oilfit Flexi CF Flue installation instructions

Trane Thermo King T-590 Series installation manual

Trane

Trane Thermo King T-590 Series installation manual

manuals.online logo
manuals.online logoBrands
  • About & Mission
  • Contact us
  • Privacy Policy
  • Terms and Conditions

Copyright 2025 Manuals.Online. All Rights Reserved.