Daisy
Daisy
Daisy
Daisy Lighting
Lighting
Lighting
Lighting Equipment
Equipment
Equipment
Equipment Factory
Factory
Factory
Factory
www.daisylight.com
www.daisylight.com
www.daisylight.com
www.daisylight.com
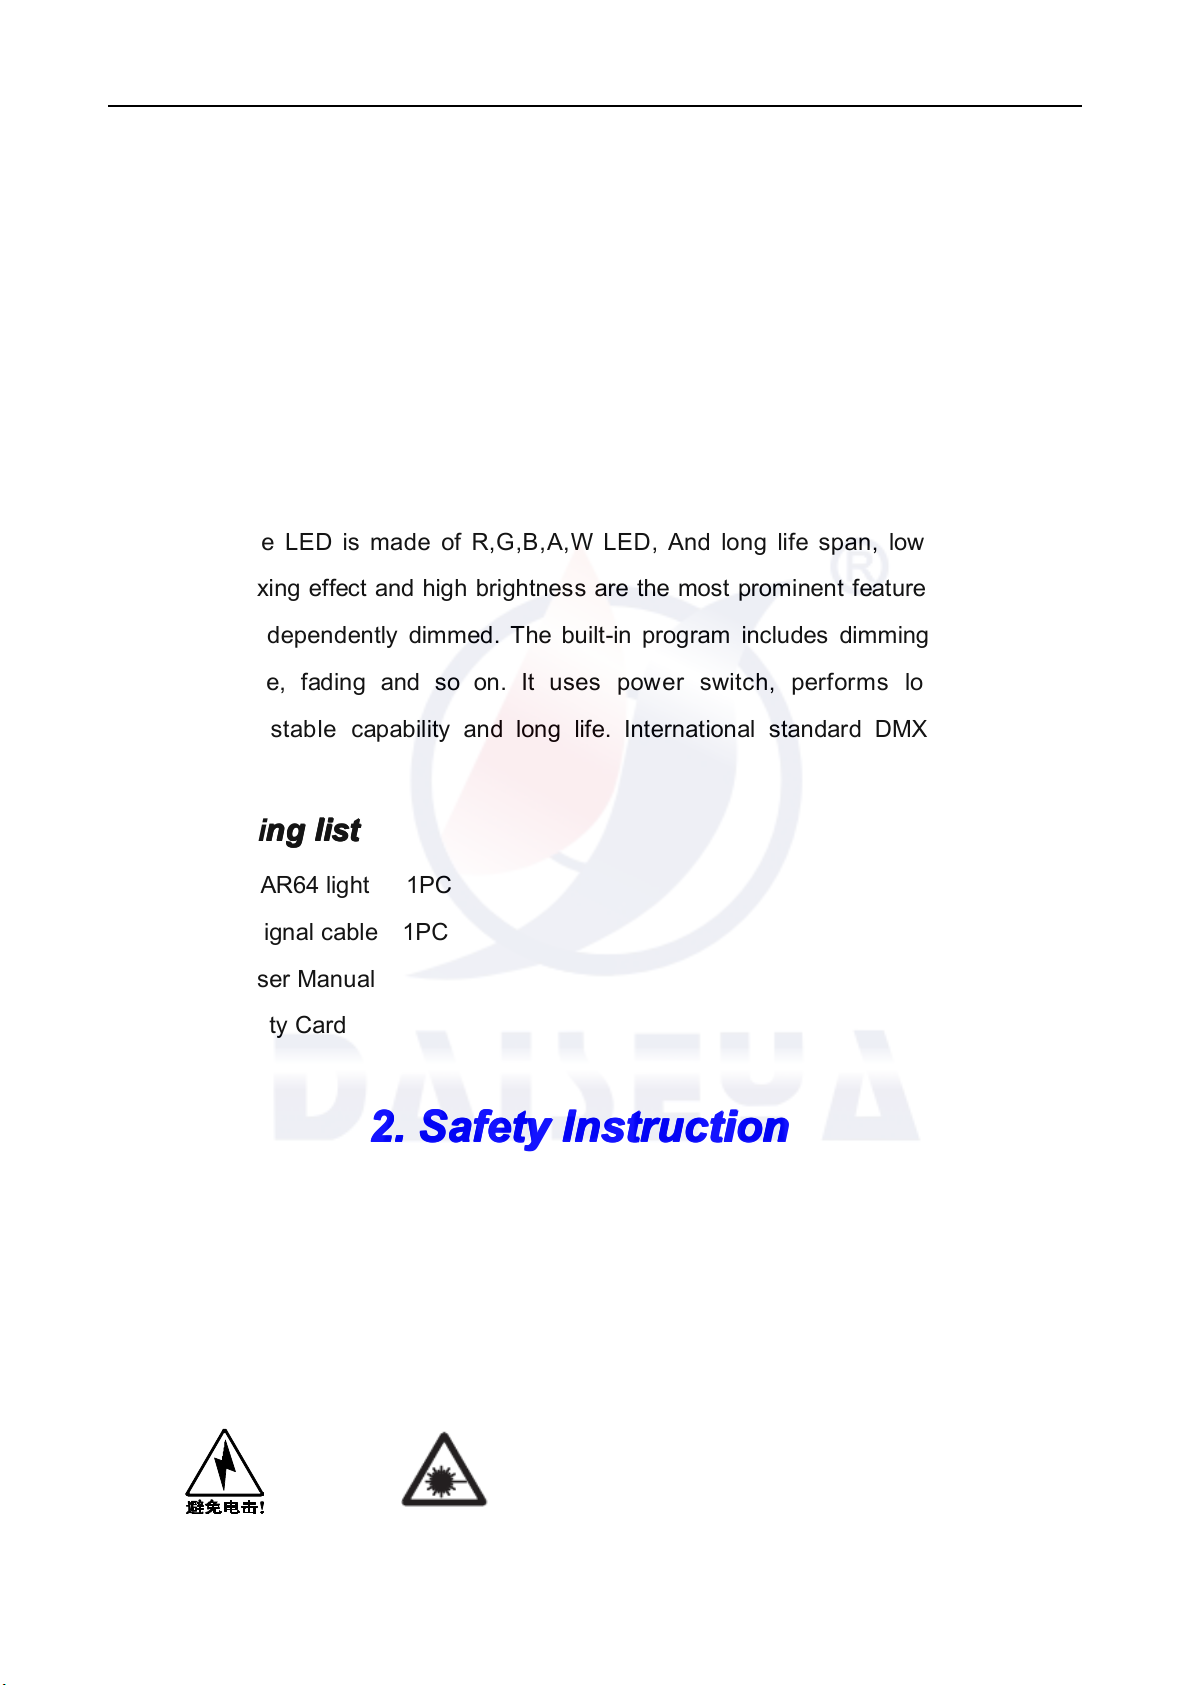
summarization
...........................................................................................................
...........................................................................................................
...........................................................................................................
...........................................................................................................
1
1
1
1
safety instruction ........................................................................................................
........................................................................................................
........................................................................................................
........................................................................................................ 1
1
1
1
outside size picture
...................................................................................................
...................................................................................................
...................................................................................................
...................................................................................................
2
2
2
2
main function ..............................................................................................................
..............................................................................................................
..............................................................................................................
.............................................................................................................. 3
3
3
3
DMX control function
.................................................................................................
.................................................................................................
.................................................................................................
.................................................................................................
3
3
3
3
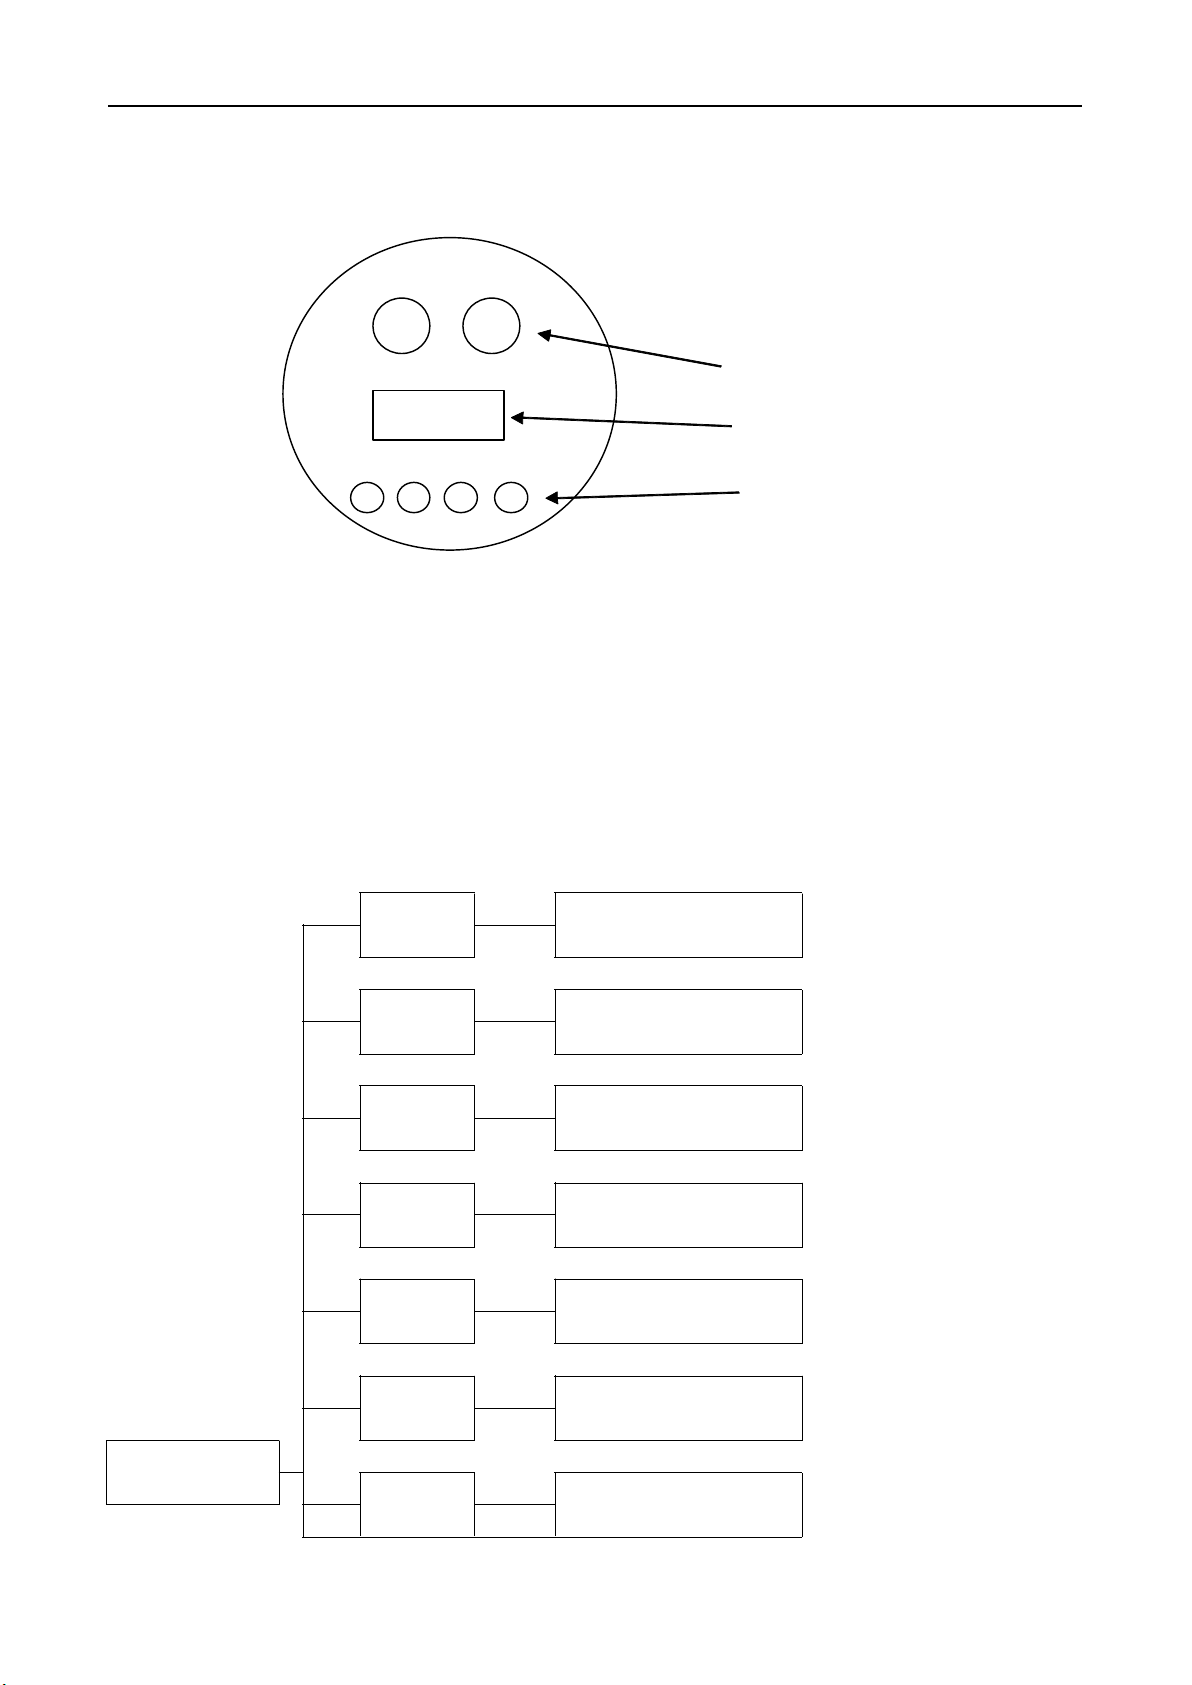
Display operation instruction ....................................................................................
....................................................................................
....................................................................................
.................................................................................... 4
4
4
4
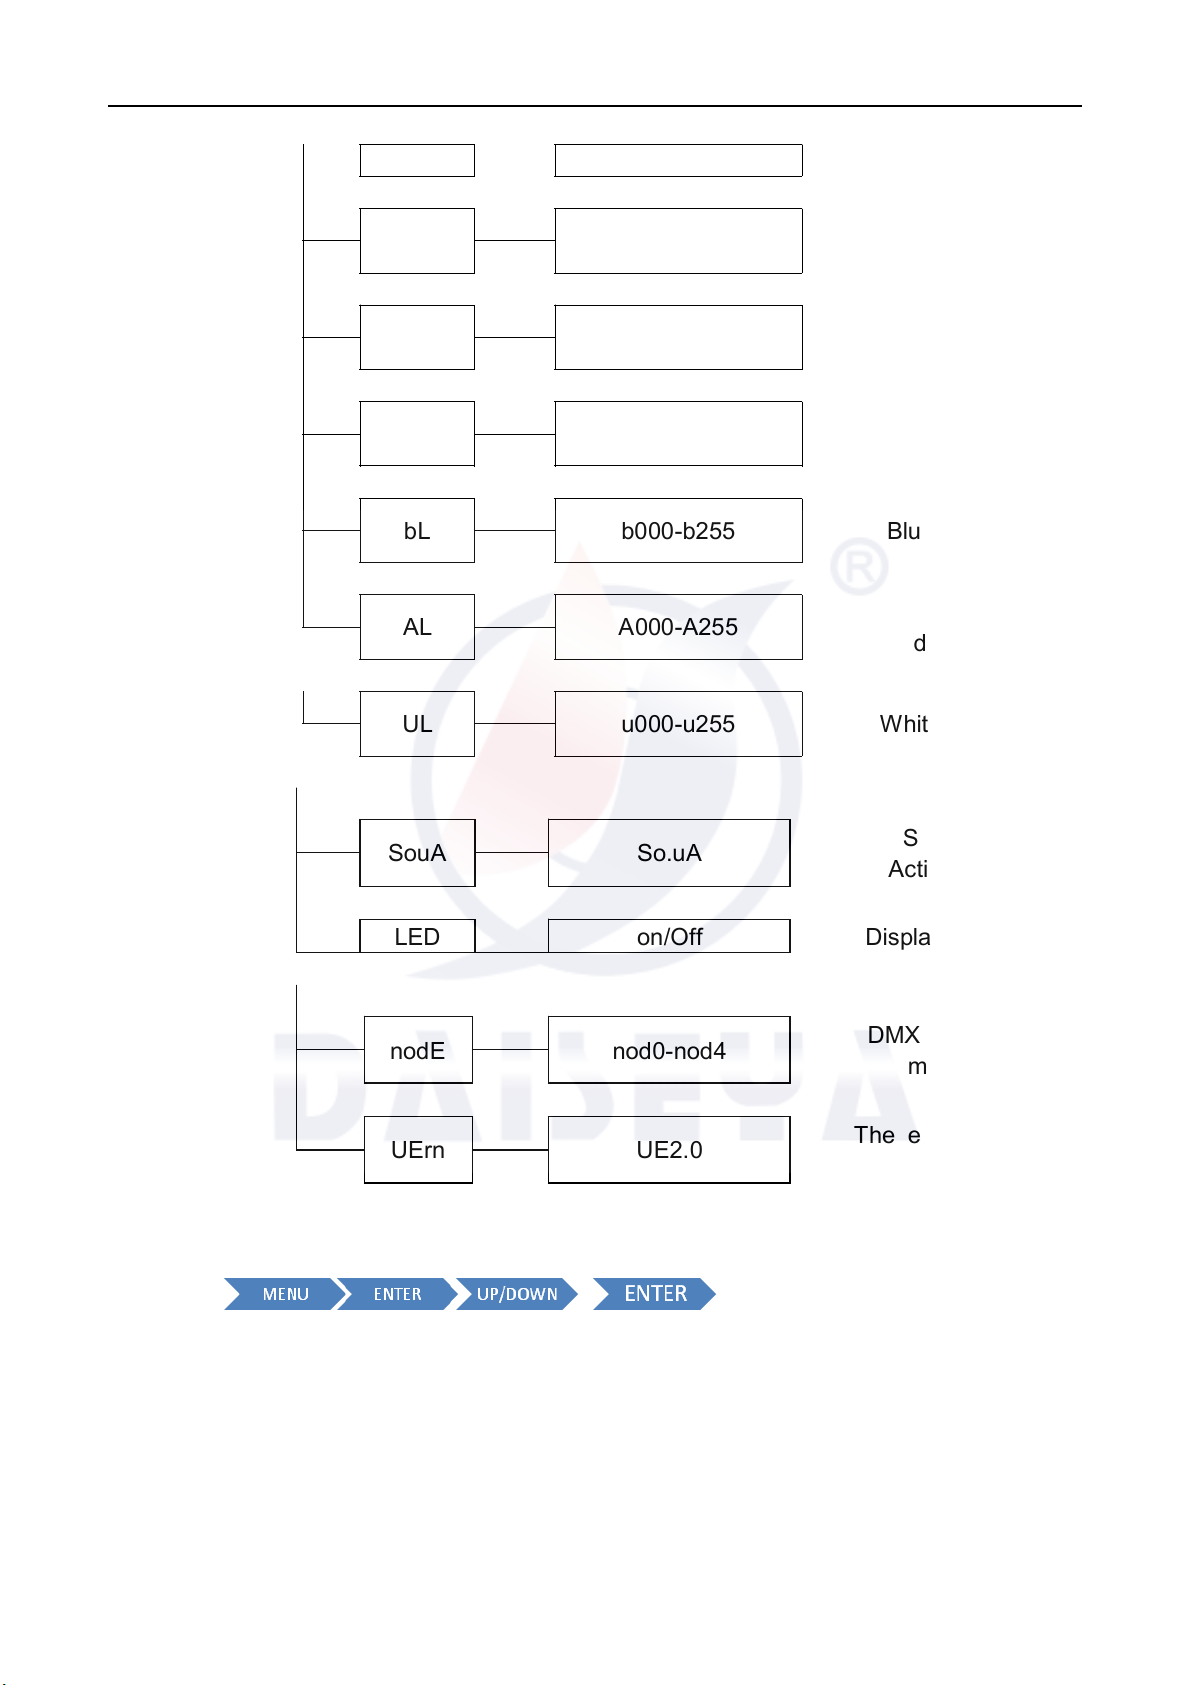
Menu instruction ........................................................................................................
........................................................................................................
........................................................................................................
........................................................................................................ 5
5
5
5
Operating control instruction ....................................................................................
....................................................................................
....................................................................................
.................................................................................... 8
8
8
8
XLR connection instruction ......................................................................................
......................................................................................
......................................................................................
...................................................................................... 8
8
8
8
Connecting picture
....................................................................................................
....................................................................................................
....................................................................................................
....................................................................................................
9
9
9
9
Trouble shooting ........................................................................................................
........................................................................................................
........................................................................................................
........................................................................................................ 9
9
9
9
Technical specification
...........................................................................................
...........................................................................................
...........................................................................................
...........................................................................................
11
11
11
11
Please read over this manual before operating the light
Catalogue
Catalogue
Catalogue
Catalogue