DMP-8121 Installation Quick Guide
DD4945518
Rev 02
22 June 2022
201 Daktronics Drive Brookings, SD 57006
www.daktronics.com/support
800.325.8766
Page 2 of 6
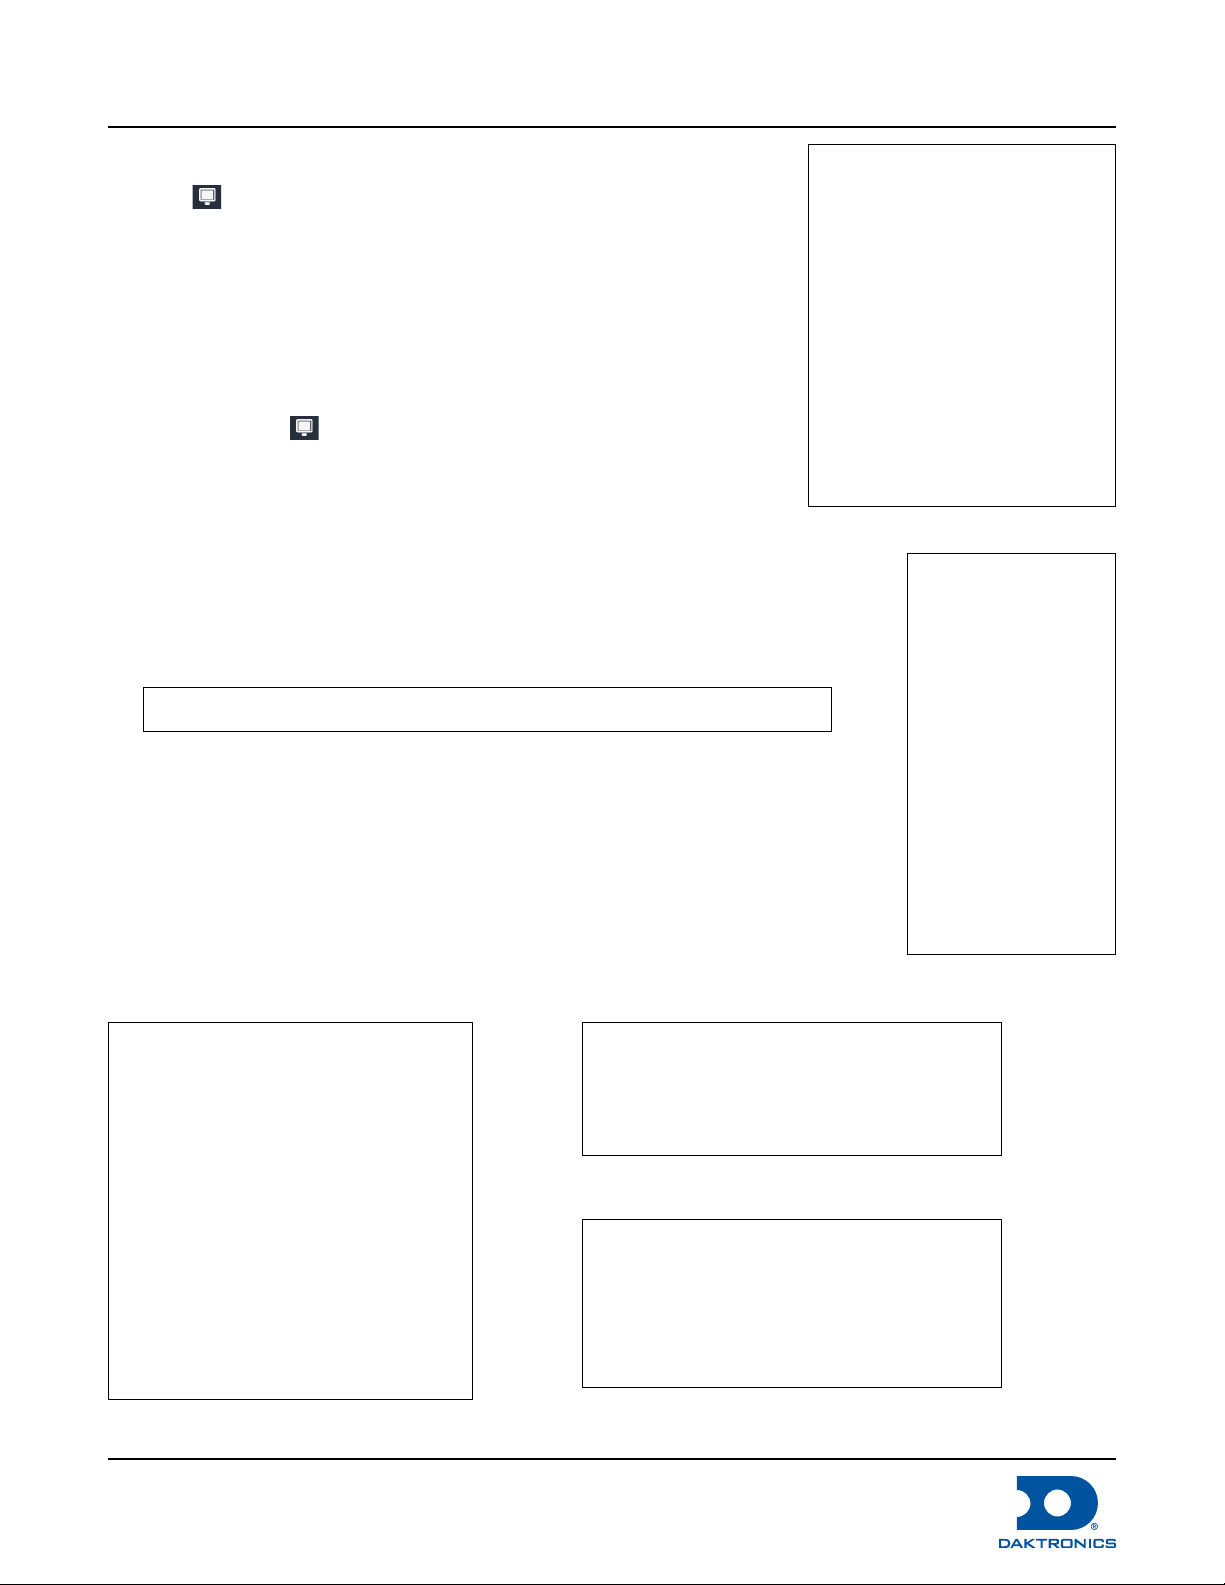
Key Hole Mounting
1. Measure the distance between the two keyholes(2) on the back of the player. Refer to Figure 2.
Note: The back of the player will indicate the correct orientation with a THIS WAY UP arrow. Make
sure when mounting the player that the arrow points up. Refer to Figure 2.
2. Secure the two drywall screws directly to the wall using the measurements from step 1.
3. Align the player’s keyhole mounts with the two screws and slide the player down to secure it.
Rack Mounting
1. Locate the player rack shelf.
2. Attach the player to the rack shelf using the
two direct screw mounts(3) and screws. Refer to
Figure 2.
3. Remove the four screws securing the power block
harness. Refer to Figure 3.
4. Place the power block inside the harness.
Note: Check that the orientation of the power block has the power cord coming out the back of
the rack.
5. Reattach the power block harness to the rack shelf. Refer to Figure 3.
6. Secure the rack shelf to the rack.
7. Follow Steps 5 and 6from the DMP-8121 Setup section to reconnect power.
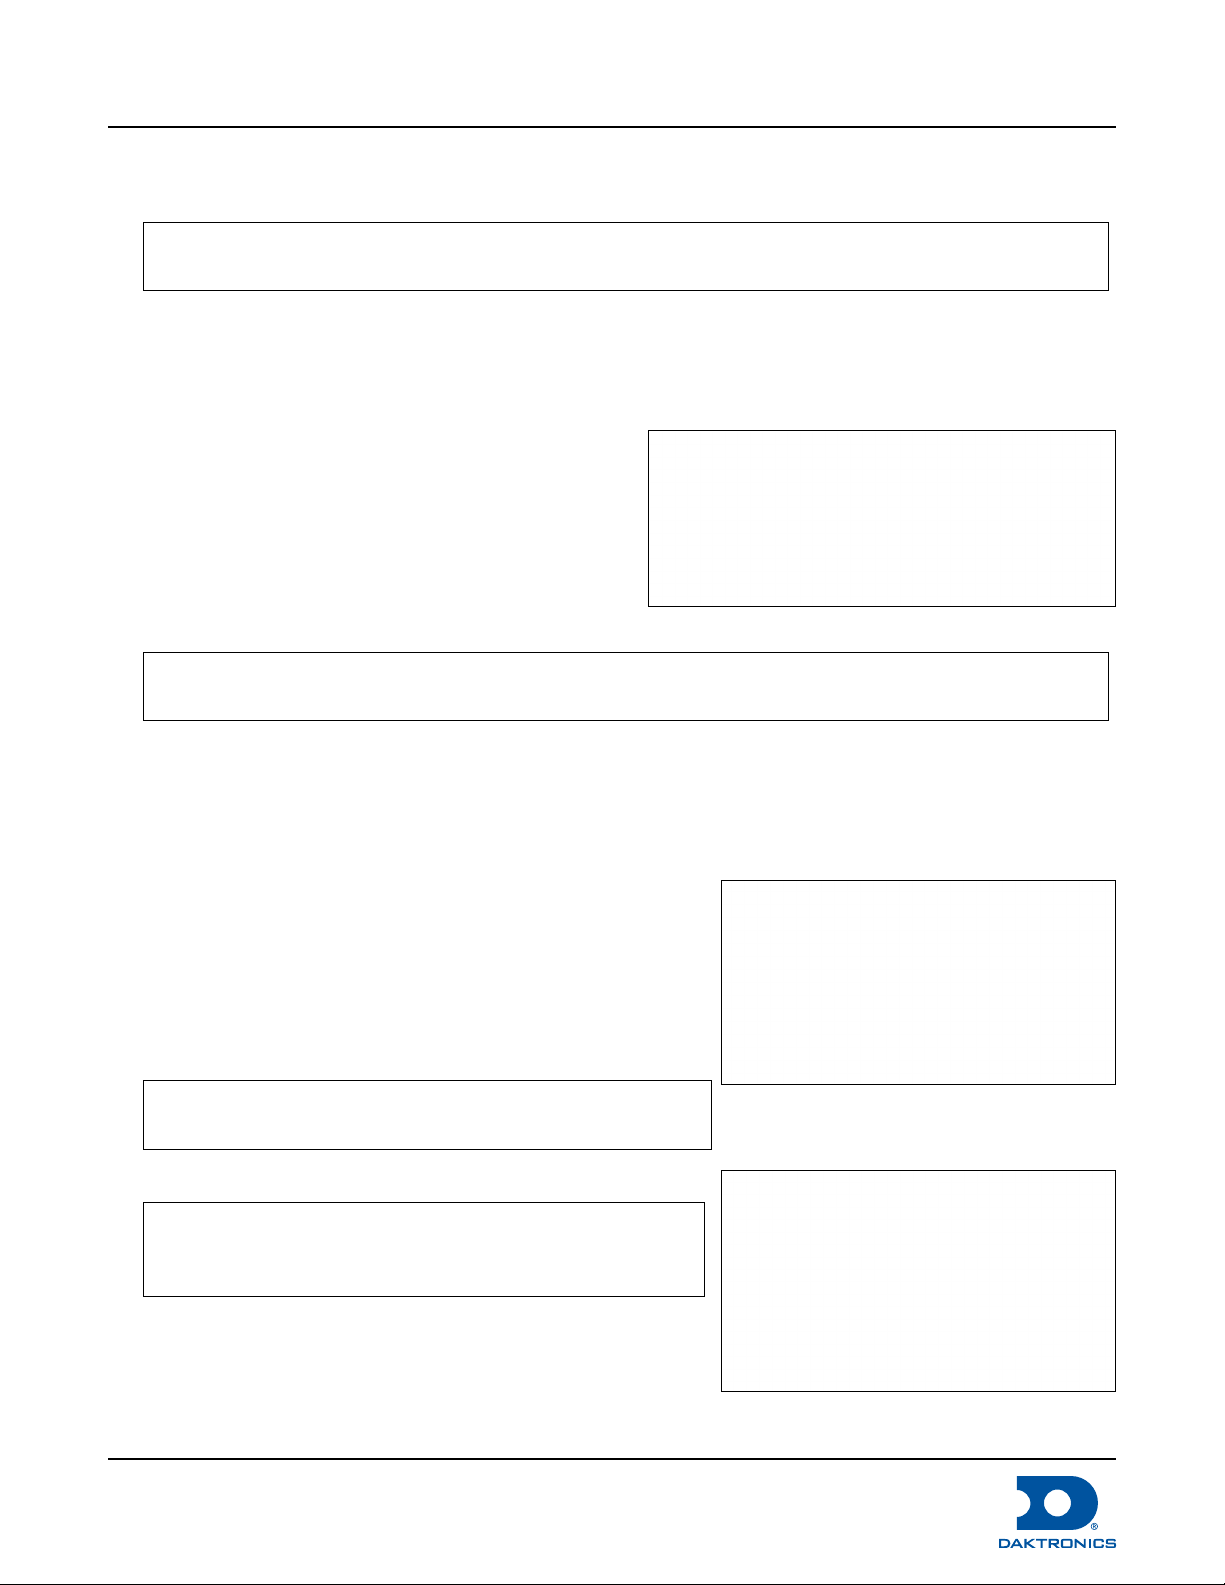
DMP-8121 Setup
1. Unbox components and ensure all are present. Refer to
Figure 1 and Figure 4.
2. Screw each antenna into the DMP-8121. Refer to Figure 4
and 5.
3. Plug the HDMI cable into HDMI port (1) on the DMP-8121.
Refer to Figure 5.
Note: Plug HDMI cord into the Protected UHD HDMI port
(1); do NOT use the unlabeled HDMI port.
4. Plug the other end into HDMI port 1 on the display.
Note: Identify which HDMI port is used on the display as
it might be necessary to switch the display to the
proper input for the unit function.
5. Connect Serial cable to DB9 connector on the player
and RS232 connector on the display if using Display
Control.
6. Plug the power supply cable into the power port(3) on
the DMP-8121. Refer to Figure 5.
Figure 3: DMP-8121 Rack Mounting
Figure 4: Front of DMP 8121
Figure 5: DMP-8121 Without Antenna