dallmeier DVE-4 Quick guide

English
Rev. 1.0.0 / 2014-02-19
Configuration
Streamer and Encoder
DVE-4 / DVE-8 / DVE-16

DVE-4 / DVE-8 / DVE-16
www.dallmeier.com 2
Information about Copyright, Trademarks, Design Patents
© 2014 Dallmeier electronic
The reproduction, distribution and utilization of this document as well as the communication of
its contents to others without express authorization is prohibited. Offenders will be held liable for
the payment of damages. All rights reserved in the event of the grant of a patent, utility model or
design.
We reserve the right to make technical modications.
The manufacturer accepts no liability for damage to property or pecuniary damages arising due
to minor defects of the product or documentation, e.g. print or spelling errors, and for those not
caused by intention or gross negligence of the manufacturer.
Dallmeier electronic GmbH & Co.KG
Cranachweg 1
93051 Regensburg, Germany
www.dallmeier.com
info@dallmeier.com
All trademarks identied by ® are registered trademarks of Dallmeier electronic.
All trademarks identied by *) are trademarks or registered trademarks of the following owners:
Third-party trademarks are named for information purposes only.
Dallmeier electronic respects the intellectual property of third parties and always attempts to ensure the complete identication of third-party
trademarks and indication of the respective holder of rights. In case that protected rights are not indicated separately, this circumstance is
no reason to assume that the respective trademark is unprotected.

DVE-4 / DVE-8 / DVE-16
www.dallmeier.com 3
Table of Contents
1 Introduction...................................................................................................4
1.1 Validity.............................................................................................................4
1.2 Documents......................................................................................................4
1.3 Typographical Conventions.............................................................................4
2 Safety Instructions........................................................................................5
3 General Notes................................................................................................7
3.1 Appropriate Use..............................................................................................7
3.2 Performance Features ....................................................................................7
3.3 Warranty .........................................................................................................7
4 Login and Language.....................................................................................8
4.1 Login ...............................................................................................................8
4.2 Language........................................................................................................9
5 Conguration ..............................................................................................10
5.1 Device Parameters .......................................................................................10
5.1.1 Device Name ................................................................................................11
5.1.2 Time ..............................................................................................................11
5.2 Camera Settings ...........................................................................................12
5.2.1 Display Settings ............................................................................................12
5.2.2 Video Settings...............................................................................................13
5.2.3 Motion Detection...........................................................................................14
5.2.4 Video Loss ....................................................................................................17
5.2.5 Private Zones................................................................................................19
5.2.6 Tamper Alarm................................................................................................20
5.2.7 Text Overlay..................................................................................................23
5.2.8 Holiday Settings............................................................................................24
5.3 Network Settings...........................................................................................25
5.4 Alarm Settings...............................................................................................25
5.4.1 Alarm Inputs..................................................................................................25
5.4.2 Alarm Outputs...............................................................................................27
5.5 Exception ......................................................................................................27
5.6 User Management ........................................................................................28
5.6.1 Change Administrator Password...................................................................28
5.6.2 New User ......................................................................................................29
5.6.3 Delete User...................................................................................................31
5.7 Maintenance .................................................................................................32
5.7.1 Reboot ..........................................................................................................32
5.7.2 Reset.............................................................................................................32
5.7.3 Import Conguration .....................................................................................33
5.7.4 Export Conguration .....................................................................................33
5.7.5 Firmware Upgrade ........................................................................................34

DVE-4 / DVE-8 / DVE-16
www.dallmeier.com 4
1 Introduction
1.1 Validity
This document is valid for the conguration of the devices DVE-4, DVE-8 and DVE-16. The
descriptions in this document are based on the following versions:
• Firmware version V1.1.0
Illustrations in this document may differ from the actual product.
1.2 Documents
Data Sheet
The document Data Sheet contains detailed technical specications and features of the
device.
The target audience is trained system integrators.
Conguration(thisdocument)
The document Conguration contains detailed descriptions on the conguration of the
device.
The target audience is trained system integrators.
1.3 Typographical Conventions
For reasons of clarity and readability, various text formatting elements and types of empha-
sis are used in this documentation:
NOTICE
NOTICE indicates practices for preventing property damage, incorrect
congurations or faulty operations.
Instructions are indicated by arrows ().
Always carry out instructions one after the other in the sequence described.
Expressions in bold/italics generally indicate a control element on the device (switches or
labels) or on its user interface (buttons, menu entries).
Paragraphs in italics provide information on basic principles, special features and efcient
procedures as well as general recommendations.

DVE-4 / DVE-8 / DVE-16
www.dallmeier.com 5
2 Safety Instructions
Only use the device if it is technically in proper working condition and for the intended pur-
pose while keeping safety and potential dangers in mind.
QualiedPersonnel
The installation, mounting, connection, commissioning and conguration of the device may
only be carried out by qualied personnel.
This also applies to the maintenance, testing and repair, whereat the regulations of the DIN
VDE 0701 series of standards (repair, modication and inspection of electrical appliances)
must be followed.
Regulations
The use of video and audio surveillance systems is, in general, strictly regulated. Inform
yourself about the currently valid laws and regulations regarding data, worker and environ-
mental protection before using the device and ensure compliance with them.
System Components
Only use internal components that have been tested and approved by Dallmeier. Inap-
propriate internal components may cause malfunctions, damages and data loss and may
result in the loss of warranty.
Modications
Do not make any modications to the hardware or software that have not been tested and
approved by Dallmeier.
Inappropriate modications may cause malfunctions, damages and data loss and may
result in the loss of warranty.
Documentation
Read the documents included in the delivery carefully and thoroughly. Always observe the
contained instructions, notes and warnings.
The product documentation contains several documents which are included in the delivery
in printed form and/or on a digital medium.
Store all documents in legible condition in a suitable location in order to provide for later
consultation.
Condensation Water
If the device is brought from a cold to a warm environment, resulting condensation water
may cause malfunctions and damages.
In this case, wait (up to 8 hours) until the device has reached room temperature before
commissioning.
Earthing & Equipotential Bonding
For the safety of persons (protection against dangerous contact voltages) and devices
(protection against over-voltages) and the immunity of information and communication
technology equipment to electromagnetic interferences (EMI), all protective measures,
which are specied by the currently valid DIN, VDE and ISO standards and which provide
for a standard-compliant earthing and a correct equipotential bonding of electrical and elec-
tronic devices, are mandatory and must be fullled by all means.

DVE-4 / DVE-8 / DVE-16
www.dallmeier.com 6
Lightning Storms
To avoid damage to the device by electrical surge during lightning storms, unplug the de-
vice from the mains power supply (pull out the power plug). This is also recommended,
when the device has been unused for a long period of time.
Operating Conditions
Unfavourable operating conditions may shorten the life of the device and may cause mal-
functions, damages and data loss and may result in the loss of warranty.
Observe the specications given in the technical data, the operating condition require-
ments and the maintenance instructions.
Shocks
Shocks can cause malfunctions and damages. The unit may not be moved while in opera-
tion.
Foreign Bodies
If objects or liquids get into the device, immediately disconnect it from the power supply
(pull out the power plug).
Contact the sales partner responsible for your area.
Burnt Smell
If you notice burnt smell or a formation of smoke coming from the device, immediately dis-
connect it from the power supply (pull out the power plug).
Contact the sales partner responsible for your area.
Opening
The device may only be opened by qualied personnel for commissioning, inspection,
maintenance and repair.
Disposal
Do not dispose waste electrical and electronic equipment into the household trash.
Disconnect the device from the power supply.
Remove all connected devices.
Return the device to your respective sales partner.

DVE-4 / DVE-8 / DVE-16
www.dallmeier.com 7
3 General Notes
3.1 Appropriate Use
The DVE-4, DVE-8 and DVE-16 devices are analog video encoder for 4, 8 or 16 channels.
It is able to receive and encode video data via their BNC entries and simultaneously stream
them via Ethernet (unicast or multicast) to a receiver.
3.2 Performance Features
• 4, 8 or 16 analog video channels
• Supports analog cameras by Dallmeier and third-party suppliers
• Video compression H264, MPEG-2, MPEG-4, MJPEG
• Frame rate up to 25/30 fps
• Resolution up to 4CIF
• Video bit rate up to 3 Mbps
• Con guration with web browser over Ethernet
• Evaluation with web browser over Ethernet
3.3 Warranty
The terms and conditions valid at the time the contract was signed shall apply.
DVE-4 / DVE-8 / DVE-16
www.dallmeier.com 8
4 Login and Language
4.1 Login
The conguration of the devices is done with a PC / web browser through the local network
(LAN – Local Area Network).
The factory default IP address is: 10.128.8.62
If you do not know the IP address of the device or not using the device for the rst time, you
can use the Dallmeier software “PService” in order to nd out the IP address of the device.
It is recommended to change the device’s registered factory IP address.
Make sure that the PC / web browser can connect to the corresponding device via
Ethernet.
Start the web browser.
Enter the IP address of the corresponding device in the address line of your web
browser.
Conrm the entry.
The connection to the device is established.
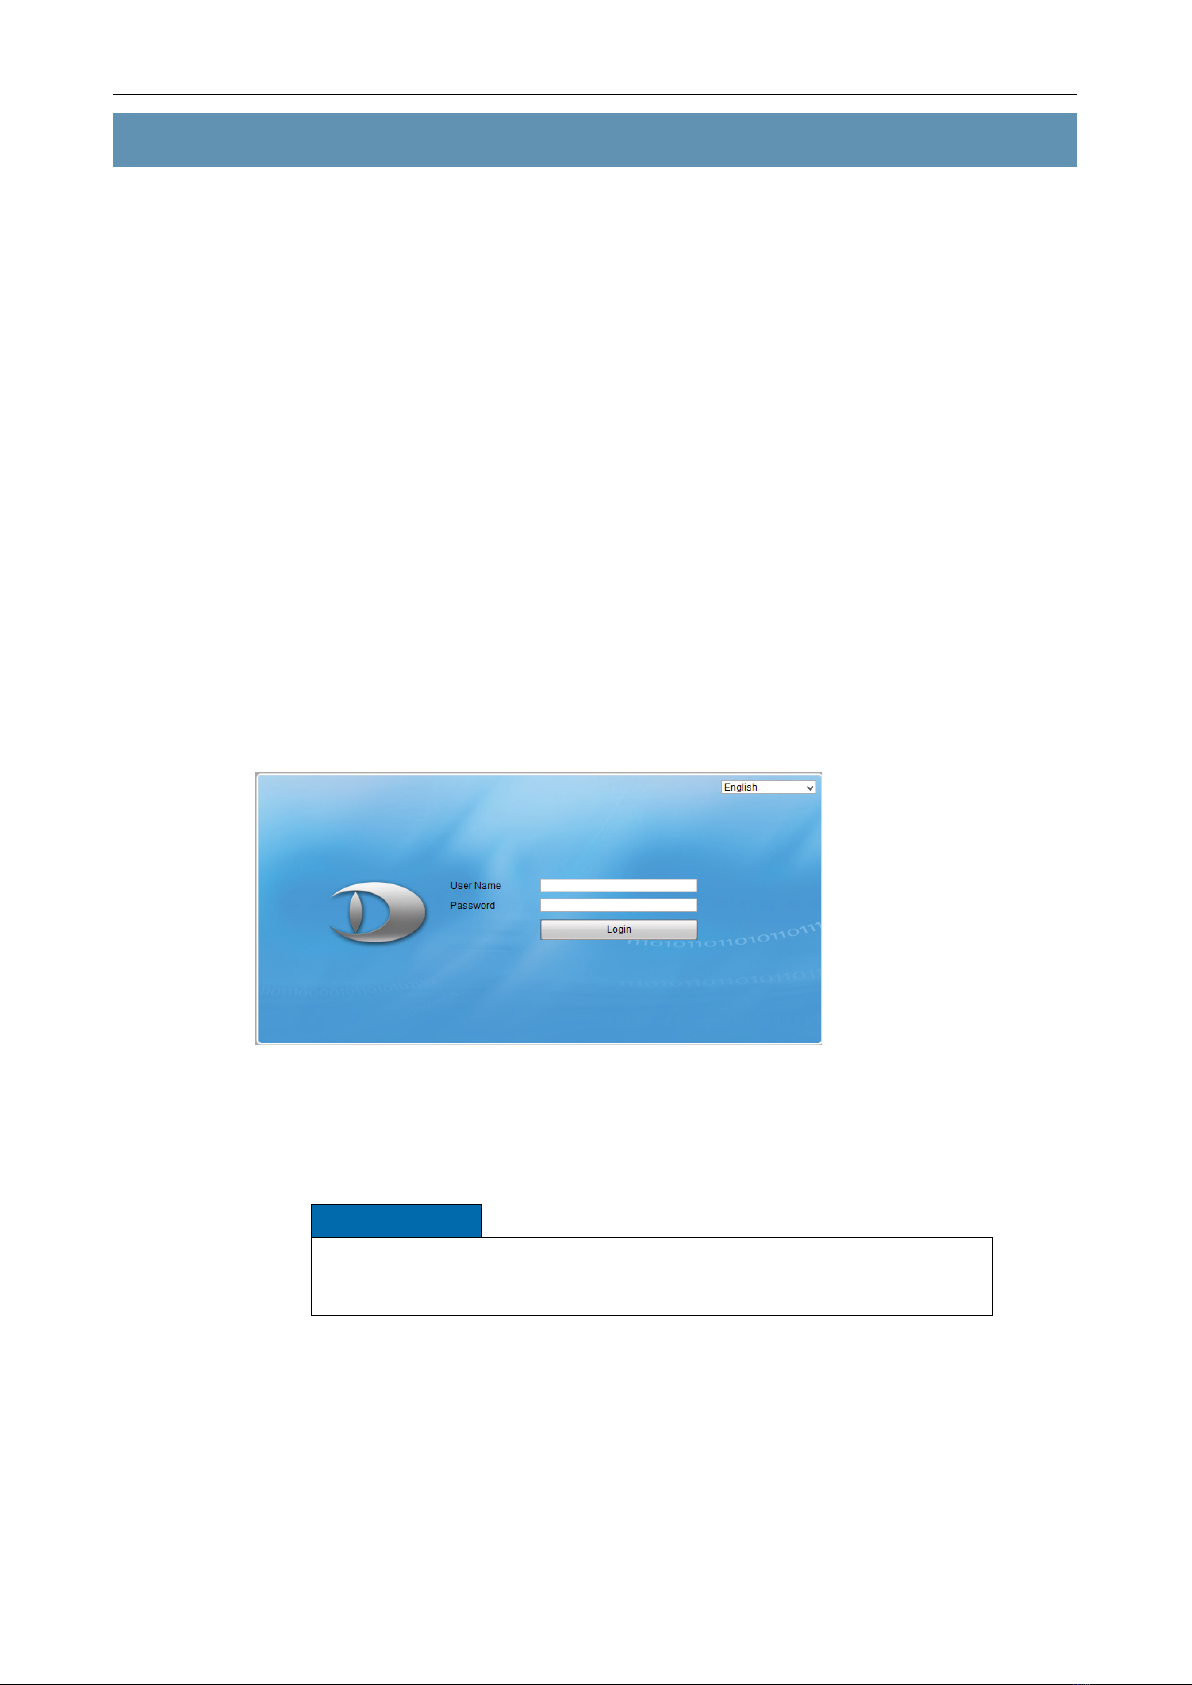
The login dialog is displayed.
Fig. 4-1
The factory-set “User Name” is “admin”.
The factory-set “Password” is “12345”.
NOTICE
Danger of abuse by unauthorized users!
Change the factory default set admin password as soon as possible.
Enter User Name and Password.
Click Login.
After successful login, the user interface is displayed depending on the selected settings.

DVE-4 / DVE-8 / DVE-16
www.dallmeier.com 9
4.2 Language
The user interface language can be specied in the login dialog.
Set the connnection to the device as described above.
Fig. 4-2
Select from the dropdown box on the top right the required language.
Login as described above.
DVE-4 / DVE-8 / DVE-16
www.dallmeier.com 10
5 Conguration
After the required analog cameras were connected to the respective device, the settings
can be congured.
Login to the web interface of the device as described above.
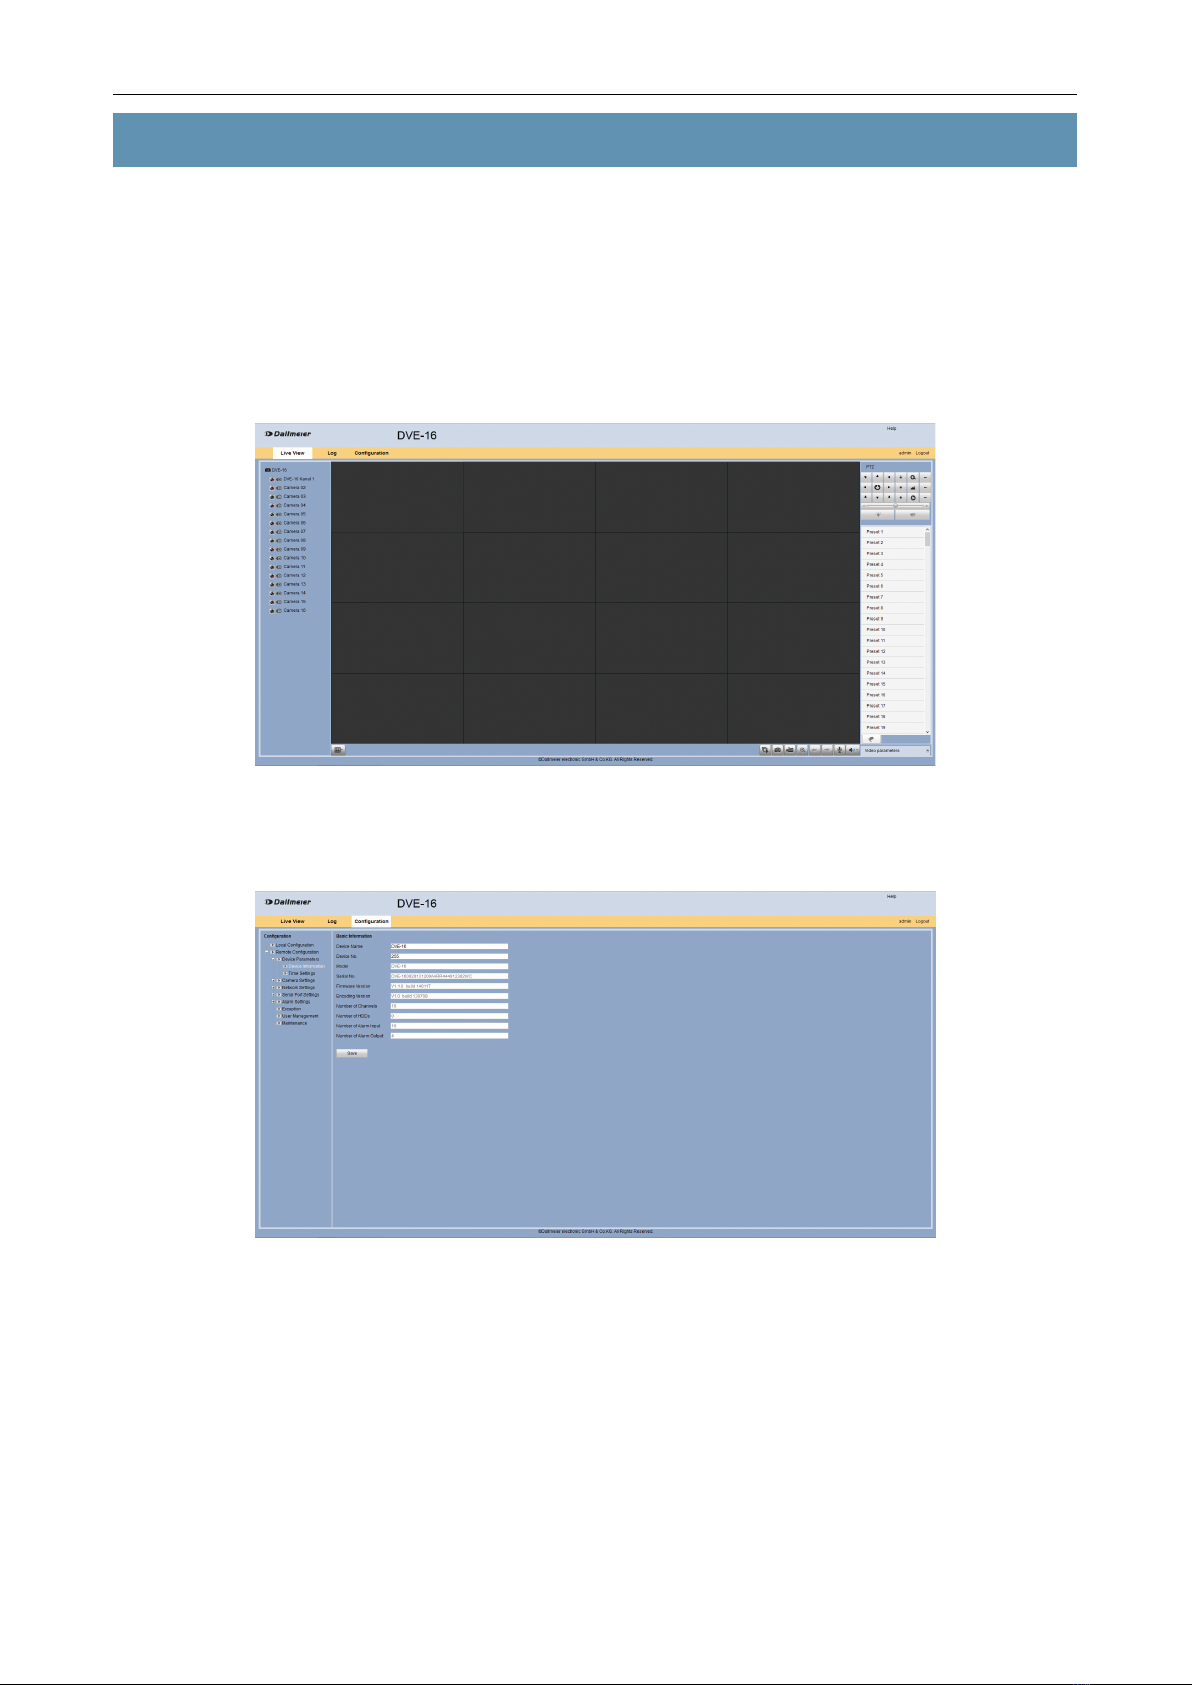
The user interface is displayed depending on the setting.
Fig. 5-1
Select the Conguration tab.
Fig. 5-2
Make the required settings as described below.
5.1 Device Parameters
General parameters such as device name or time can be congured on the Device Pa-
rameters tab.
This manual suits for next models
2
Table of contents
Other dallmeier Media Player manuals


