EnglishDeutsch
 logo
Brands
  1. Home
  2. •
  3. Brands
  4. •
  5. Danfoss
  6. •
  7. Measuring Instrument
  8. •
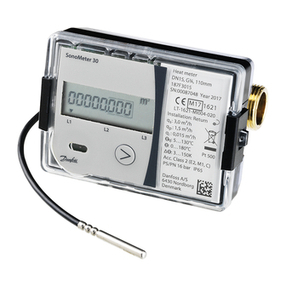
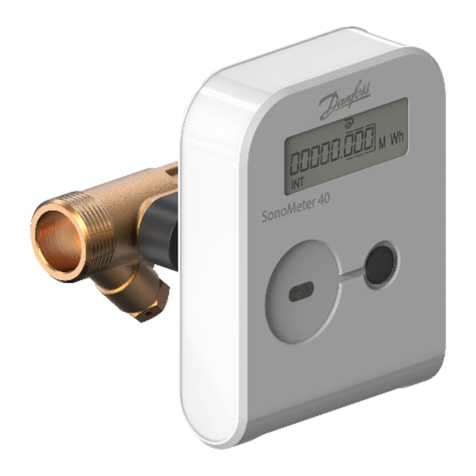
  9. Danfoss SonoMeter 30 User manual

Danfoss SonoMeter 30 User manual

Other manuals for SonoMeter 30

3

Other Danfoss Measuring Instrument manuals

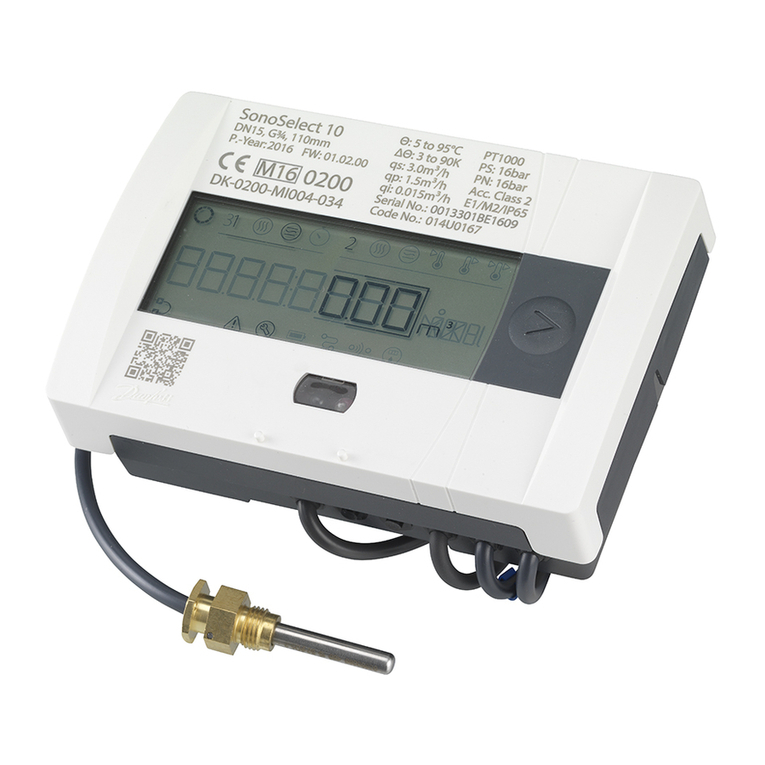
Danfoss SonoSelect 10 Operation manual

Danfoss

Danfoss SonoSelect 10 Operation manual

Danfoss ADAP-KOOL AK-LM 340 User manual

Danfoss

Danfoss ADAP-KOOL AK-LM 340 User manual

Danfoss AKS 4100 User manual

Danfoss

Danfoss AKS 4100 User manual

Danfoss PR-OCTO User manual

Danfoss

Danfoss PR-OCTO User manual

Danfoss VLT User manual

Danfoss

Danfoss VLT User manual

Danfoss SonoSensor 30 Operation manual

Danfoss

Danfoss SonoSensor 30 Operation manual

Danfoss AK-EM 100 User manual

Danfoss

Danfoss AK-EM 100 User manual

Danfoss SonoSafe Operation manual

Danfoss

Danfoss SonoSafe Operation manual

Danfoss 40 User manual

Danfoss

Danfoss 40 User manual

Danfoss 40 Use and care manual

Danfoss

Danfoss 40 Use and care manual

Danfoss Infocal 9 Operation manual

Danfoss

Danfoss Infocal 9 Operation manual

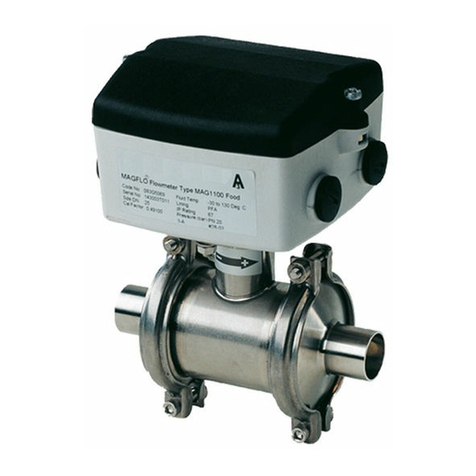
Danfoss MAGFLO MAG 1100 User manual

Danfoss

Danfoss MAGFLO MAG 1100 User manual

Danfoss SonoSelect User manual

Danfoss

Danfoss SonoSelect User manual

Danfoss MCH19AM1649 Manual

Danfoss

Danfoss MCH19AM1649 Manual

Danfoss PFM 100 User manual

Danfoss

Danfoss PFM 100 User manual

Danfoss SonoMeter 30 Operation manual

Danfoss

Danfoss SonoMeter 30 Operation manual

Danfoss AK-LM 330 Guide

Danfoss

Danfoss AK-LM 330 Guide

Danfoss PFM 5001 User manual

Danfoss

Danfoss PFM 5001 User manual

Danfoss SonoMeter 30 User manual

Danfoss

Danfoss SonoMeter 30 User manual

Danfoss SonoCollect 110 User manual

Danfoss

Danfoss SonoCollect 110 User manual

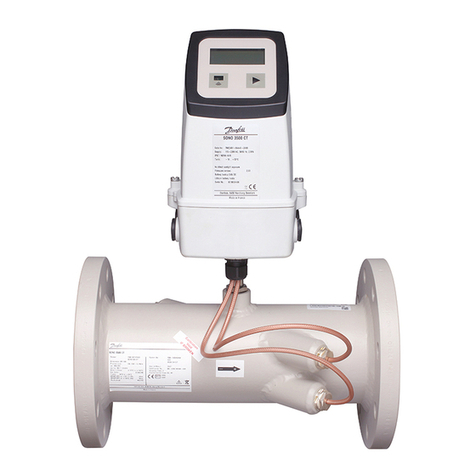
Danfoss SONO 3500 CT User manual

Danfoss

Danfoss SONO 3500 CT User manual

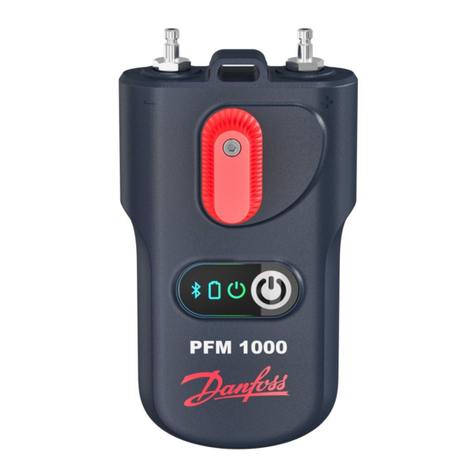
Danfoss PFM 1000 User manual

Danfoss

Danfoss PFM 1000 User manual

Danfoss MES 1003 User manual

Danfoss

Danfoss MES 1003 User manual

Danfoss AKS 4100 User manual

Danfoss

Danfoss AKS 4100 User manual

Popular Measuring Instrument manuals by other brands

Suaoki D40 user manual

Suaoki

Suaoki D40 user manual

Elster BK-G1.6 operating instructions

Elster

Elster BK-G1.6 operating instructions

Endress+Hauser Deltabar FMD71 technical information

Endress+Hauser

Endress+Hauser Deltabar FMD71 technical information

Duratool D03128 manual

Duratool

Duratool D03128 manual

Vega VEGAPULS 65 Quick setup guide

Vega

Vega VEGAPULS 65 Quick setup guide

Tonghui TH2618B Operation manual

Tonghui

Tonghui TH2618B Operation manual

Tenmars TM-801 user manual

Tenmars

Tenmars TM-801 user manual

MSR 145 user manual

MSR

MSR 145 user manual

TPS WP-82 manual

TPS

TPS WP-82 manual

PCB Piezotronics 003C30 Installation and operating manual

PCB Piezotronics

PCB Piezotronics 003C30 Installation and operating manual

Tenma 72-10465 manual

Tenma

Tenma 72-10465 manual

Endress+Hauser Proline Promag 50 Brief operating instructions

Endress+Hauser

Endress+Hauser Proline Promag 50 Brief operating instructions

Siemens SITRANS F Coriolis FCT030 Function manual

Siemens

Siemens SITRANS F Coriolis FCT030 Function manual

KLINGER CMF V Series instruction manual

KLINGER

KLINGER CMF V Series instruction manual

Keysight M8290A Getting started guide

Keysight

Keysight M8290A Getting started guide

Acterna MS1400 Operation manual

Acterna

Acterna MS1400 Operation manual

R&S ZPH manual

R&S

R&S ZPH manual

Datacolor ColorReader DC10-2 user guide

Datacolor

Datacolor ColorReader DC10-2 user guide

https://manuals.online logo
https://manuals.online logoBrands
  • About & Mission
  • Contact us
  • Privacy Policy
  • Terms and Conditions

Copyright 2026 Manuals.Online. All Rights Reserved.

© Danfoss | 2019.10 VU.SH.I1.02 | 1
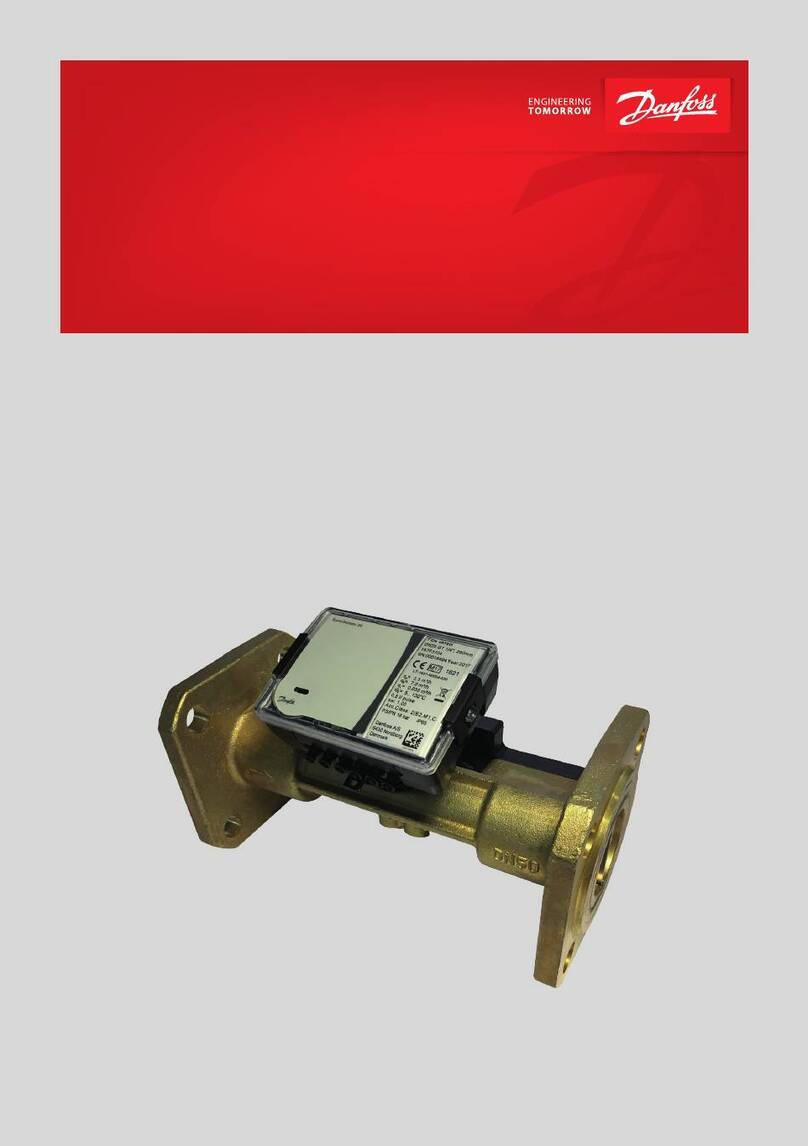
Ultrasonic heat meter SonoMeter 30
Test and calibration instruction
User guide
Table of Contents 1. General information ............................................................................................................... 2
2. Test instruction ....................................................................................................................... 2
2.1 Calculator energy measurement error (δE) test .................................................................................... 2
2.2 Volume measurement error (δV) test........................................................................................................ 2
3. Calibration instruction ........................................................................................................... 3
3.1 Calibration mode ............................................................................................................................................. 3
3.2 Program installation ....................................................................................................................................... 3
3.3 Program interface............................................................................................................................................ 3
3.4 „Manufacturer“ window................................................................................................................................ 3
3.5 Volume calibration .......................................................................................................................................... 4
User guide Ultrasonic heat meter SonoMeter 30
2 | VU.SH.I1.02 © Danfoss | 2019.10
1. General information This instruction designed for ultrasonic heat
meter SonoMeter 30 flow and energy verification
and calibration.
Heat meter energy measurement error (δEs)
assess the application of the partial verification
method: assesses the calculator thermal energy
measurement error (δE), the flow volume
measurement error (δV) and temperature sensor
temperature difference measurement error (δT).
Heat meter energy measurement error (δEs) are
all components of the arithmetic sum of the
errors:
Es = ׀
E׀
+ ׀
T׀
1) Energy pulse out terminals (Fig. 1) connected
to the pulse counter (not required when
reading the measurement results directly
from the display or via a digital interface)
Pin 53 - Energy Pulse output (Pulse)
Pin 52 - Energy Pulse output (GND)
2. Test instruction
2.1 Calculator energy
measurement error (δE) test
2) Temperature sensors placed in the
temperature testing bench (for temperature
difference simulation).
3) Verification mode is activated by connecting
TEST jumper contacts 1 (FIg. 1).
4) Determination errors:
- before each measurement run automatic
verification mode with long button clicking
on the meter (simulated flow pulses),
- When the LCD display stops blinking “TEST”,
energy and volume values can be read
directly from the LCD screen or through the
optical / digital interface. The pulses shall
begin calculated with the corresponding
nominal flow pulse values as follows:
Permanent flow qp
(m3/h)
Energy pulse value,
(Wh/imp)
0.6 0.1
1.0 0.2
1.5 0.2
2.5 0.5
3.5 0.5
6.0 1
10.0 2
15.0 5
- energy E (kWh) measurement error is
calculated by formula:
E = (E – E
0
) / E
0
• 100 %
there:
E0– the conventional true energy E value
(kWh), calculated in consideration of the
fluid temperature values simulated Θ1, Θ2
and simulated change in volume values:
Flow sensor mounting
place E0calculating formula
Supply pipe E0=V1 • ρ1 • (hT1-hT2)
Return pipe E0=V1 • ρ2 • (hT1-hT2)
There:
E0– the estimated true value of the energy component
(kWh);
V1 – simulated water volume value (m3);
ρ1…ρ2 – density of water, corresponding to the sumulated
temperature value Θ1,Θ2, (kg/m3);
hT1… hT2 – relative enthalphy of water, corresponding to the
simulated temperature value Θ1,Θ2
1) Volume pulse output terminals (Fig. 1)
connected to the pulse counter (not required
when the measurement results are directly
reading from the display or via a digital
interface)
Pin 51 - Volume Pulse output (Pulse)
Pin 50 - Volume Pulse output (GND)
2.2 Volume measurement
errors (δV) test
2) Switched on verification mode by connecting
TEST jumper contacts 1 (1 pav),
3) The meter mounted on the flow test bench,
flow are simulating.
Recommended minimum pulse content and
measurement time:
Flow Pulse content Measurement time
0.1 qp <q ≤ qsN≥1000 T> 1 (min)
qi ≤ q ≤ 0.1 qpN>500 T > 1 + 8 qi/q, (min)
Fig. 1
User guide Ultrasonic heat meter SonoMeter 30
VU.SH.I1.02 | 3© Danfoss | 2019.10
It must be maintained both minimum time and
minimum pulse quantities.
4) After the simulation of flow measured volume
V (m3) value is read directly from the display
(or through a digital interface) or calculated
pulse counter calculates the volume pulse
multiplied by the pulse value:
Permanent flow qp, (m3/h) Volume pulse value, (l/imp)
0.6 0.001
1.0 0.001
1.5 0.001
2.5 0.002
3.5 0.01
6.0 0.01
10.0 0.02
15.0 0.02
- volume V (m3) measurement error calculated
by formula:
V = (V – V0) / V0 • 100 %
there:
V0– device true value of simulated volume (m3).
3. Calibration instruction
3.1.1 Calibration mode
To enter calibration mode it is necessary to
connect the verification jumper 1, remove
metrological seal and short circuit calibration
contacts 2. (Fig.2).
3.2 Software installation The software “SonoMeter30Config.exe” is used
to read and configure SonoMeter 30 device via
OG-1-USB optical reader.
Meter configuration / calibration cab be made
also via M-Bus interface module then converter
COM/M-Bus (MB-1) can be used.
Open “SonoMeter30Config.exe”. Press “Next”.
Then, you can choose installation directory.
“SonoMeter30UserConfig” has five user interface
windows for different purposes:
• “Actual” – actual data window;
• “LCD Menu” – LCD configuration window.
• “Configuration” – configuration window for
pulse channels, archive and tariffs;
3.3 Program interface • “Archive” – window for information from
device archive;
• “Manufacturer” – device calibration, reset and
configuration window.
2.2 Volume measurement
errors (δV) test (continuous)
“SonoMeter30UserConfig” “Manufacturer”
window is shown in Fig. 3, information about
window parameters is in Table 1.
3.4 “Manufacturer” window
Fig. 2
1
2
3
4
5
6
7
89
10
Fig. 3
“Manufacturer” window
© Danfoss | DHS-SRMT/SI | 2019.104 | VU.SH.I1.02
User guide Ultrasonic heat meter SonoMeter 30
Measurement units, flow pipe tagging,
calibration can be configured in “Manufacturer”
window.
Select energy units option in “energy unit” field
3.5 Volume calibration and press “set” in order to configure what energy
units are used for measurements. If device is
successfully configured message “Operation
done” will pop up.
If device is going to be placed on flow pipe, tag
“Flow pipe”. If device is going to be placed on
return pipe, tag “Return pipe”. Press “set” to save
configuration into device. If device is successfully
3.5.1 Changing pipe type configured message “Operation done” will pop
up. If is it needed that device measure only
heating energy, “heating only” box should be
tagged.
Press “Read” and then press “Manufacturer Reset”.
Disconnect the battery from the device. Use a
jumper to short the contacts on the device for
3.5.2 Resetting device 3 seconds in place where need to be connect
the battery. Connect a battery to the device and
reconfigure the date and time parameters.
Place jumper under removed device cover
(see Fig. 4). Press “Read” and then write error
“Err %” and flow “Q” data. Press “set” to save
3.5.3 Calibration configuration into device. If device is successfully
configured message “Operation done” will pop
up.
Table 1 “Manufacturer” window parameters
No. Name Note
1Calculator
-2Flow pipe (T1)
3Return pipe (T2)
4Heating only Check this when device is only for heating energy measurements
5Calibration -
6set Press button to save configuration to device device
7Calibration parameters Write calibration parameters here
8Energy unit -
9set Press set to save energy unit parameter configuration
10 Manufacturer Reset Press to reset the device
Fig. 4
Jumper Position “TEST”