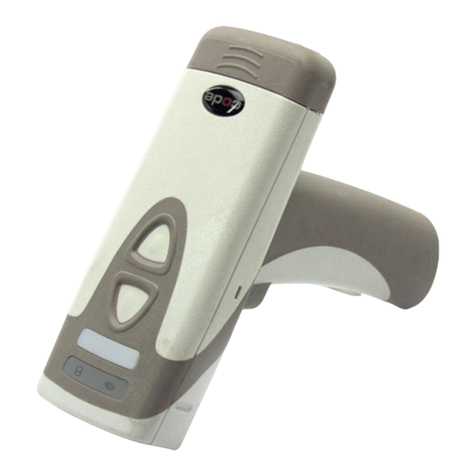
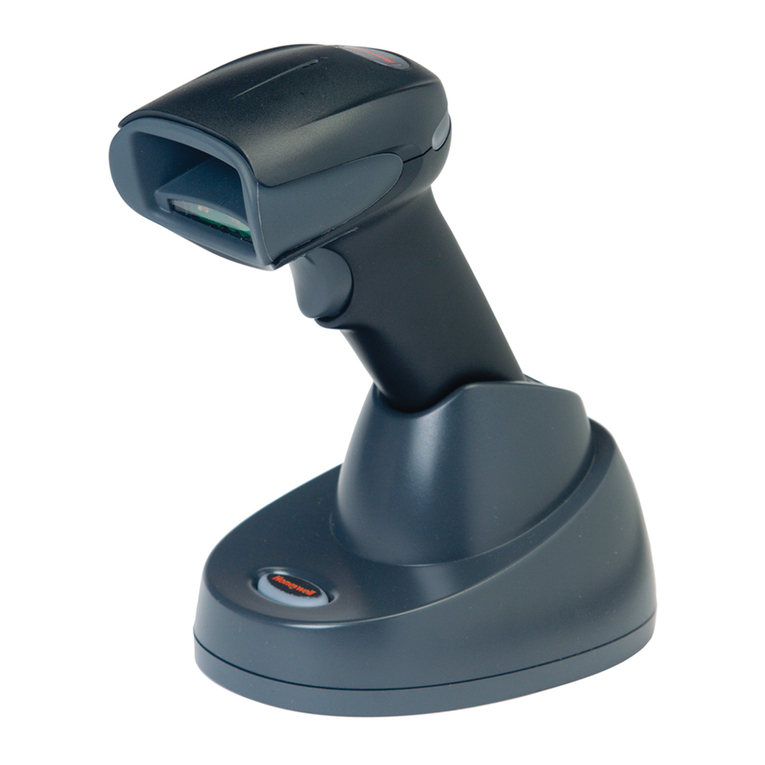
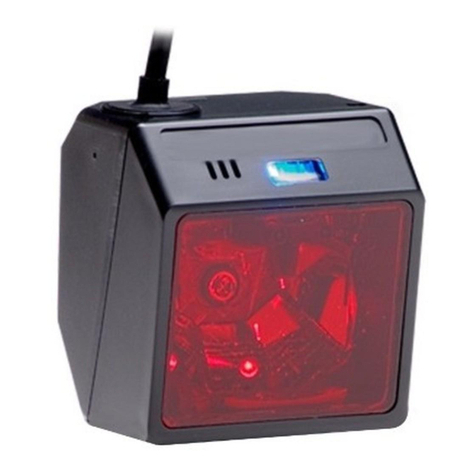
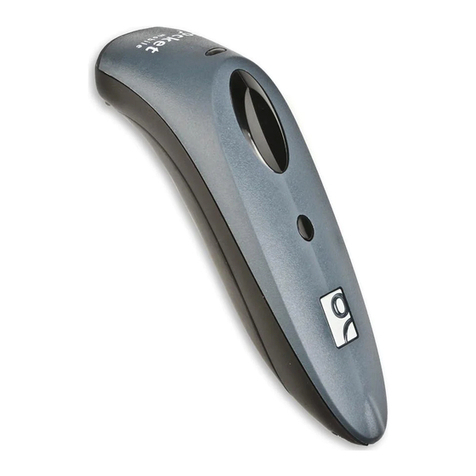
Dataman ROV MS2200 User manual

Selector Switch on cable
Quick Start Guide for the ROV MS2200
The configuration instructions included with the ROV are for reference purposes, all ROV
MS2200 laser scanners supplied by Dataman Barcode Systems have already been tested
and set up to work with the supplied USB cable, the ROV DOES NOT require any further
initial programming and can be used immediately.
The extra RS232 serial cable supplied with the ROV must be retained and could be required
at a later time, especially if the additional “Time Stamp” feature of the ROV is to be exploited.
The sheet of command bar codes supplied with the instructions should be studied and may
be required during the operation of the ROV MS2200, we recommend that a copy be made
and laminated to provide greater durability, the original copy should be filed for reference.
Batteries do need to be fitted as per the configuration instructions (see below). The switch on
the USB cable has already been set to the correct Kbd/HID mode.
Before using the ROV, the scanner must be powered up. If you have not already done so,
please undertake the procedures described as follows.
Use alkaline AAA batteries or NiMH rechargeable AAA batteries in your scanner.
Please remove the batteries when you store your scanner for more than 30 days
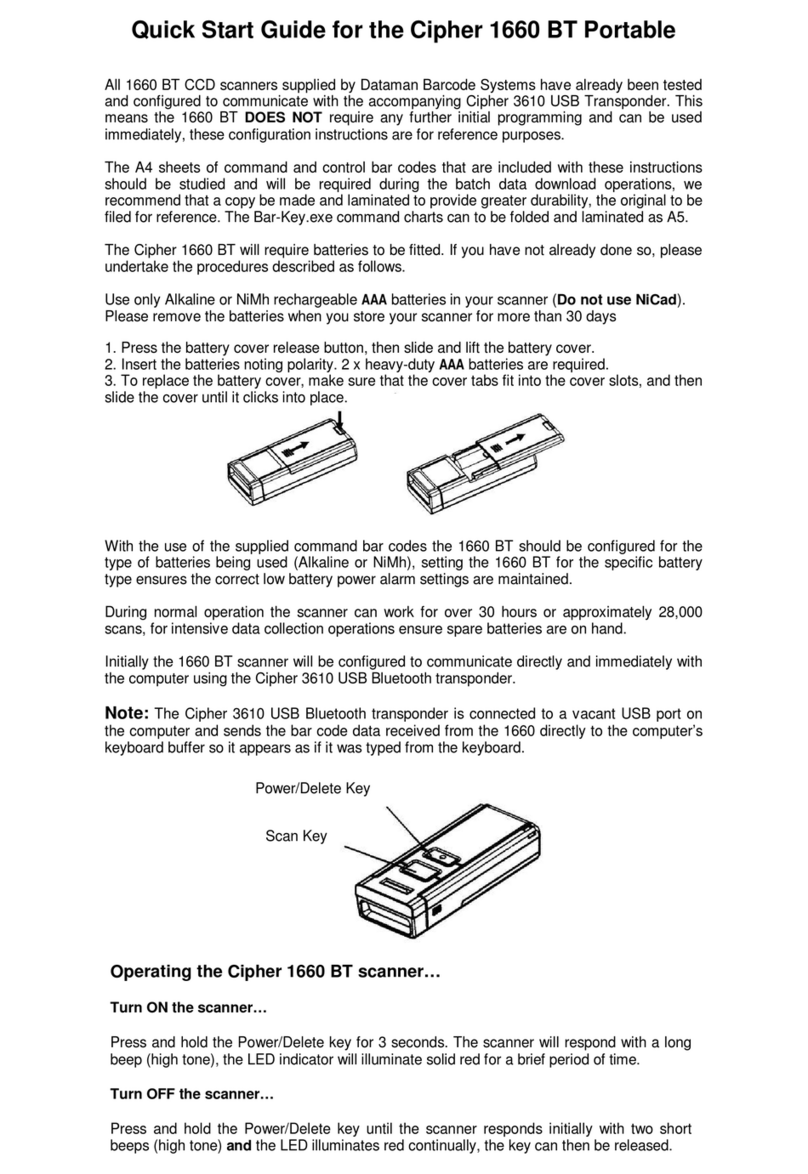
1. Press the battery cover release button, then slide and lift the battery cover.
2. Insert the batteries as shown, noting polarity.
3. To replace the battery cover, make sure that the cover tabs fit into the cover
slots, and then slide the cover until it clicks into place.
Initially the ROV MS2200 scanner will be connected to the host computer using
the USB cable included. (DO NOT connect the ROV scanner to the cable
at this point).
Note: The Microvision USB cable sends bar codes directly to the computer’s keyboard
buffer so they appear as if they were typed from the keyboard. For more information, see the
USB Cable Quick Start Guide supplied with the cable.
CONNECTION WITH USB CABLE IN HID or KBD MODE
Ensure the selector switch located on the USB cable is set to KBD.
Windows:- Connect the USB cable to a vacant USB port on your
computer, the host computer may respond with a pop up text balloon in
the bottom right of the screen indicating “NEW USB Hardware found”.
Now connect the other end of the USB cable to the input port on your ROV Scanner.
Mac:- Connect the USB cable to the USB port on the Mac device. An installation wizard
appears on the screen and recognises the cable as an unknown keyboard.
Now connect the other end of the USB cable to the input port on your ROV Scanner. The Mac
wizard may prompt for a key to be pressed on the unknown keyboard, instead scan any
convenient bar code to complete the Mac installation process.
Mac & Windows:- The bar code reader is now ready to use, simply open the application that
you require to capture the bar code data and start scanning. For Windows an ideal application
to test the scanner is “Notepad”, this basic editor program can be found from Start>All
Programs>Accessories>Notepad
VCOM
KBD
USB cable VCOM / KBD Switch

How to scan with the ROV Scanner:
•Hold ROV Scanner at an angle to the bar code approx 10 – 15 degrees
•Position ROV Scanner between 12 – 18 cm from the bar code
•Gently (but firmly) press the front of the scan button until it bottoms out
•Move scan beam through the bar code, while slowly bringing the ROV closer to the bar code
•Scan beam must extend at least 1 cm beyond edges of bar code
Second, let's review how to deal with worn, damaged or covered bar codes:
Many times, the bar code may be ripped, faded of poor quality or has been covered with a clear
protective overlay. If a bar code does not immediately scan then slowly move the scan beam from the
top of the bar code to the bottom. This gives the scanner a better chance to find “good spots” within
the bar code, if the protective overlay is not completely flat or clear and gives off false reflections then
permanent errors and the total inability to read the bar code underneath can result. In cases like this
the solution lies with replacing the covered bar code and not with the bar code reader.
What if there's no scan at all?
•If no scan: check battery orientation & replace batteries, if needed
•Scanning distance may vary depending on bar code size and density. Scanning distances
range from: 2.5 – 20 cm
•Protective overlay may be causing excessive bad reflections.
•Good Scan: LED blinks, beeps, and scan beam turns off
•Memory Full: LED blinks 3 times & scanner beeps 3 times
Dataman Barcode Systems
P.O. Box 855
Happy Valley, S.A. 5159
Australia
Tel:- 088 322 7675 Int Tel:- +(618) 8322 7675
Fax:- 088 322 7288 Int Fax:- +(618) 8322 7288
E-mail:-sales@datamanbarcode.com.au
Web:- www.datamanbarcode.com.au

Selector Switch on cable
Configuring the ROV MS2200 Laser Barcode Scanner
Before starting the configuration, the scanner must be powered up. If you have not already done so,
please undertake the procedures described as follows.
When first received the ROV MS2200 will require batteries to be fitted as
illustrated
Use alkaline AAA batteries or NiMH rechargeable AAA batteries in your scanner.
Please remove the batteries when you store your scanner for more than 30 days
1. Press the battery cover release button, then slide and lift the battery cover.
2. Insert the batteries as shown, noting polarity.
3. To replace the battery cover, make sure that the cover tabs fit into the cover
slots, and then slide the cover until it clicks into place.
The ROV MS2200 scanner can be connected to the host computer using the serial cable (included as
standard) or the USB cable (sold separately).
System Requirements are:-
Windows 2000, Windows XP service pack 1 or 2 for (KBD and VCOM), Visa
Mac OS X, Linux (KBD only).
AMD or Intel Pentium 133Mhz or better: USB 1,1 or higher port.
Microvision USB cables allow the ROV MS2200 to be connected to the USB port on your Windows or Mac
computer, the USB cables are available in two versions, straight for desktops or coiled for laptops.
Note: The Microvision USB cables operate in two modes: (VCOM) serial mode or keyboard mode. In
(VCOM) serial mode, the USB cable emulates a serial cable. In KBD / HID mode, the USB cable sends
bar codes directly to the computer’s keyboard buffer so they appear as if they were typed from the
keyboard. For more information, see the USB Cable Quick Start Guide supplied with the cable.
The simplest, preferred and recommended mode of operating the USB cable is in HID (Human Interface
Device) or KBD mode described as follows. (DO NOT connect the ROV scanner to the cable at this point).
CONNECTION WITH USB CABLE HID or KBD MODE
Move the selector switch located on the USB cable to position KBD.
Windows:- Connect the USB cable to a vacant USB port on your
computer, the host computer may respond with a pop up text balloon in
the bottom right of the screen indicating “NEW USB Hardware found”.
Now connect the other end of the USB cable to the serial port on your ROV Scanner.
Mac:- Connect the USB cable to the USB port on the Mac device. An installation wizard appears on the
screen and recognises the cable as an unknown keyboard.
Now connect the other end of the USB cable to the serial port on your ROV Scanner. The Mac wizard
may prompt for a key to be pressed on the unknown keyboard, instead scan any convenient bar code to
complete the Mac installation process.
Mac & Windows:- The bar code reader is now ready to use, simply open the application that you require
to capture the bar code data and start scanning. For Windows an ideal application to test the scanner is
“Notepad”, this basic editor program can be found from Start>All Programs>Accessories>Notepad
VCOM
KBD
USB cable VCOM / KBD Switch

Selector Switch on cable
CONNECTION WITH USB CABLE VCOM MODE
Move the selector switch located on the USB cable to position VCOM.
Windows Only:- Connect the USB cable to a vacant USB port on your
computer, the new hardware wizard starts. At this stage wait until the
message “Your hardware is installed and ready to use” is displayed.
Start a Web browser, go to www.datamanbarcode.com.au and
download the Microvision USBVCOM Driver.
When the download is complete, double-click the installer, wait until the finish button is active, click Finish.
When the warning message about unsigned drivers appears, click continue.
When the installer window disappears the installation is complete.
NOTE: If the USB cable is disconnected it is important to ensure that the cable is reconnected to the
same physical port. If a different port is used it will be necessary to reinstall the USBVCOM driver.
Now connect the other end of the USB cable to the serial port on your ROV Scanner.
WARNING: When using the USB cable for interfacing the ROV MS2200 scanner it is recommended
that the mode of operation (KBD or VCOM) is carefully selected and adhered to. If the mode of operation
is switched frequently it can lead to system errors that may require restarting the system.
CONNECTION WITH SERIAL CABLE
Connect the serial cable to a vacant serial port on your host computer.
Connect the other end of the serial cable to the serial port on your ROV Scanner. (That’s it).
NOTE: Before using the serial cable or the USB cable in VCOM serial mode, ensure that your host
application is able to communicate with the serial port to receive the bar code data. If the host application
is unable to communicate with the serial port it may be necessary to use the USB cable in KBD mode or
to use Scanner Wedge software.
The Microvision Scanner Wedge Software Utility
Microvision’s Scanner Wedge software will enable you to connect the ROV MS2200 scanner to a host
computer and capture bar code data. Scanner Wedge receives the bar code data from the ROV scanner
and translates the data into keyboard input. Essentially Scanner Wedge acts as an intermediary between
the ROV scanner and the Windows® application when the scanner is either interfaced with the serial cable
or the USB cable set to VCOM serial mode.
Microvision’s freely available Scanner Wedge software can be downloaded from Dataman Barcode
System’s web site at www.datamanbarcode.com.au. See page for Portable Barcode Readers.
NOTE: If Scanner Wedge is engaged to communicate with a Windows® application it will be necessary
to always ensure that Scanner Wedge is started and running before the Windows® application is used.
In contrast this requirement becomes unnecessary when the ROV scanner is interfaced using the USB
cable in HID KBD mode. Scanner Wedge is not required for USB in HID KBD mode.
For instruction on operation of Microvision “Scanner Wedge” see separate manual,
Even if the serial cable is not used for normal day to day operation it should still be retained. Periodic
revisions and updates to the ROV firmware can occur, updates can be undertaken by the user and are
accessed from Microvision’s web site and are directly communicated to the ROV via the serial cable.
VCOM
KBD

OPERATING THE ROV MS2200 BAR CODE SCANNER
Before you start scanning barcodes in HID KBD or VCOM serial mode, complete the following steps.
Firstly, scan the “RFS” control bar code followed by “ROV Download Delay 500 Milliseconds” control bar
code, these bar codes can be located on the page 4 (last page) of this Configuration Guide.
These two commands reset the ROV scanner and then instruct it to add a 500-millisecond delay between
each bar code downloaded when operating the ROV in data download batch mode.
Lastly and importantly, scan the “ROV Bar Code Prefix (STX) is False” bar code also located on page 4 of
this Configuration Guide.
This command prevents the scanner from adding unwanted data to the bar codes, for Windows
applications this stops characters in bold. For Mac applications this stops unwanted cursor movements
from being added to bar codes.
When the ROV MS2200 scanner is connected to the host computer any bar code scanned is transmitted
immediately to the computer. However, when the ROV scanner is disconnected from the cable the ROV
automatically enters into batch mode and every bar code scanned is stored in non-volatile memory.
The actual number of bar codes that can be stored in memory varies and depends upon the length of the
bar code. When the scanner’smemory is full the LED blinks three times and the beeper sounds three
times. The scanner cannot perform any additional scans when it is full.
Extended Memory Capacity
Extended memory scanners contain 64KB of non-volatile memory and can store roughly 4000 bar codes.
This table shows the stored bar code capacity for specific types of bar codes
Bar Codes Stored
Symbology No Timestamps With Timestamps
UPC-A 4349 2965
UPC-E 6523 3837
EAN-8 5930 3624
EAN-13 4077 2836
Code 39,
Code 128, ITF 7249 (6 characters)
3624 (15 characters)
2836 (20 characters)
4077 (6 characters)
2609 (15 characters)
2174 (20 characters)
RSS-14 3837 2718
Data that is held in the ROV scanner’s non-volatile memory is automatically uploaded to the host
computer when the ROV scanner is reconnected to the interface cable if set to do so.
WARNING: Data in non-volatile memory is automatically cleared upon data uploading, make sure the
receiving host application is prepared correctly before reconnecting the ROV scanner or the bar code data
in scanner memory could be lost.
Good Scan 1 blink 1 beep
Memory Full 3 blinks 3 beeps
Uploading 2 blinks every second None
Upload Complete 1 blink 3 different beeps
Sleeping None None
Low Battery (after
good scan) or other
error
2 blinks 2 different beeps (be-boop)
Dead Battery Double-blinks 3 times 2 different beeps 3 times (be-boop)

TO BEGIN SCANNING
1. Point the scanner at the bar code to be read.
2. Press and hold the Scan button and make sure that the red laser
line appears.
3. Aim the laser line so that it crosses the entire bar code. The scanner
beeps and the LED indicator flashes when the scan is successful.
4. When you hear the scanner beep, or see the LED indicator flash,
release the Scan button.
5. If the scanner is already connected to the host computer the bar code data is immediately transmitted
to the host computer.
6. If the scanner is not connected to the host computer the ROV enters into batch mode and every bar
code that is scanned is stored in the ROV’s non-volatile memory and can be downloaded later.
7. If the ROV has been preset for “Auto Download ON” then all bar codes stored in non-volatile memory
will be transmitted to the host computer immediately upon reconnecting the scanner to the interface cable
that must already be attached to the host computer.
The following information should be noted
If the ROV has been preset for “Auto Download ON” then the USB interface cable must be attached to the
host computer before the ROV scanner is connected to achieve a successful data download from batch
mode. If the interface cable is attached to the ROV scanner prior to connecting to the host computer the
data will not be automatically downloaded. If the ROV has been preset for “Auto Download OFF” then
data downloading is controlled by scanning the “Download Batch Data” command bar code located on the
separately supplied Bar Code Control Chart.
Scanner Battery Information
The scanner was designed for maximum battery life. With three fresh AAA alkaline batteries the scanner
should deliver 24,000+ scans, or roughly 100-scans / day for 12 months. The ROV MS220-BT Cordless
Scanner, with three fresh AAA alkaline batteries, should deliver 16,000+ scans, or about 100-scans / day
for 8 months.
Dataman Barcode Systems
P.O. Box 855
Happy Valley, S.A. 5159
Australia
Tel:- 088 322 7675 Int Tel:- +(618) 8322 7675
Fax:- 088 322 7288 Int Fax:- +(618) 8322 7288
E-mail:-dmbarcod@bigpond.net.au
Web:- www.datamanbarcode.com.au
ROV Santoprene Boot
Protection from accidental
knocks and drops.
Also used as cable restraint
ROV Set Prefix (STX) False
ROV Download Delay 500 Milliseconds
RFS (Re
store Factory Settings)

DATAMAN ROV-MS2200 Standard Setup Control Chart
Return to Factory Setting
Download Delay Setting 1
Download Delay Setting 2
Set Prefix (STX), 0
In order to prepare the ROV MS2200 to operate on the Microvision USB S-Cable that has been set to Kbd/HID mode
the above command bar codes must be used to initialise the ROV and set it to the required configuration.
Firstly scan the "Return to Factory Setting" bar code at the top of the left hand column to effectively return the ROV to
default. Next scan ONE only of the Download Delay bar codes.
Selecting the appropriate download delay for your program can be done by choosing to scan one of the above (2)
Download Delay bar codes. Initially use Delay Setting 1 (500 ms), this should be adequate for most applications.
Download Delay Setting 1 = 500 Milliseconds Download Delay Setting 2 = 1100 Milliseconds
Scan "Set DecodeSupps, False" bar code to prevent reading any supplimentary bar codes when scanning ISBN's for
SCIS.
Finally scan the "Set Prefix (STX), 0" bar code to avoid unwanted commands being accepted.
The remaining bar codes in the second column dictate how the ROV behaves when used for batch mode data
downloads. If the "Auto Download ON" (Default) is chosen then the ROV will automatically download all bar codes
stored in it's memory as soon as it is reconnected to it's cable.
If the "Auto Download OFF" is chosen then the ROV will NOT automatically download the bar codes stored in it's
memory when it is reconnected to it's cable. Instead the "DownLoad Batch Data" command bar code will need to be
scanned to initiate the download once the ROV has been reconnected to it's cable.
**** The "Undelete Batch Data" command can be used to recover the previously downloaded batch of data so that the
data can be downloaded again. For this command to work however, the "Undelete Batch Data" command bar code
must be scanned immediately after a previous download of data and with the ROV untethered ie: NOT connected to the
USB cable.
If you wish to immediately resend the previously downloaded data, firstly disconnect the ROV from the USB cable, scan
the command bar code "Undelete Batch Data" then reconnect the ROV to the cable and scan the "DownLoad Batch
Data" command bar code to resend the data.
DaTaMaN Barcode Systems
Tel:- 088 322 7675
Fax:- 088 322 7288
P.O. Box 855
Happy Valley S.A. 5159
Email:- sales@datamanbarcode.com.au
Web:- www.datamanbarcode.com.au
Auto Download OFF
Auto Download ON
DownLoad Batch Data
****
UnDelete Batch Data
Clear Stored Data
Set DecodeSupps, False
Table of contents
Other Dataman Barcode Reader manuals

