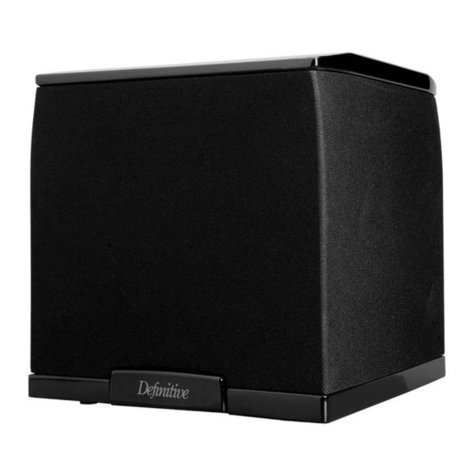
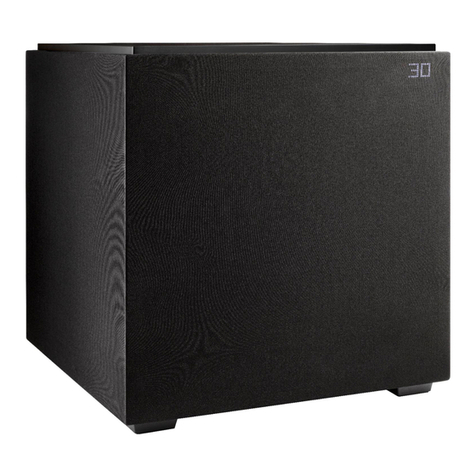
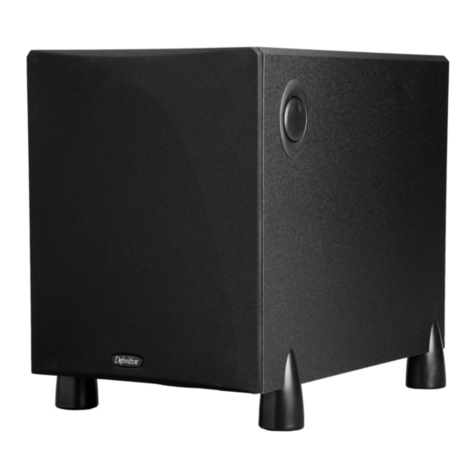
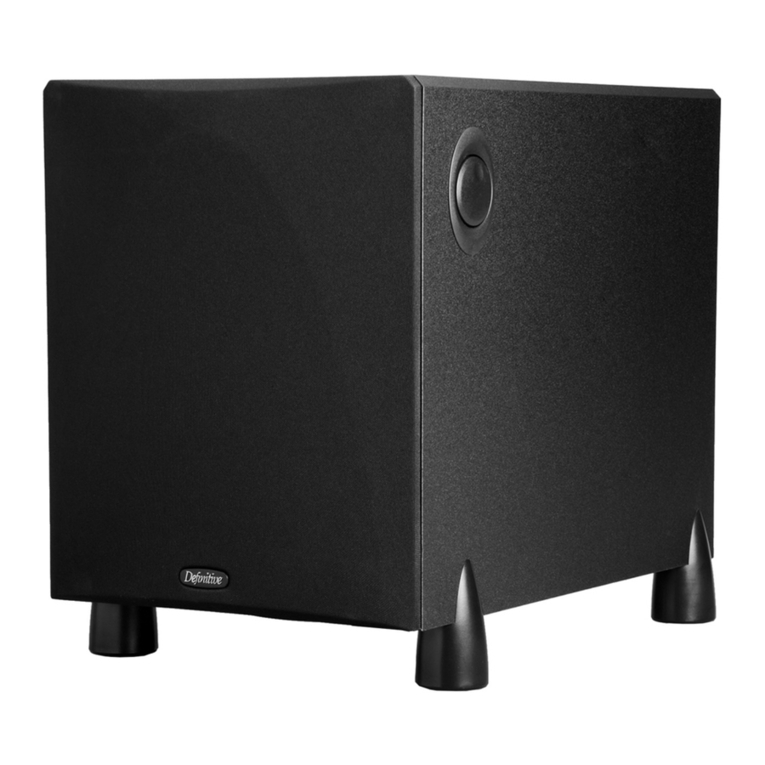
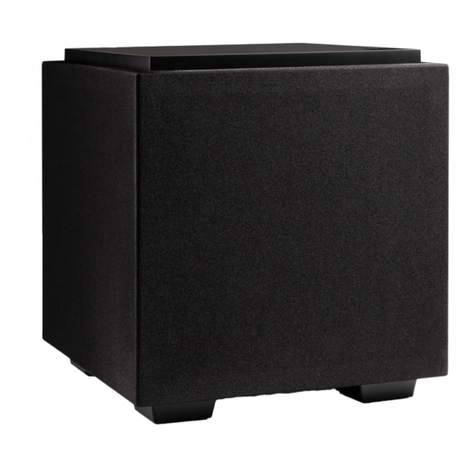
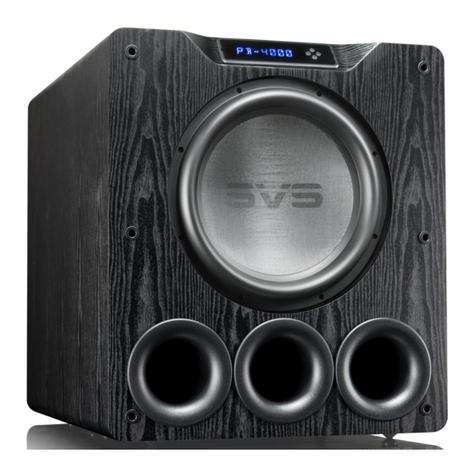
90 degrees from the active driver. These passive radiators give the
air displaced by the main driver a place to go, in turn generating
low frequency themselves. Also, using a sealed cabinet in this
way greatly improves the response of the active driver. The
negative pressure behind the active driver centers the driver back
to neutral much more quickly. Combined with the very powerful
amp, this combination gives the larger driver a better chance of
blending with quicker, smaller drivers in your main loudspeakers.
The back panel has connections for low-level RCA inputs,
along with the ability to run your line-level main speaker outputs
through the high-level speaker cable inputs on the SuperCube
Reference to limit low-frequency information sent to those
speakers. This is attractive if you want to leverage your existing
amplification by off loading its power requirement to generate
lower frequencies. But to do this requires another set of speaker
cables, so it may not be practical to do so.
Instead of limiting the user to three phase settings of 0, 90 and
180 degrees like most subs I’ve seen, the SuperCube Reference
gives you an infinitely adjustable phase between 0 to 180 degrees.
This makes it easier for to you to blend your own SuperCube
Reference to your main speakers. The variable high-pass and
low-pass crossover knobs handle the 40 to 150 Hz range for
fine-tuning to your main loudspeakers frequency range, with
a volume knob and fuse to sum it all up.
Setup
When determining the best location for your subwoofer, many
factors must be considered. Your room is the biggest variable in
any system set-up, whether it’s your loudspeakers, your center
loudspeaker, or your surround and effects loudspeakers. Starting
off by ensuring that your existing system is set up properly will
greatly reduce your frustration when introducing a subwoofer.
Minimizing wall interactions with your front three speakers is a
good place to start. Loudspeakers too close to surrounding walls
or objects will artificially boost the lower frequencies, emitting a
bloated and bloomy response; too far away from the walls, bass
support drops off. If you’re confident that you have a nice balance
within your room’s limitations and your loudspeakers are level
matched, you’re ready to start.
I have a 16 x 27-foot room that serves as more than a home
theater and music room. It is also the family room, computer
room, and the kid’s sleepover room (Don’t touch the equipment!),
so I, like most people, have to be considerate of the many uses
the room has to accommodate. In real world terms, this means
I was limited to the area where the SuperCube Reference would
reside. To help me in my quest, I used a Radio Shack analog SPL
meter and a test tone generator for testing the location.
I started off with an area behind a couch. Moving the 100-plus
pounds of SuperCube to the chosen area had me thinking that
this spot had better work out because I wasn’t looking forward
to moving it again. Attaching a single-ended RCA interconnect
from the LFE on the back panel to the LFE output on my B&K
AVR307, and plugging in the power cord, I was ready to start.
As things have it, the first location did not work out, as the
SuperCube Reference was sitting adjacent to a sliding glass door.
As I was outside while the kids were watching “The Matrix
Reloaded,” the glass of the door looked like the side of the glass
building in the first “Matrix” movie right after the helicopter
crashed into it. The effect scared me into the action of moving
to another locale.
Although I prefer corners, I was unable to use any of the ones in
my room. The next available spot I manhandled the SuperCube
Reference into was somewhere along the wall between my Revel
Studios, which are spaced eight-and-a-half feet apart and three
feet from the wall. I oriented the active driver of the SuperCube
Reference away from the wall, which allowed the two opposed
passive radiators to point along the wall, then started running test
tones and taking measurements to eliminate as many bumps and
valleys in the frequency range as the limited location allowed. I
moved the SuperCube Reference back and forth along the wall,
taking measurements as I did so and found an acceptable position
towards the left speaker with the left passive radiator about 14
inches from a ASC Tube Trap. Satisfied that the phase was set
properly, I set low-pass and high-pass filters to slightly crossover
to the Revels’ specified frequency response and did some more
twiddling until I felt I had the SuperCube Reference where I
wanted it. Then it was down to the business of listening.
Music and Movies
Enamored with the higher-
resolution formats, such as
SACD and DVD-Audio, I
couldn’t wait to hear what the
SuperCube Reference was
going to do for me. I popped in
the remastered-to-SACD copy
of Peter Gabriel’s Plays Live
Highlights (Geffen Records).
“San Jacinto” was first up. The
“The SuperCube Reference had become
one with my system”
“the SuperCube Reference allowed me to
realize what I have been missing in the
sub-ten Hz range”
“a subtle and attractive statement that
would blend with many of today’s home
decors”
“true subwoofer frequencies that add breadth
and depth to your existing system”
