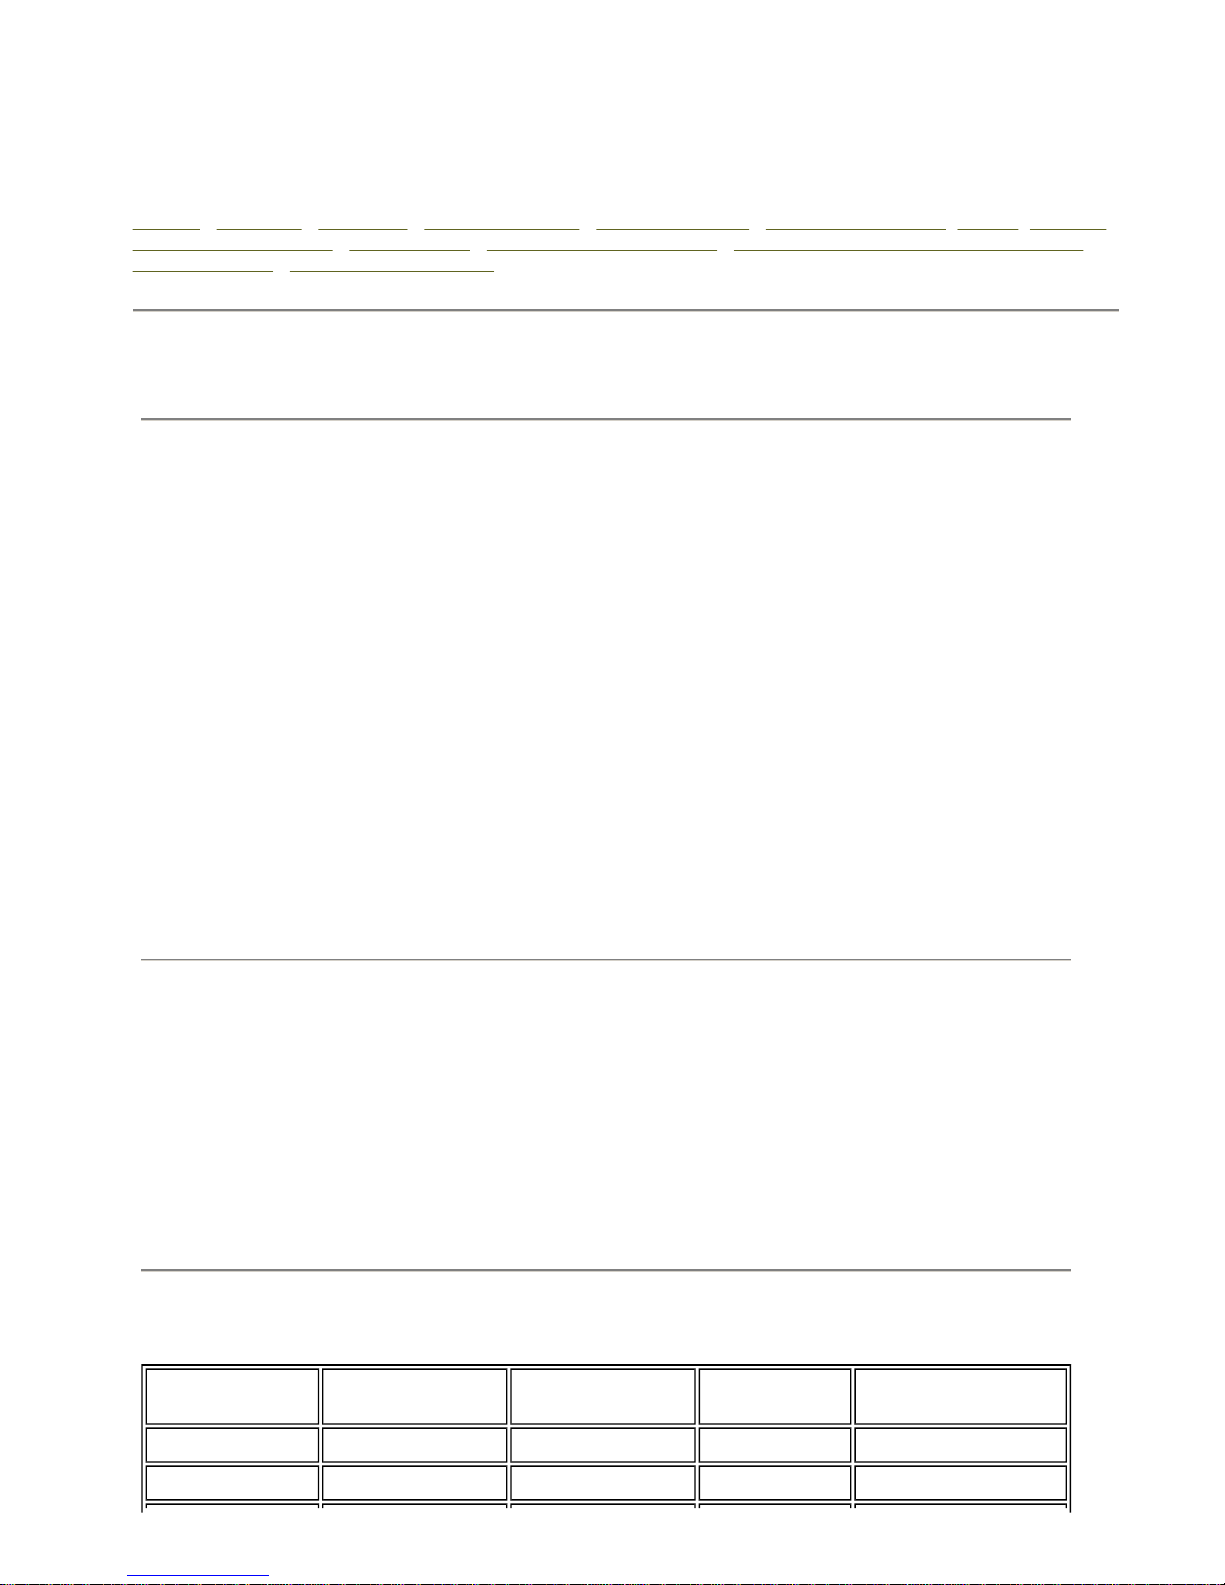
Interval between time datum (0H) and back edge of line-
blanking pulse 10.5µs 9.2 to 10.3 µs
Front porch 1.5±0.3µs 1.27 to 2.22µs
Synchronizing pulse 4.7±0.2µs 4.7±0.1µs
Build-up time of the line blacking pulse 0.3±0.1µs =/< 0.48µs
Build-up time of the line synchronizing pulse 0.2±0.1µs =/< 0.25µs
Start of sub-carrier burst 5.6±0.1µs 5.3(4.71 to 5.71)µs
Duration of sub-carrier burst 2.25±0.23 (10±1
cycles)µs 2.23±3.11 (9±1 cycles)µs
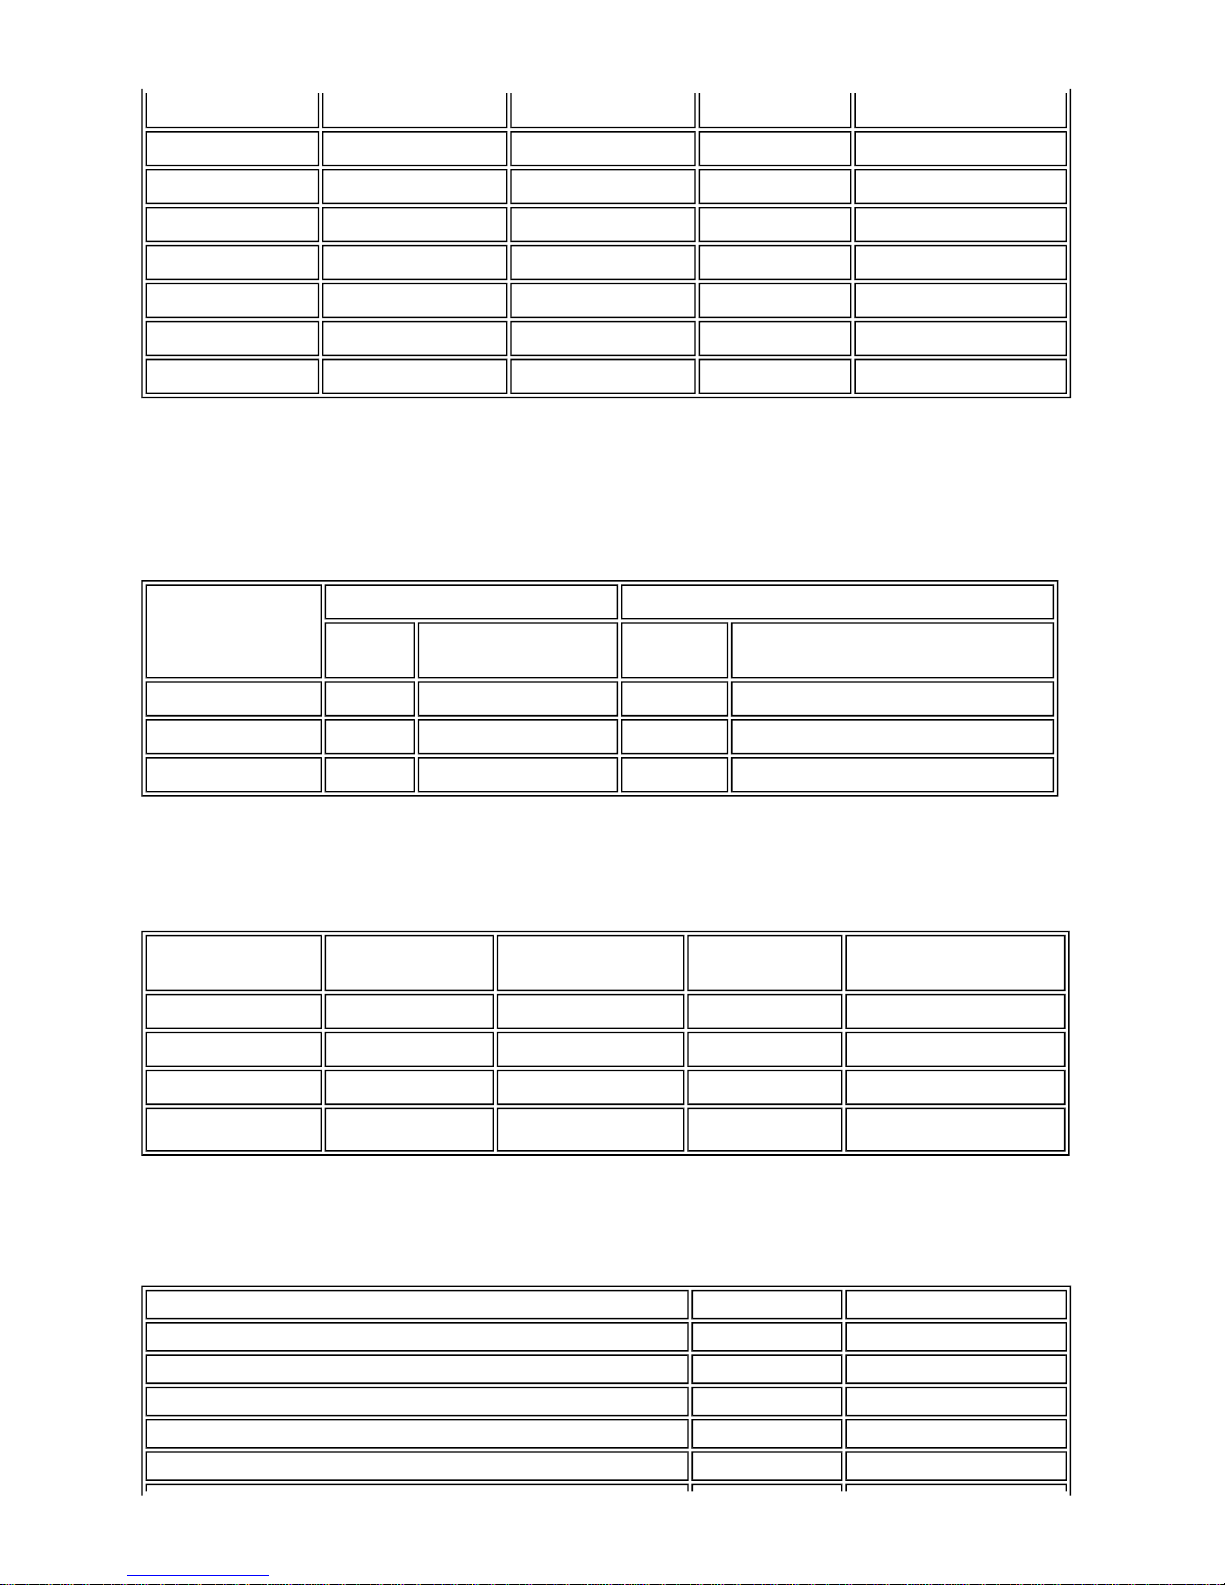
Electrical for PC
Video input signals Analog RGB, 0.7 Volts +/-5%, positive polarity at 75 ohm input
impedance
Digital DVI-D TMDS, 600mV for each differential line, positive
polarity at 50 ohm input impedance
Synchronization input signals Separate horizontal and vertical synchronizations, polarity-free TTL
level, Composite
AC input voltage / frequency 90 to 264 VAC / 50 or 60 Hz + 2Hz
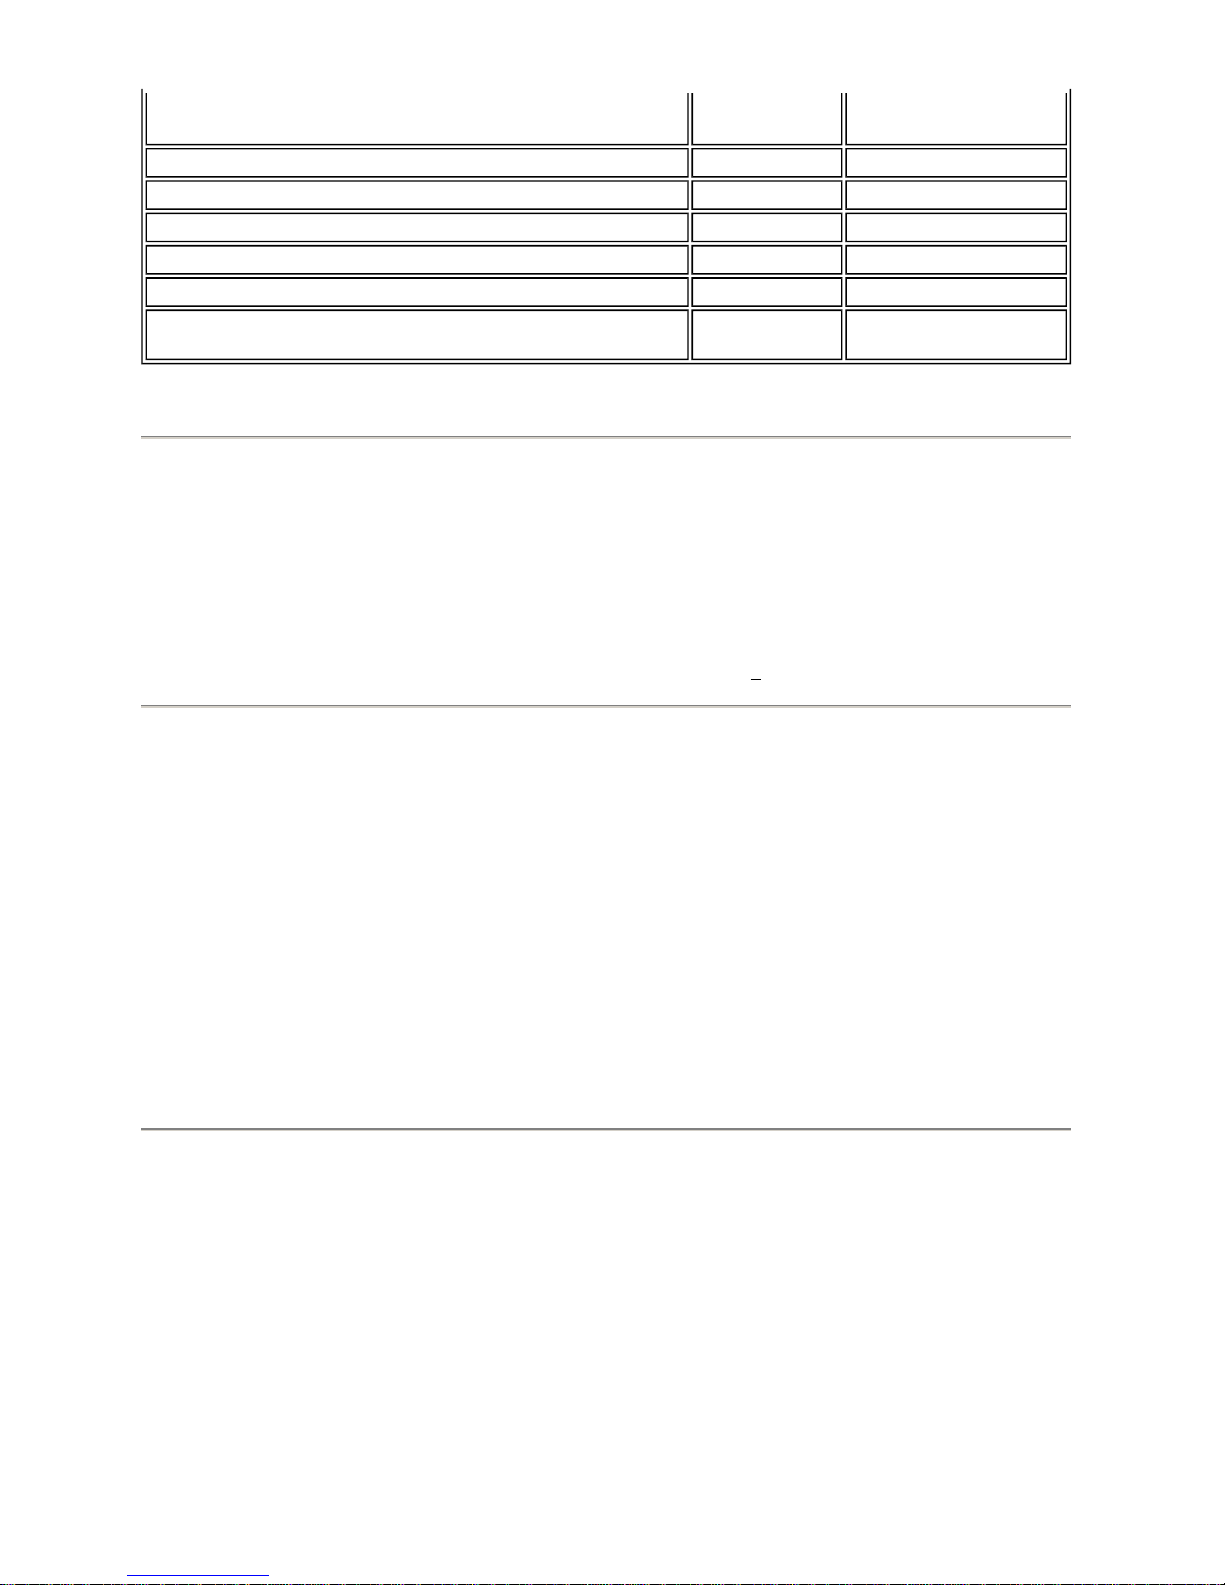
Physical Characteristics
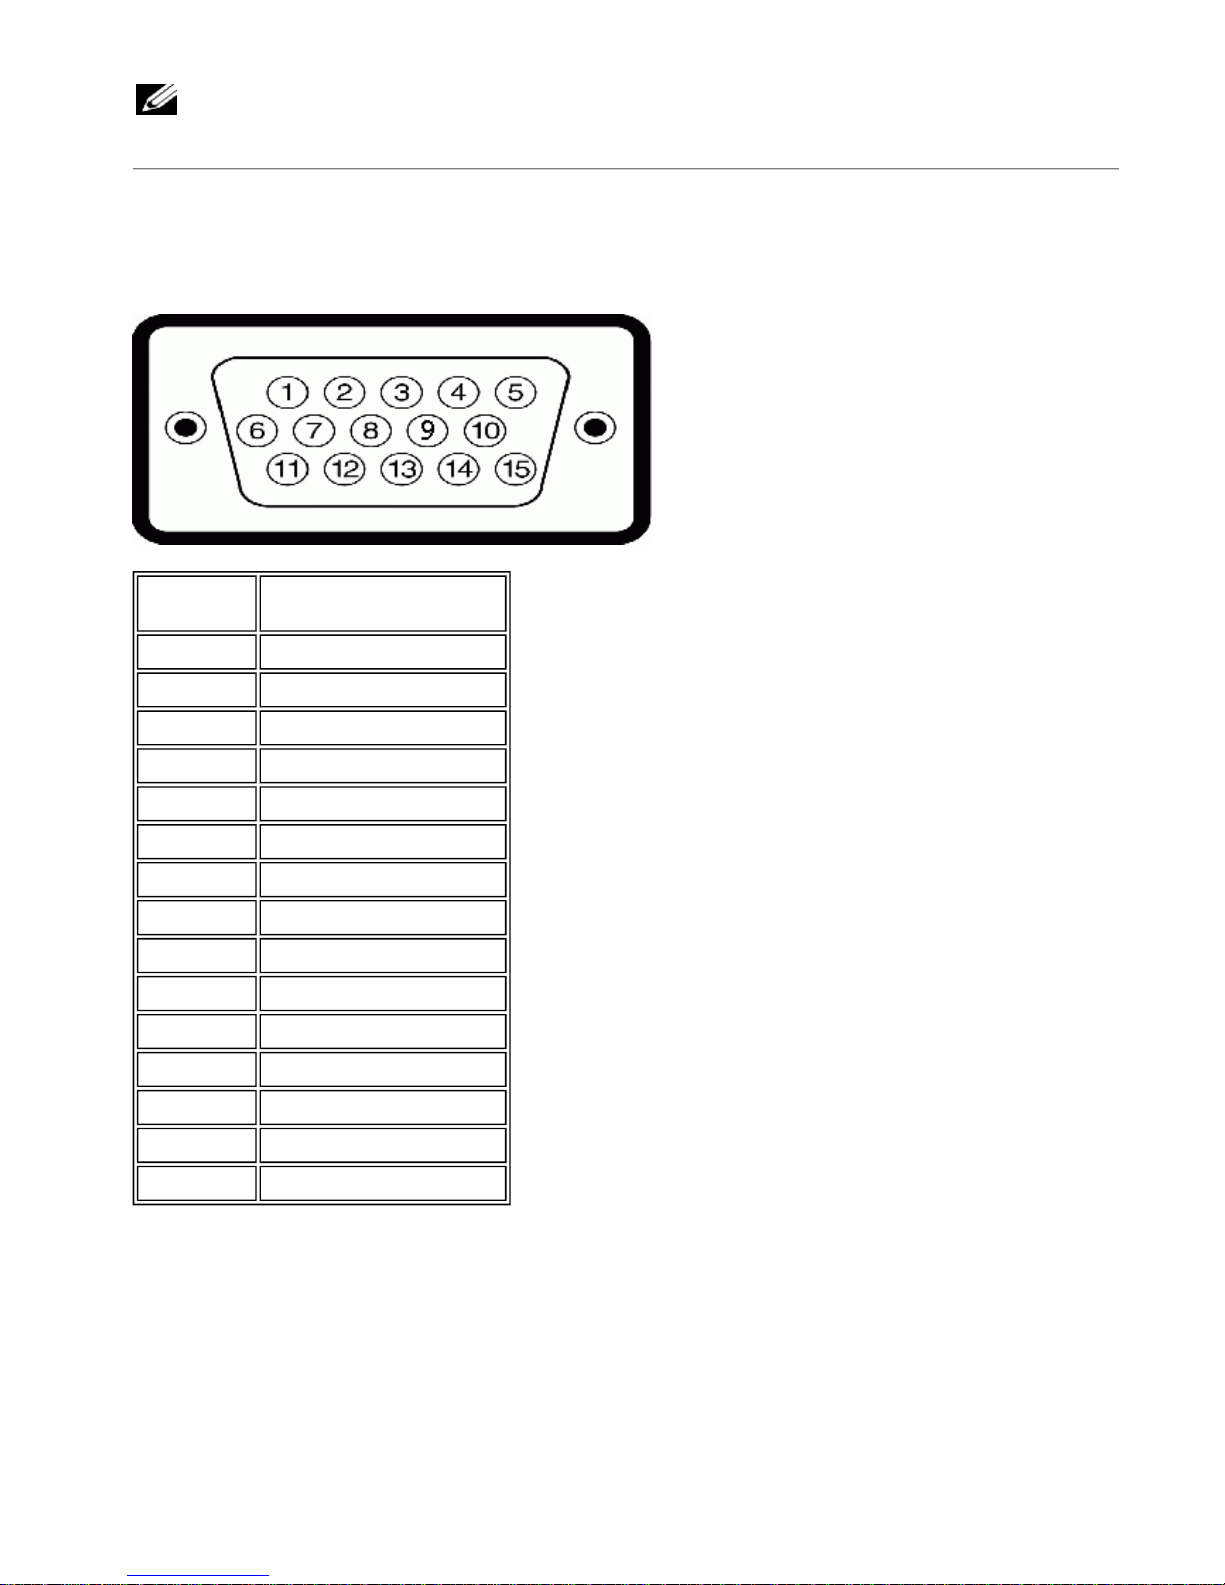
Connector type 15-pin D-subminiature, blue connector; DVI-D, white connector
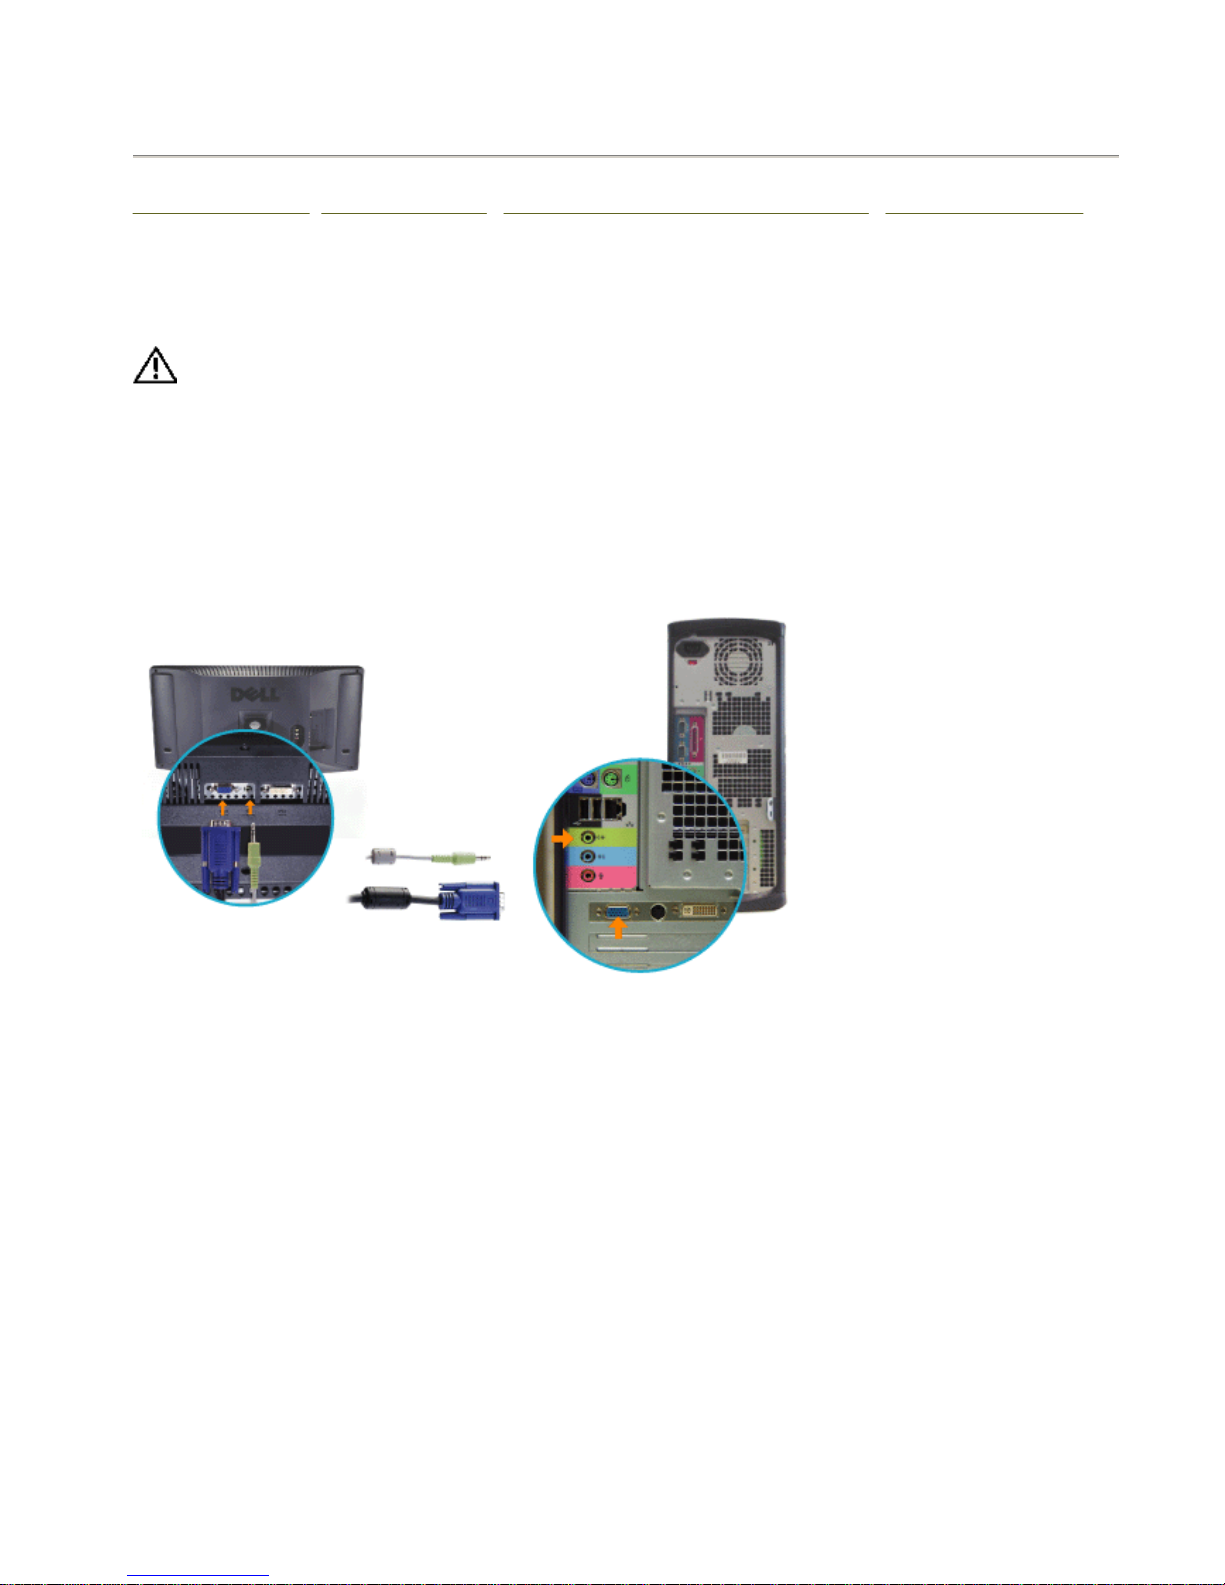
Signal cable type Analog: Detachable, D-sub, 15pin, shipped detached to the LCD
TV
Digital: Detachable, DVI-D, Solid pins, shipped detached from the
LCD TV
Dimensions: (without packing)
Height 448.0 mm (17.63 inches)
Width 758.0 mm (29.84 inches)
Depth 265.5 mm (10.45 inches)
Weight (LCD TV only) 13.8 Kg (30.4 lbs)
Weight (with packaging) 18.7 Kg (41.21 lbs)
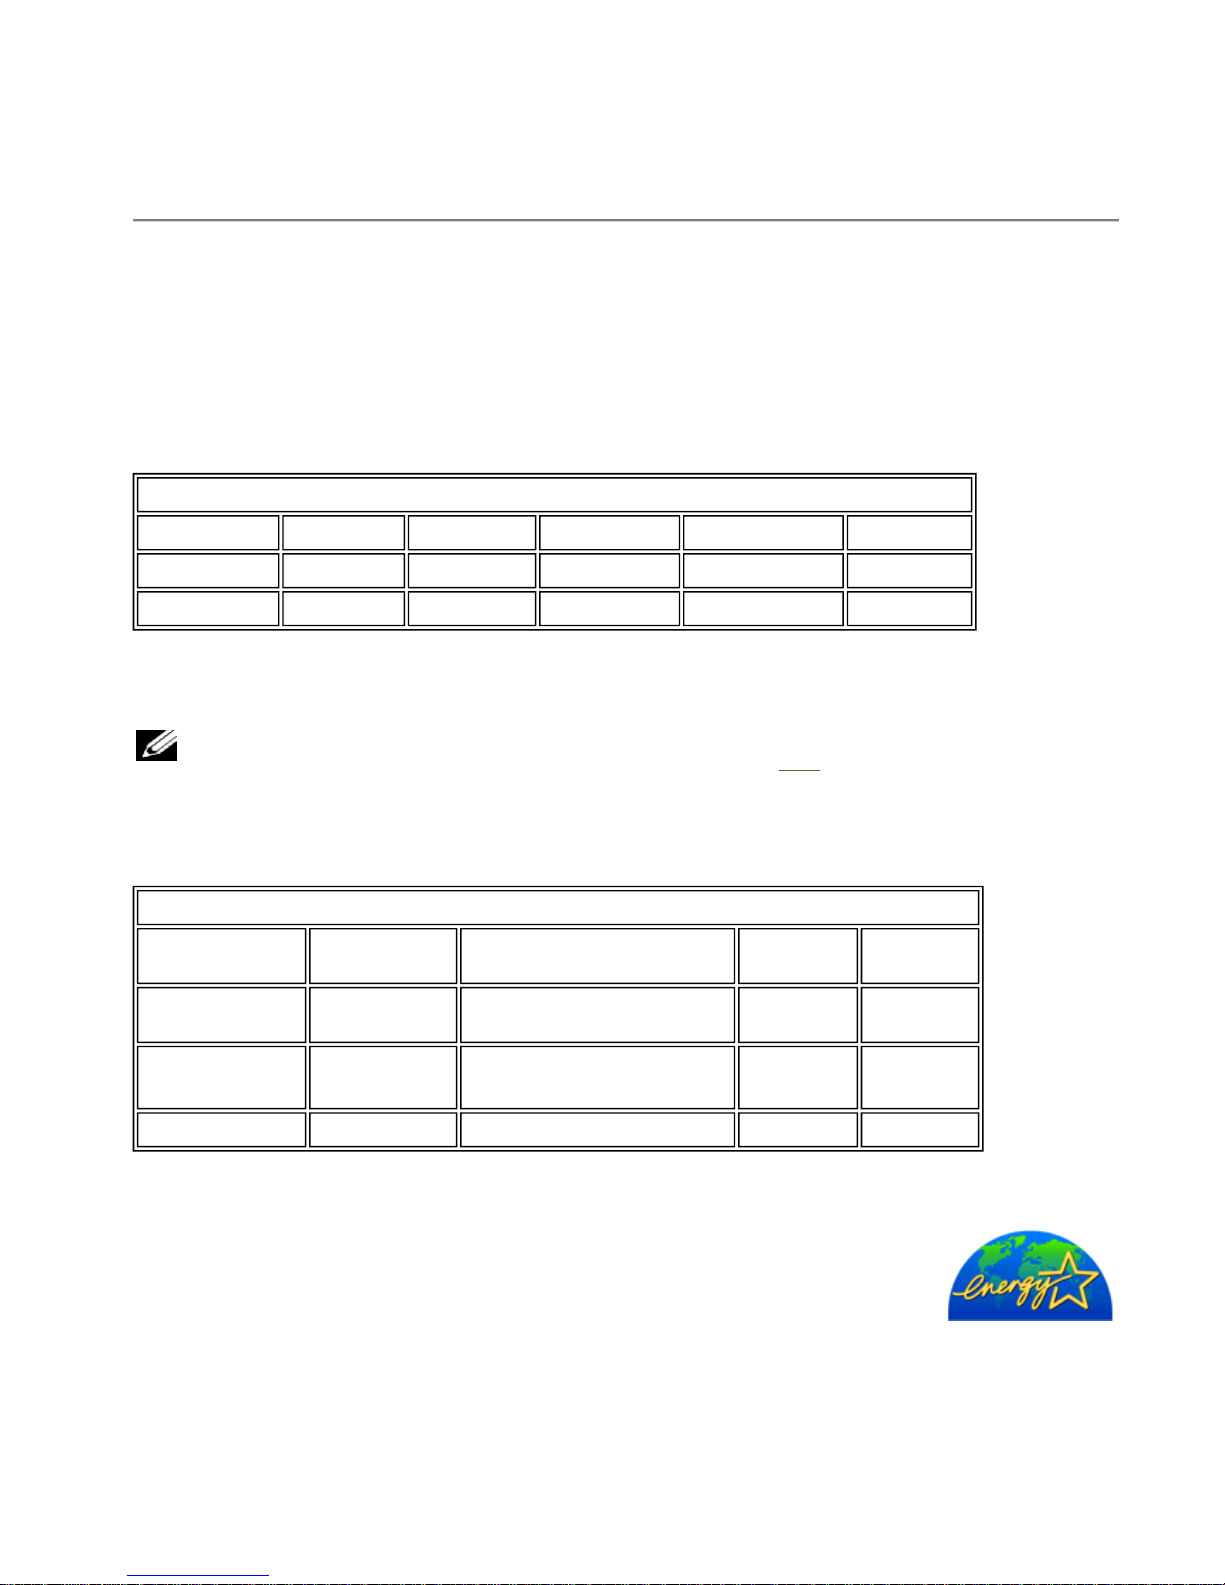
Environmental
Temperature:
Operating 0°C to 35°C (32°F to 95°F)
Nonoperating Storage: 0 to 60°C (32°F to 140°F)
Shipping: -20 to 60°C(-4°F to 140°F)
Humidity:
Operating 10% to 80% (noncondensing)
Nonoperating Storage: 5% to 90% (noncondensing)
Shipping: 5% to 90%(noncondensing)
Altitude: