6About Your Monitor
Product Features
The Dell SE2216H / SE2216HV flat-panel display has an active matrix, Thin-Film
Transistor, Liquid Crystal Display and LED backlight. The monitor’s features include:
•SE2216H / SE2216HV: 54.61 cm (21.5 inches) diagonal viewable image size,
1920 x 1080 resolution, plus full-screen support for lower resolutions.
•Wide viewing angle to allow viewing from a sitting or standing position, or while
moving from side-to-side.
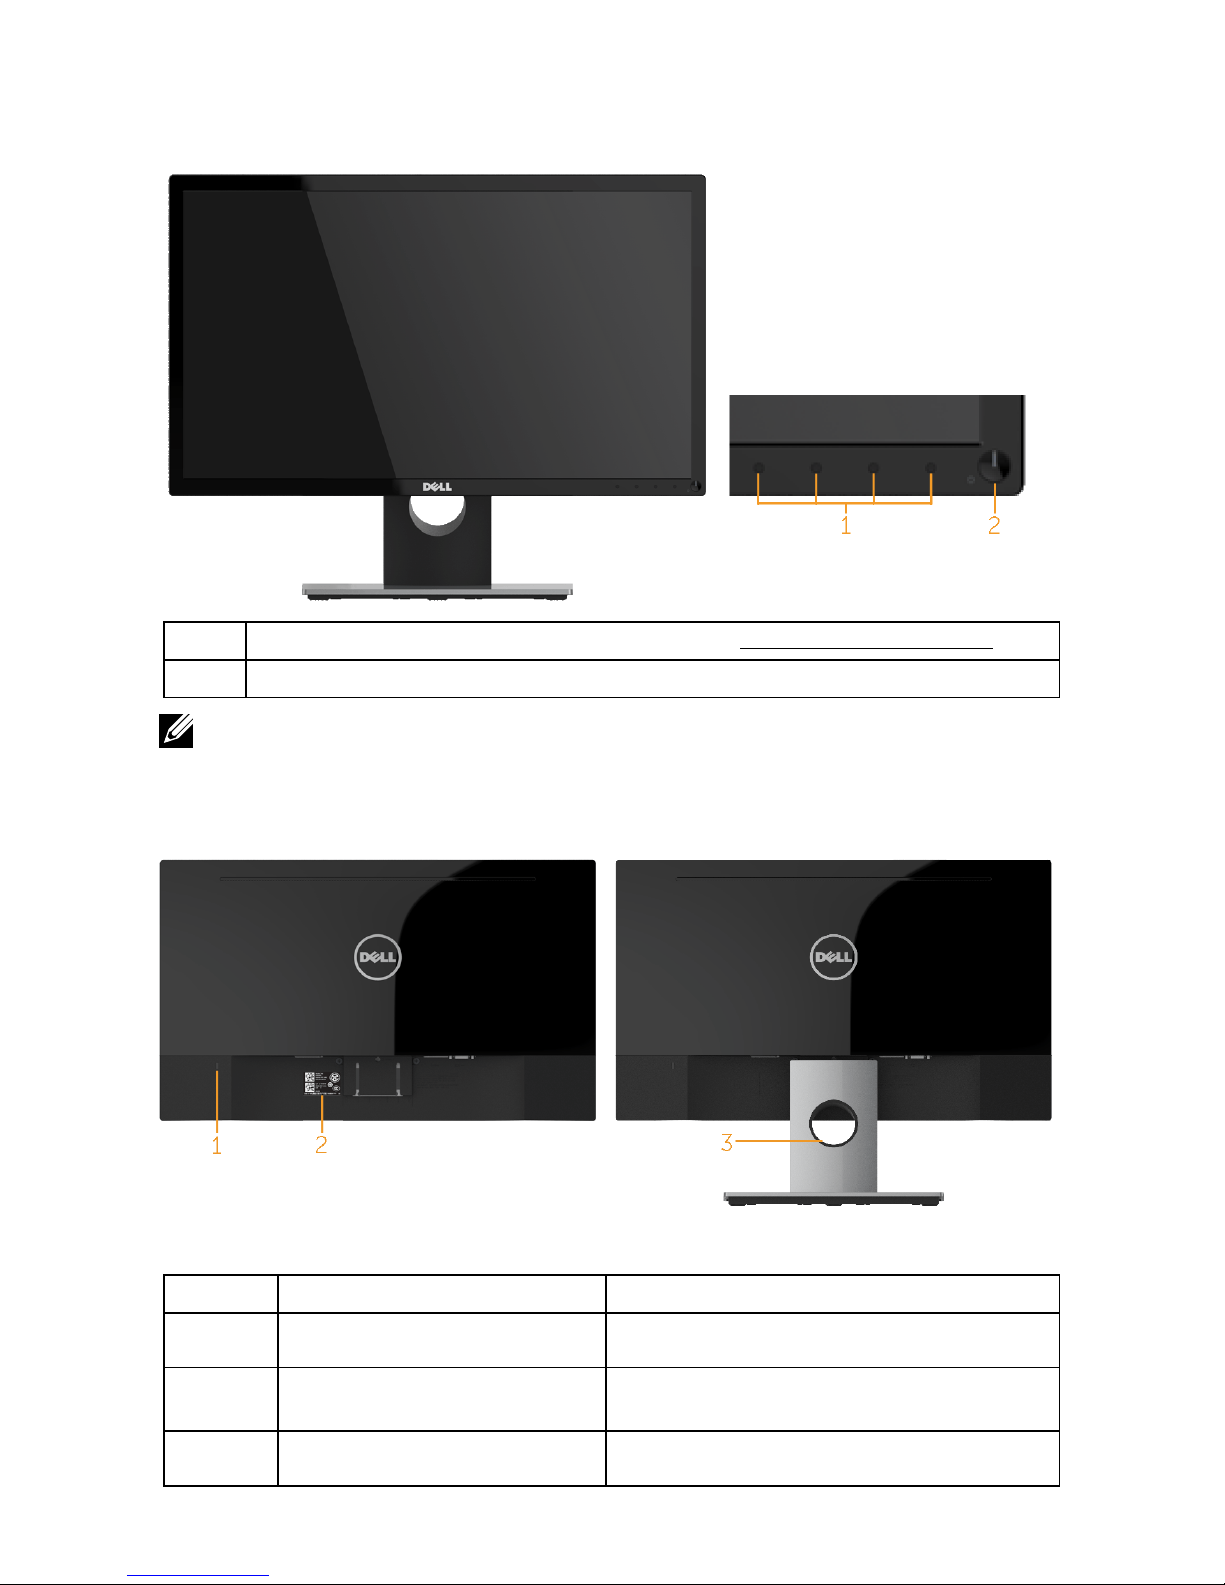
•Tilt adjustment capability.
•Plug and play capability if supported by your system.
•On-Screen Display (OSD) adjustments for ease of set-up and screen optimization.
•Software and documentation media which includes an information file (INF), Image
Color Matching File (ICM), and product documentation.
•Dell Display Manager Software
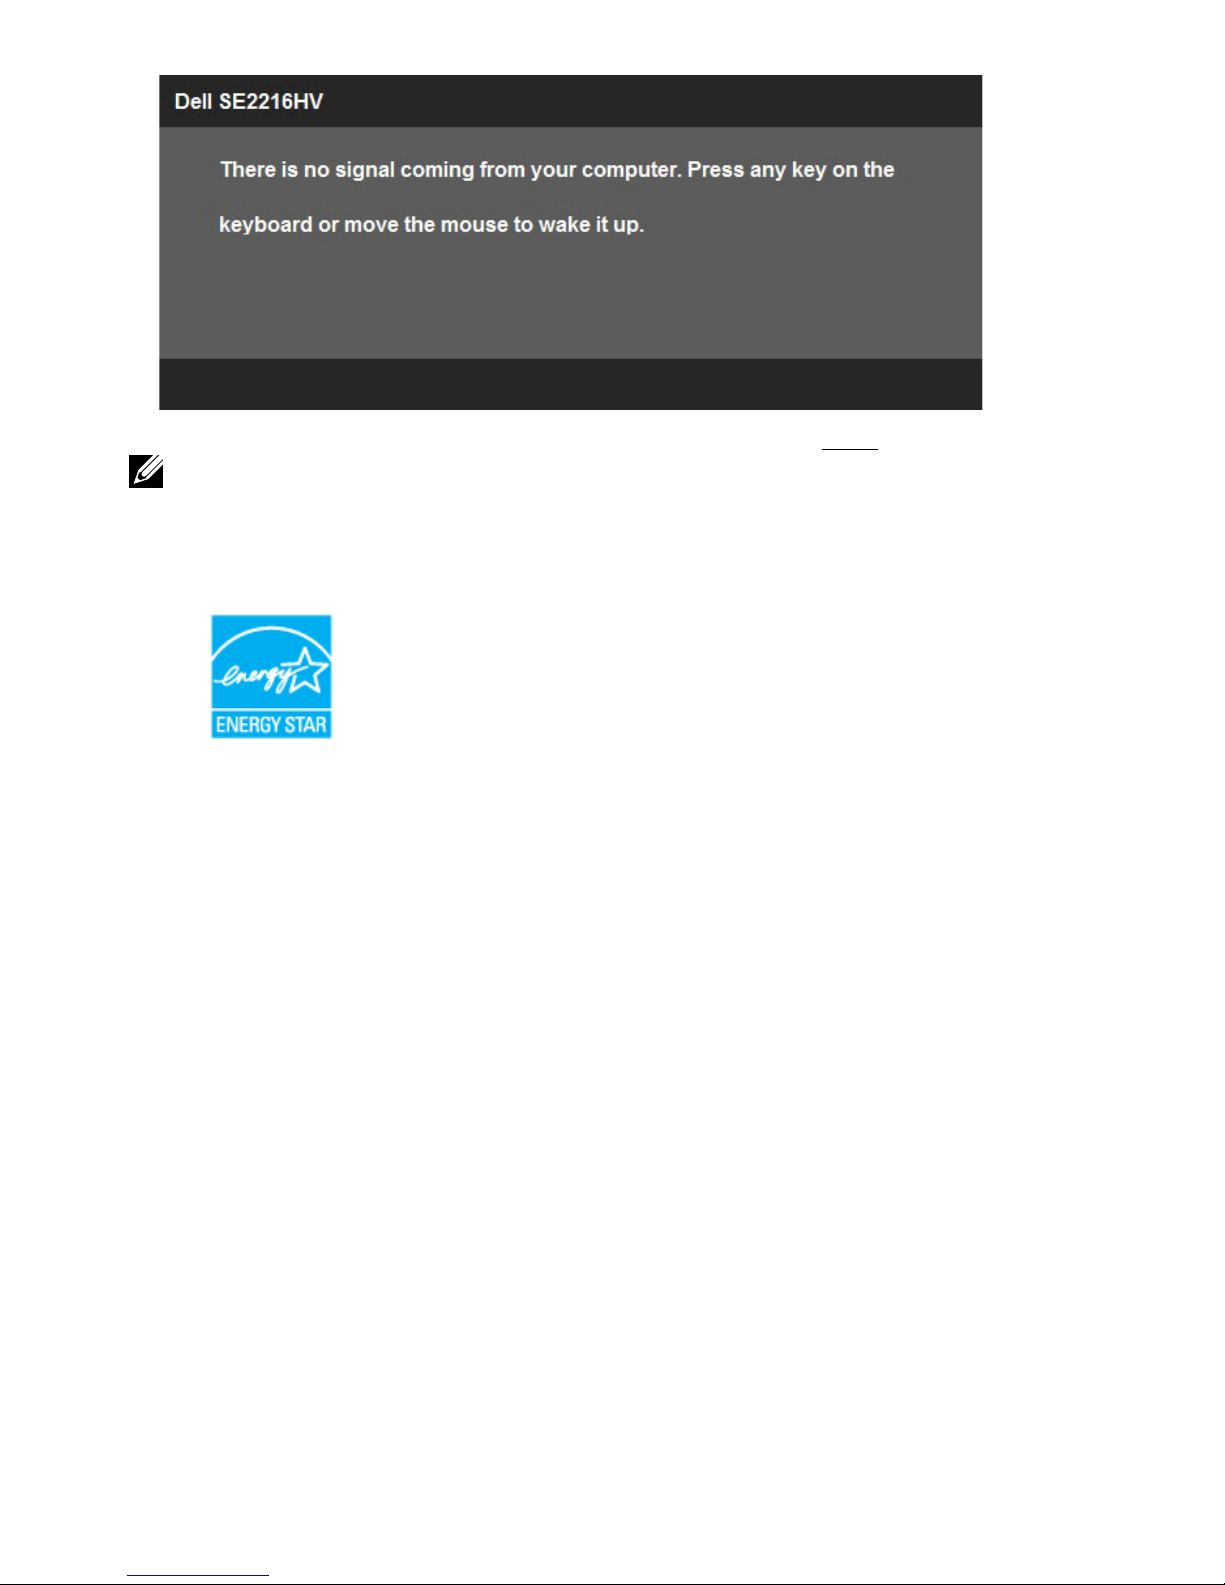
•ENERGY STAR-compliant.
•Security lock slot.
•Capability to switch from wide aspect to standard aspect ratio while maintaining
the image quality.
•Asset Management Capability.
•EPEAT Sliver rating.
•CECP (for China).
•RoHS compliant.
•BFR/PVC- Reduced.
•TCO Certified Displays.
•High Dynamic Contrast Ratio (8,000,000:1).
•Energy Gauge shows the energy level being consumed by the monitor in real time.
•0.3 W standby power when in the sleep mode.
•Analog backlight dimming control for flicker free display.
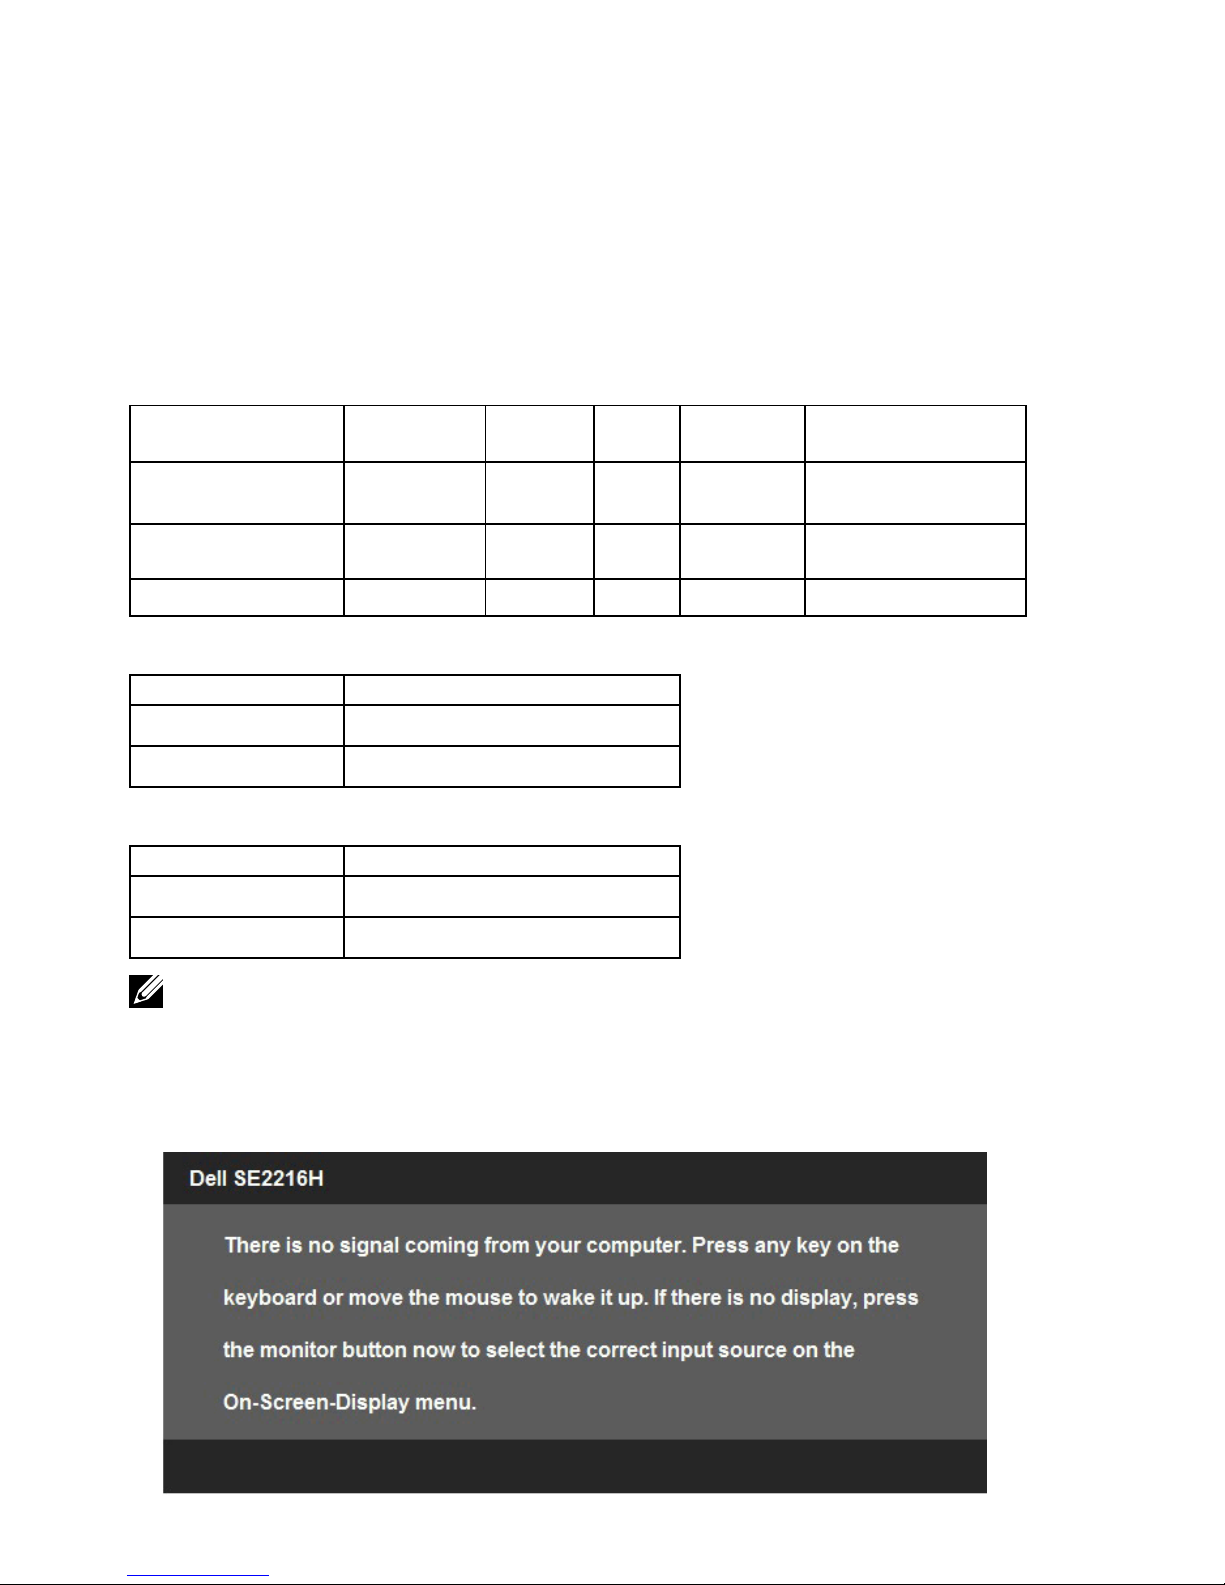
NOTE: The Dell SE2216H / SE2216HV monitor is ENERGY STAR®-compliant in all
regions except the Asia Pacific.
DELL registers products in the EPEAT environmental performance rating system.
EPEAT registration varies by country.